
Skim coating can turn uneven, patched, or heavily textured walls into a smooth surface that looks clean under fresh paint or wallpaper. These 20 skim coating walls diy ideas cover complete project approaches for common wall conditions, from painted drywall and old plaster to orange peel texture and repaired surfaces. A successful finish depends on careful preparation, thin applications, clean tools, proper drying, and minimal sanding. Ready-mixed joint compound is commonly applied with a roller, broad knife, or trowel, then wiped tightly across the surface to reduce buildup. Before disturbing paint in a home built before 1978, check for possible lead hazards and follow lead-safe practices. () Use the following 20 skim coating walls diy ideas to choose a practical method for your room.
1. Skim Coating Wall Safety Check
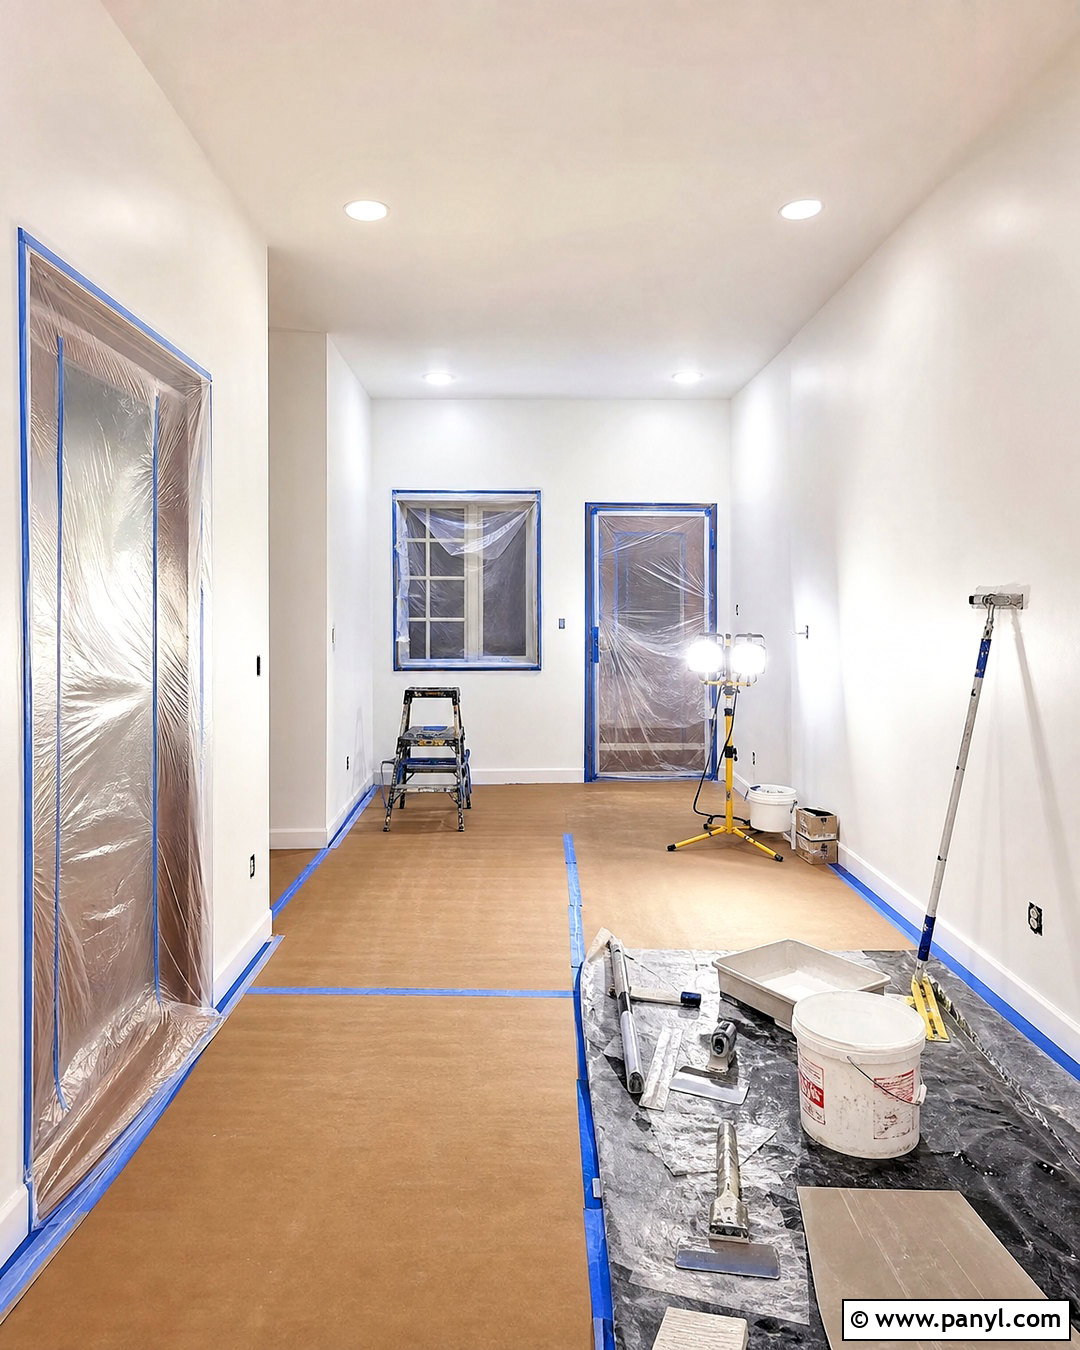
Start by evaluating the entire room rather than immediately sanding or spreading compound. Check for moisture stains, loose drywall, crumbling plaster, peeling paint, mold, and structural cracks. Correct leaks and serious wall damage before creating a decorative finish. In homes built before 1978, painted surfaces may contain lead, and sanding or scraping can release hazardous dust. Consider professional testing or follow EPA lead-safe renovation practices before disturbing the finish. () Once the wall is safe, remove furniture, cover floors with durable plastic or canvas, and seal doorways. Remove outlet covers after turning off the appropriate circuits. Set up strong side lighting so ridges and low areas remain visible throughout the skim coating project.
2. Skim Coating Painted Walls

A painted wall needs a clean, stable foundation before it receives joint compound. Wash the complete surface with a mild cleaner to remove grease, fingerprints, and household residue, especially around switches and doorways. Scrape away loose paint, fill obvious holes, and lightly dull a slick finish without aggressively damaging the wall. Apply a compatible bonding or problem-surface primer when the paint is glossy, chalky, stained, or questionable. After it dries, roll thinned ready-mixed joint compound over a manageable section. Smooth it immediately with a broad drywall knife, overlapping each pass. Keep the coat thin enough to reveal the wall beneath. Once fully dry, remove high marks, apply a second coat if needed, then prime and paint the whole wall.
3. Skim Coating Textured Walls
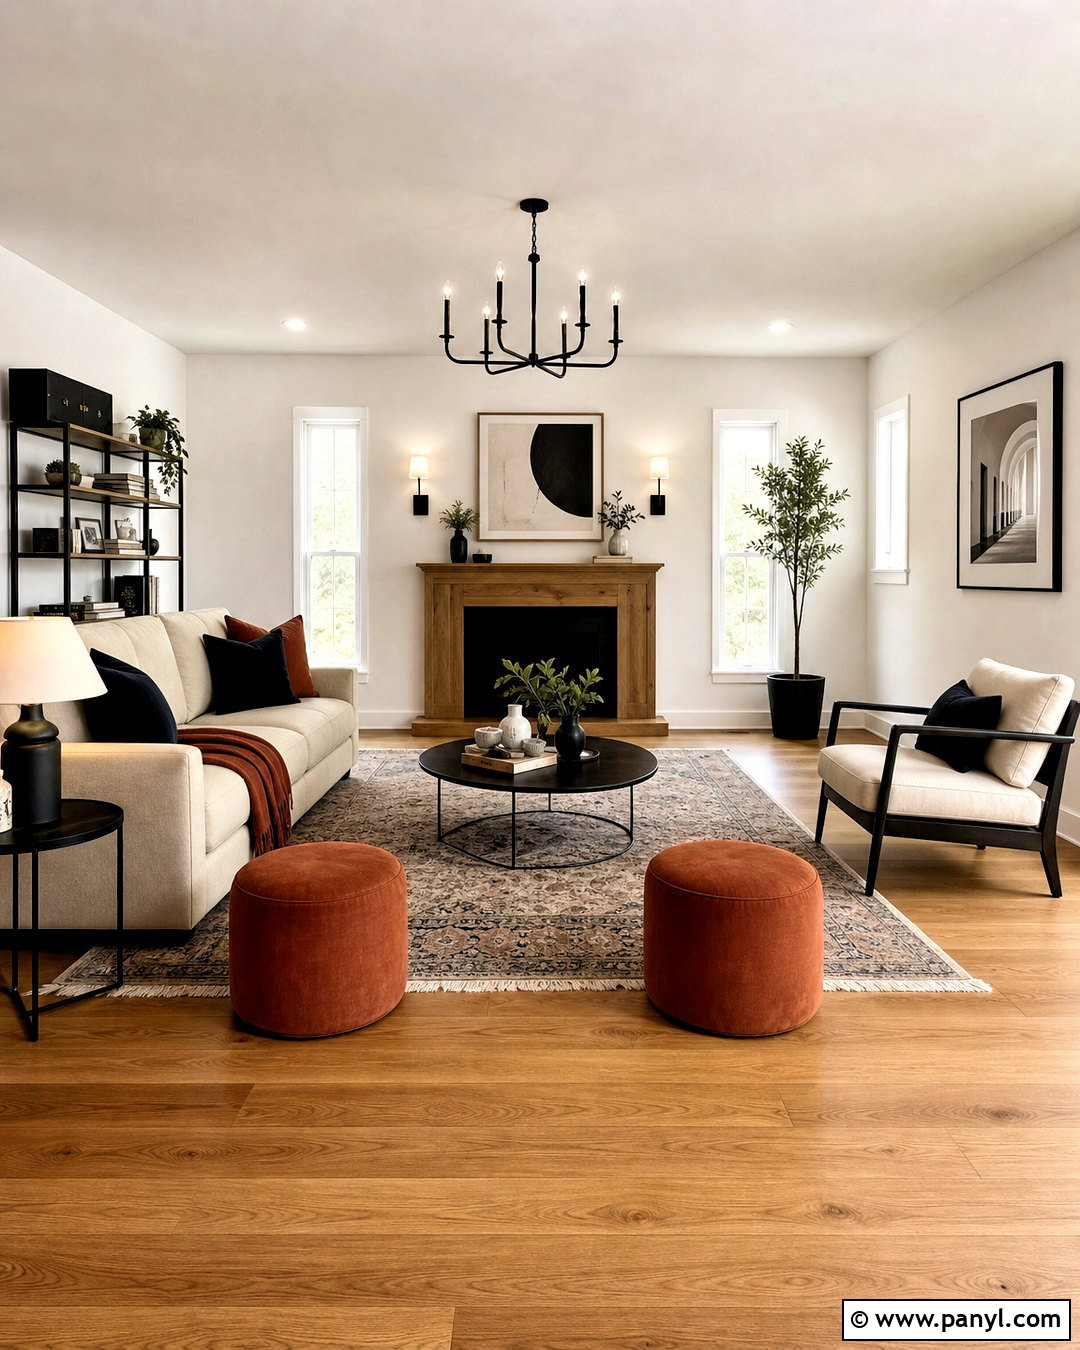
Imagine replacing a busy textured surface with calm, seamless walls that make the whole room feel updated. Begin by testing whether the texture is firmly bonded. Remove loose peaks and unstable material, but avoid unnecessary demolition. Clean the walls, repair cracks, and apply an appropriate primer when the existing finish is porous, glossy, or stained. For a medium texture, roll on a controlled layer of ready-mixed compound and flatten it with a wide knife. Work from the upper corner downward in small sections. Deep patterns may need two or three thin coats applied in alternating directions. Allow every layer to dry completely. Sand only ridges and tool lines, clean away dust, then use drywall primer before finishing the room with flat or matte paint.
4. Skim Coating Orange Peel Walls
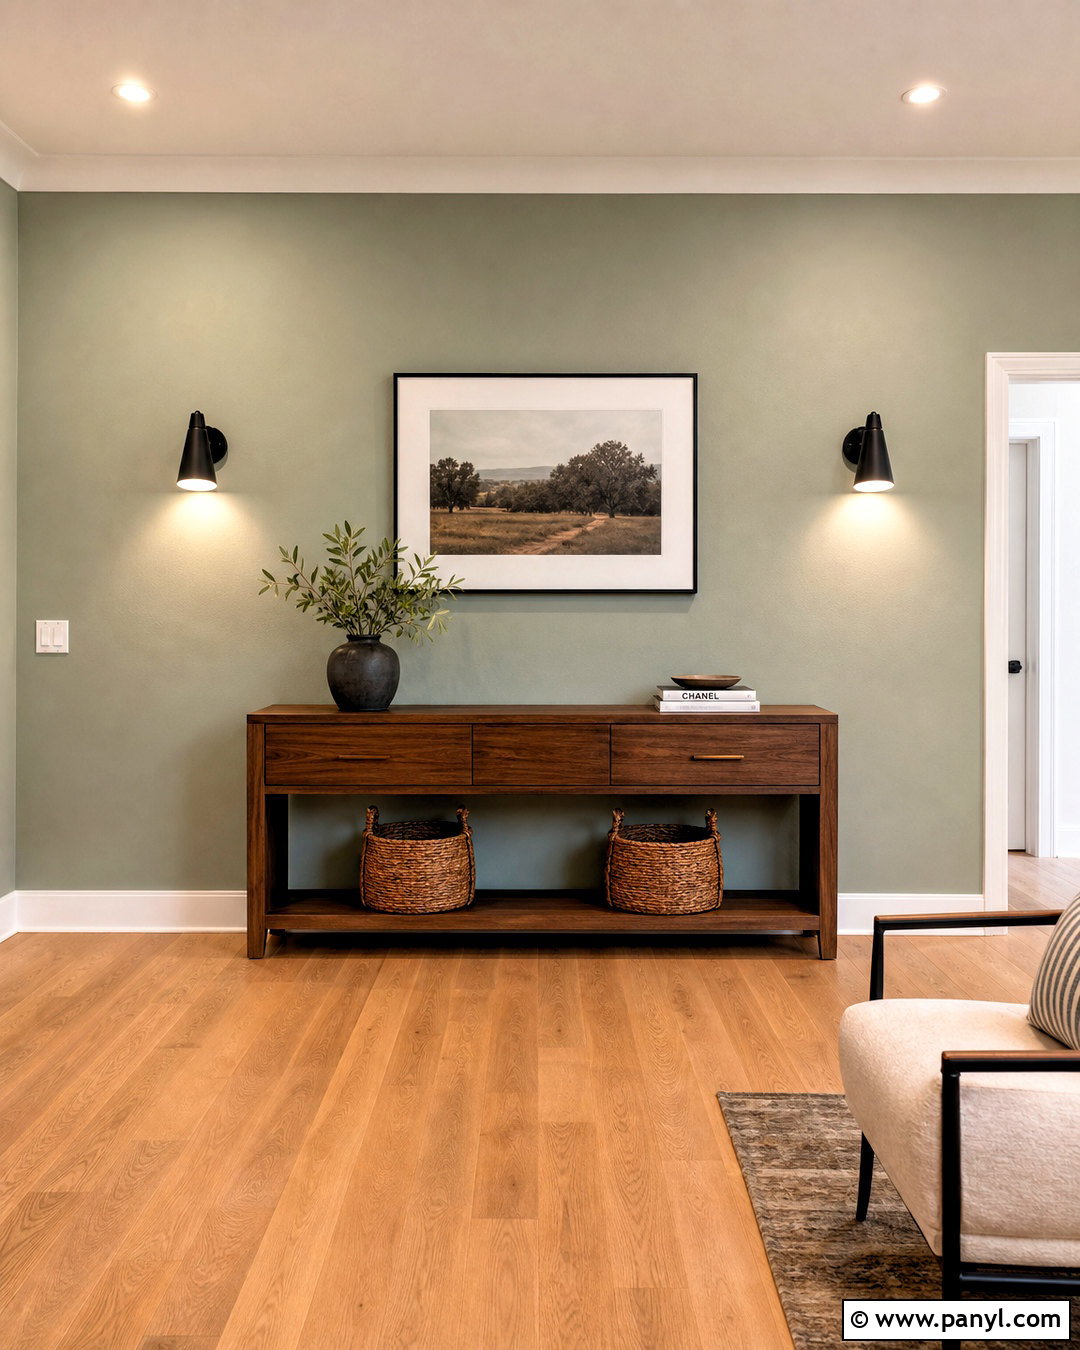
Orange peel walls have shallow bumps, making them more manageable than many heavier textures. Protect the full room, clean the surface, and repair damaged areas before beginning. Lightly scrape prominent peaks so they do not drag through the wet compound. Apply primer if the wall is glossy, stained, dusty, or unevenly porous. Roll a thin coat of compound across a small area, using enough material to fill the dimples without creating a thick layer. Draw a broad knife over the wall at a shallow angle, wiping the blade after every pass. When dry, inspect the surface with side lighting. Add a second coat perpendicular to the first where the texture remains visible. Finish with gentle sanding, thorough dust removal, drywall primer, and two even paint coats.
5. Skim Coating Knockdown Walls
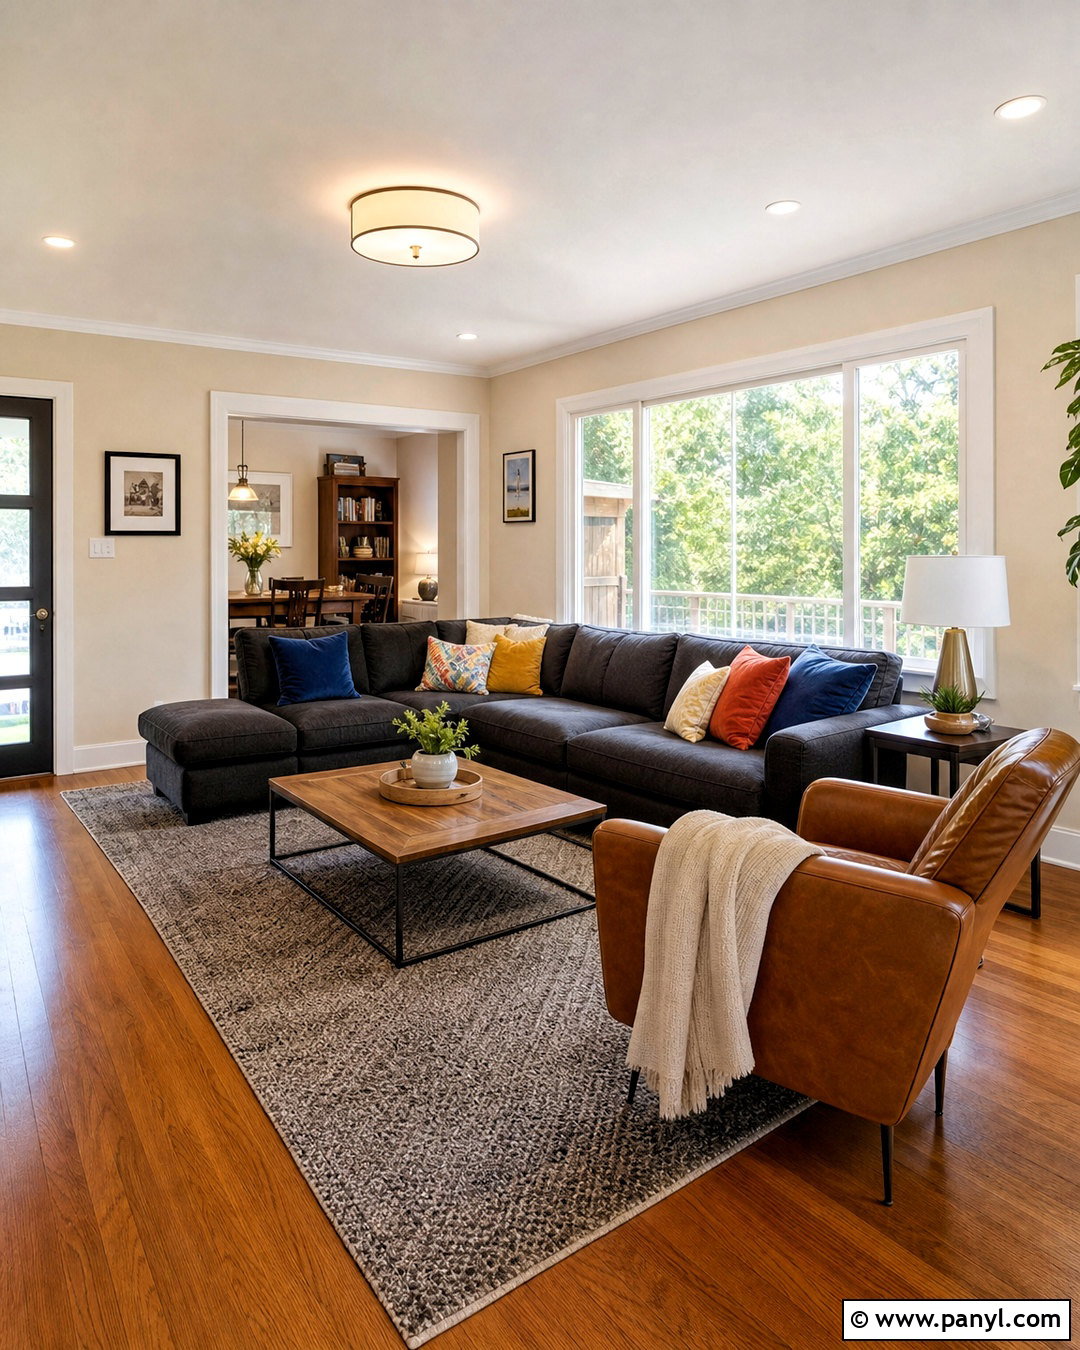
Can a heavy knockdown finish become genuinely smooth without replacing the drywall? It can, provided the texture is secure and the raised areas are reduced first. Use a wide scraper to remove prominent ridges without gouging the paper surface. Clean and prime the complete wall as required, then prefill unusually deep valleys with compound. After those repairs dry, apply a thin skim coat across the entire surface. A roller distributes material quickly, while a wide smoothing blade bridges the remaining texture. Expect multiple thin coats rather than one heavy application. Change the direction of the blade between coats to flatten different imperfections. Check every dried layer with bright side lighting, sand only obvious lines, remove dust, and prime the finished wall before applying the final room color.
6. Skim Coating Plaster Walls
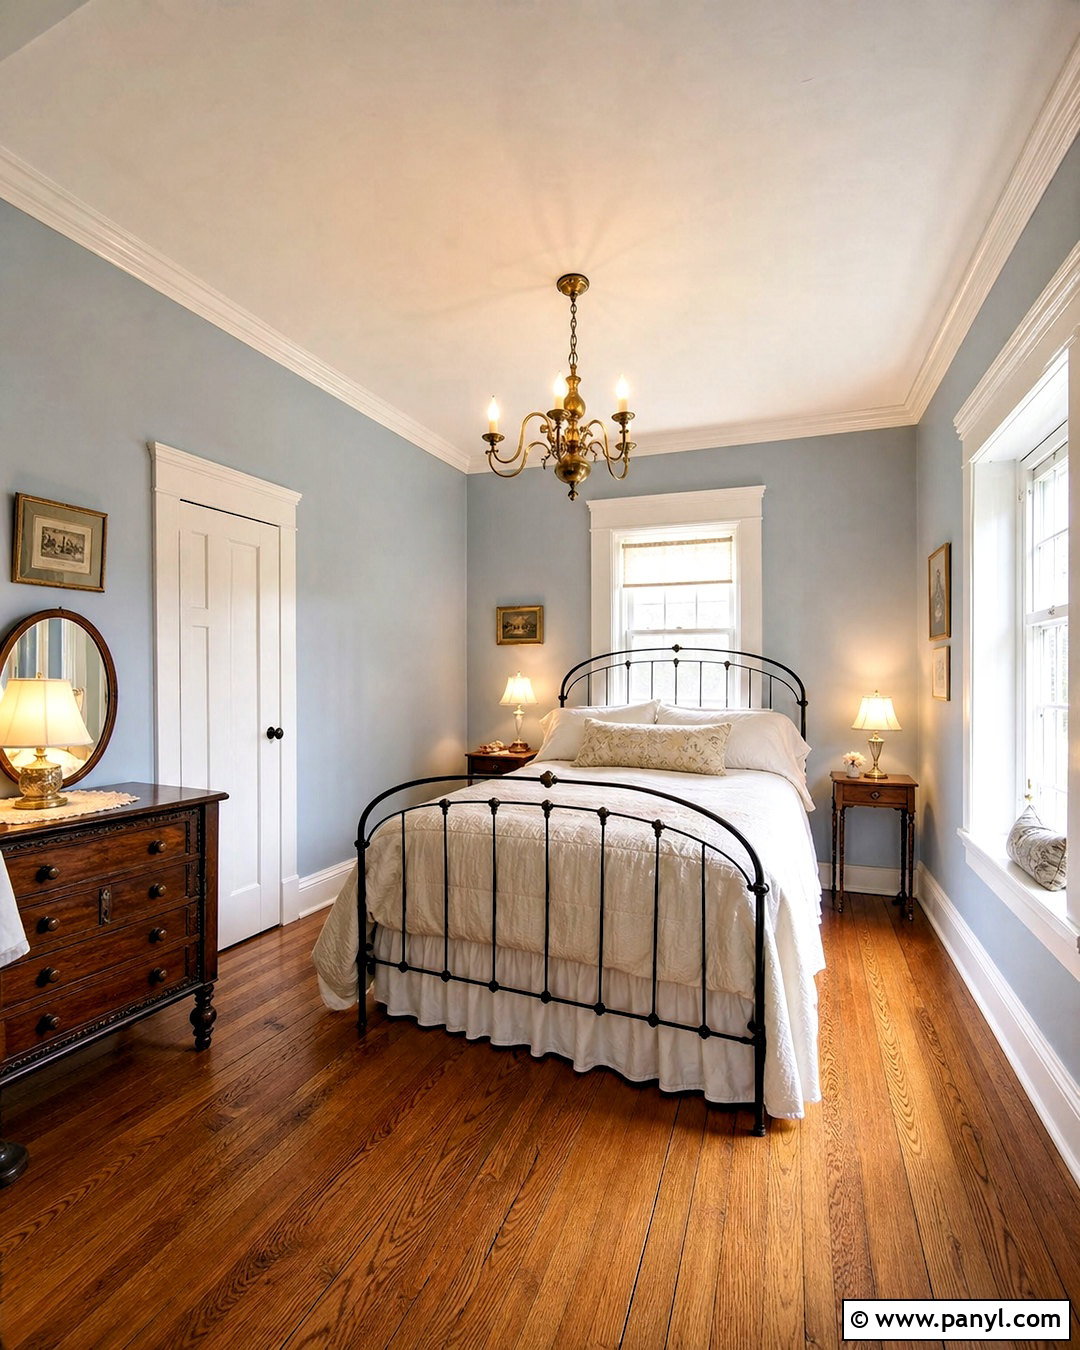
Old plaster walls often have gentle waves, hairline cracks, and years of patched paint that create a charming but uneven room. First, determine whether the plaster is firmly attached to its base. Loose, bulging, or extensively cracked areas may need professional repair rather than a cosmetic skim coat. Open and stabilize minor cracks using a suitable repair method, then fill them and allow them to dry. Seal chalky plaster, stains, and exposed porous areas with a compatible primer. Apply compound in thin sections, following the wall’s general plane instead of trying to correct severe structural unevenness. Two light coats usually produce better control than one thick layer. Carefully smooth around original trim, then sand minimally, clean thoroughly, prime, and finish with a forgiving matte or eggshell paint.
7. Skim Coating Damaged Drywall
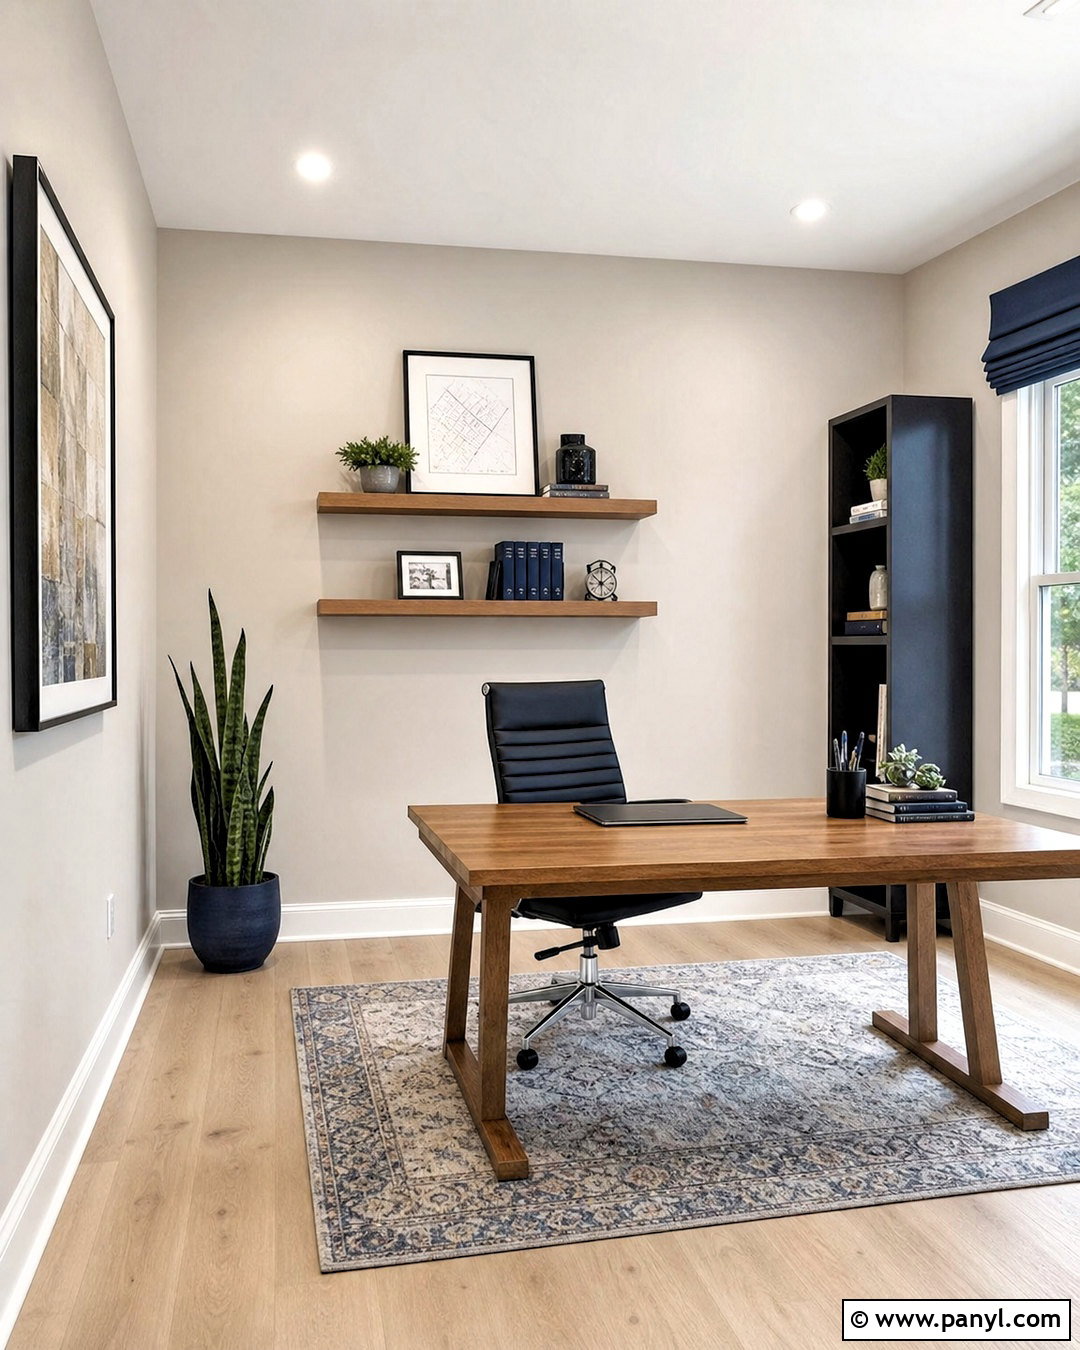
Torn drywall paper, dents, fastener holes, and rough patches need individual attention before the whole wall is coated. Trim away loose paper without enlarging the damage, and avoid applying wet compound directly over fuzzy or exposed paper. Seal those areas with an appropriate problem-surface sealer, then repair deeper dents and holes. Reinforce cracks or open seams where necessary and let every repair dry. Once the wall feels stable, apply a light skim coat that extends across both repaired and undamaged areas. This unifies the texture and porosity instead of leaving visible patch outlines. Use a broad knife to flatten the rolled compound and feather it near corners. After drying, correct remaining depressions with another thin application. Lightly sand, remove all residue, and prime the complete surface before painting.

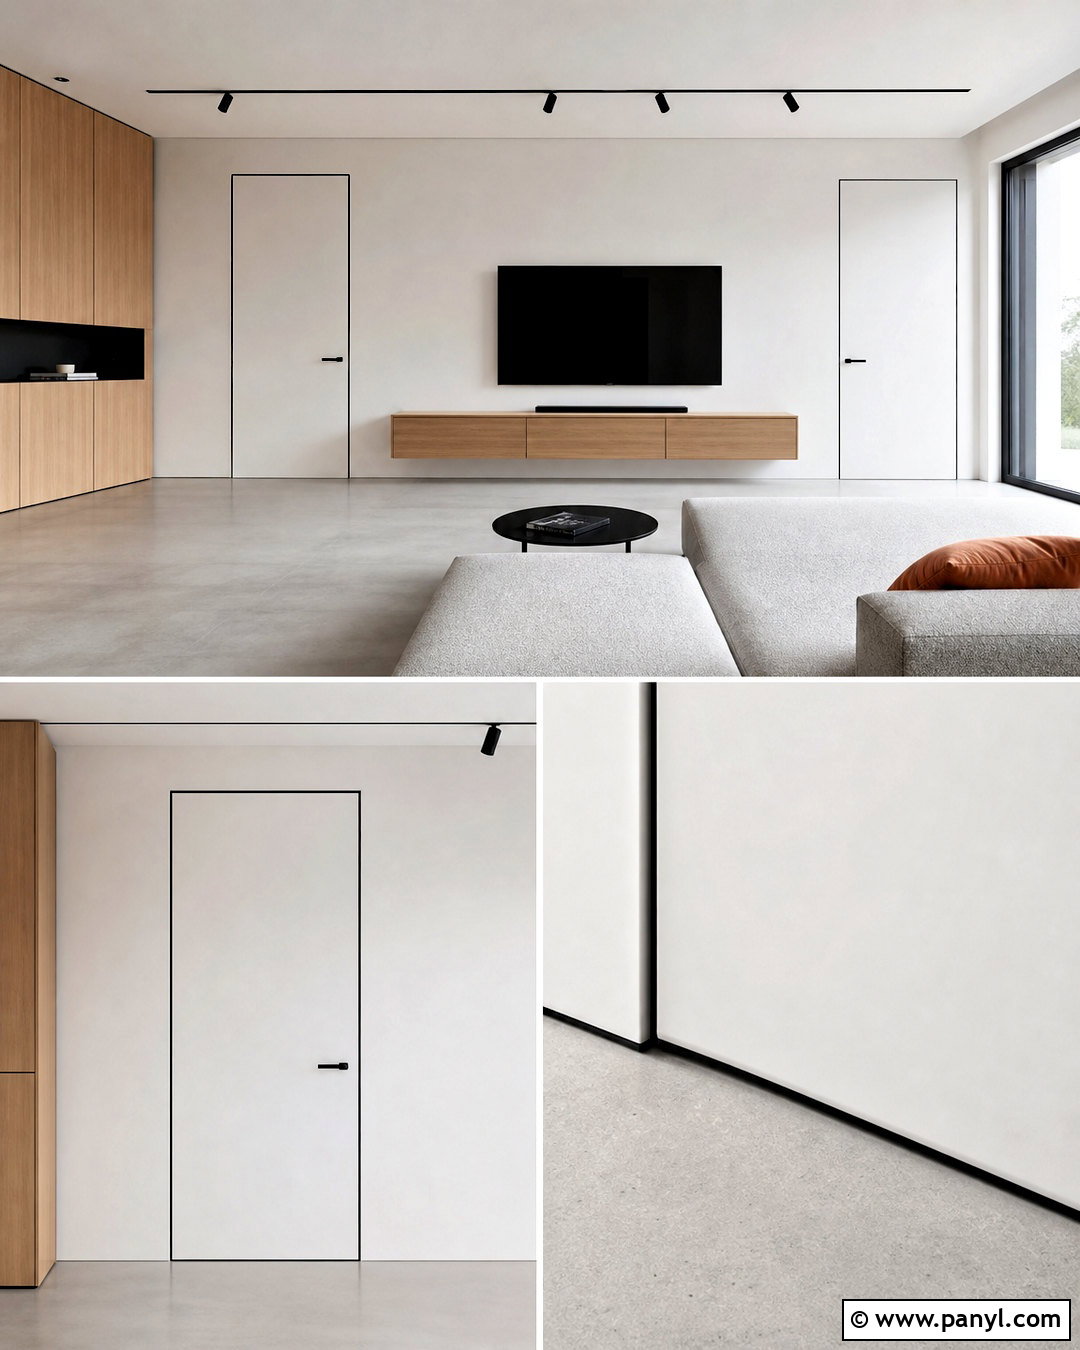
8. Skim Coating After Wallpaper Removal
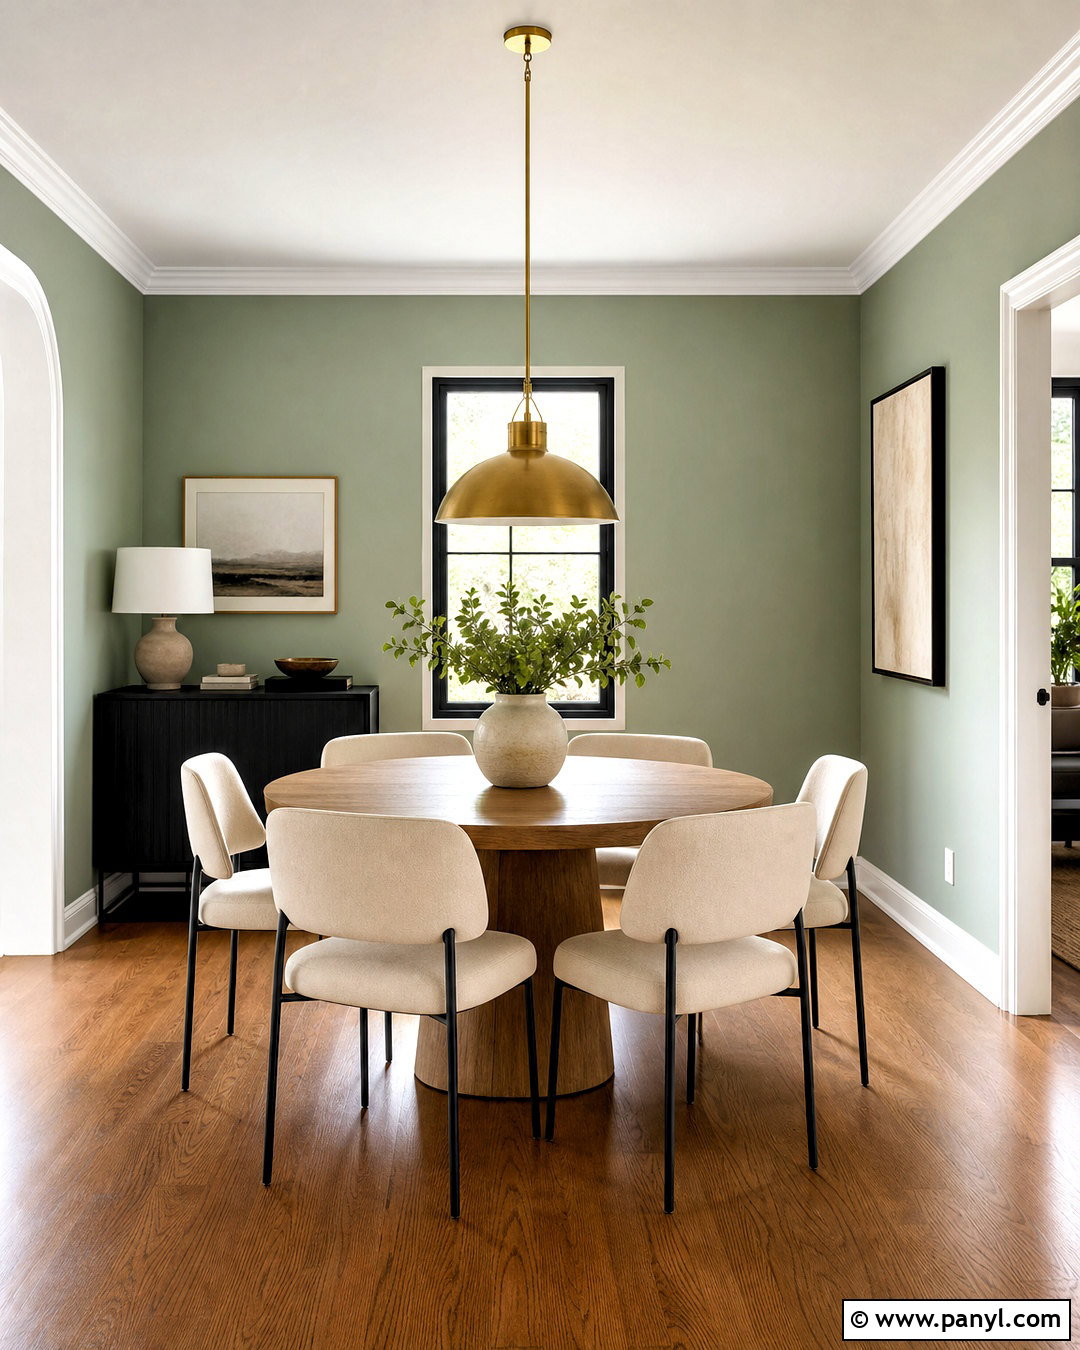
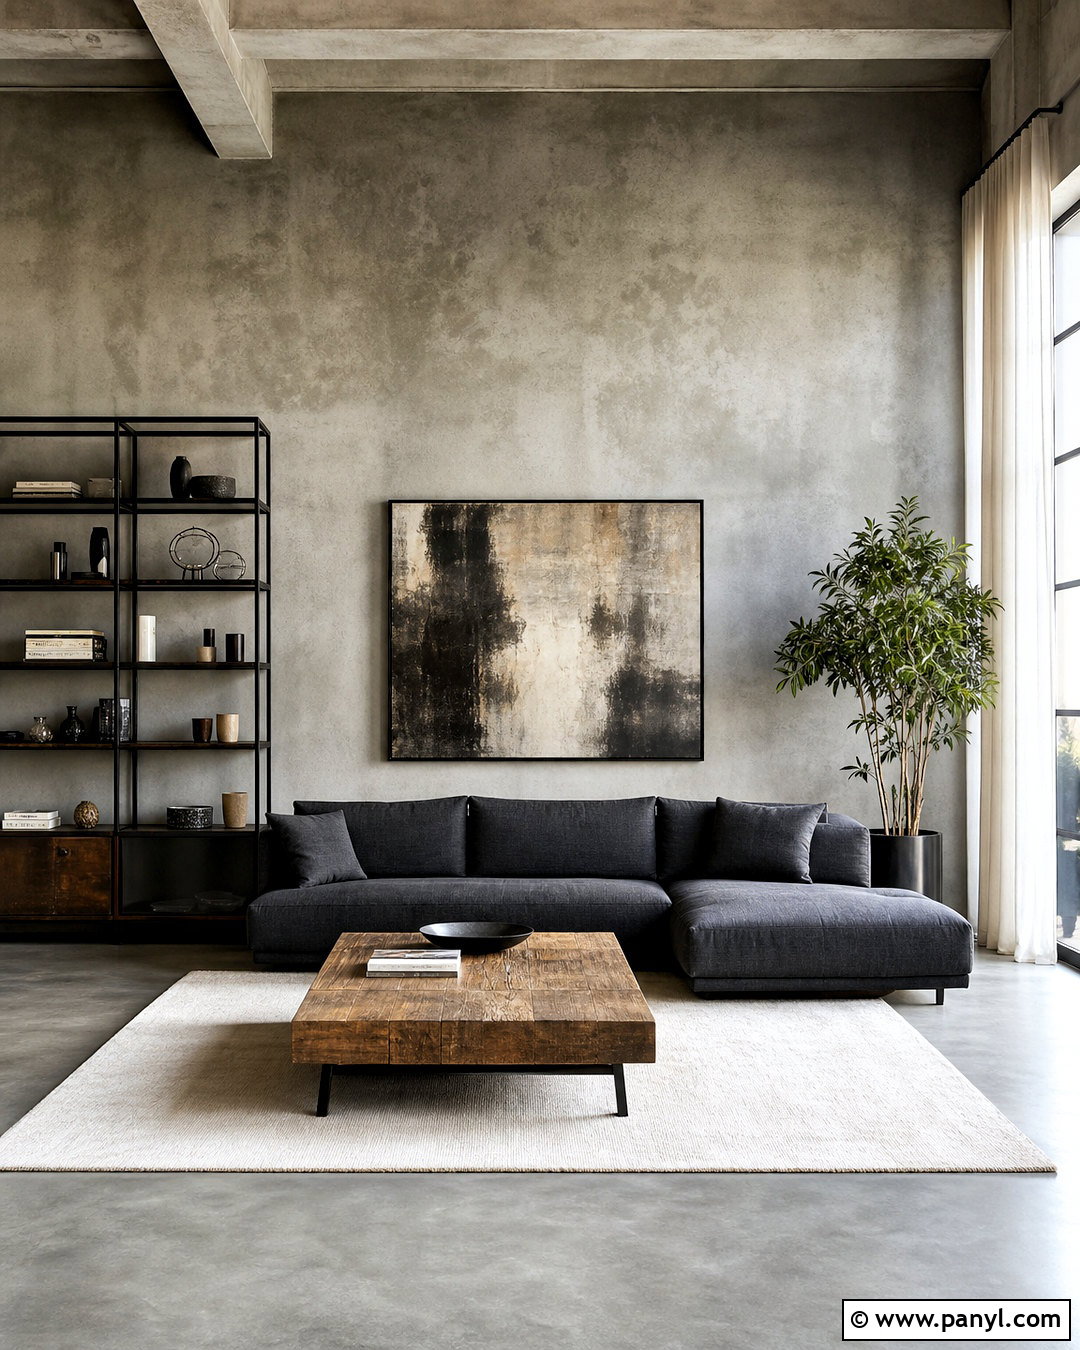
Wallpaper removal can leave torn paper, adhesive residue, gouges, and uneven color across an entire wall. Begin by removing as much adhesive as the wall condition safely allows. Let the surface dry, then scrape loose material and inspect for damaged drywall facing. Seal exposed paper and stubborn residue with a compatible primer or sealer so moisture from the compound does not cause bubbling. Repair holes and open seams before skim coating. Spread a thin layer over the whole wall instead of coating only obvious damage, which helps create consistent texture for paint. Smooth from ceiling to baseboard while keeping edges clean. After the first coat dries, fill remaining low spots with a second pass. Sand lightly, vacuum and wipe away dust, then apply drywall primer and the chosen room color.
9. Skim Coating With a Roller
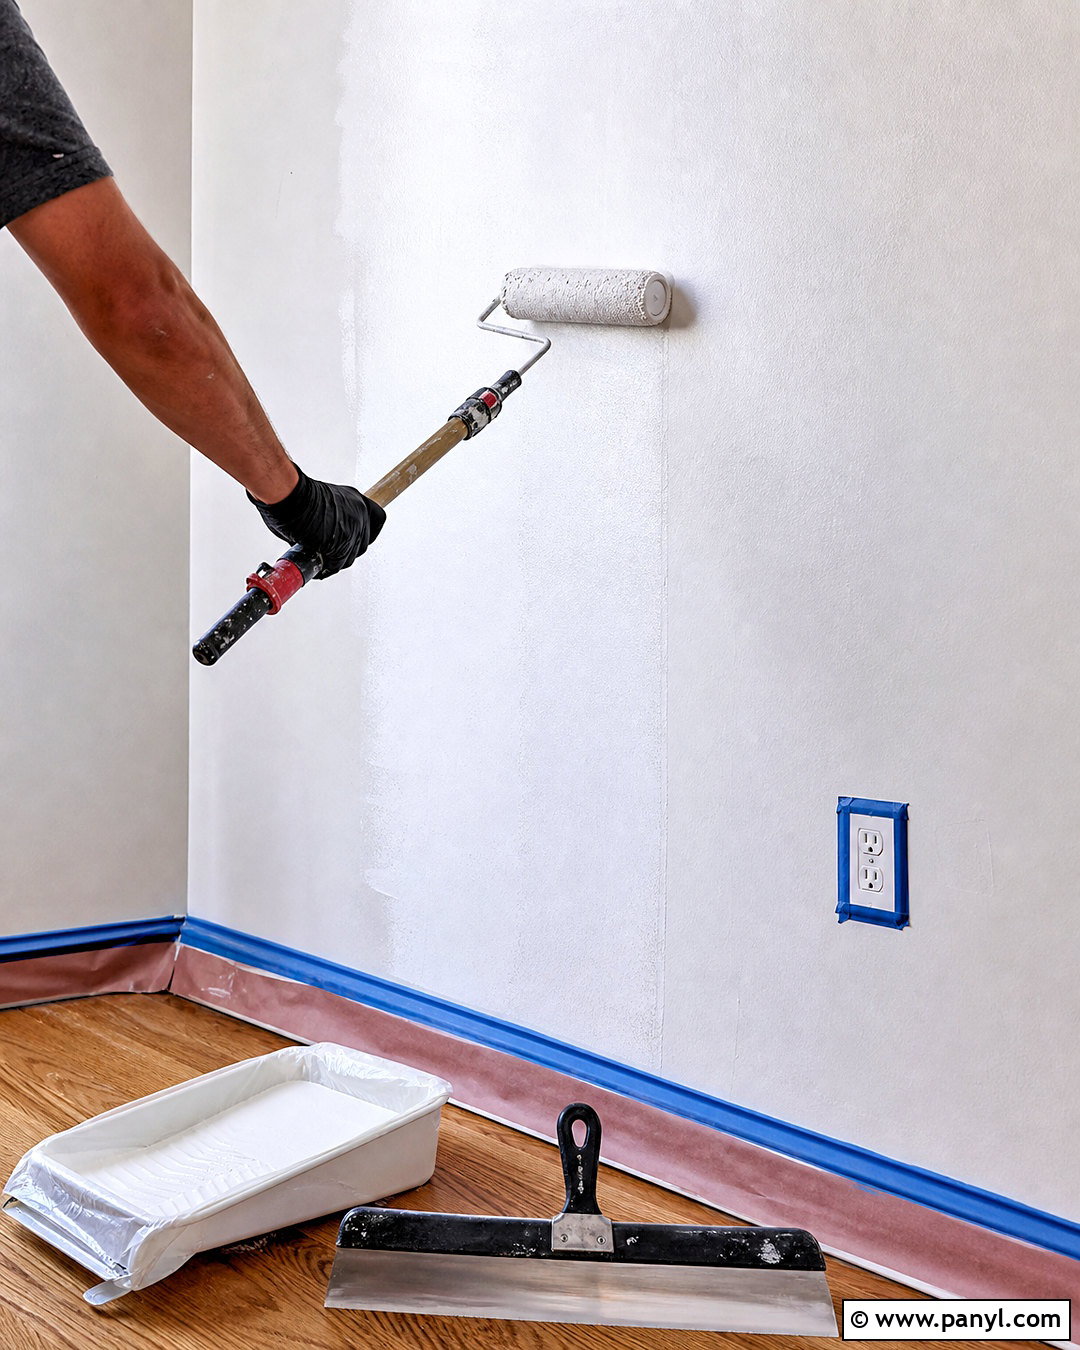
The roller method gives beginners a practical way to cover a full wall without repeatedly loading a drywall knife. Mix ready-mixed compound according to its manufacturer’s directions until it rolls smoothly but still holds on the wall. Use a clean roller and apply material to a section about four feet wide. Immediately flatten the wet compound with a 12-inch or wider drywall knife before the edges begin drying. Low-angle passes leave material behind, while steeper passes remove more. Clean the blade frequently so dried pieces do not carve lines into the surface. Continue across the wall with overlapping sections and maintain a wet edge. Let the coat dry thoroughly, lightly remove ridges, repeat where necessary, and finish with complete dust removal and drywall primer. ()

10. Skim Coating With a Drywall Knife
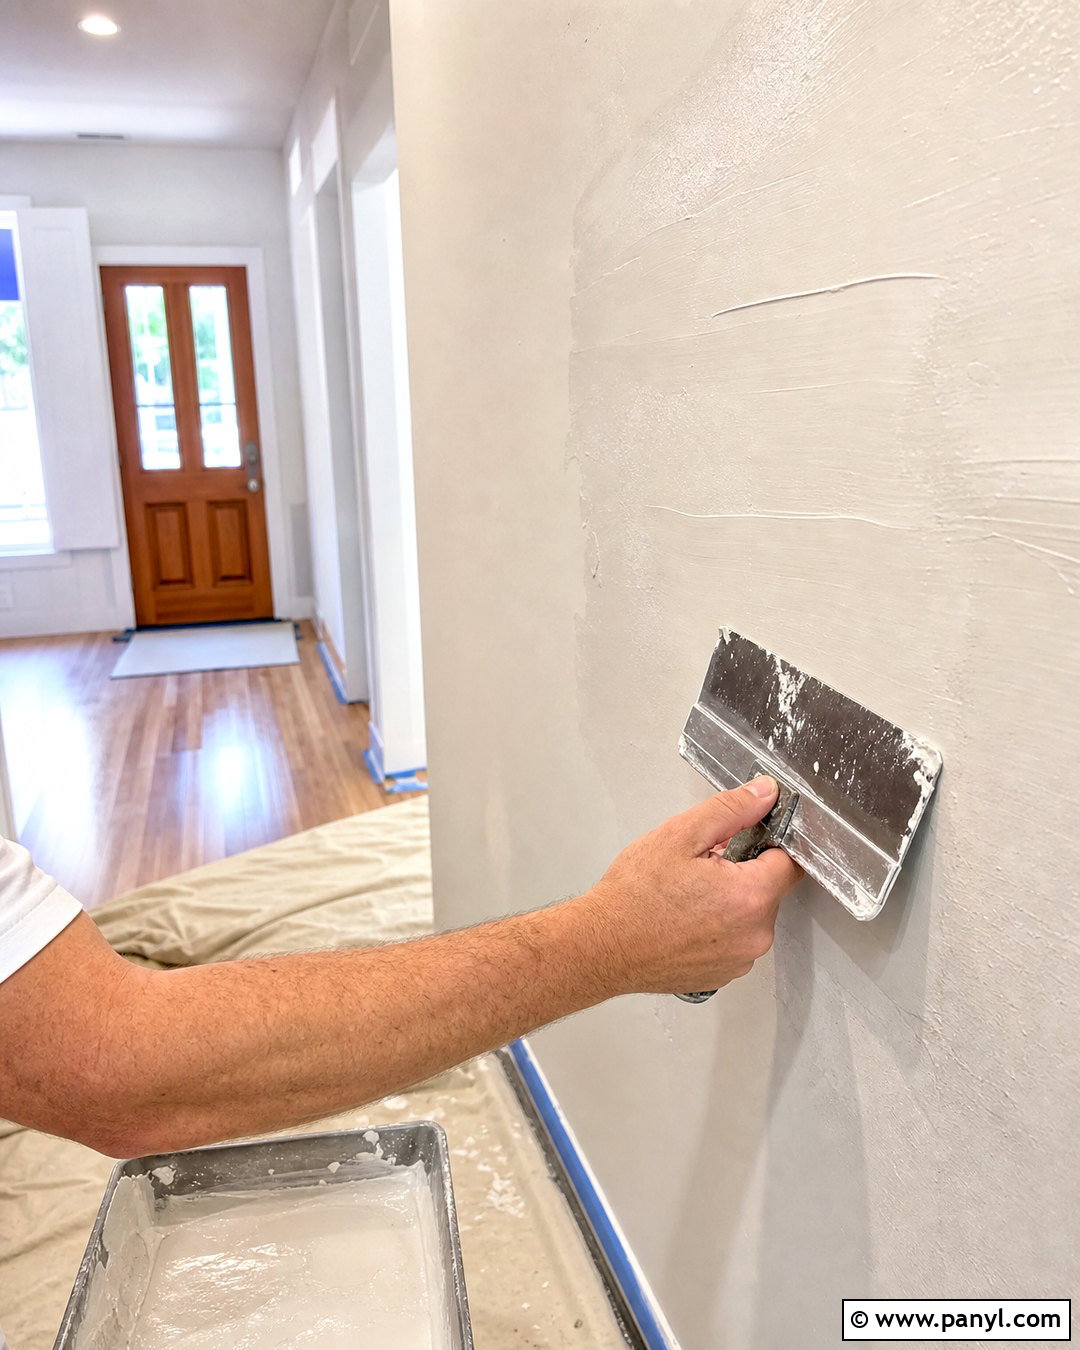
For a small room or controlled repair, applying compound directly with a drywall knife can keep the project simple. Load a mud pan with a manageable amount of ready-mixed compound. Spread a thin layer using a medium knife, then flatten it with a clean 10- or 12-inch blade. Work in narrow vertical or horizontal bands, overlapping each pass so the complete wall develops one continuous plane. Hold the knife more firmly over high areas and ease the pressure across low spots. Avoid repeatedly working compound that has begun to dry, because it will drag and create crumbs. After the wall dries, scrape off narrow ridges rather than heavily sanding everything. Apply a second, tighter coat where needed, then sand gently, remove dust, prime, and paint the finished room.
11. Skim Coating in Small Sections
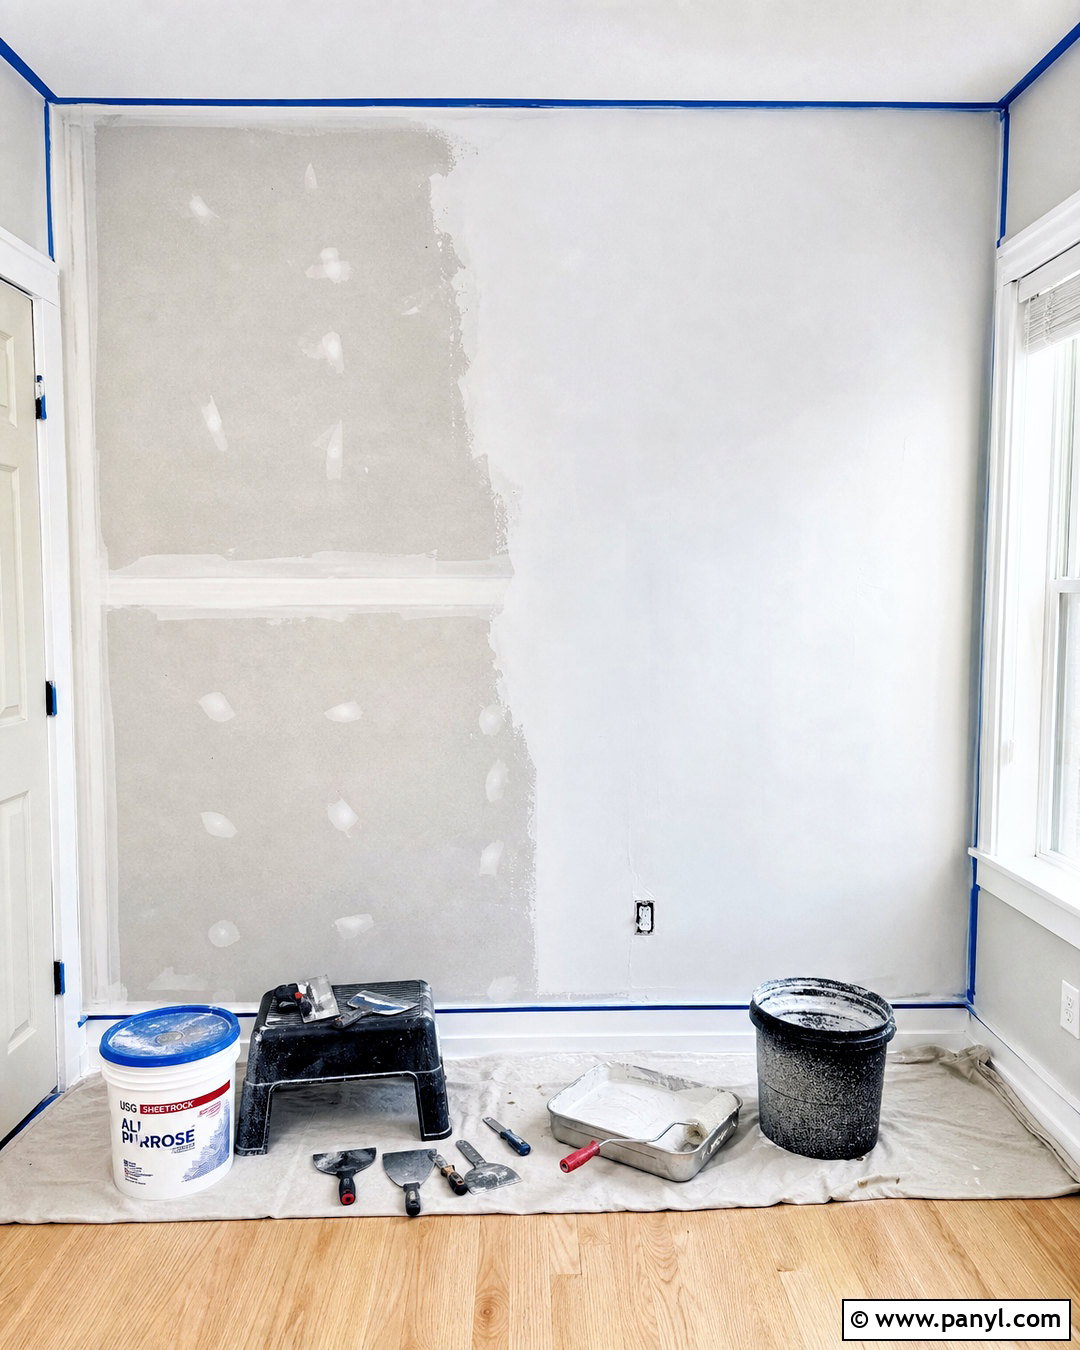
Working in small sections prevents wet joint compound from drying before it can be flattened. Divide the wall visually into areas roughly three to four feet wide, beginning at an upper corner. Apply compound to the first area, smooth it completely, and feather the open edge before moving forward. Keep the next section slightly overlapping that damp edge to avoid a hard seam. Complete the top half of the wall first if that feels easier, then continue toward the baseboard. Protect adjacent finished areas from splatter and keep separate tools for application and final smoothing. Strong side lighting will reveal lines while they are still correctable. Once the entire surface dries, scrape isolated ridges, add compound to low spots, sand lightly, remove dust, and prime the wall uniformly.
12. Skim Coating With Two Thin Coats
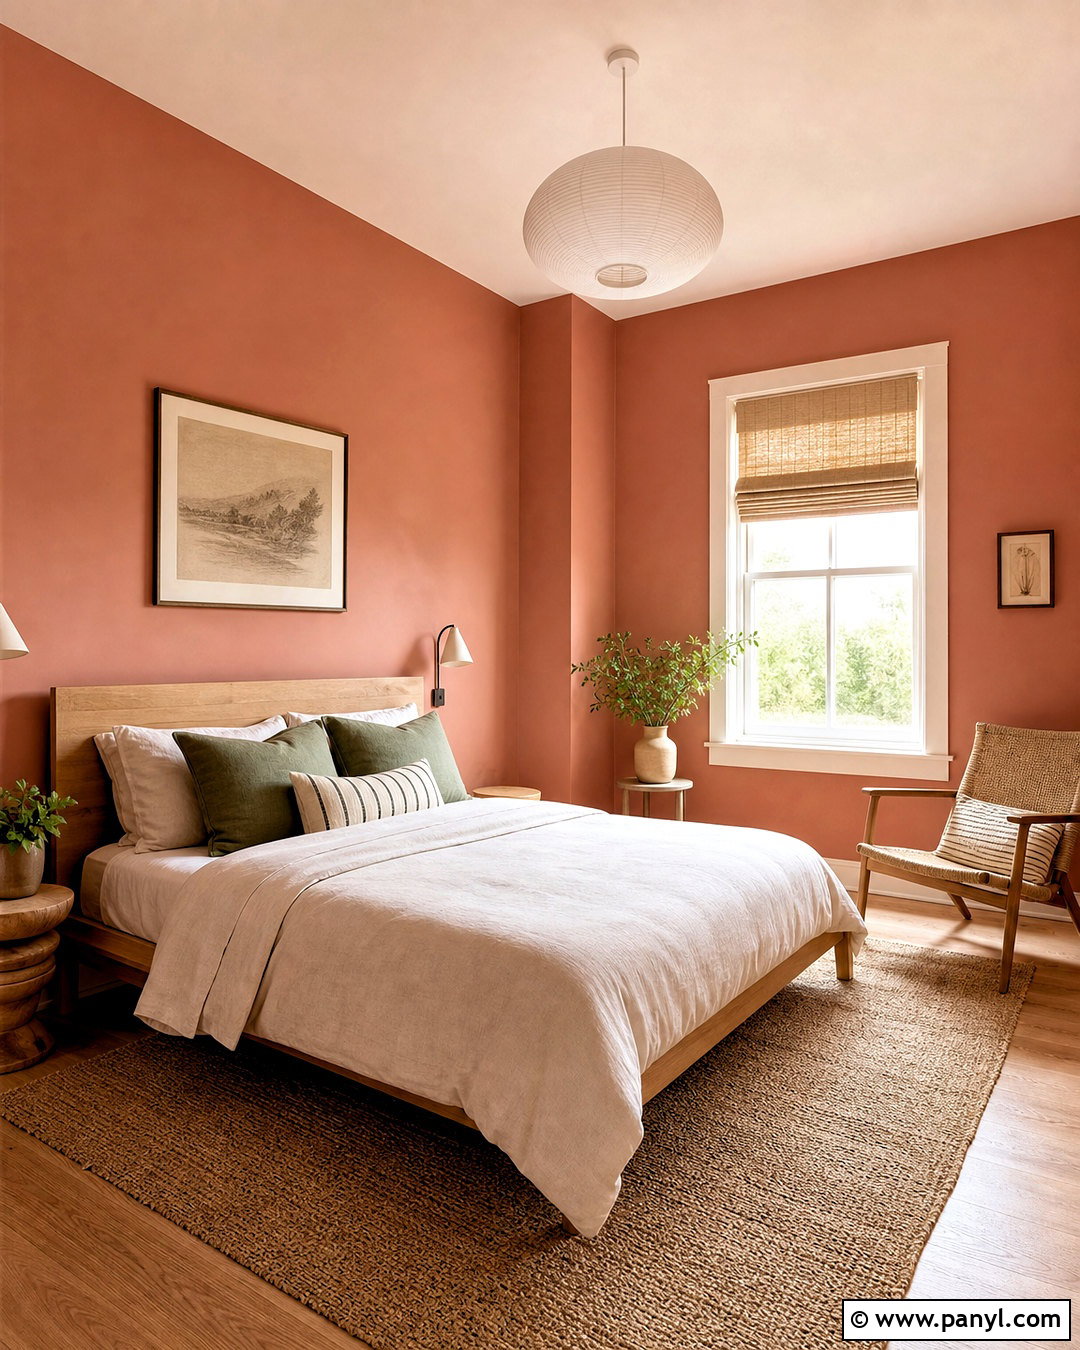
Two thin coats create a more reliable room finish than one heavy layer that shrinks, cracks, or takes too long to dry. Apply the first coat in one consistent direction, focusing on filling texture, patch edges, and shallow depressions. Wipe the compound tightly enough to minimize buildup while still covering the complete wall. Let it dry thoroughly according to product directions and room conditions. Scrape off obvious lines and remove loose dust without over-sanding. Apply the second coat in the opposite direction, using slightly tighter pressure to refine the surface. Alternating the passes helps bridge imperfections missed during the first application. After the final layer dries, inspect it under side lighting, touch up visible flaws, sand carefully, clean the room, and seal the entire wall with drywall primer before painting.
13. Skim Coating Inside Corners
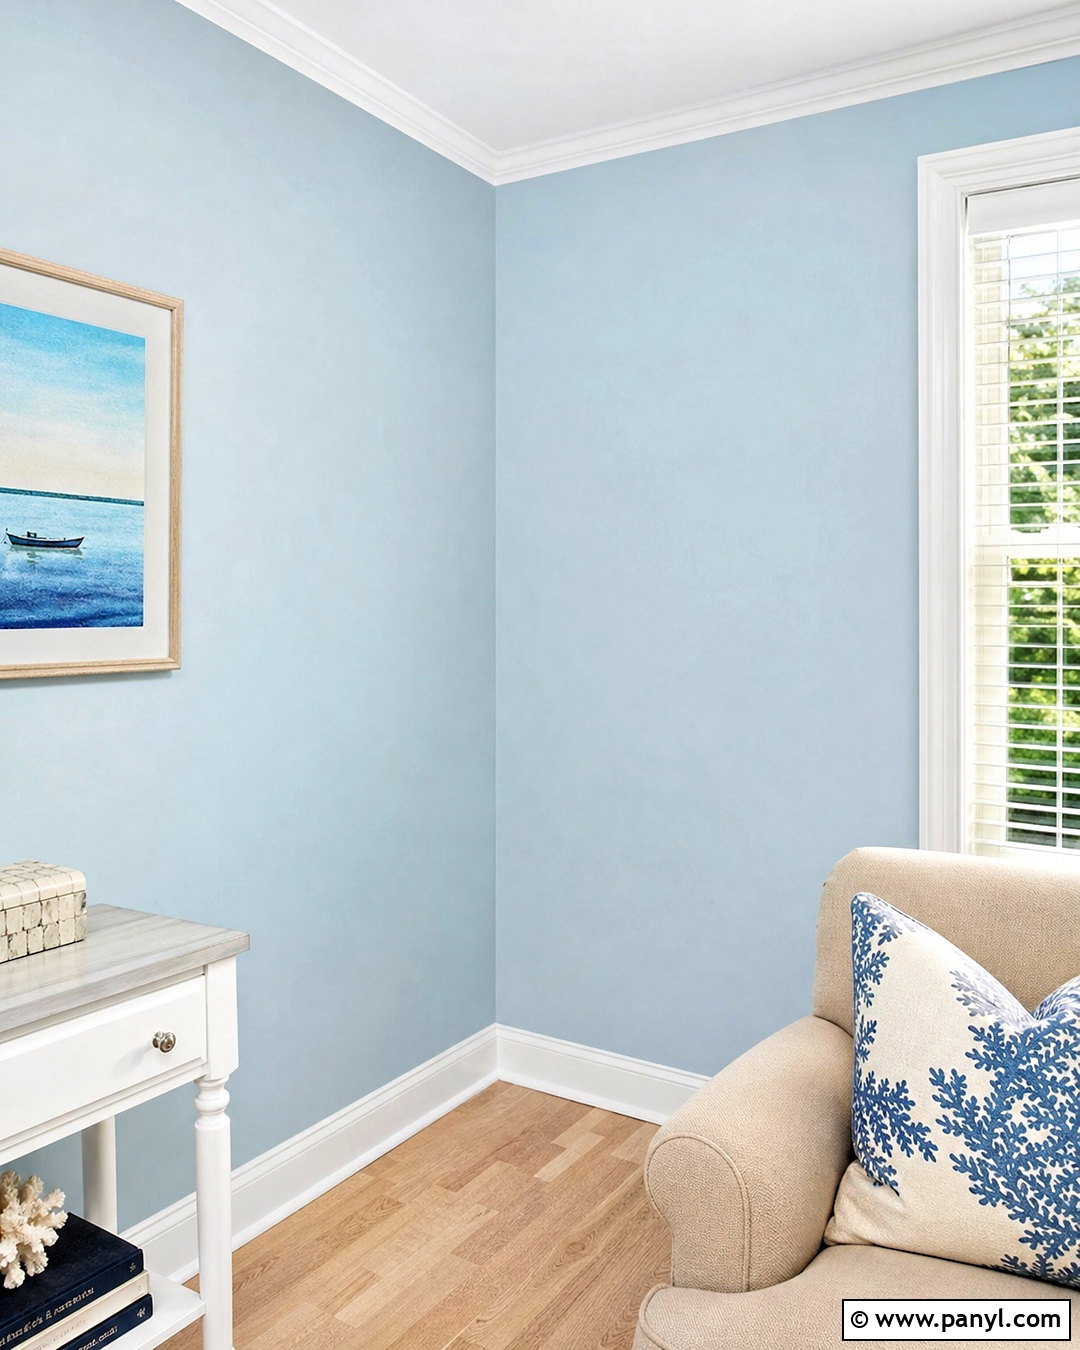
Inside corners can make an otherwise smooth wall look unfinished, so plan them as part of the complete skim coating sequence. Repair cracked tape and loose compound before coating the broad wall surfaces. Work on one side of each corner at a time, allowing it to dry before finishing the neighboring side. This prevents the knife from digging into wet material. Use a smaller taping knife to place compound close to the corner, then blend it into the wider skim coat with a broad blade. Keep the corner line straight instead of leaving a rounded buildup. Around ceilings and baseboards, wipe away excess compound while it remains wet. Once both walls are dry, lightly refine the corner, inspect the surrounding planes, remove dust, prime everything, and apply the final paint evenly.
14. Skim Coating Around Trim
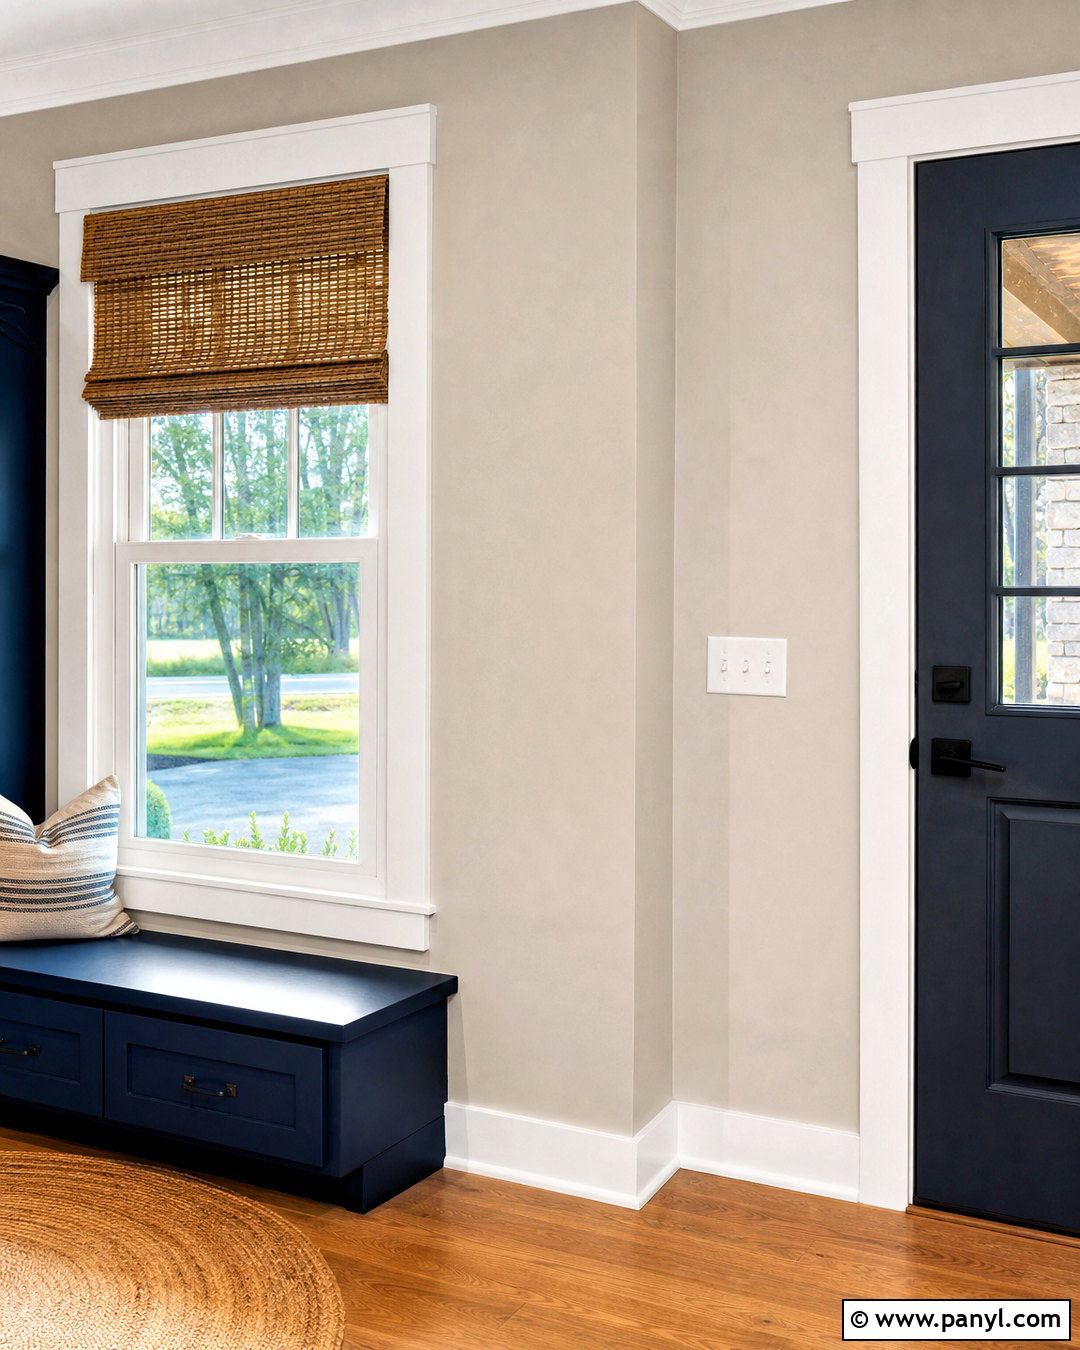
Crisp edges around windows, doors, and baseboards give a skim-coated room a deliberate, professional appearance. Remove trim when practical if the renovation already includes replacement or refinishing. Otherwise, protect it carefully with painter’s tape and masking material. Scrape loose caulk and failing paint before beginning, but complete necessary trim repairs separately from the wall coating. Apply compound close to the edge with a small knife, then use a wider blade to blend that band into the full wall. Avoid building a thick ridge against casing, since it can make the trim look partially buried. Clean accidental compound from woodwork before it hardens. After drying, refine visible transitions, remove dust, prime the wall, repair or replace the caulk line, and complete both the wall paint and trim finish.
15. Skim Coating Patched Walls

A wall covered with old patches often looks uneven after painting because every repair has a different shape, texture, and porosity. Begin by checking whether each patch is firm and reasonably flat. Scrape raised edges, refill sunken repairs, reinforce active cracks, and secure loose tape. When those areas dry, skim coat the complete wall rather than repeatedly widening individual patches. Apply a controlled layer that bridges repaired zones and the original surface, then smooth it with long overlapping strokes. Side lighting is especially helpful because it reveals patch crowns and shallow depressions. Add a second thin coat where the first application does not fully unify the plane. Once dry, sand only what is necessary, clean away every trace of dust, apply drywall primer, and finish the room with consistent paint coverage.
16. Skim Coating for Wallpaper
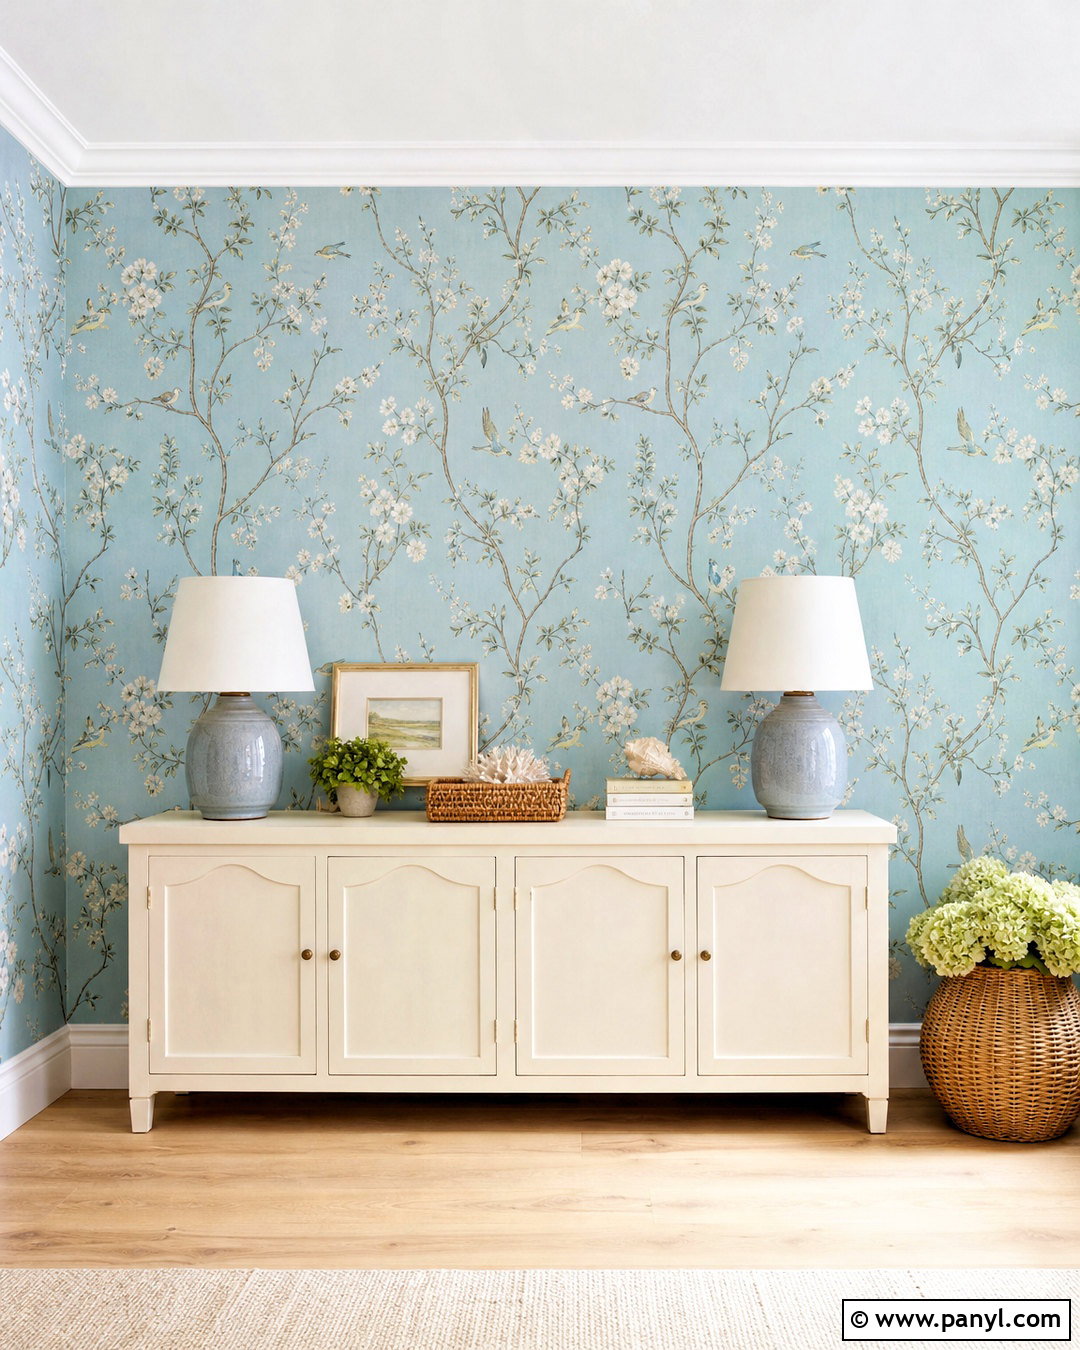
Thin wallpaper can emphasize wall texture, patch lines, and rough drywall seams, making careful skim coating an important preparation step. Remove unstable coatings, repair damage, and confirm that the entire wall is dry and secure. Apply thin compound across the full surface, paying close attention to corners and areas beside trim where wallpaper edges will land. Smooth the coating tightly to reduce sanding scratches and blade marks. When it dries, inspect the wall with both side lighting and a broad straightedge. Add a second coat to visible low areas, then use a fine, controlled sanding process. Remove all dust before applying a primer suitable for the selected wallpaper system. A uniformly sealed surface improves the finished appearance and can make future wallcovering removal less damaging. ()
17. Skim Coating for Gloss Paint

Glossy and higher-sheen paint reflects light across every ridge, seam, and shallow dip, so the underlying wall needs an exceptionally uniform finish. Prepare the entire surface, repair joints and fasteners, and use side lighting that resembles the room’s final natural or artificial light. Apply a tight skim coat from corner to corner instead of correcting only the most visible defects. Smooth each section with long, controlled strokes and keep tool marks shallow. After drying, inspect from several angles and apply another thin coat where shadows remain. Sand carefully with a fine abrasive, taking care not to damage drywall face paper. Remove all dust and use an appropriate drywall primer before painting. Skim coating is particularly useful under severe side lighting and paints with noticeable sheen. ()
18. Skim Coating a Small Bathroom
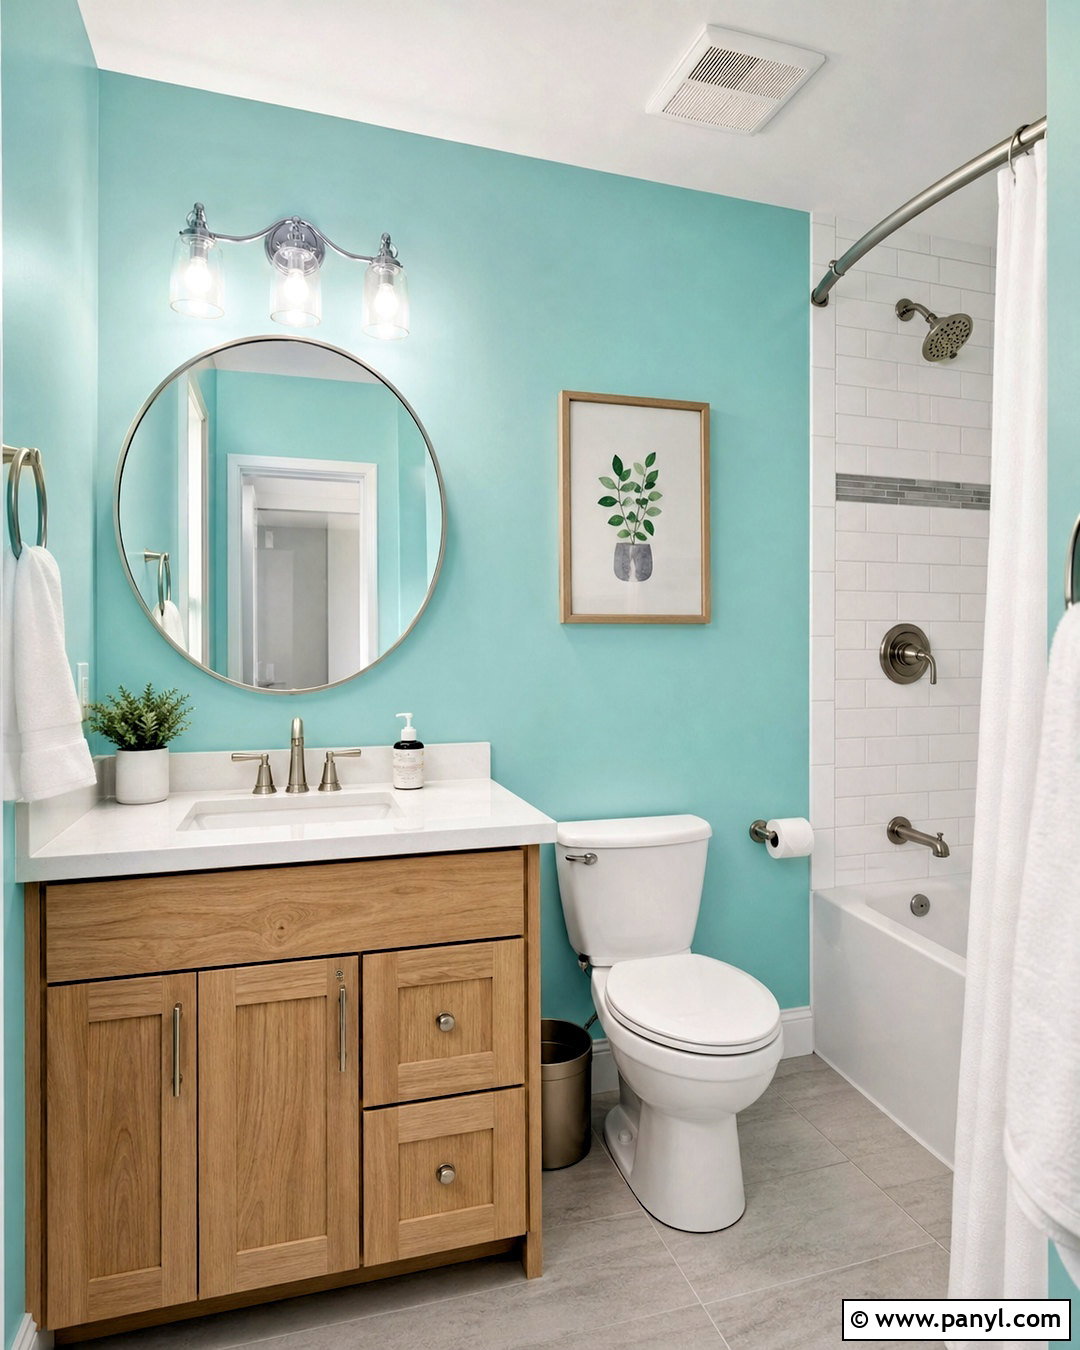
A compact powder room can be an approachable first skim coating project because the wall area is limited, yet moisture management remains essential. Correct plumbing leaks, peeling paint, and ventilation problems before working. Do not coat damp, soft, or mold-damaged material. Remove accessories and protect the vanity, flooring, tile, and fixtures. Clean residue from the walls and use a compatible primer where the existing paint is slick or stained. Apply compound in small sections, maintaining crisp lines around tile edges and trim. Allow extra drying time if humidity is high, and run appropriate ventilation without blowing dust through the room. Once smooth and completely dry, remove sanding residue, apply drywall primer, and finish the walls with bathroom-appropriate paint in a practical washable sheen.
19. Skim Coating a Living Room
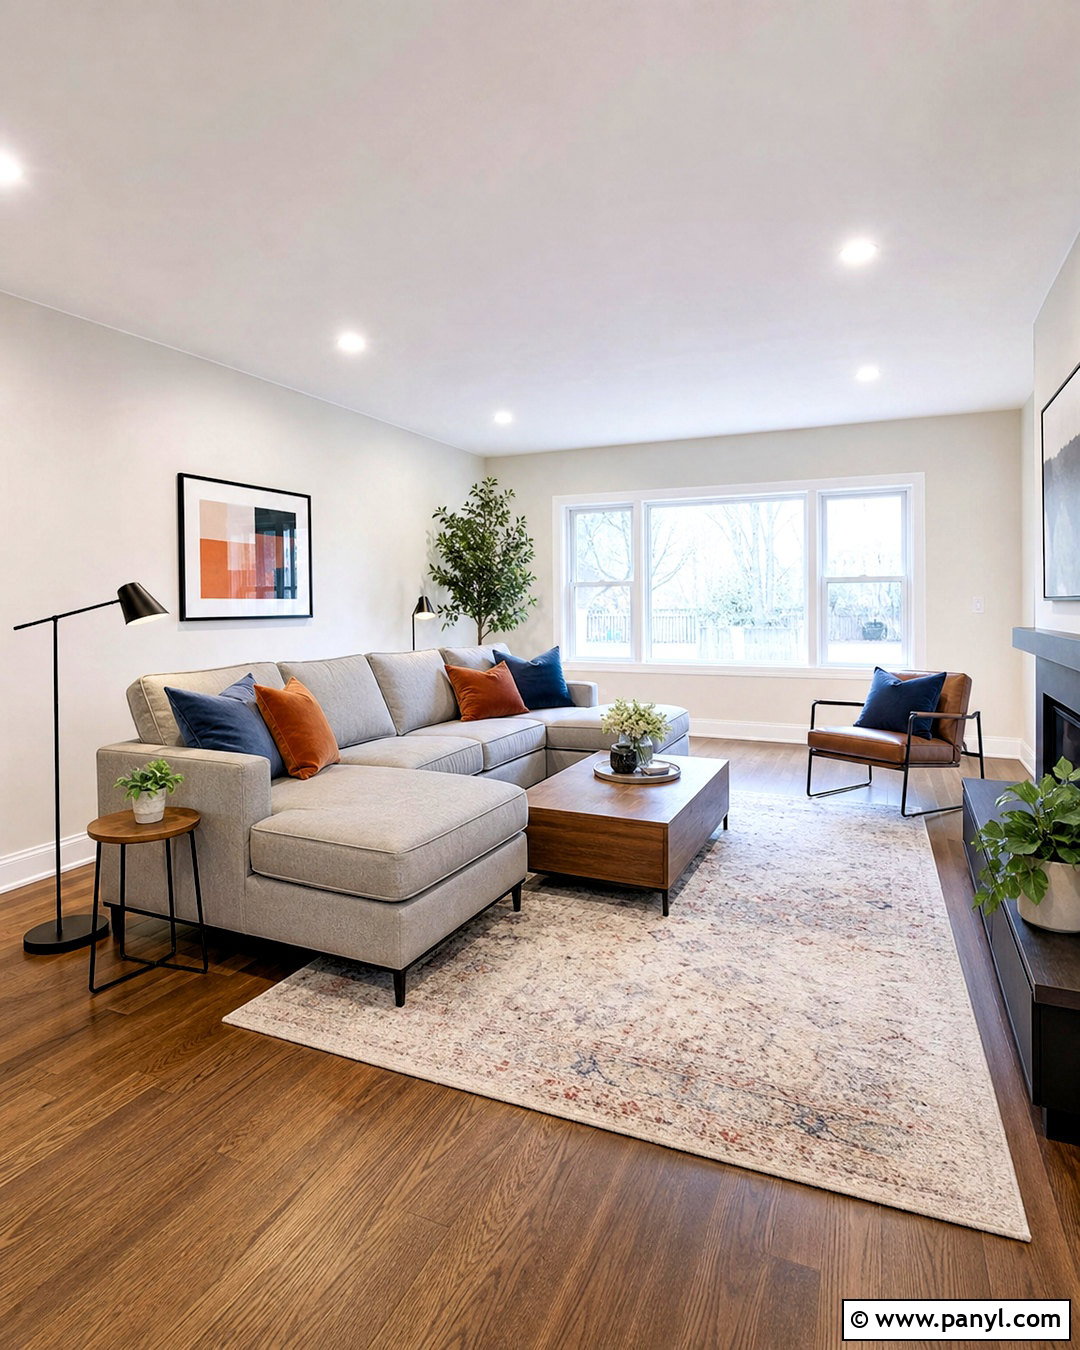
Long living room walls receive strong daylight and often sit behind simple furniture, making imperfections easy to notice. Empty the room as much as possible, cover the floor completely, and use work lights placed close to the wall. Repair cracks, dents, seams, and damaged corners before applying compound. Divide each wall into manageable sections and maintain the same application direction across the room. Two thin coats are usually easier to control than one thick coat, particularly on large surfaces. Blend every section into corners, window returns, and door trim so the room feels cohesive. After drying, inspect the walls during both daylight and evening lighting. Complete small touch-ups, sand gently, remove dust from all surfaces, apply uniform drywall primer, and finish with a well-leveled interior paint.
20. Skim Coating for a Level 5 Finish
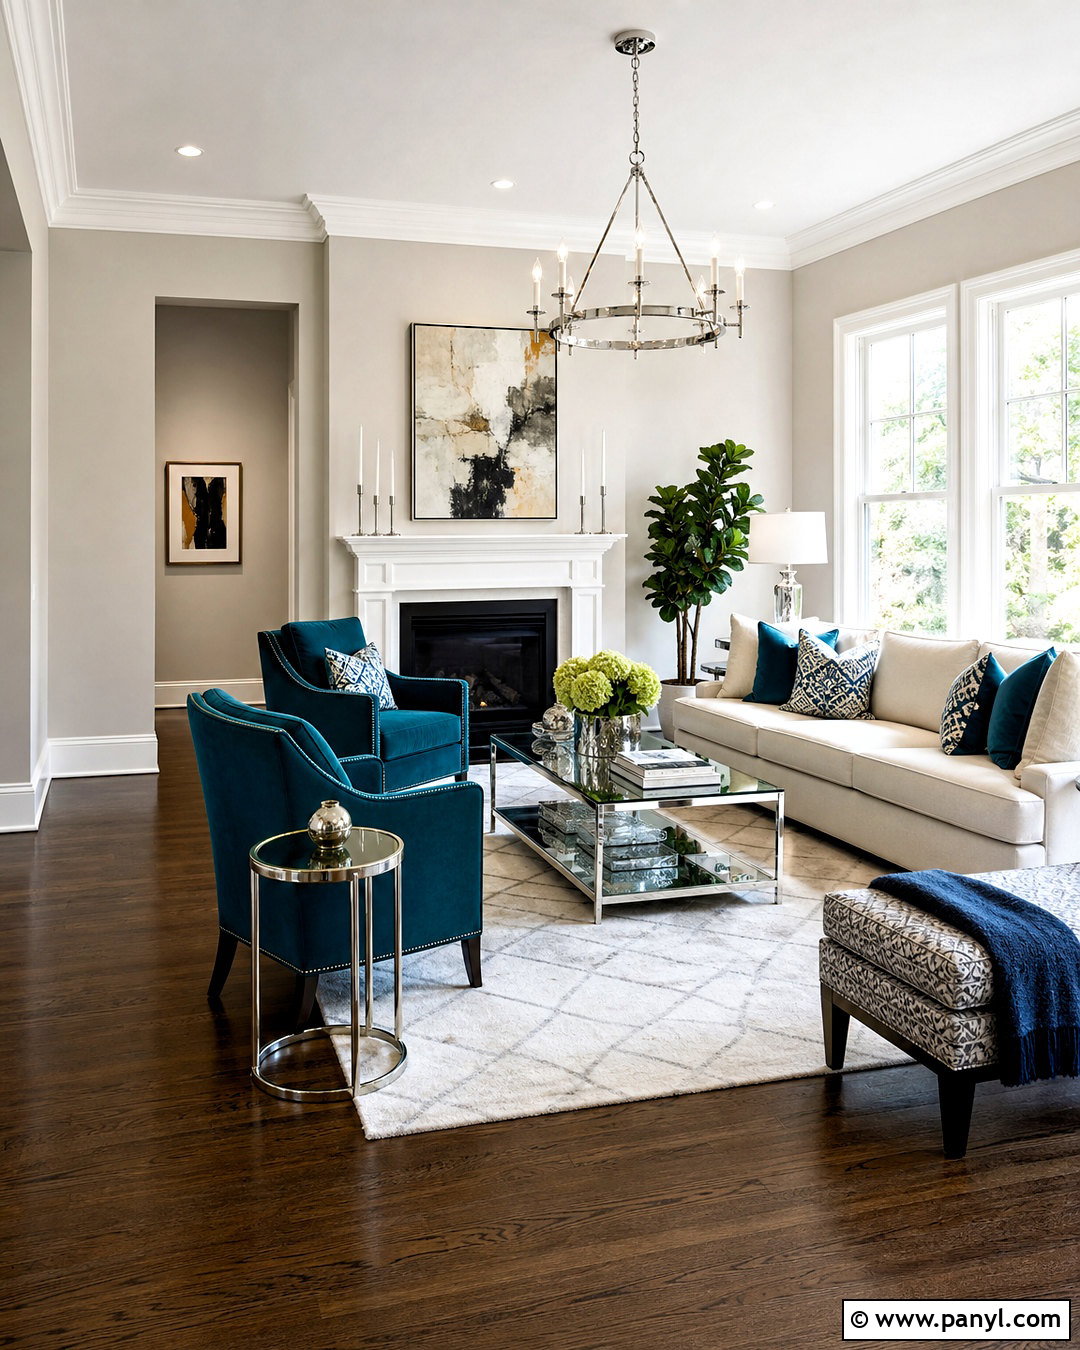
A Level 5 drywall finish is designed for demanding spaces where strong side lighting, smooth surfaces, or paints with sheen can expose subtle differences. Begin with properly finished joints, fasteners, corners, and trim rather than expecting the skim coat to correct poor drywall installation. Cover the complete panel surface with a thin film of conventional ready-mixed joint compound, applied by roller, broad knife, or trowel and immediately wiped tightly. Do not confuse a heavy layer with a better finish; the goal is uniform texture and porosity with minimal buildup. Let the coating dry completely, refine tool marks without damaging the face paper, and remove all dust. Apply a suitable drywall primer or surface equalizer before decorating the finished room. ()
Conclusion:
These 20 skim coating walls diy ideas show that smooth walls come from preparation and restraint rather than a single heavy application. Clean and stabilize every surface, repair damage first, choose compatible primers, and apply joint compound in manageable sections. Keep tools clean and let each coat dry fully before adding more material. Use side lighting to locate flaws, but sand gently so the drywall paper remains intact. Older painted walls also require extra safety planning before sanding or scraping. Whether you are refreshing textured drywall, aging plaster, a patched living room, or walls intended for wallpaper, thin coats and careful finishing create the most consistent result. Finish every project with dust removal, drywall primer, and even paint coverage.

Related Ideas and Inspiration:



Leave a Reply