
Flat walls can make a room feel unfinished, but adding texture creates depth, movement, and personality without requiring a full renovation. These DIY wall texture ideas include painted finishes, drywall compound techniques, wood treatments, wallpaper, and lightweight architectural details. Some create a soft, subtle backdrop, while others turn one wall into the room’s main feature. Before starting, clean the surface, repair damage, apply the recommended primer, and test your technique on scrap drywall. Spray textures such as orange peel and knockdown can disguise minor imperfections, while hand-applied treatments offer more control over the finished pattern. () Use the following complete room looks to choose colors, furnishings, lighting, and practical methods for recreating these 20 DIY wall texture ideas.
1. Limewash Wall Texture
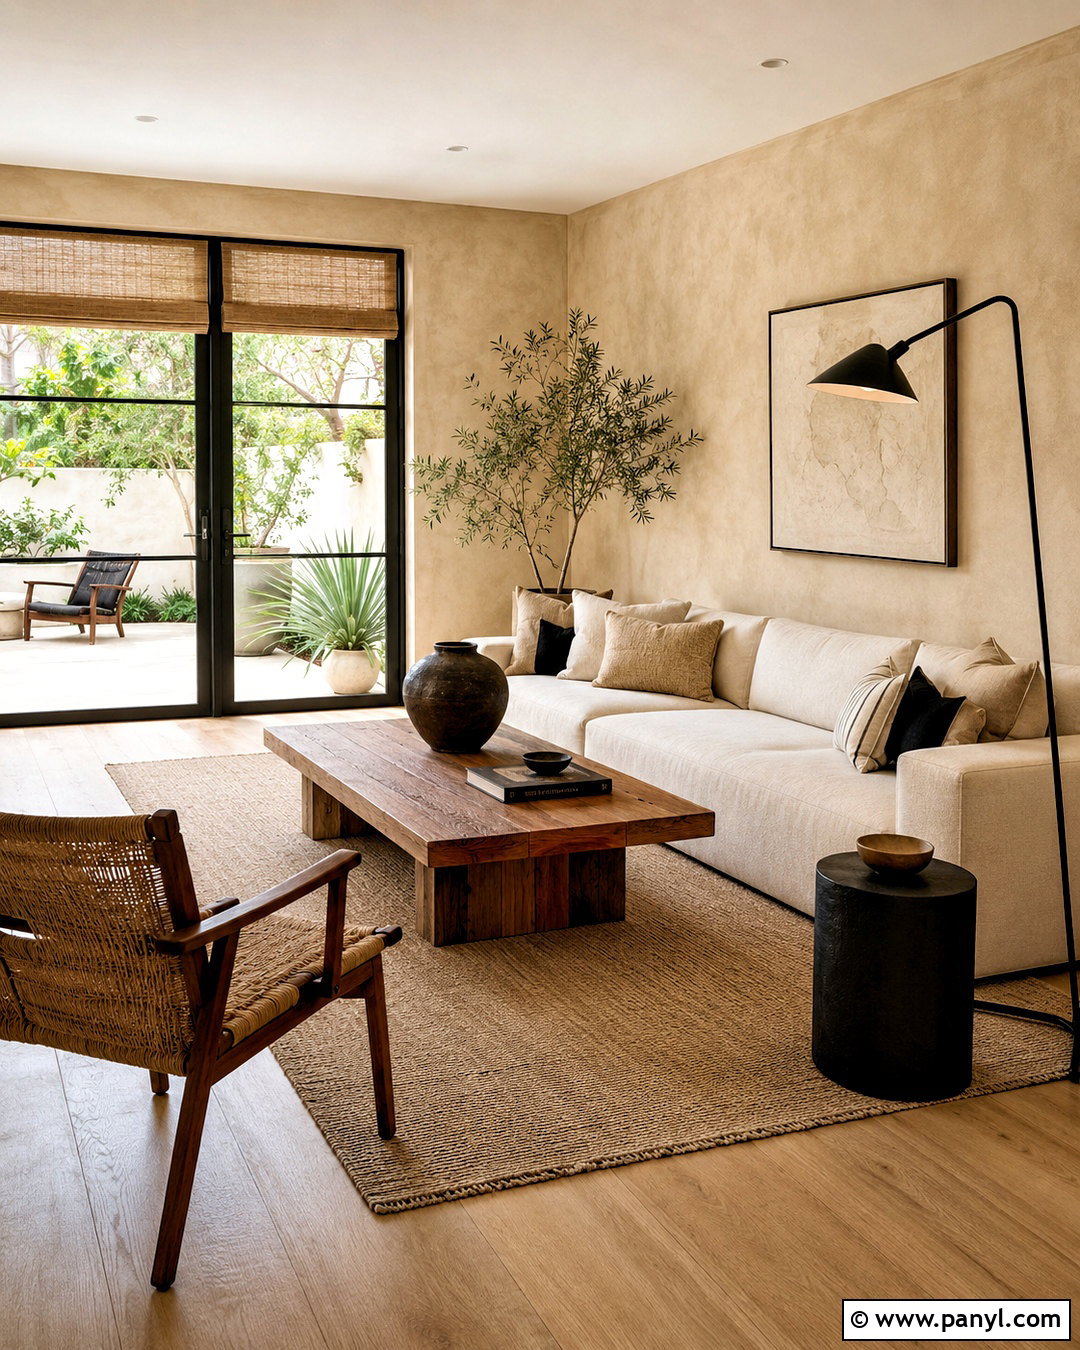
Limewash creates a cloudy, softly layered surface that looks especially beautiful in a relaxed living room. Start with a mineral-compatible primer, then apply warm beige limewash using a large masonry brush and loose, overlapping strokes. The tonal movement should remain subtle rather than heavily striped. Complete the room with a cream linen sofa, a medium-toned oak coffee table, woven window shades, and simple black metal lighting. Natural fabrics and handmade pottery support the soft, earthy appearance of the wall. Keep artwork limited so the finish remains visible. Limewash can be applied over some existing textured surfaces, but it will emphasize rather than conceal the underlying pattern. Always follow the manufacturer’s preparation and application directions for the selected product. ()
2. Roman Clay Wall Texture
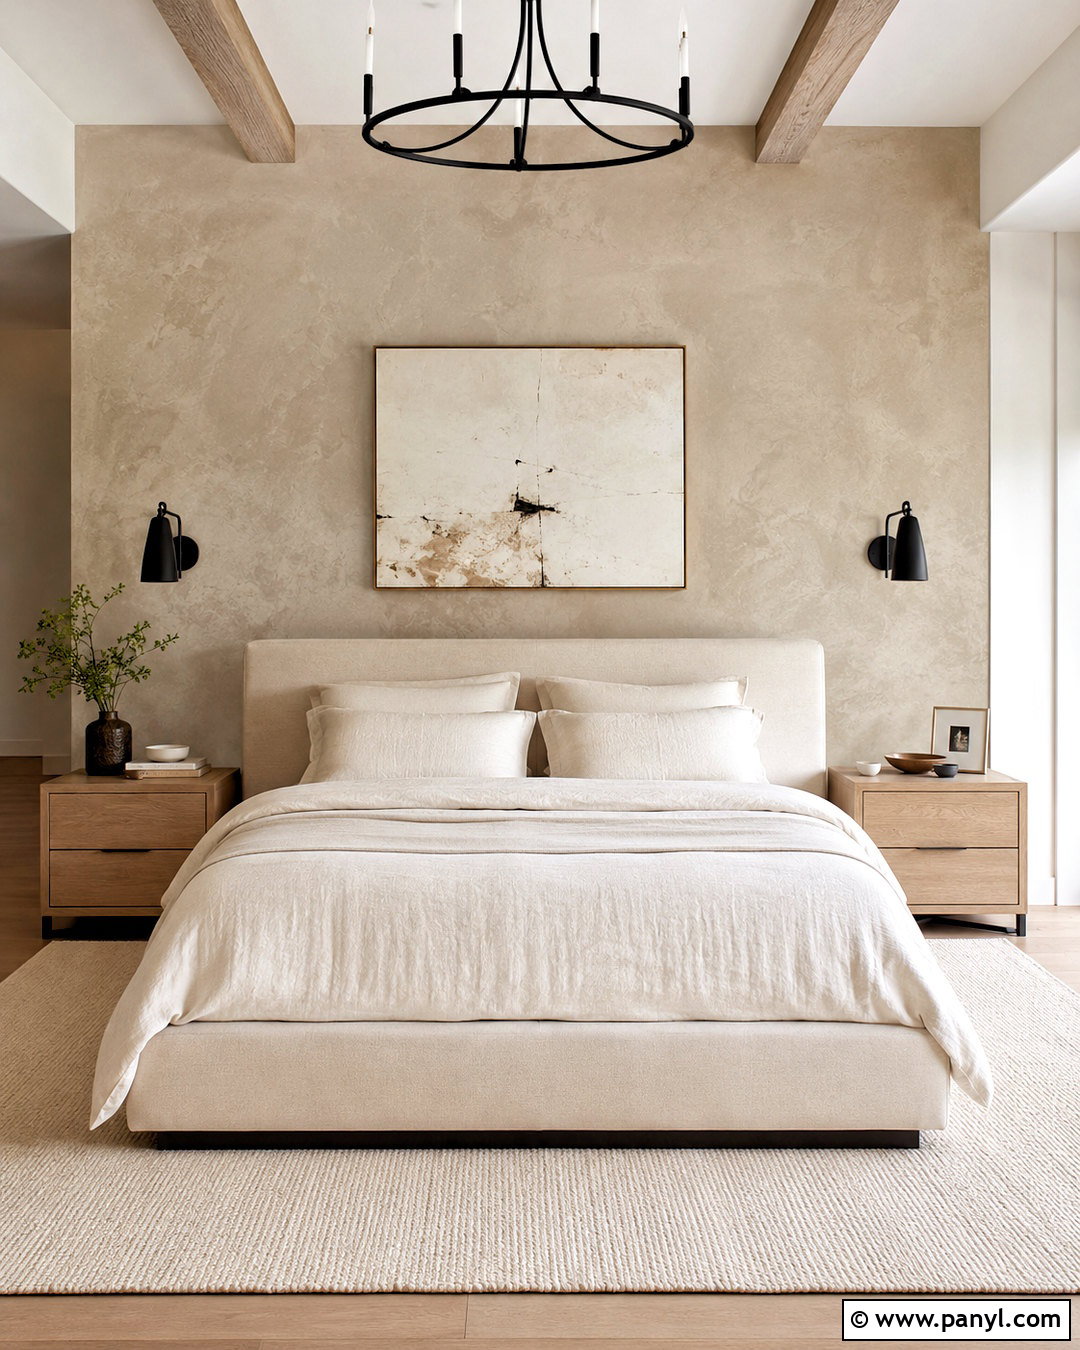
Roman clay gives a bedroom a smooth, stone-like finish with gentle trowel marks and quiet color variation. Choose a muted mushroom or warm greige tone and apply several thin coats with a flexible putty knife. Change the direction of each stroke to prevent obvious lines. Once dry, lightly burnish selected areas for a subtle sheen. Build a complete calming bedroom around the wall with an oatmeal upholstered bed, pale oak nightstands, off-white bedding, and matte black sconces. A wool rug and one large abstract print add softness without competing with the surface. Use this treatment on the wall behind the bed rather than throughout a small room. The focused placement makes the texture feel intentional and keeps the project manageable for a patient first-time DIYer.
3. Venetian Plaster Wall Texture
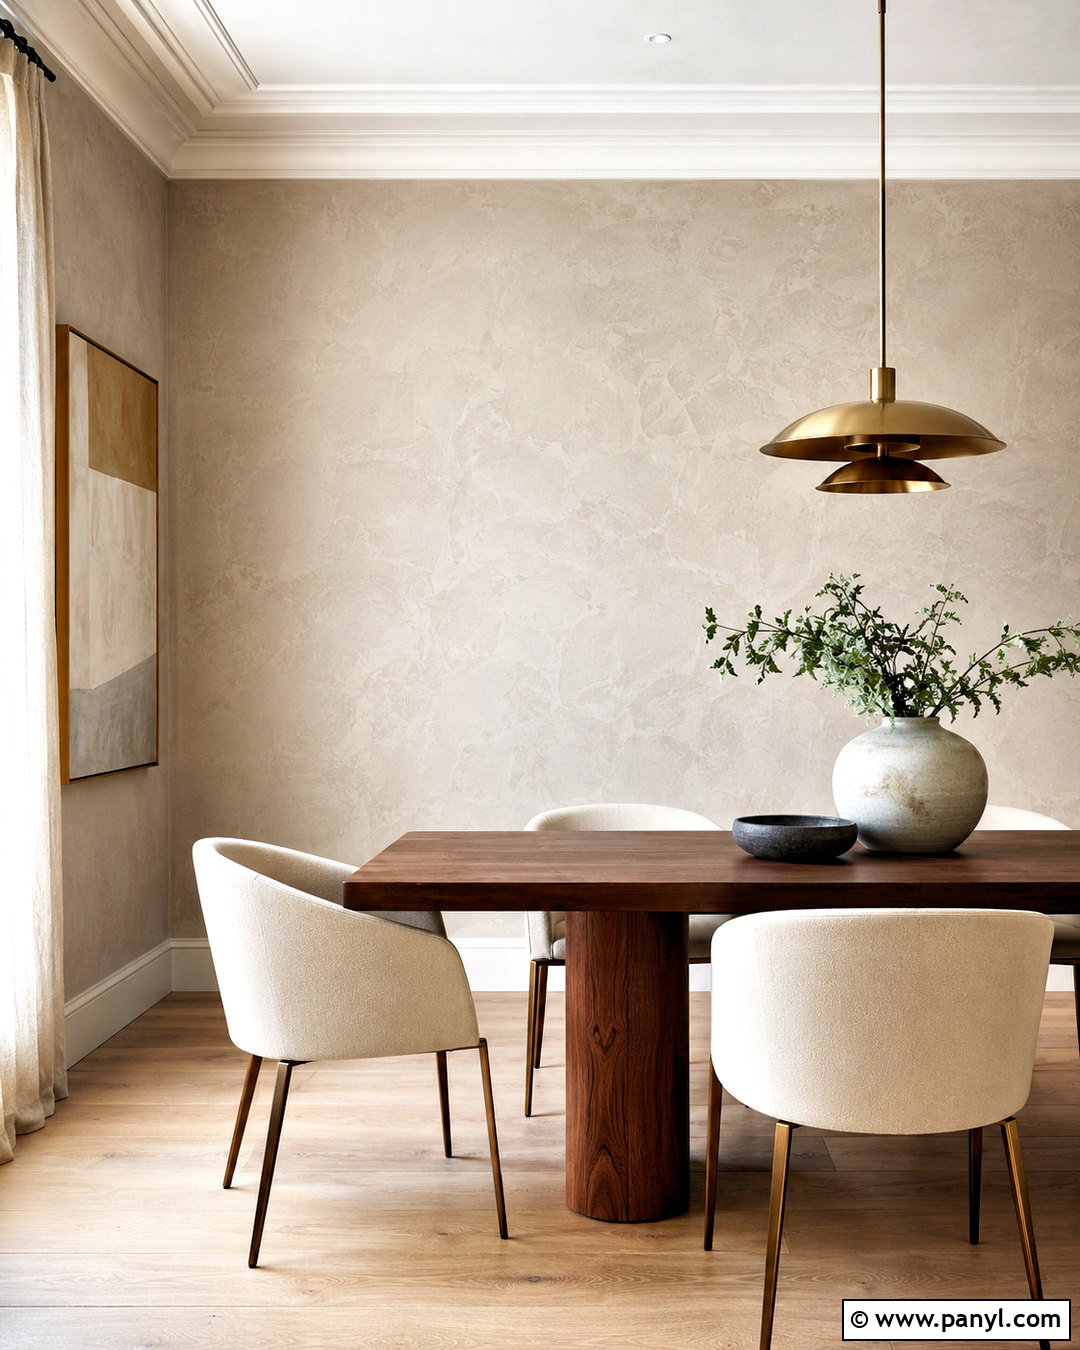
For a polished dining room, use Venetian plaster to create layered depth with a softly reflective finish. Apply thin coats of pale taupe plaster using a stainless steel trowel, allowing irregular movements to remain visible. Burnish the final coat in broad sections so it catches light without becoming overly glossy. Pair the feature wall with a walnut dining table, curved cream chairs, a brushed brass pendant, and light oak flooring. Keep the remaining walls warm white to give the plaster room to stand out. A large ceramic bowl and simple linen curtains complete the understated setting. Practice the trowel motion on a sample board first, because pressure and angle affect the finished appearance. Protect the completed surface with the sealer recommended for your particular plaster system.
4. Skip Trowel Wall Texture
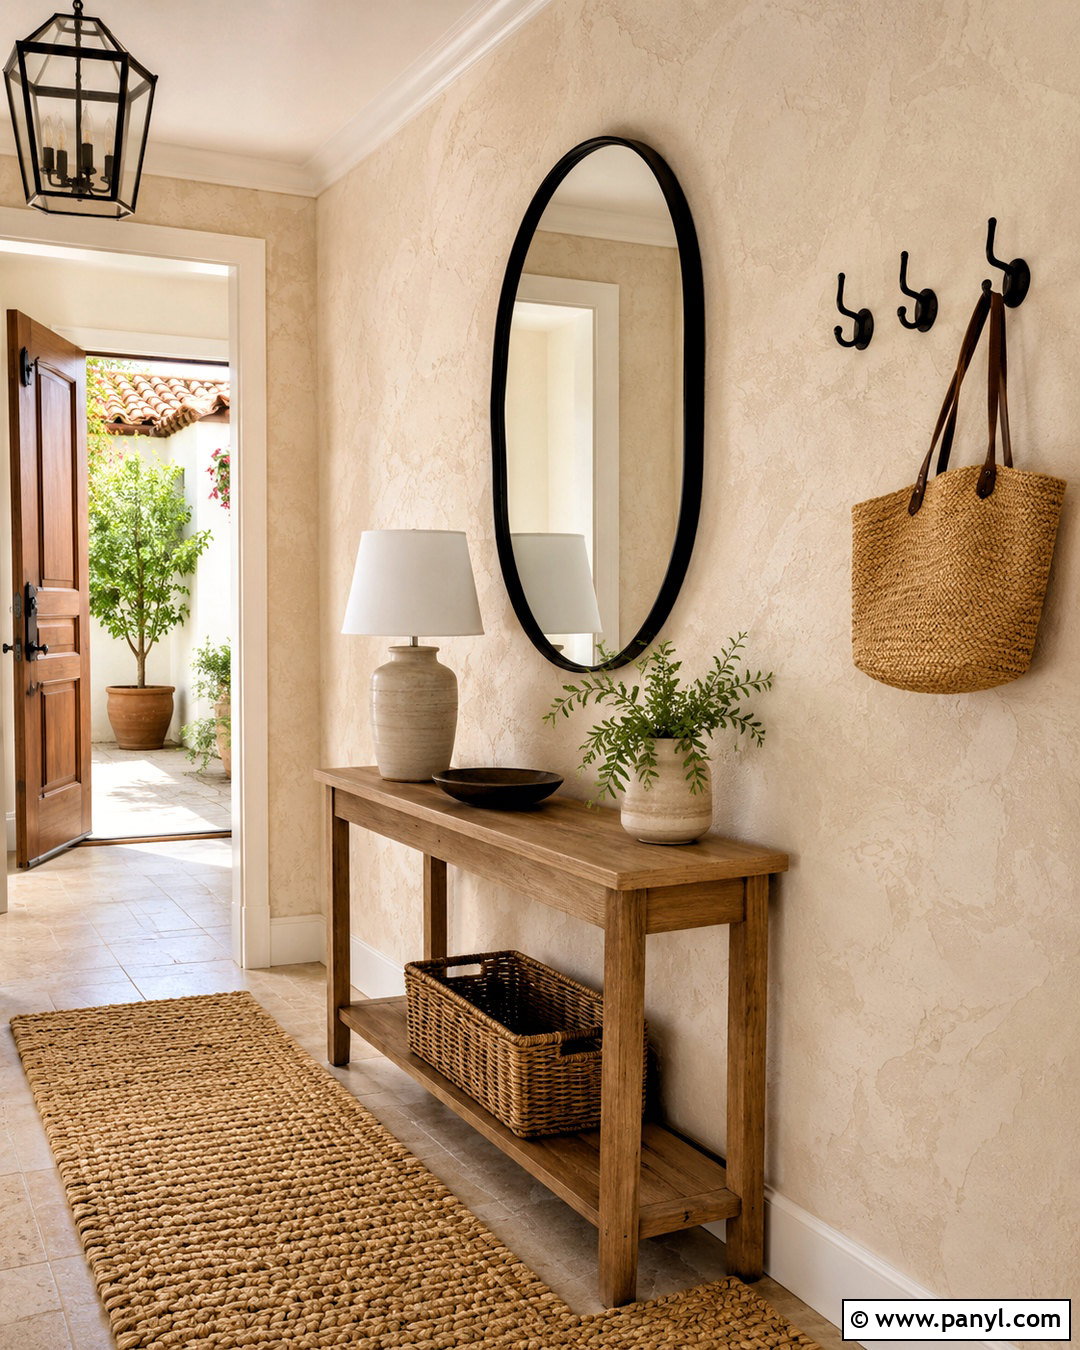
Skip trowel texture gives an entryway an informal plastered look that works well with rustic, Mediterranean, or relaxed transitional decor. Spread a thin coat of joint compound across the wall with a curved trowel, intentionally letting the blade skip and leave scattered raised areas. Avoid creating evenly spaced marks, since natural variation is part of the finish. After drying, soften sharp ridges with light sanding. Prime and paint the wall a warm ivory, then add a slim oak console, a rounded black mirror, a woven runner, and a simple ceramic lamp. Dark bronze hooks or hardware provide useful contrast. Keep the texture shallow near door frames and baseboards for cleaner edges. The finished entryway should feel aged and tactile but still bright, orderly, and easy to decorate.
5. Knockdown Wall Texture
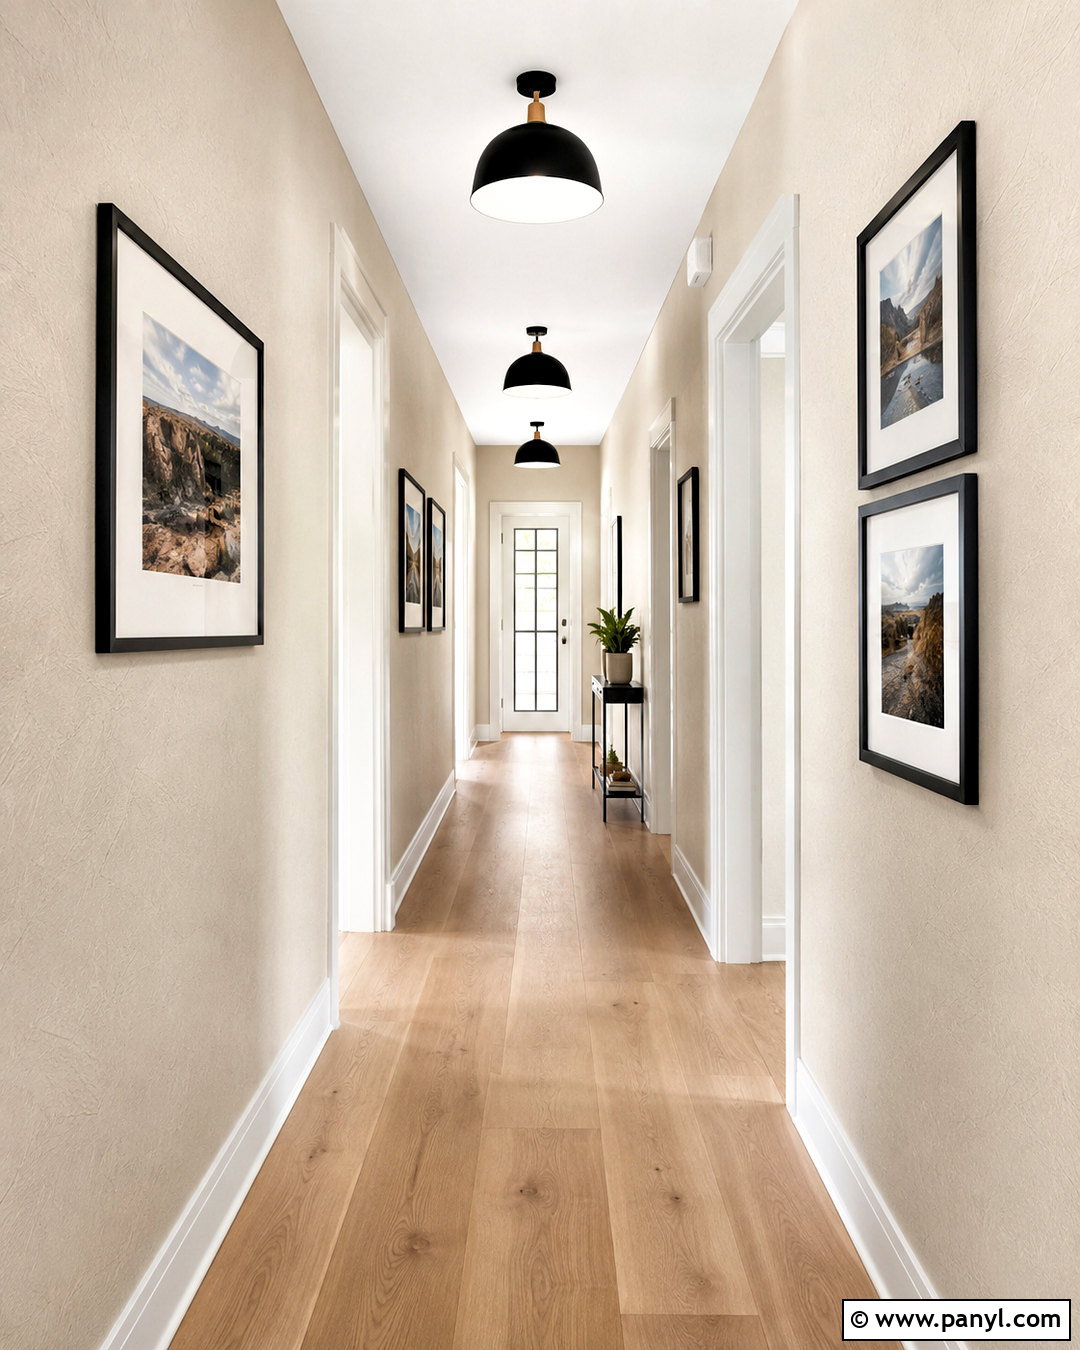
Knockdown texture can turn an ordinary hallway into a durable, softly dimensional passage. Apply a splatter texture with a hopper or approved aerosol product, let the raised spots set briefly, and gently flatten their peaks with a wide knockdown knife. Correct timing matters because working too early can smear the surface, while waiting too long makes flattening difficult. () Paint the finished walls light greige with an eggshell finish. Complete the hallway with white trim, pale wood flooring, matte black ceiling lights, and a restrained row of framed photographs. Use consistent spacing and thin frames so the decor does not make the texture appear busy. Before covering the hallway, practice spraying and flattening on spare drywall to determine the best nozzle setting, compound consistency, and waiting time.
6. Orange Peel Wall Texture
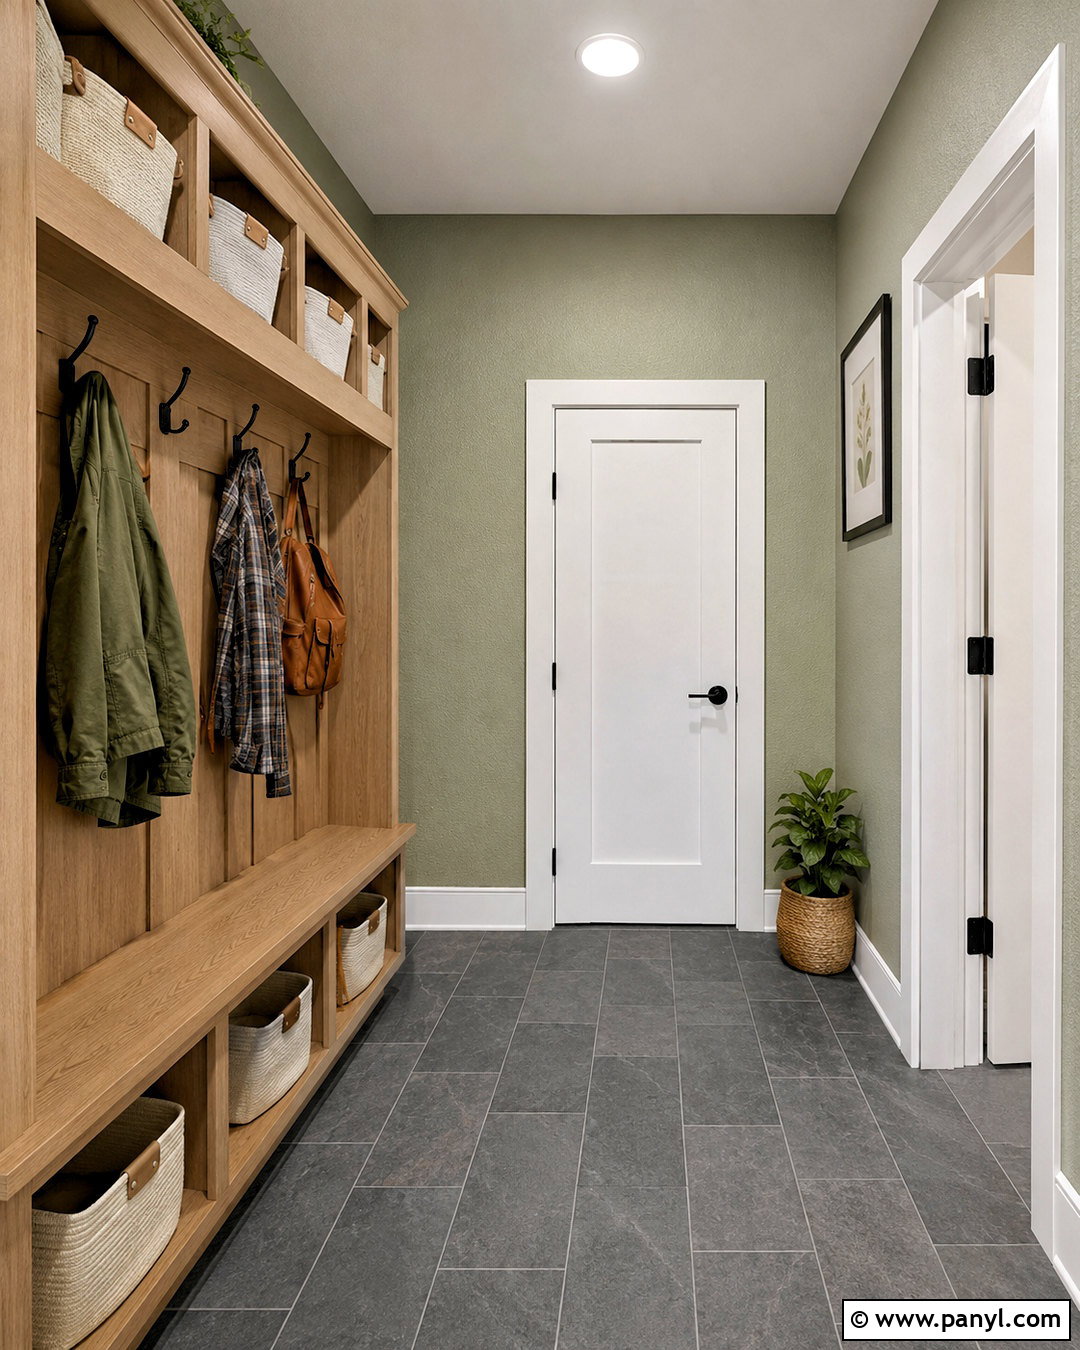
Orange peel texture offers fine, rounded bumps that can soften minor wall flaws without producing an overly dramatic pattern. It works particularly well in a practical mudroom where walls receive frequent use. Spray a light, even coat over a properly prepared surface, keeping the nozzle distance and movement consistent. Allow it to dry before priming and painting it a soft sage green. Add white oak cubbies, black coat hooks, a sturdy bench, slate-look flooring, and cream storage baskets. The gentle texture provides a useful background while the muted color keeps the room fresh. Orange peel is generally finer than knockdown and does not require flattening the sprayed peaks. () Mask cabinets, floors, ceilings, and nearby doorways carefully because overspray can travel beyond the immediate work area.
7. Sand Swirl Wall Texture
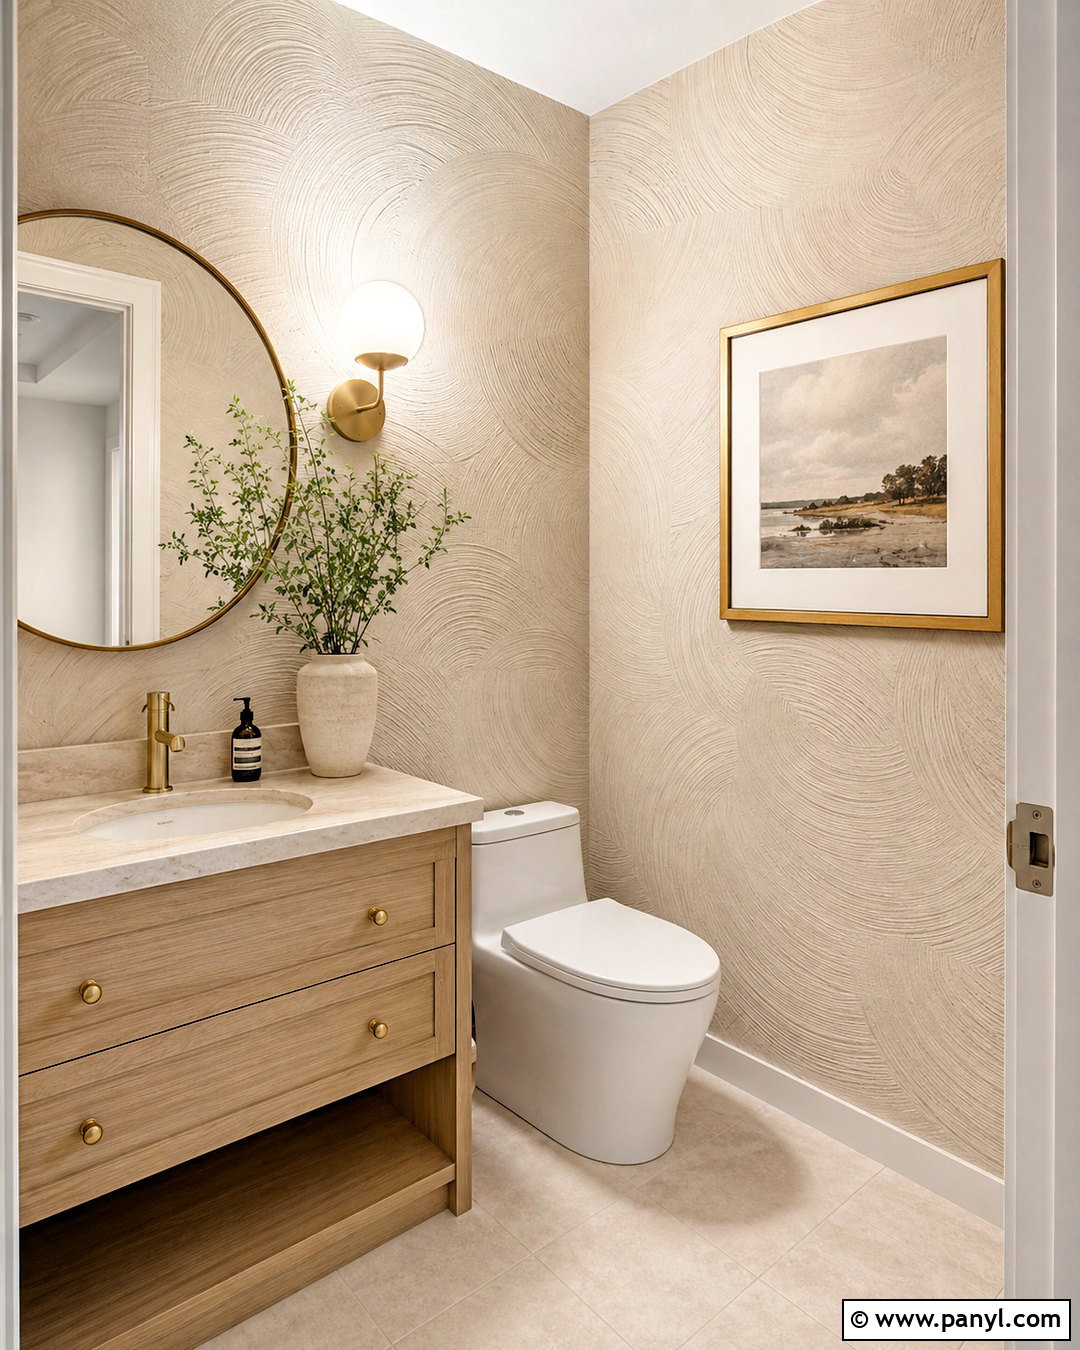
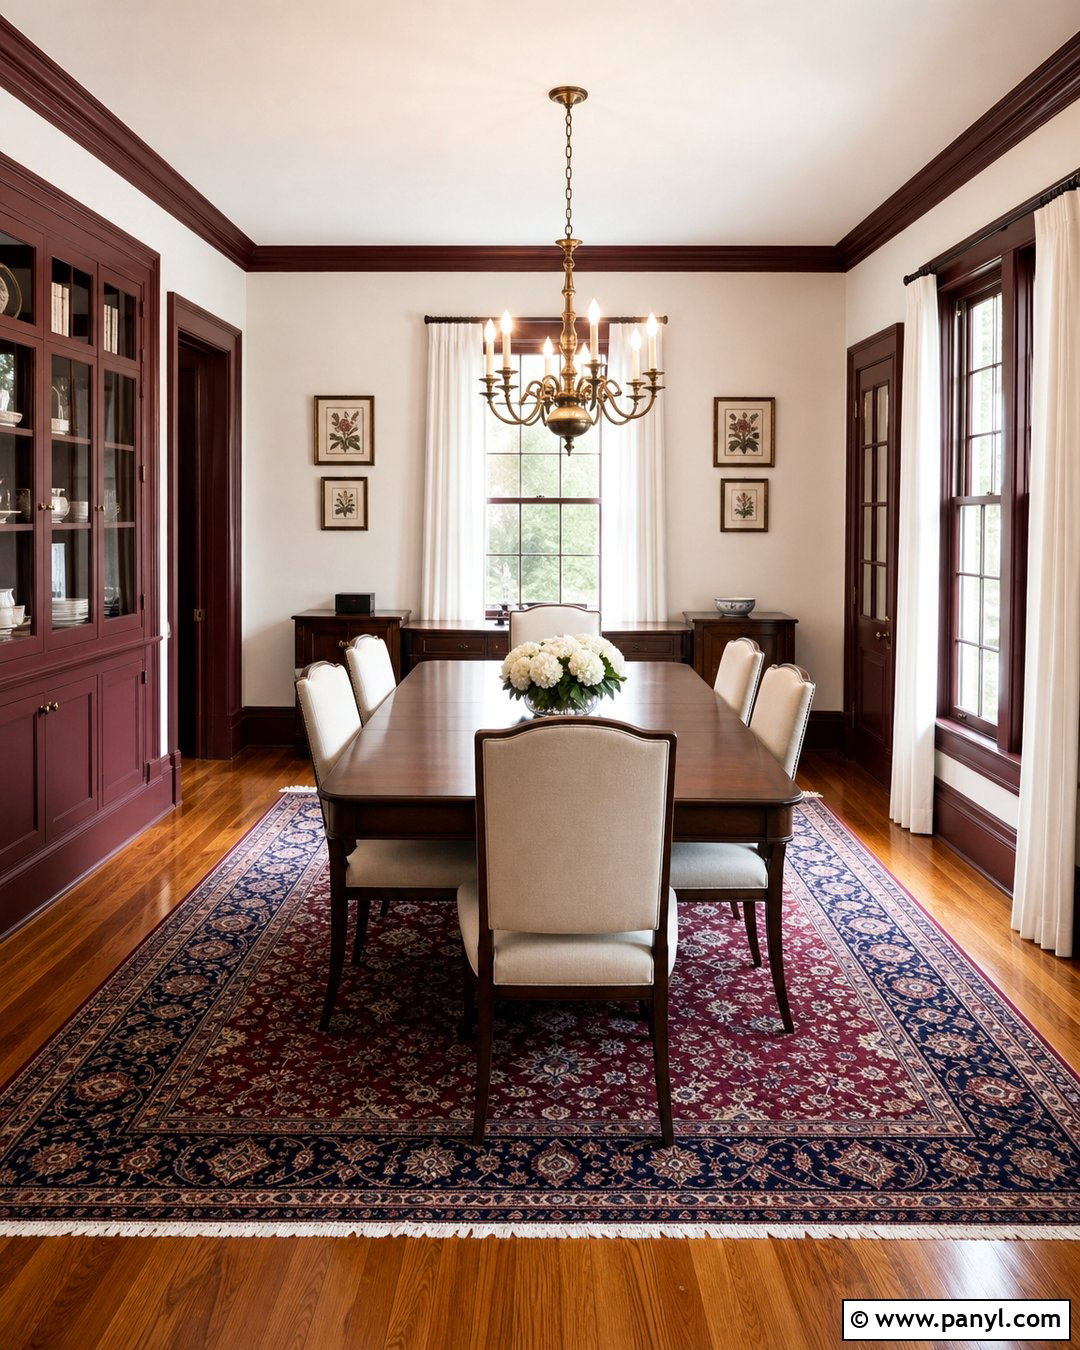
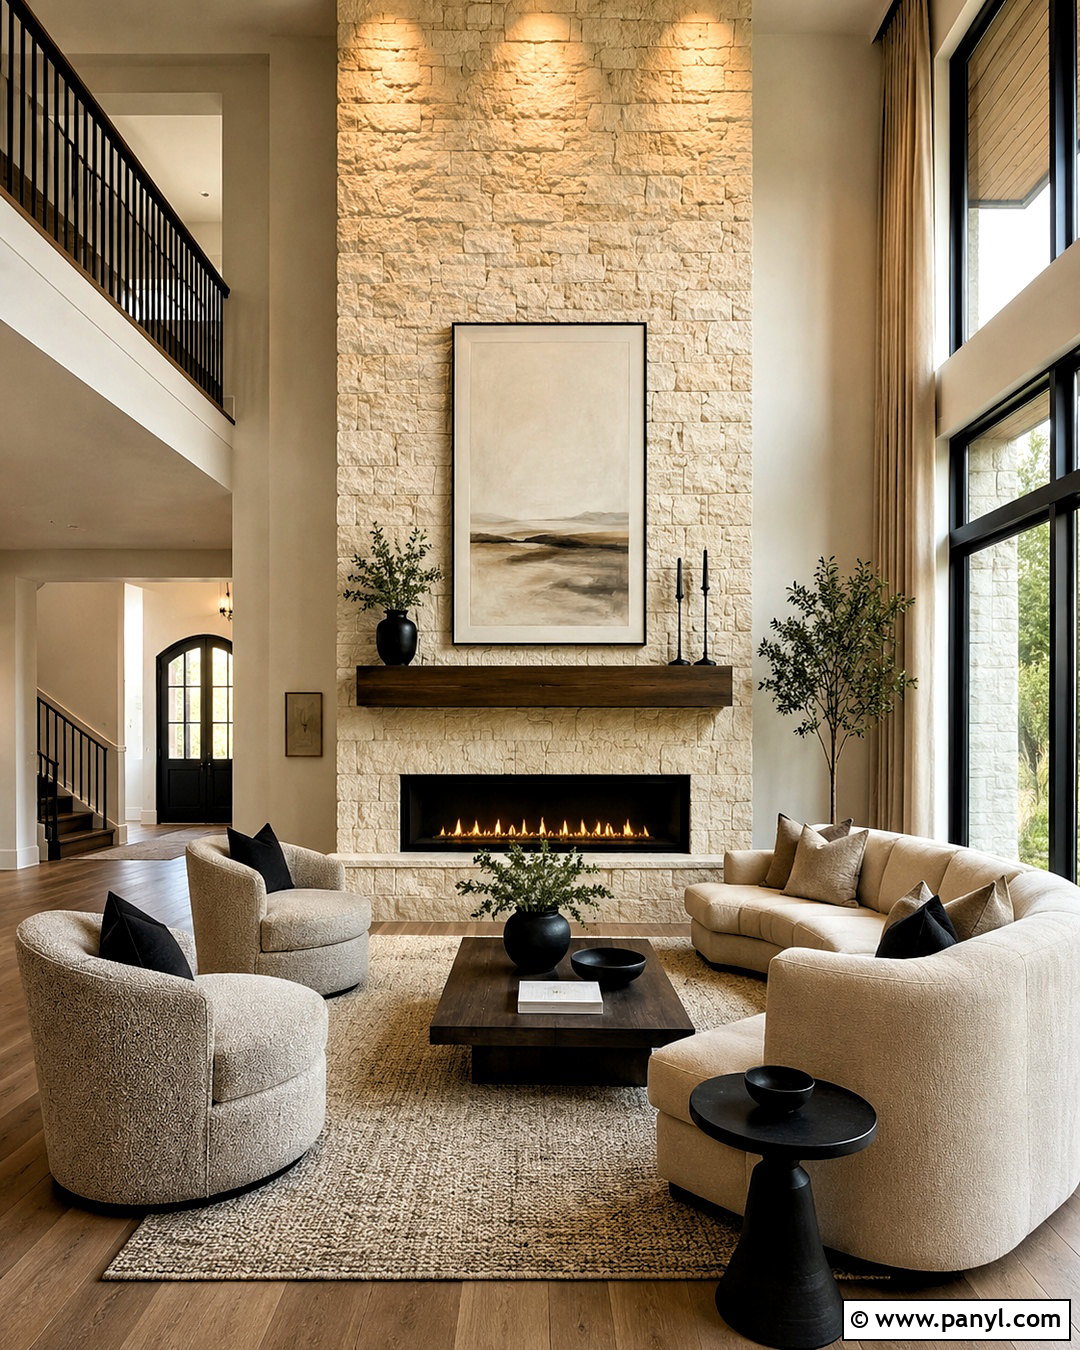
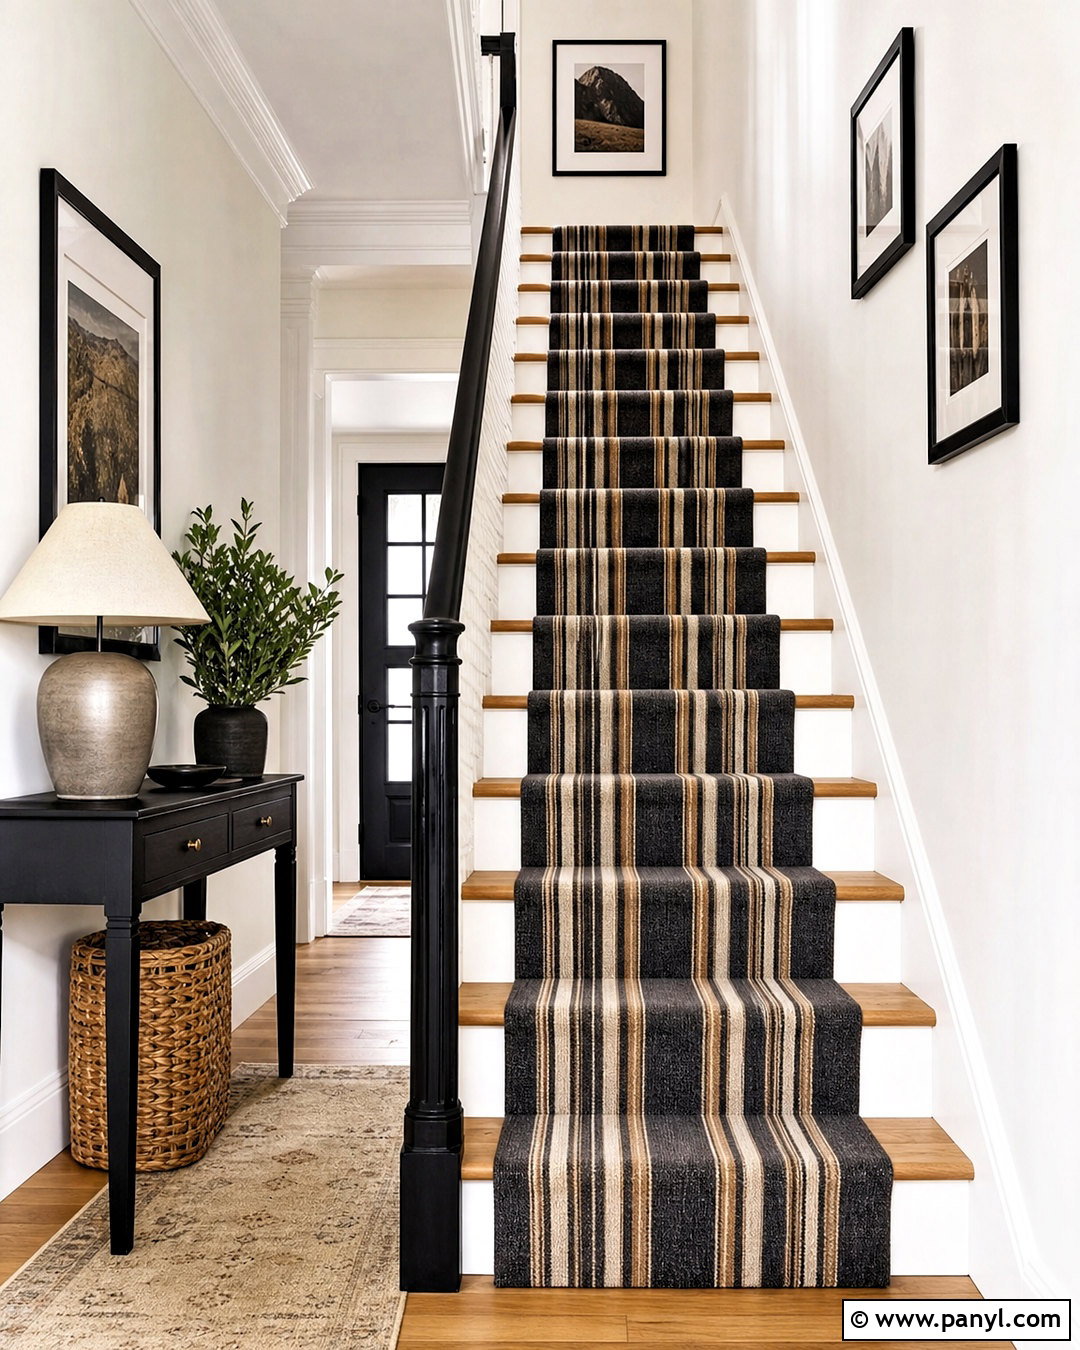
Sand swirl texture introduces broad, curved movement that can make a small powder room feel handcrafted. Mix fine texture sand into the appropriate coating or use a premixed sand-texture product. Work across wet sections with a wallpaper brush or broad stiff-bristle brush, making overlapping half-circle motions. Keep the curves large and loosely connected rather than perfectly uniform. Paint the walls a pale clay color, then finish the room with a compact white oak vanity, creamy stone countertop, round brass mirror, and warm white floor tile. A globe sconce provides side lighting that highlights the swirls. Limit extra wall decor because the pattern already creates visual interest. Complete one manageable area at a time and maintain a wet edge to reduce obvious starts, stops, or uneven seams.
8. Slap Brush Wall Texture
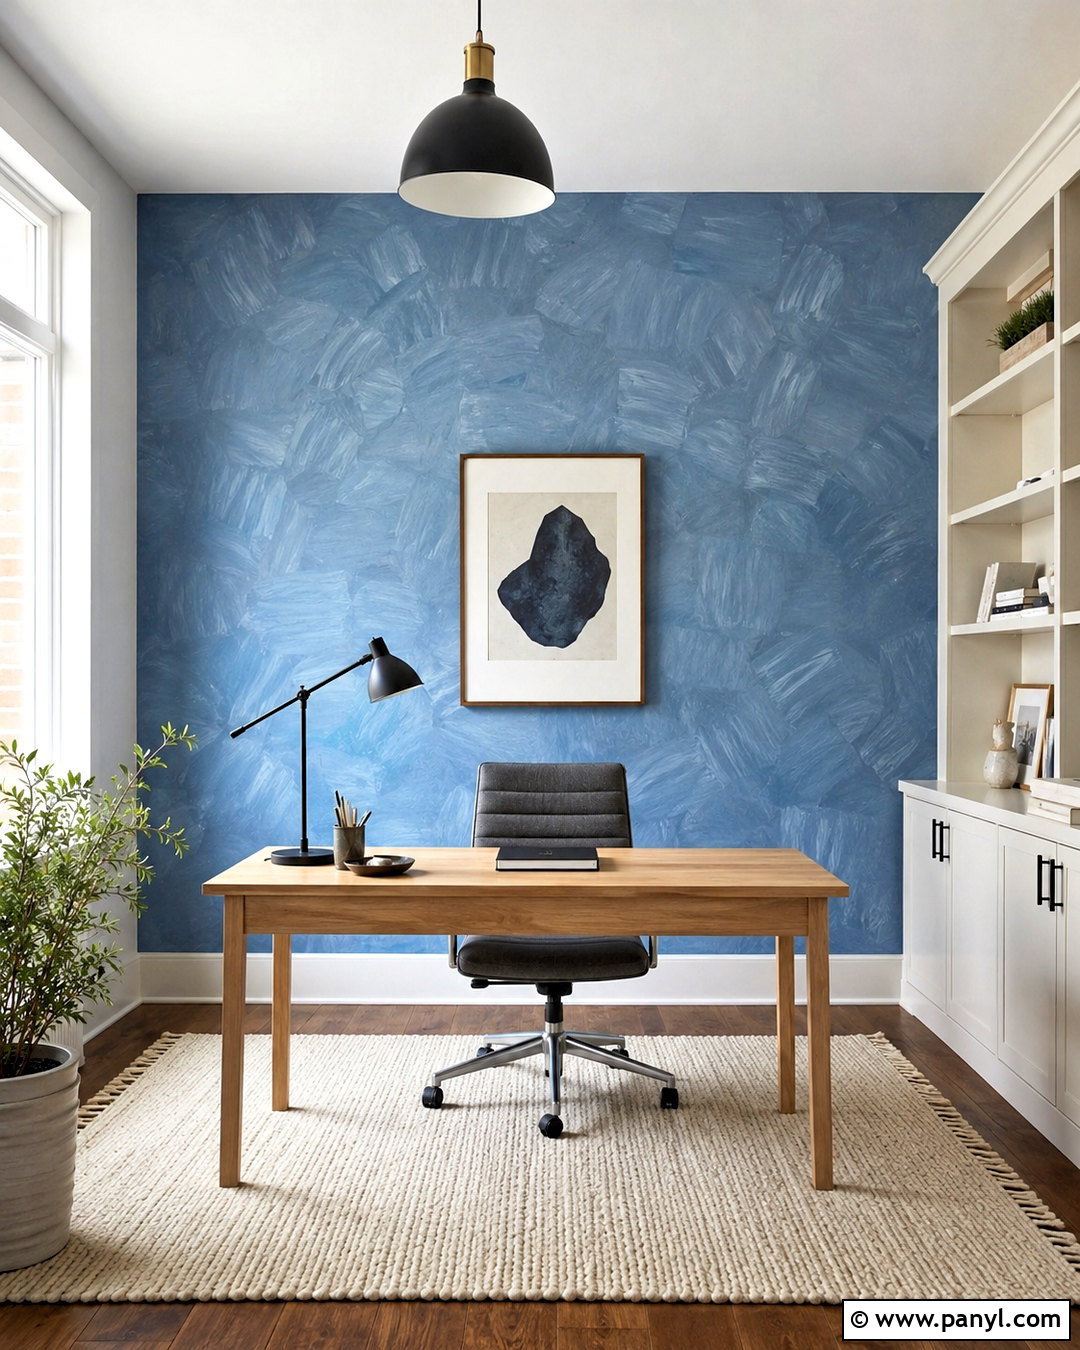
A slap brush wall texture creates energetic raised patterns that suit a casual home office or creative studio. Roll a moderate layer of drywall compound onto the wall, then press a double-bristle texture brush into the wet material and pull it away. Rotate the brush slightly between impressions so the marks do not repeat in obvious rows. Once dry, remove sharp points with light sanding and paint the wall a dusty blue. Balance the active surface with a streamlined oak desk, white storage cabinets, a charcoal task chair, and a simple flat-weave rug. Use one textured feature wall and keep the other walls soft white. This technique is naturally irregular, but careful spacing prevents it from looking chaotic. Practice several impressions first to find the right compound thickness and pressure.
9. Comb Wall Texture
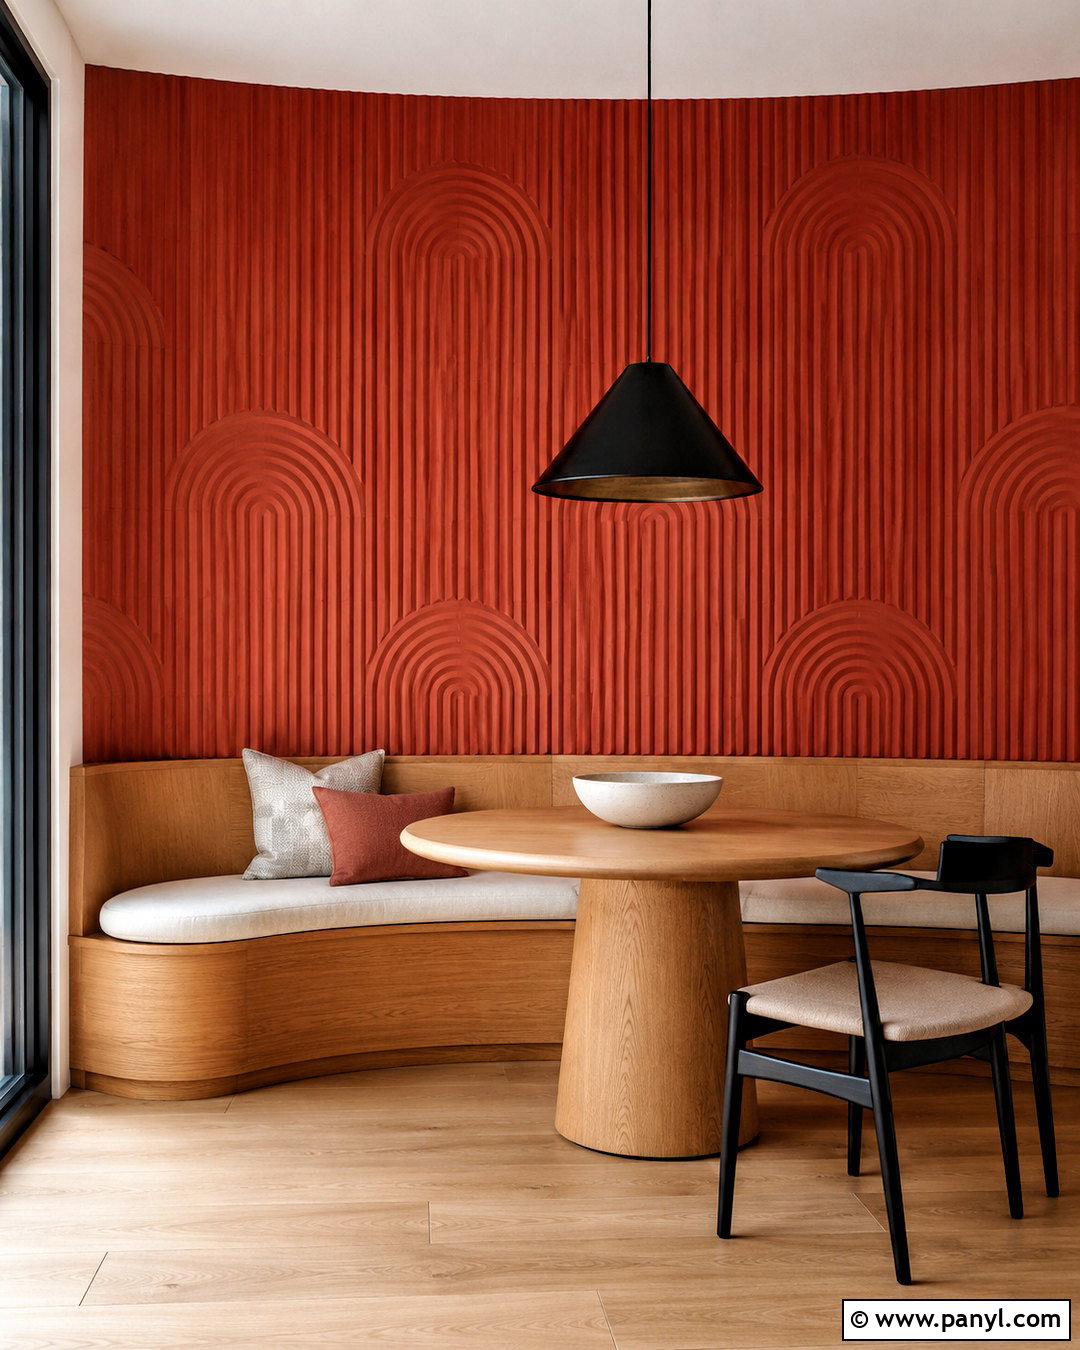
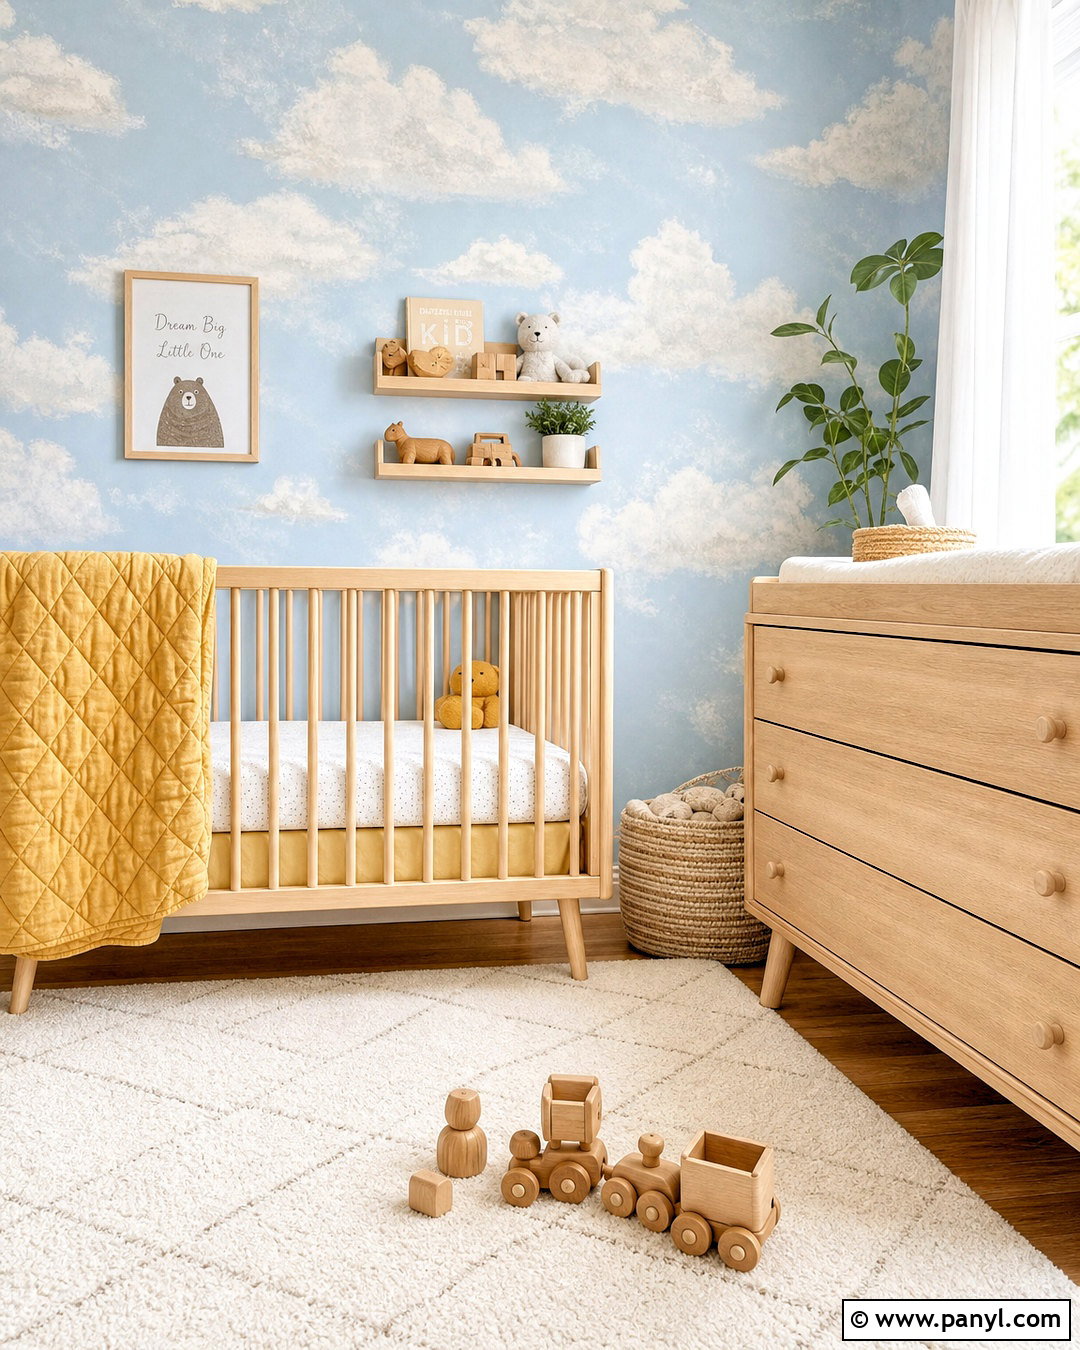
Comb texture produces clean grooves that can become a striking backdrop in a modern dining nook. Apply joint compound in a smooth, workable layer, then pull a notched trowel through it to create repeating arches. Use a cardboard template or lightly drawn guidelines to keep the pattern balanced. Slight variations will preserve the handmade character. After the compound dries, prime and paint the wall a deep terracotta color. Add a built-in oak bench, a round pedestal table, cream cushions, and a small black pendant. The curved wall pattern echoes the rounded furniture and makes the nook feel cohesive. Keep decorative accessories minimal, choosing perhaps one bowl and a neutral throw. Work from one side toward the other without pausing too long, since the compound must remain wet enough to form clean grooves.
10. Sponge Wall Texture
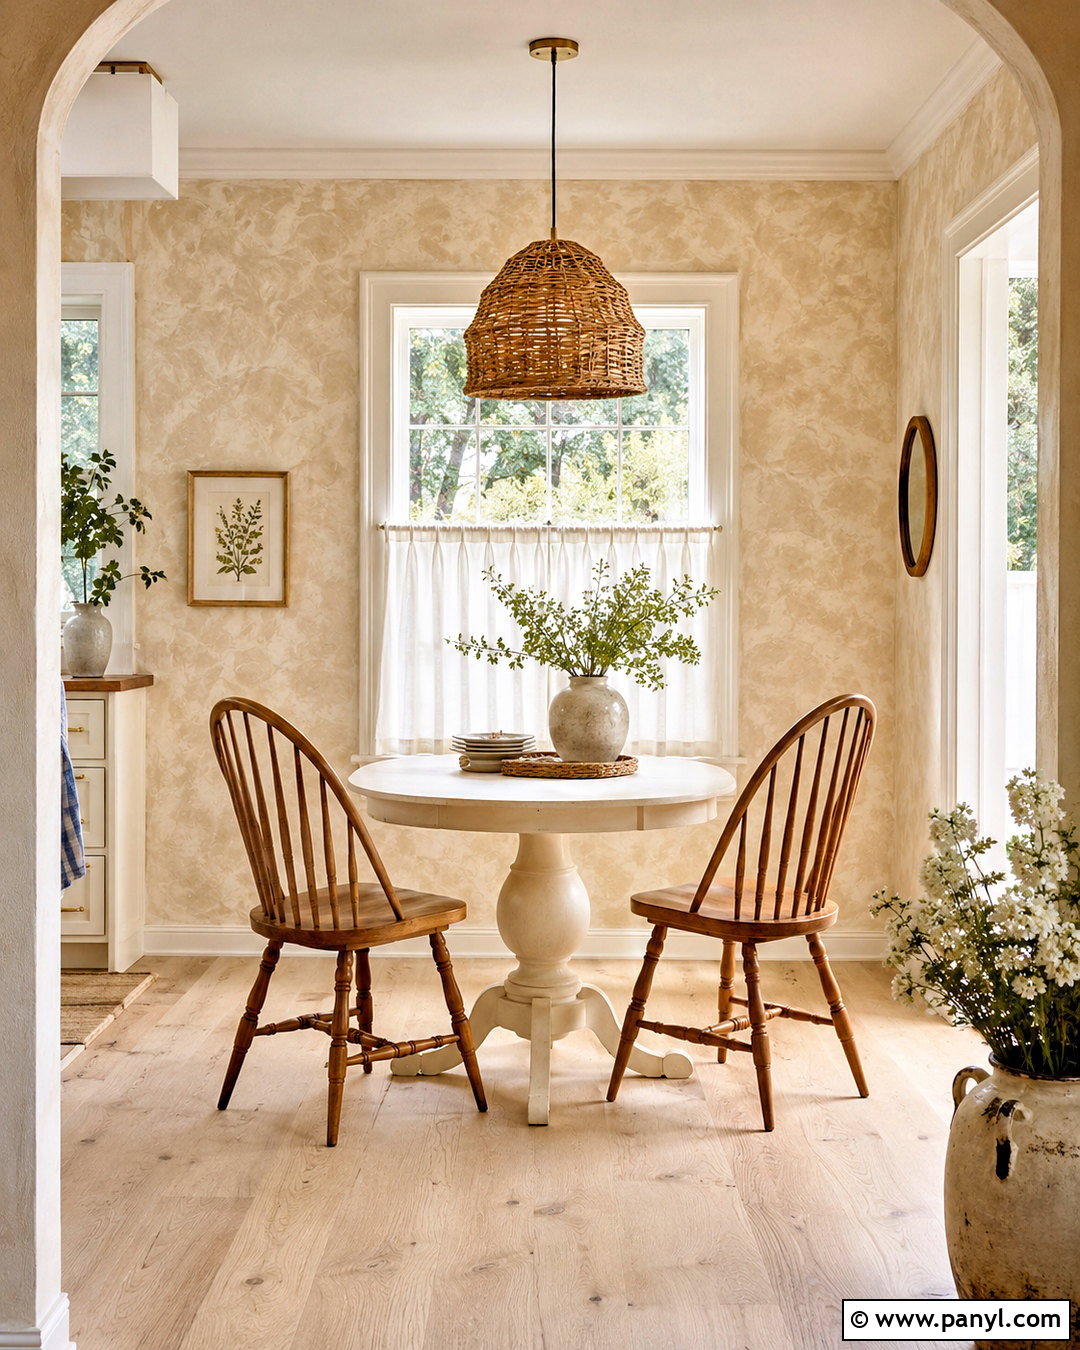
Sponge texture is an accessible way to add gentle dimension to a cottage-inspired kitchen breakfast area. Begin with a warm white base coat. Dab a slightly darker beige glaze onto the wall using a natural sea sponge, rotating your wrist and varying the pressure. Blend dense spots before they dry, leaving enough base color visible to keep the treatment soft. Complete the space with a small painted pedestal table, spindle-back chairs, linen café curtains, and a woven pendant. Pale wood flooring and a ceramic vase of greenery reinforce the light, casual look. Restrict the finish to the breakfast nook or one short wall so it feels purposeful. Step back often while working, since viewing the entire surface is the easiest way to identify repetitive marks, harsh edges, or areas that need better blending.
11. Rag Rolled Wall Texture
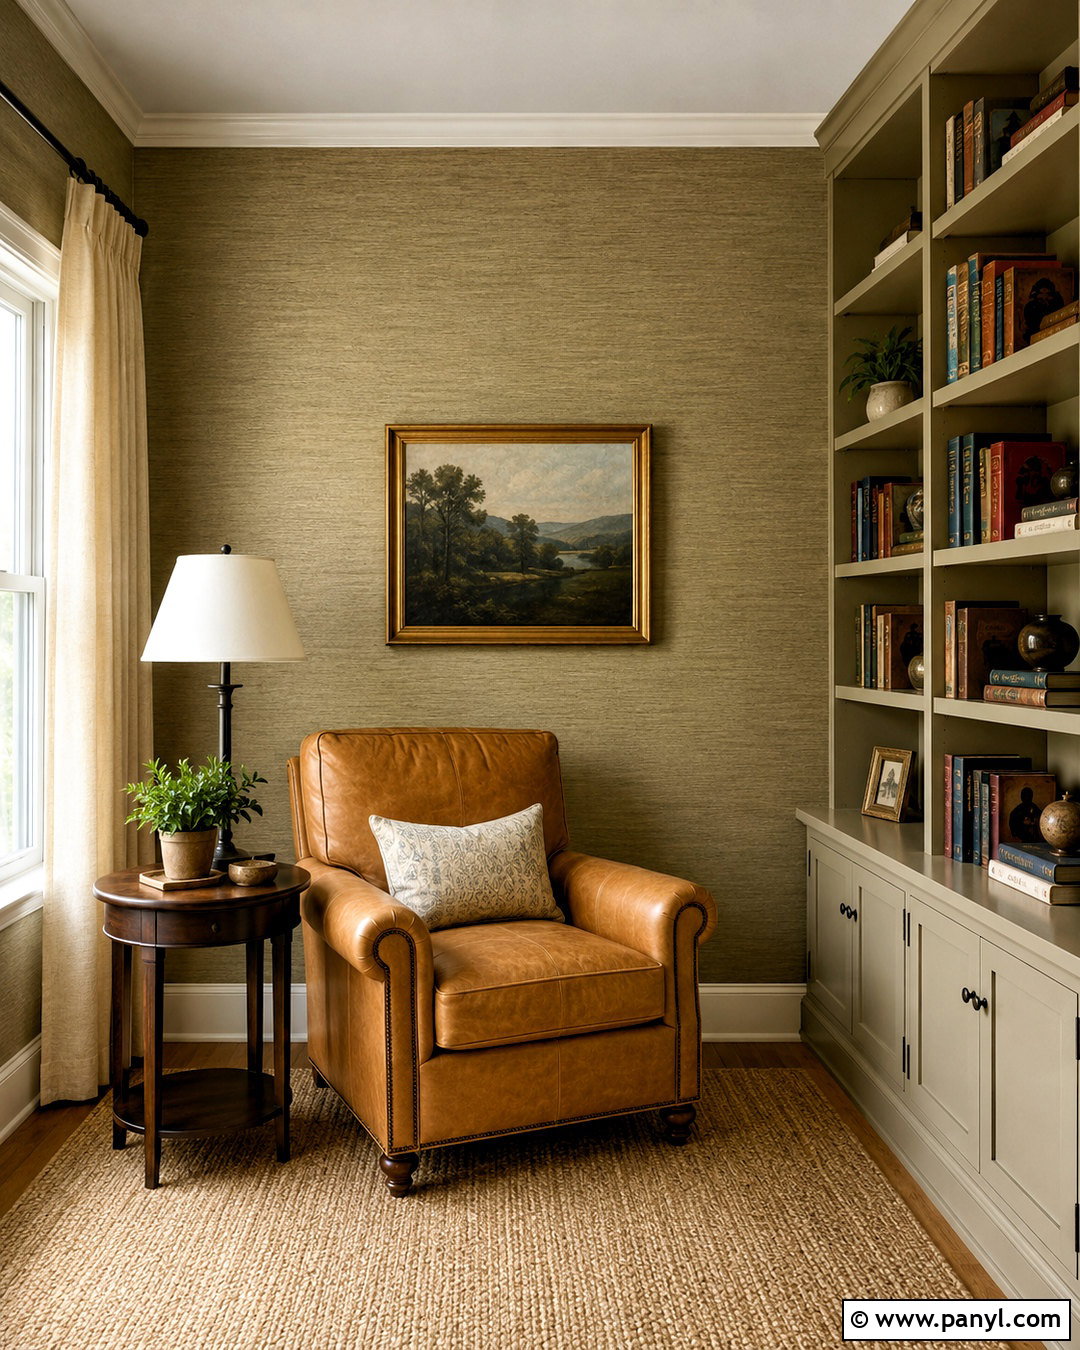
Rag rolling produces a fabric-like painted texture that suits a cozy reading room. Paint the wall a muted olive base, then apply a thin glaze in a slightly lighter green. Roll a loosely twisted, lint-free cotton rag through the wet glaze, changing direction with every pass. Replace or unfold the cloth when it becomes saturated to avoid muddy smears. Furnish the room with a caramel leather chair, a small walnut side table, a cream floor lamp, and built-in bookshelves painted to match the wall. Add a natural wool rug and oatmeal curtain panels for softness. The limited color palette keeps the decorative finish from looking dated. Test the contrast between the base and glaze first; two closely related colors will create a quieter, more modern result than strongly contrasting shades.
12. Textured Roller Wall Finish
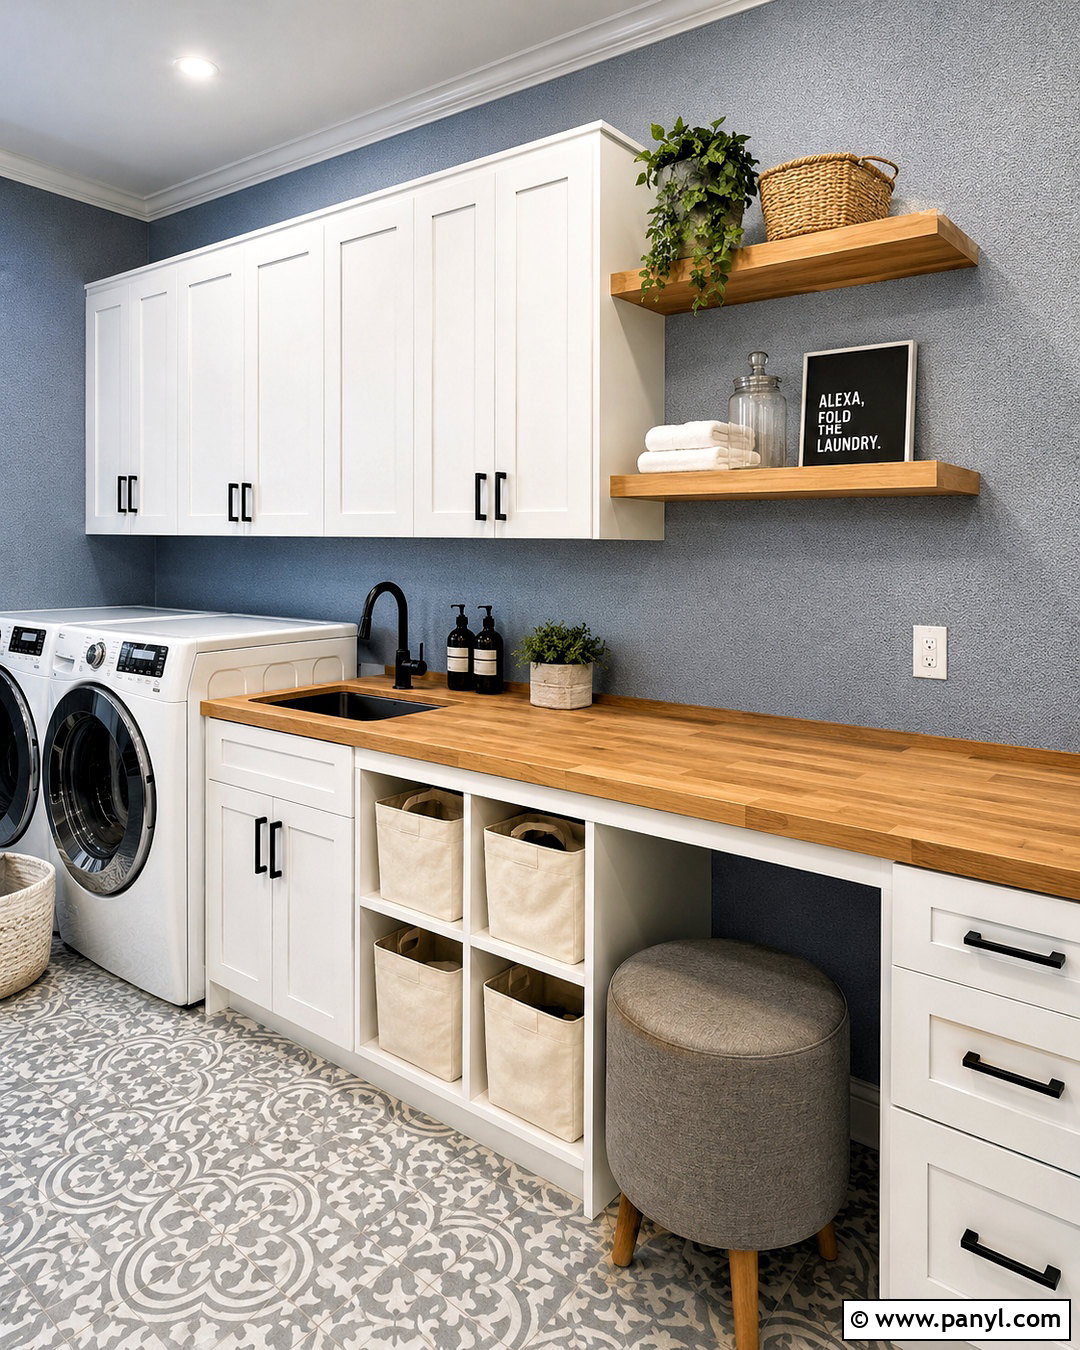
A textured roller can give a laundry room a consistent stippled finish without the equipment needed for sprayed texture. Apply a suitable textured coating in small sections, then roll through it with a looped or patterned texture roller. Maintain similar pressure and overlap each pass lightly to avoid visible bands. Paint the completed surface a clean blue-gray and pair it with white shaker cabinets, a butcher-block folding counter, matte black pulls, and patterned porcelain floor tile. Open oak shelves with matching storage baskets add warmth and practical organization. Use bright ceiling lighting to keep the working area cheerful. Select a shallow roller pattern that will not trap excessive dust. Near corners and cabinetry, use a smaller matching tool or stippling brush so the texture continues neatly without thick buildup along the edges.
13. Stenciled Plaster Wall Texture
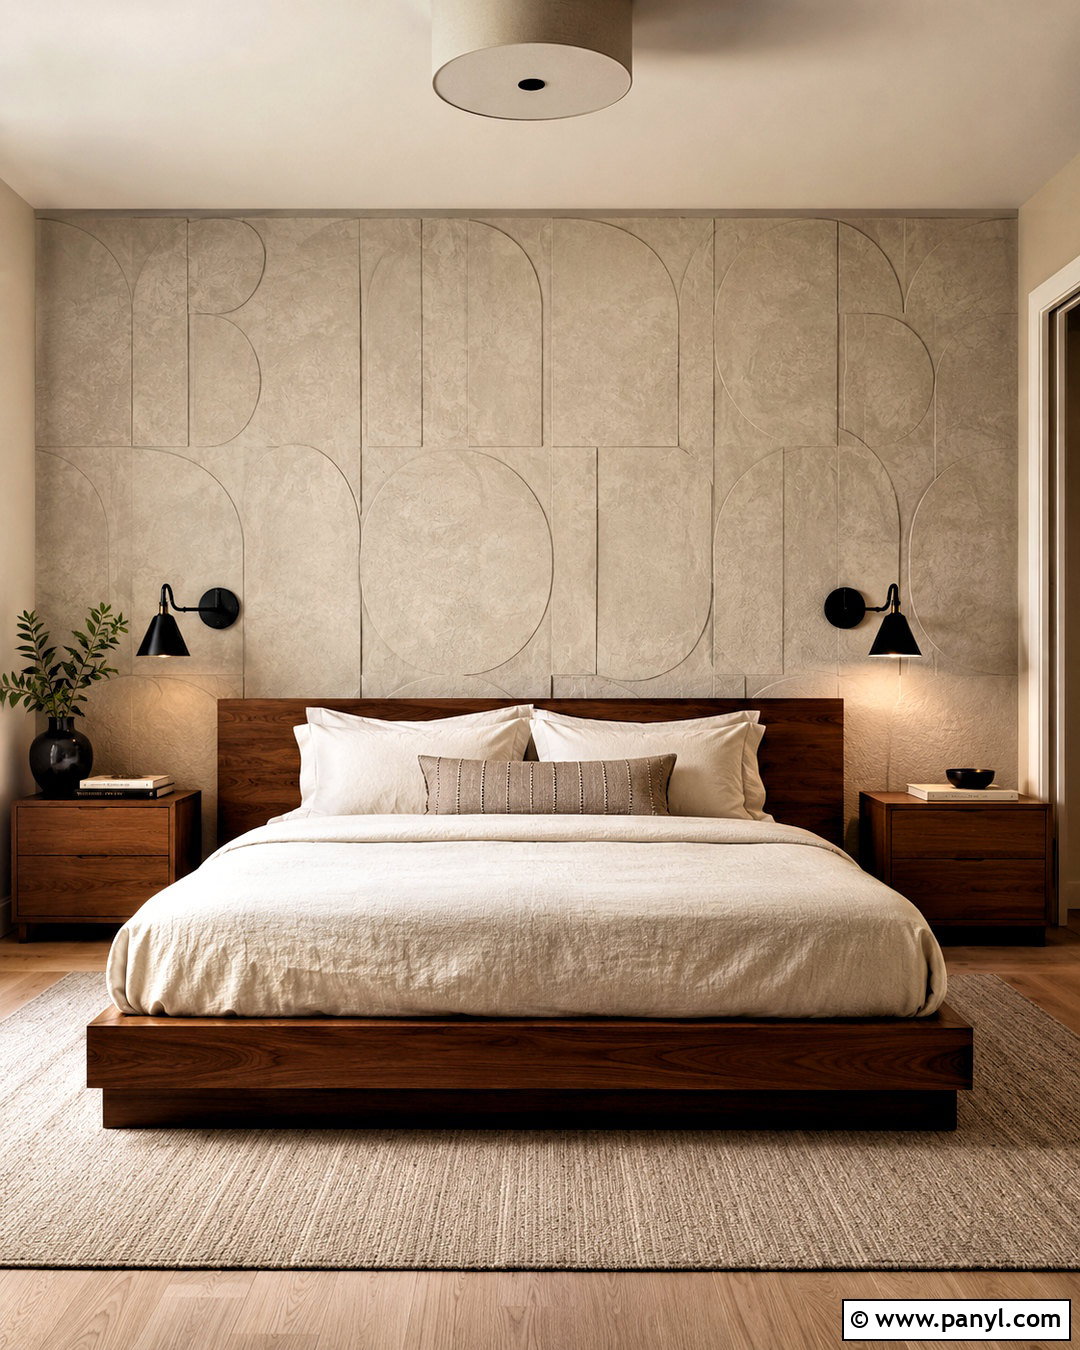
A stenciled plaster treatment creates raised decoration that can anchor a simple bedroom without installing heavy panels. Tape a large geometric stencil to the wall behind the bed, spread a thin layer of joint compound across it, and lift the stencil straight away. Repeat the design carefully, cleaning the stencil whenever residue begins to blur its edges. Once dry, lightly sand rough points and paint the entire wall soft greige so the relief appears architectural rather than colorful. Add a low walnut bed, ivory linen bedding, black reading sconces, and a muted beige rug. Keep nightstands and accessories simple. Side lighting will reveal the raised pattern through gentle shadows. Choose a large-scale stencil with open shapes, as tiny details can become difficult to repeat and may make the finished wall look overly crowded.
14. Geometric Drywall Wall Texture
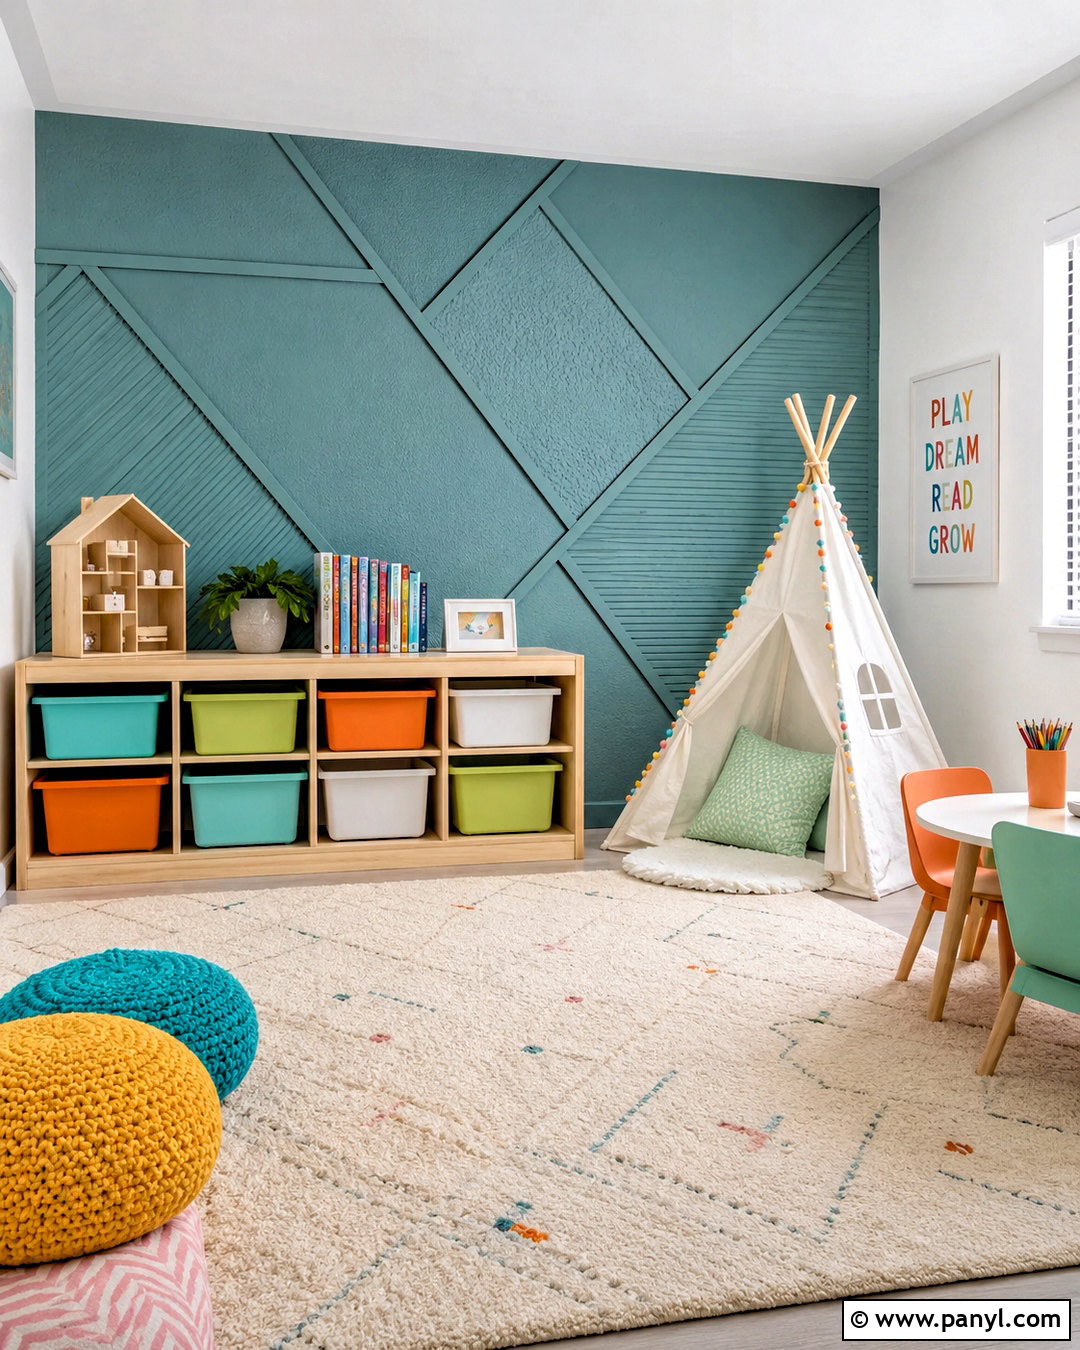
Geometric drywall texture can create a bold playroom feature using joint compound and painter’s tape. Prime the wall, apply tape in wide diagonal sections, and spread a shallow coat of compound between the lines. Use a trowel to give alternating shapes smooth, stippled, and lightly dragged finishes. Remove the tape before the material becomes completely hard, then refine rough borders after drying. Paint the entire design one cheerful muted teal so the changing surfaces, not multiple colors, create contrast. Complete the playroom with low birch storage, a washable cream rug, a compact reading tent, and colorful bins. Leave the opposite walls white to prevent visual overload. Keep raised areas relatively shallow and smooth any sharp edges, particularly in a room used by children. The finished wall should look dimensional yet clean and approachable.
15. Faux Concrete Wall Texture
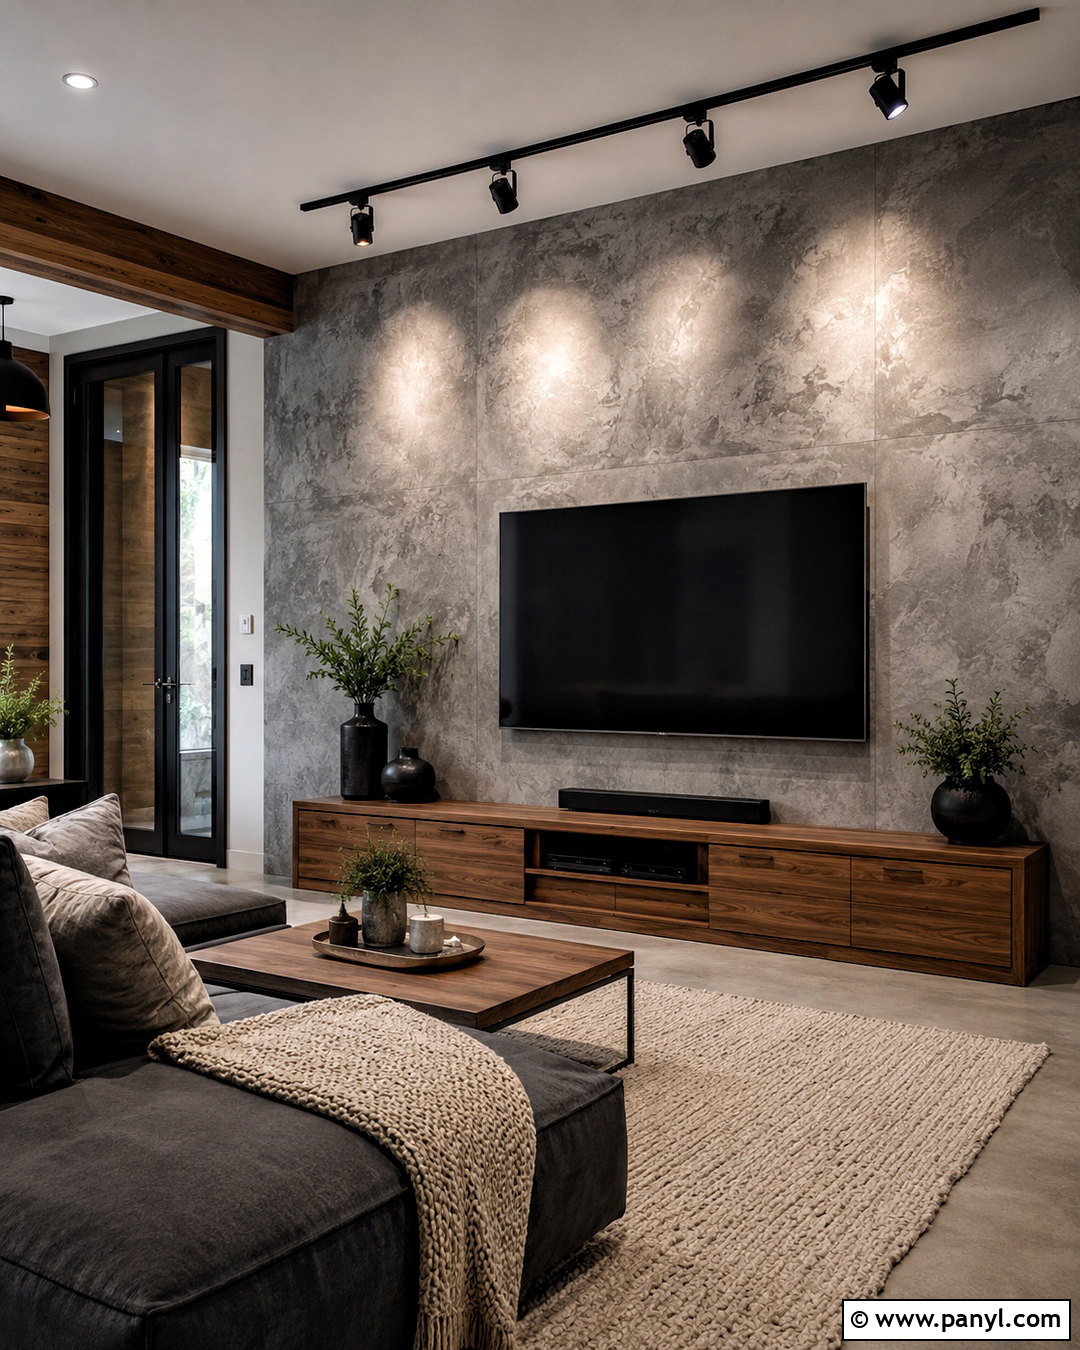
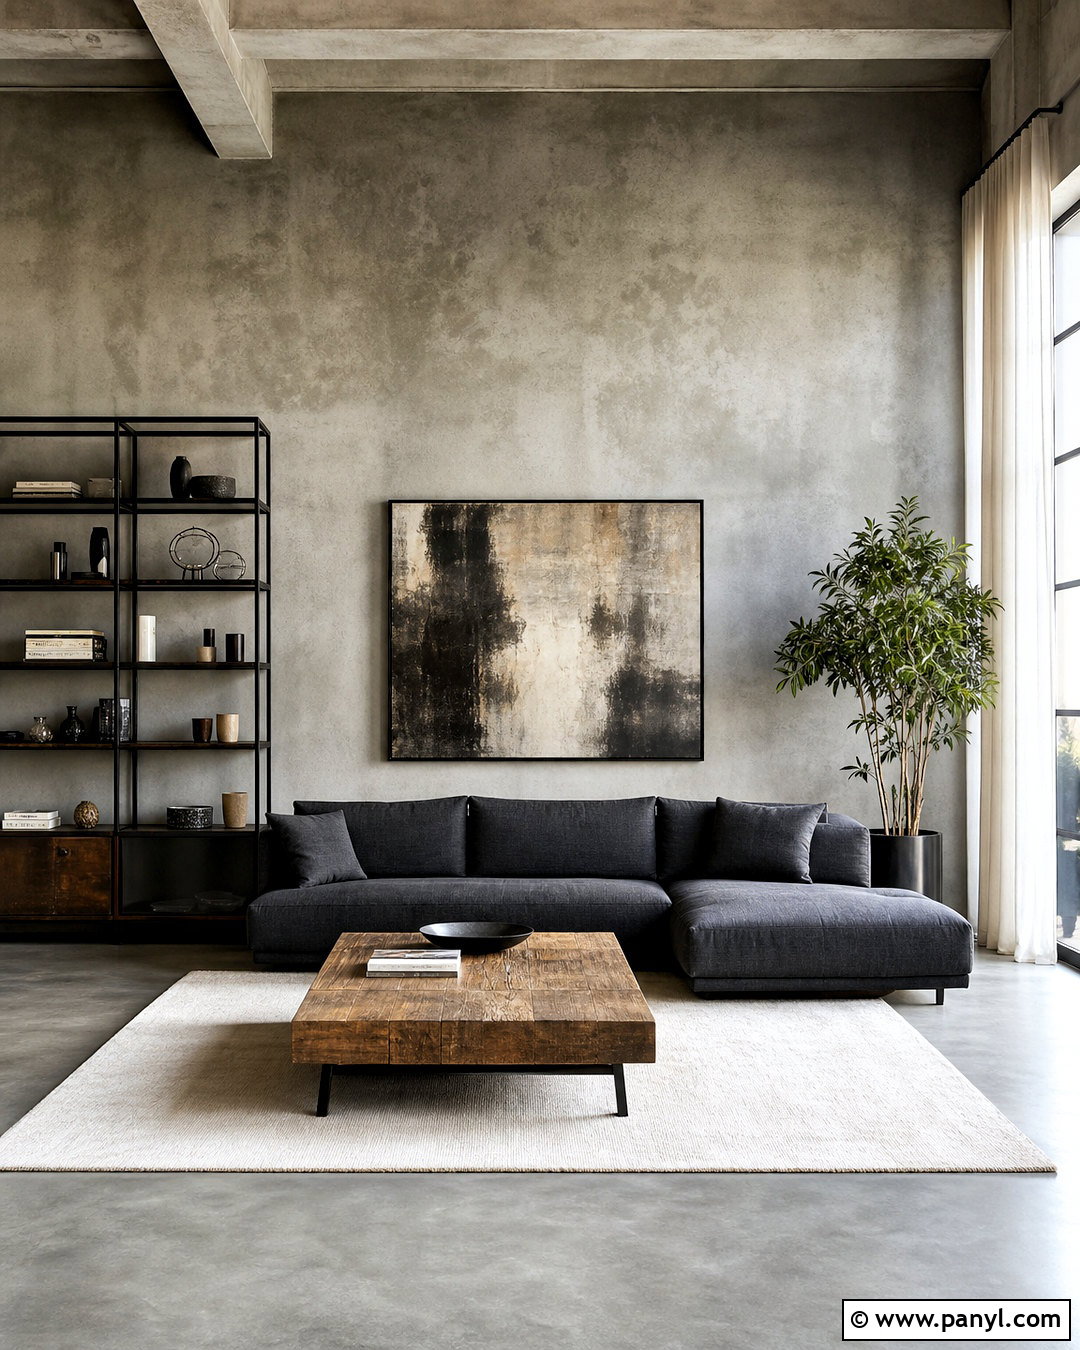
A faux concrete wall can give a media room an industrial appearance without adding the weight of real masonry. Cover the feature wall with a thin gray decorative coating or tinted joint compound, then move a broad trowel in overlapping arcs. Blend charcoal, medium gray, and pale gray areas while wet, keeping the transitions cloudy rather than striped. Add a few faint horizontal and vertical lines to suggest large concrete panels. Finish the room with a low walnut media console, a charcoal sectional, black metal lighting, and a textured ivory rug. Conceal cords so the wall remains the focal point. Warm wood and soft textiles keep the gray scheme comfortable. Apply a compatible protective topcoat if the selected decorative product requires one, especially in an active family space where the wall may need occasional cleaning.
16. Faux Brick Wall Texture
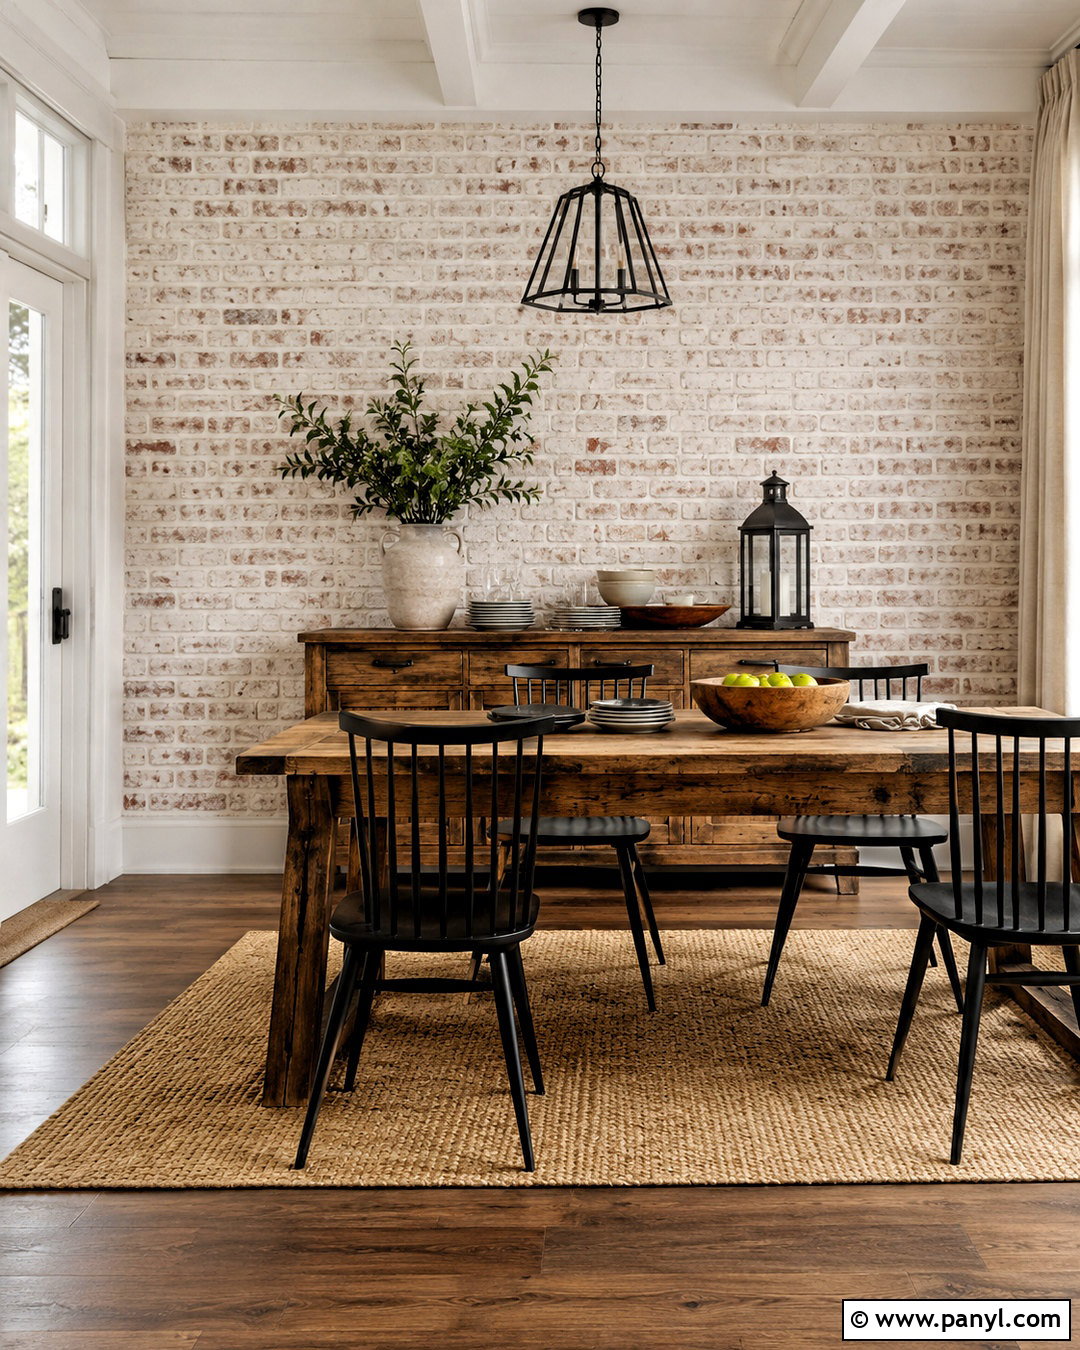
Faux brick texture brings architectural character to a dining room when real exposed masonry is unavailable. Attach lightweight brick veneer panels or create raised brick shapes with a reusable stencil and joint compound. Paint the finished surface in layered warm white, pale taupe, and touches of muted red-brown, allowing the recessed mortar lines to remain lighter. Pair the wall with a reclaimed-look oak table, black spindle chairs, a simple iron pendant, and natural linen curtains. Keep the remaining walls creamy white and use medium-toned wood flooring for continuity. A large framed print can sit against the brick, but leave much of the texture uncovered. Wrap the pattern neatly into inside corners or stop it at a clean vertical edge. Careful alignment is essential because uneven rows are more noticeable than small variations in color.
17. Grasscloth Wall Texture
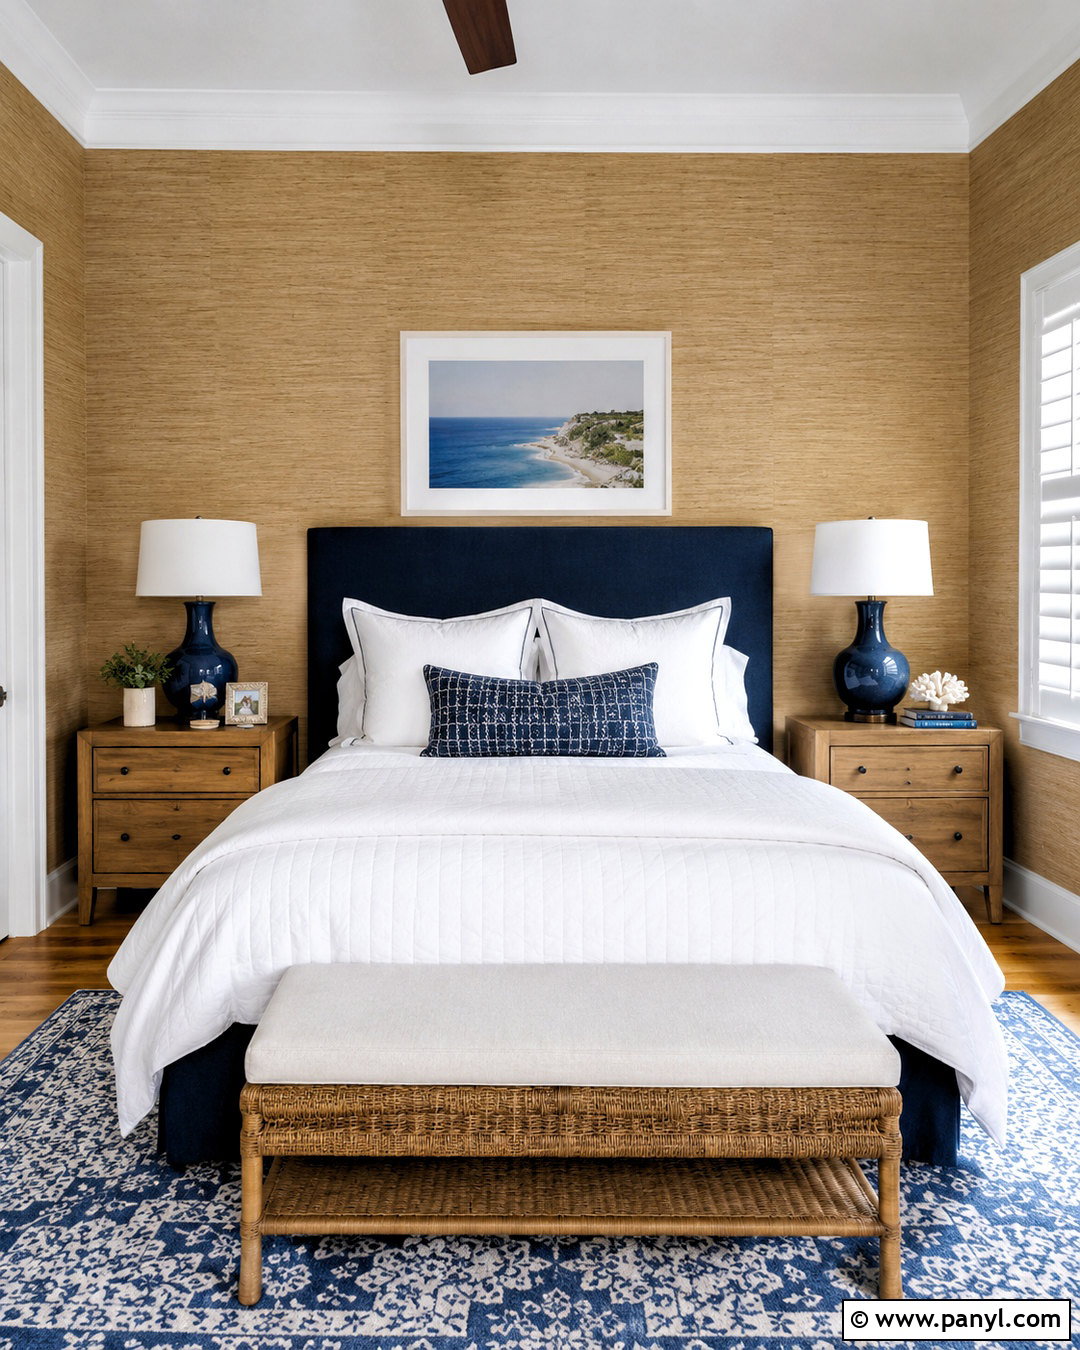
Peel-and-stick faux grasscloth wallpaper offers woven texture without wet plaster, making it useful for a low-mess guest room update. Choose a warm flax-colored pattern with a subtle horizontal weave. Apply it to the bed wall, matching the design carefully while accepting small tonal shifts that imitate natural fibers. Use a smoothing tool to remove air pockets and trim the edges with a sharp blade. Complete the room with a deep navy upholstered headboard, white cotton bedding, oak nightstands, and ceramic lamps with linen shades. A patterned blue rug connects the darker headboard to the neutral wall. Keep the other walls soft ivory. Before installation, confirm that the wallpaper is appropriate for the existing paint and surface texture. A sample panel can reveal whether the adhesive holds securely and whether imperfections show through.
18. Wood Slat Wall Texture
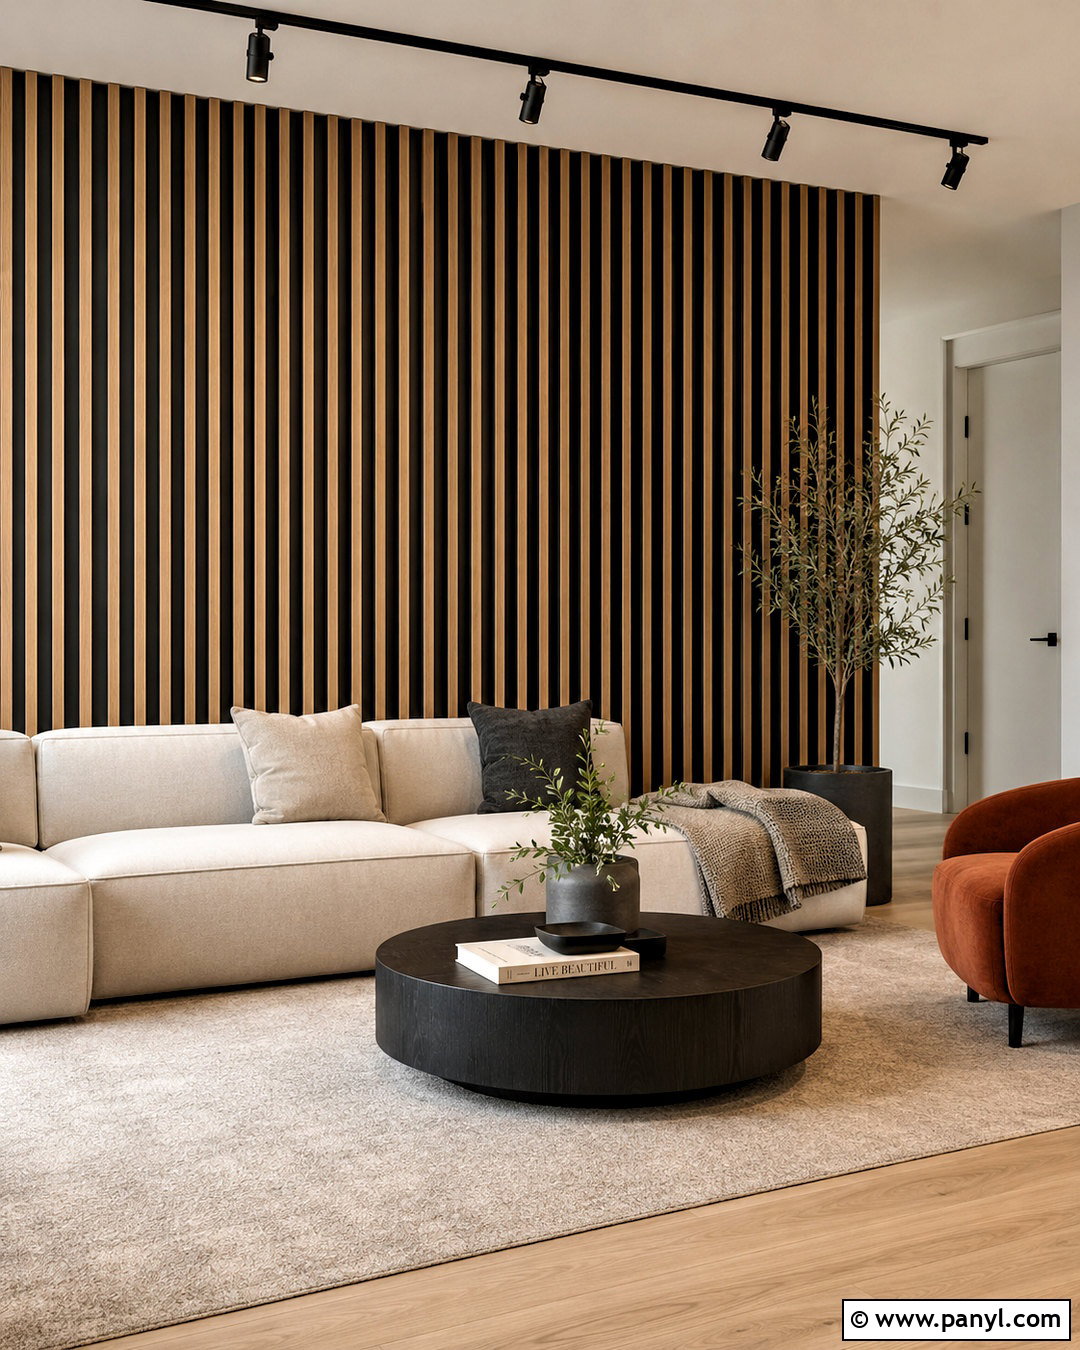
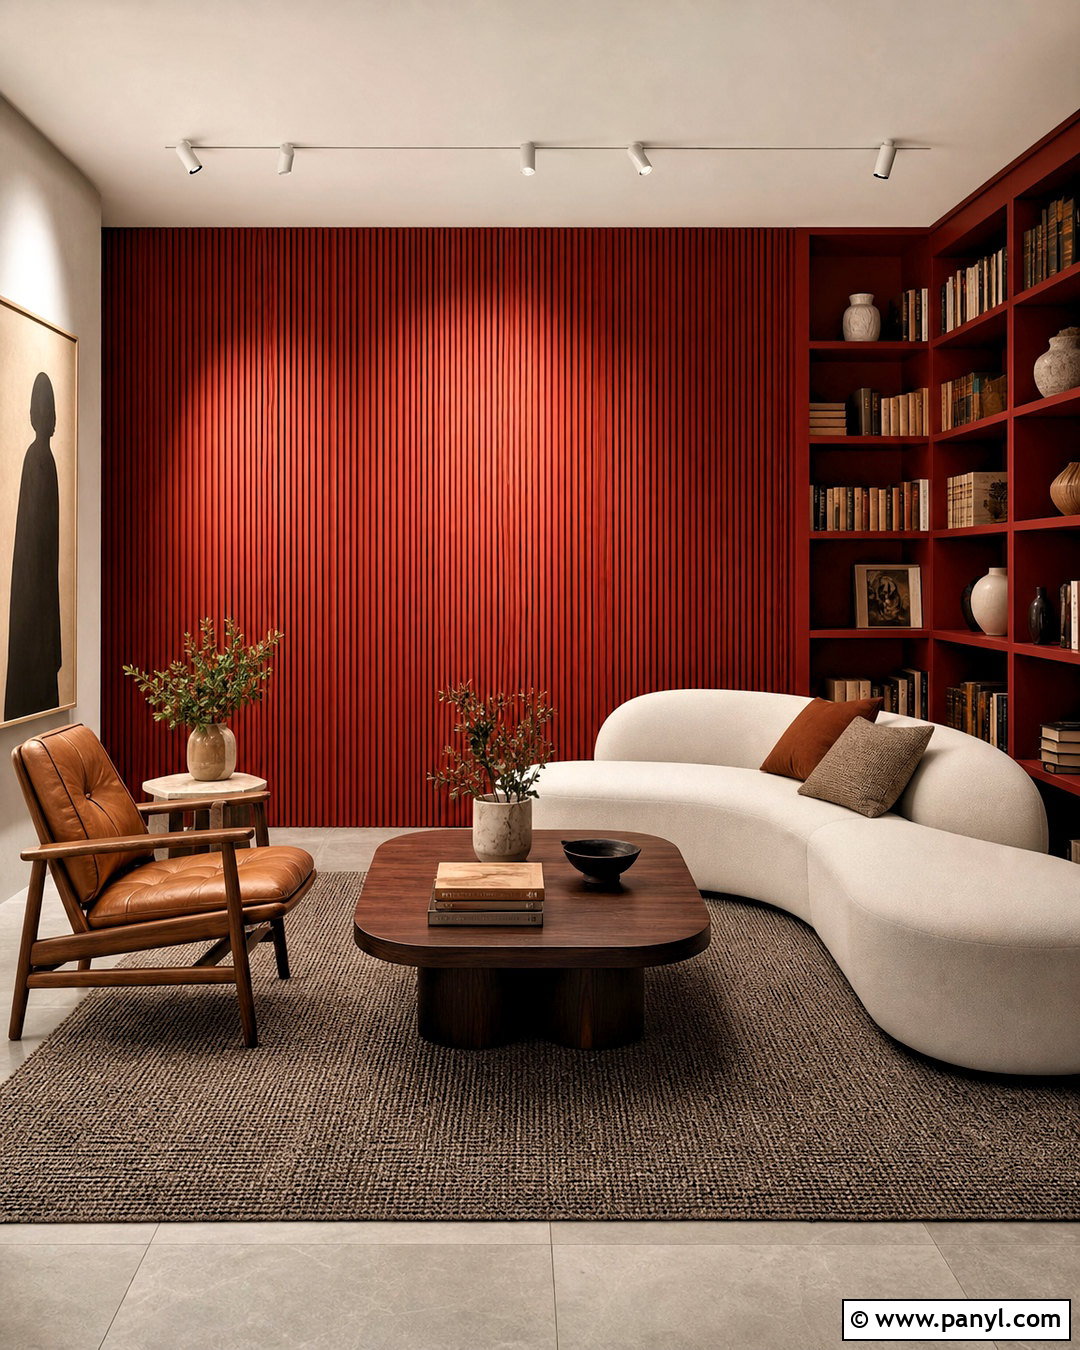
A wood slat wall adds strong vertical rhythm to a modern living room while making the ceiling appear taller. Install narrow white oak slats over a charcoal-painted backing, maintaining equal gaps with a spacer. Frame the treatment from baseboard to ceiling and finish the exposed wood with a clear matte coating. Place a low cream sofa in front of the wall, then add a round black coffee table, a rust-colored accent chair, and a large neutral rug. Minimal artwork allows the slatted surface to remain visible. Integrated picture lights or adjustable ceiling fixtures can emphasize the shadows between the boards. Use straight, dry lumber and locate studs before fastening the support structure. For an easier removable version, assemble the slats on thin backing panels and secure the completed panels safely to the wall.
19. Board And Batten Wall Texture
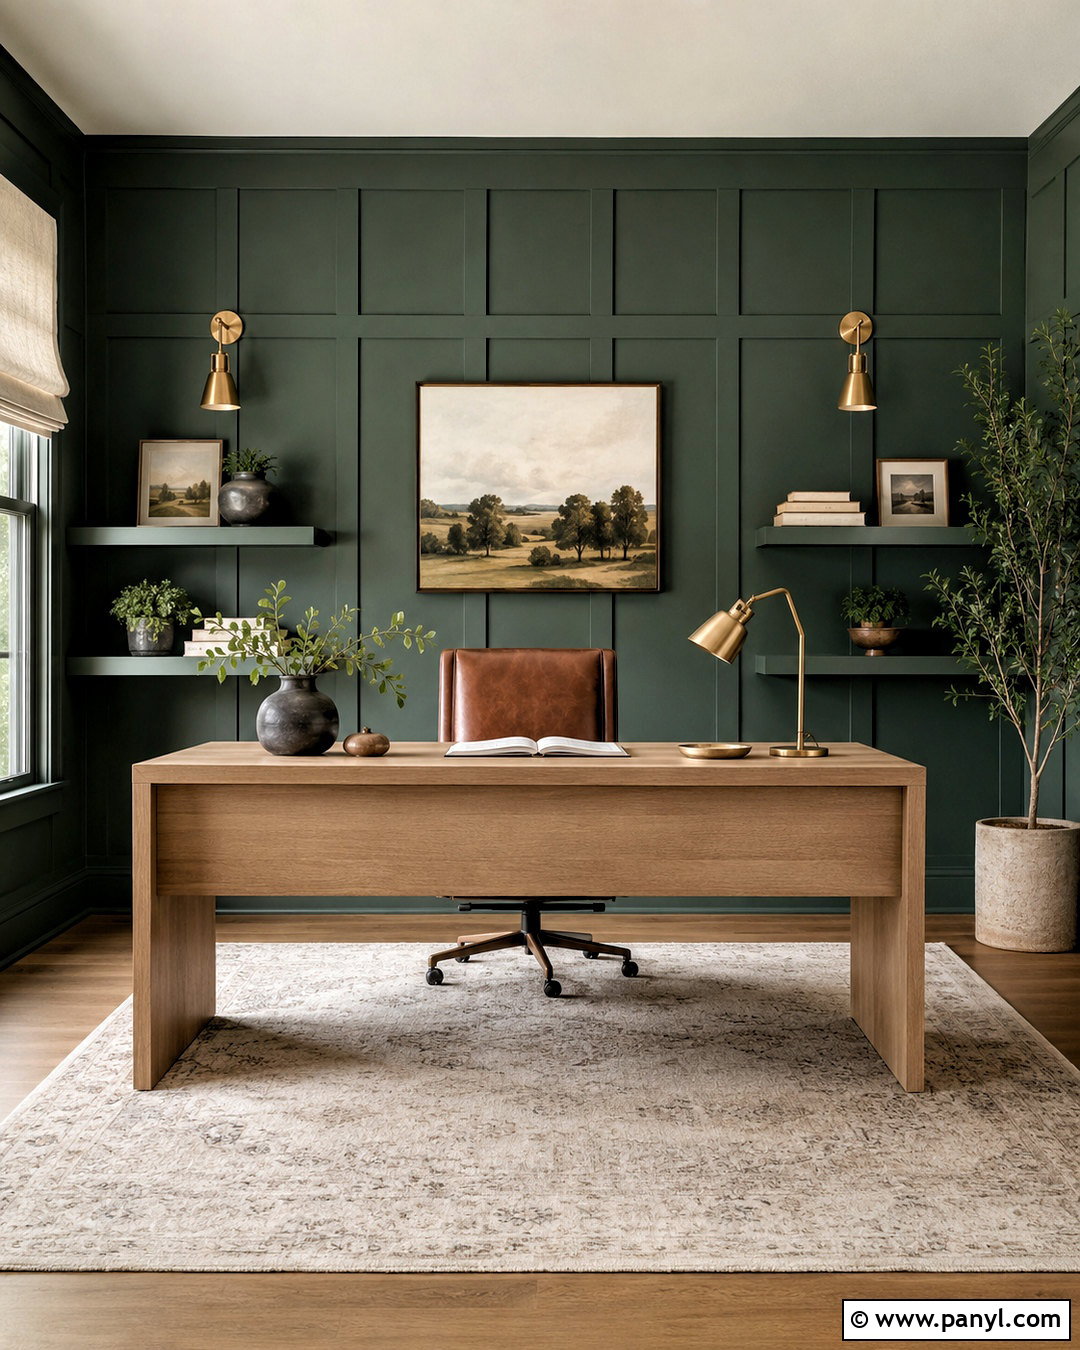
Board and batten gives a home office structured wall texture through simple trim rather than wet compound. Create a full-height grid using slim MDF or wood strips, checking every vertical and horizontal line with a level. Fill nail holes, caulk the seams, prime the trim, and paint the complete wall a rich forest green. Add a light oak desk, a cognac desk chair, cream Roman shades, and aged brass lighting. Floating shelves painted green can blend into the grid while providing display space. Keep accessories restrained so the room feels organized and professional. Account for outlets and switches when planning the pattern, placing them within panels instead of cutting awkwardly through battens. If the existing wall is smooth enough, it can serve as the recessed panel, which reduces material costs and keeps the finished profile shallow.
20. Stone Veneer Wall Texture
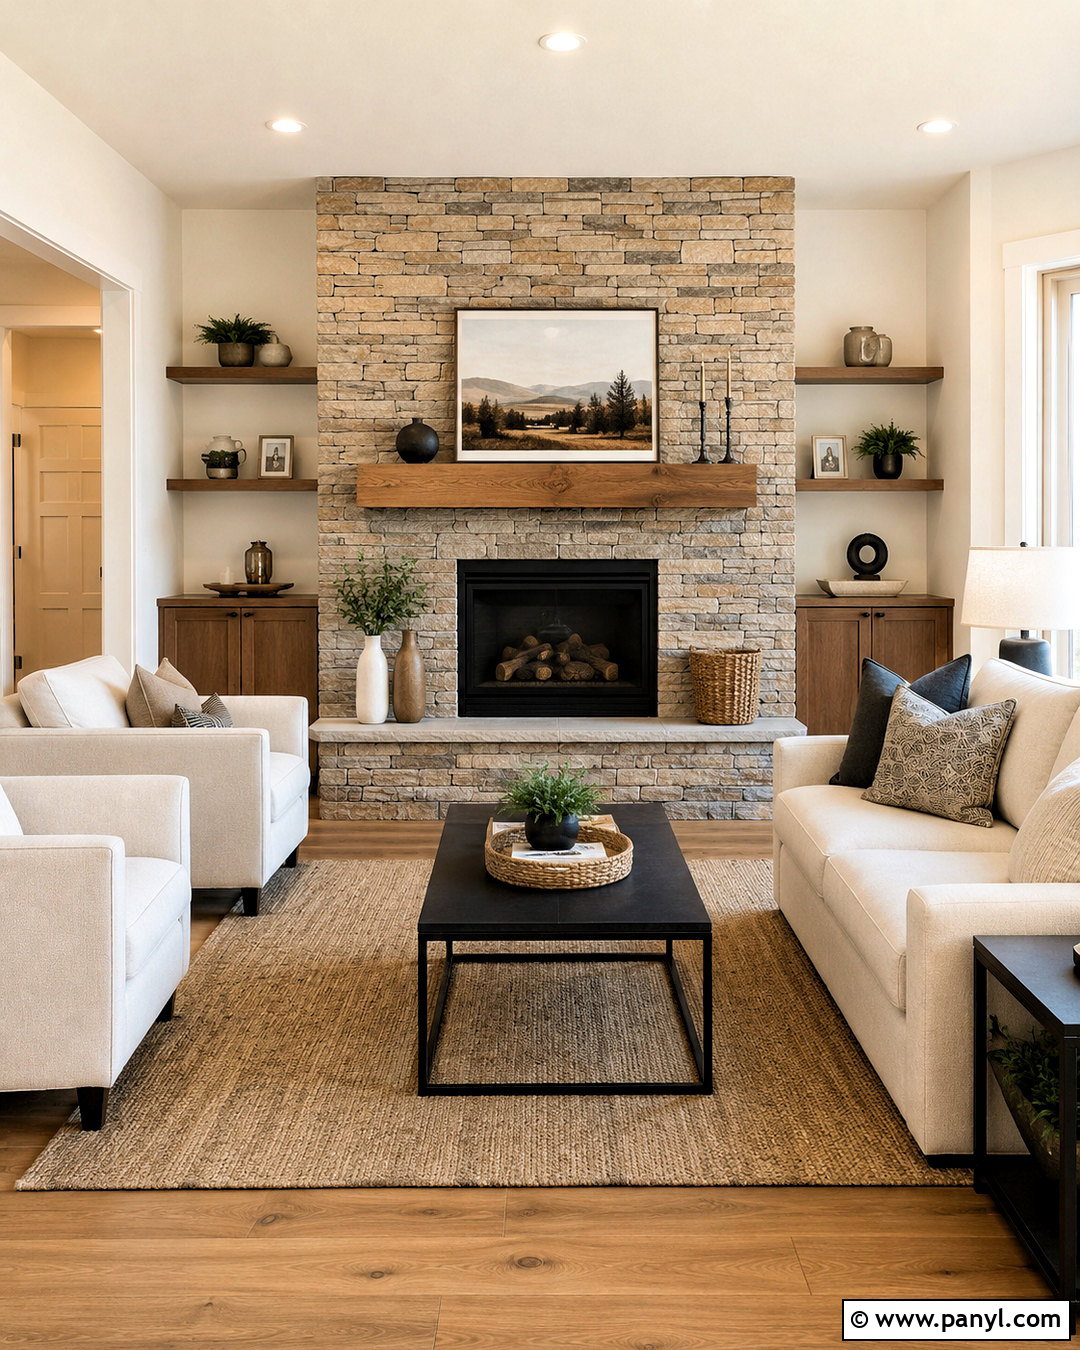
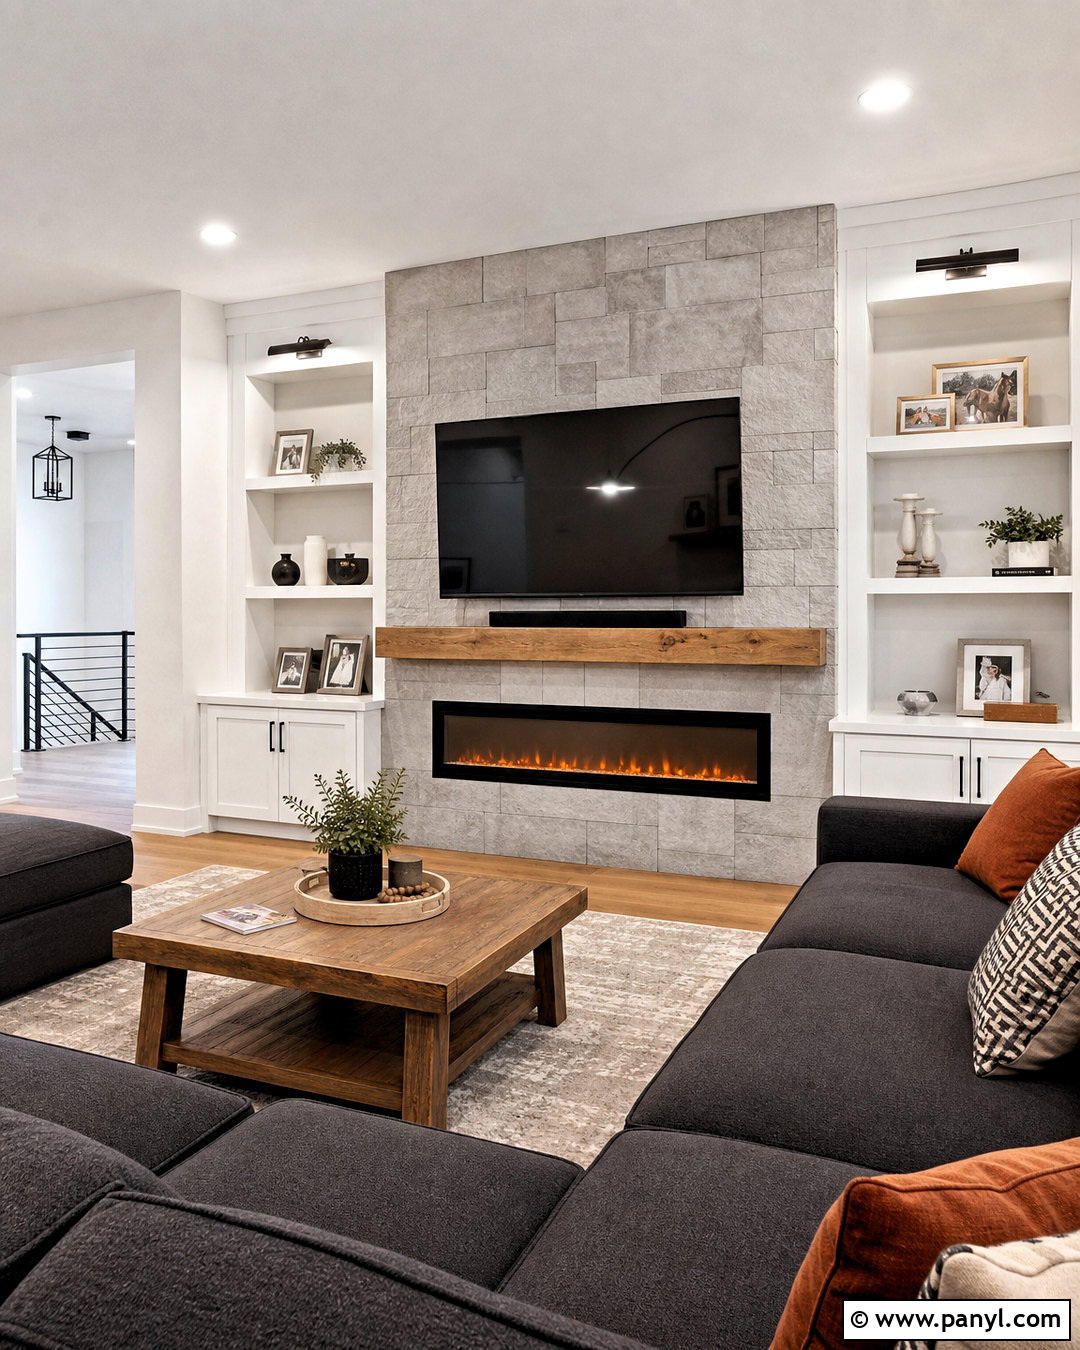
Lightweight stone veneer can transform a plain fireplace wall into a convincing architectural centerpiece. Select thin ledgestone in mixed warm gray, beige, and soft brown tones. Arrange several rows on the floor first so joints, sizes, and colors appear naturally distributed. Install the pieces with the adhesive or mortar approved by the manufacturer, checking frequently for level placement. Complete the room with a simple oak mantel, cream upholstered seating, a black metal coffee table, and a large woven rug. Paint adjacent walls warm white to balance the stone’s visual weight. Recessed ceiling lights or adjustable sconces will reveal its uneven surface. Keep the hearth and mantel decor minimal. Confirm that every material used near a working fireplace meets the appliance manufacturer’s clearance requirements and applicable local building rules.
Conclusion:
The best wall treatment should complement the room rather than compete with everything inside it. Start by considering the space’s size, lighting, furniture, and daily use. Painted effects such as limewash and rag rolling offer soft movement, while plaster, drywall compound, wood, brick, and stone create stronger dimension. Always prepare the wall carefully and complete a sample board before committing to a large surface. This small step helps you adjust color, scale, pressure, and application timing. Beginners may want to start with one feature wall, a shallow pattern, or removable textured wallpaper. With thoughtful planning and patient application, these 20 DIY wall texture ideas can make an ordinary room feel layered, finished, and completely personal.

Related Ideas and Inspiration:
Leave a Reply