
Learning how to refresh a room with paint can feel overwhelming, but the right plan makes the project far easier. These how to paint a wall ideas cover simple solid finishes, graphic patterns, soft gradients, murals, and architectural effects. Before painting, clean the surface, repair holes, sand rough patches, protect the floor, and test your colors in the room’s changing light. A smooth base and careful measurements matter even more when creating stripes or geometric shapes. () Choose each treatment to complement the furniture, flooring, lighting, and purpose of the space rather than treating the wall as an isolated feature. From calm bedrooms to playful offices, the following complete room looks offer practical and attractive how to paint a wall ideas.

1. Solid Color Wall
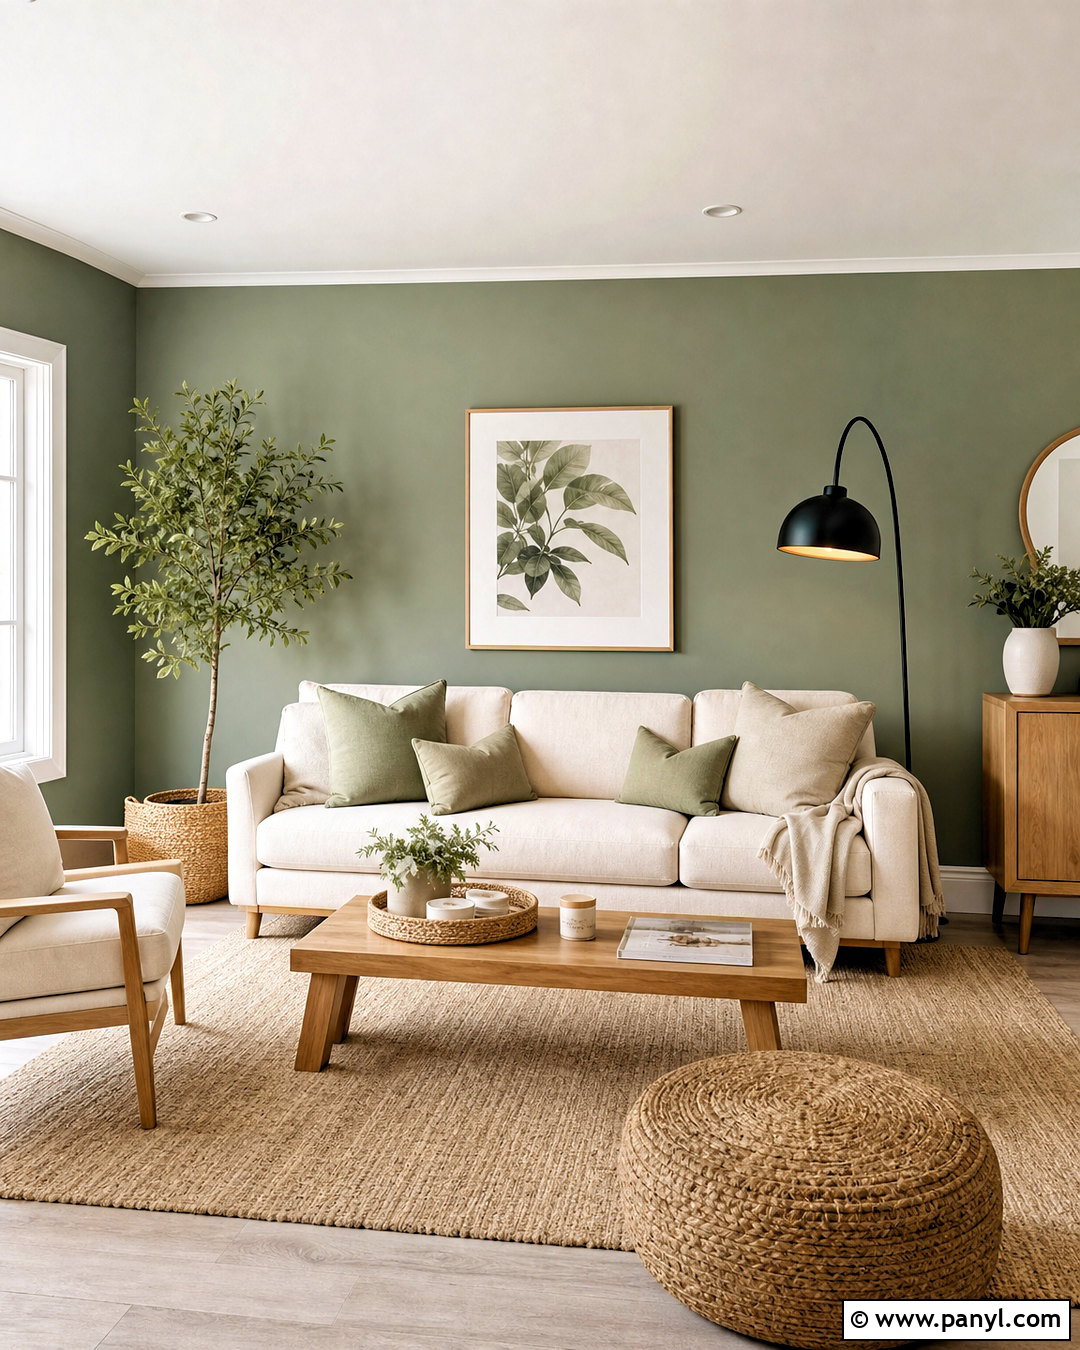
A beautifully painted solid wall is often the easiest way to transform an entire room. Start with a warm sage green in a living room that has natural oak furniture, cream upholstery, and woven accents. Clean and repair the wall before applying primer where needed. Cut in around the ceiling, corners, outlets, and baseboards with an angled brush. Roll the remaining surface in manageable sections while maintaining a wet edge between passes. Two thin coats usually create a smoother-looking finish than one heavy application. Complete the room with linen curtains, a light neutral rug, black metal lighting, and restrained botanical artwork. The coordinated materials prevent the solid color from feeling plain while allowing the fresh wall finish to anchor the space.
2. Accent Wall
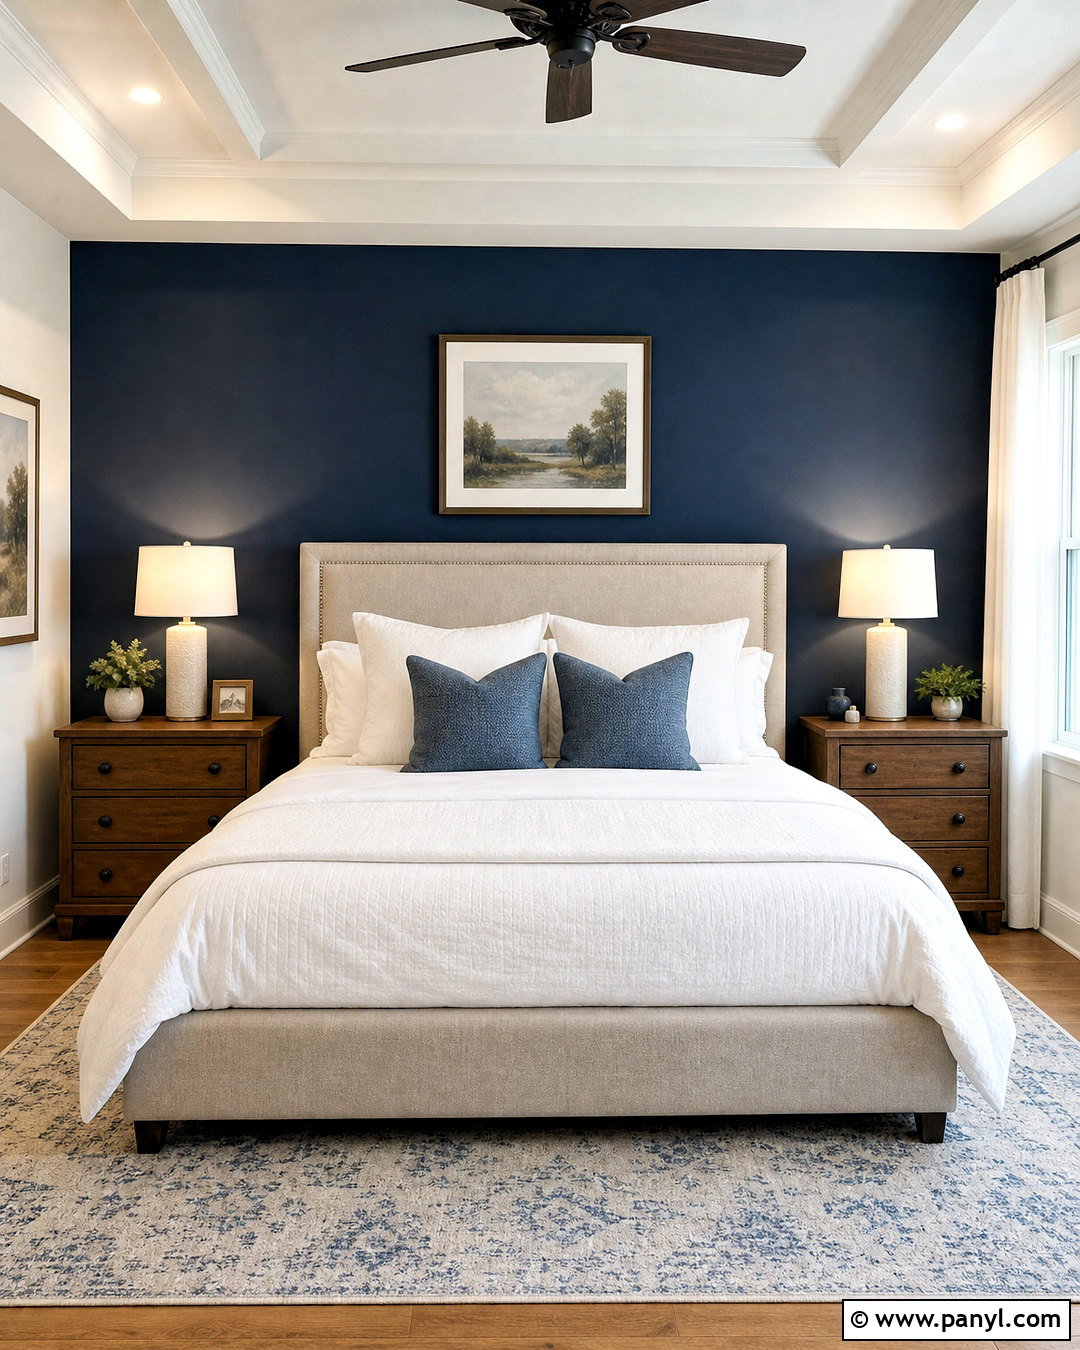
An accent wall works best when it emphasizes a natural focal point instead of competing with the room. In a bedroom, paint the wall behind the bed deep navy blue while keeping the surrounding walls soft warm white. Pair it with an upholstered oatmeal headboard, medium-tone wood nightstands, white bedding, and muted blue textiles. Remove switch plates, patch damage, and protect the adjoining walls with painter’s tape. Cut in carefully, then roll from top to bottom in overlapping sections. A matte or eggshell finish creates a soft background without excessive reflection. Choose artwork and bedside lamps with simple shapes so the dark wall remains the main attraction. Selecting a color connected to the room’s textiles helps the accent appear intentional rather than added as an afterthought. ()
3. Two Tone Wall
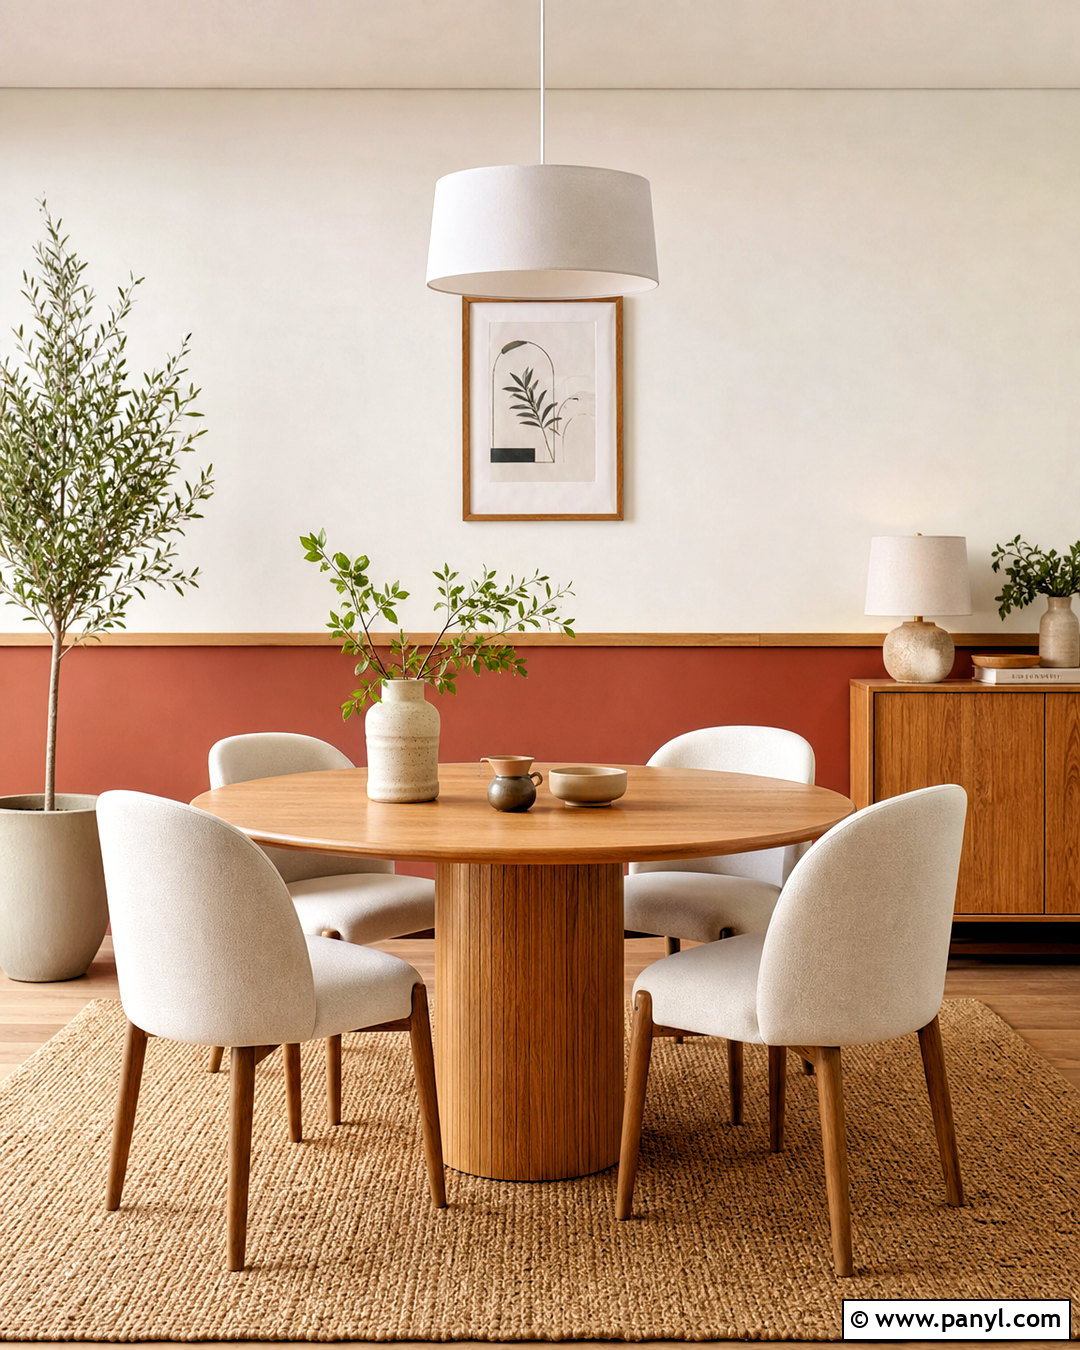
A two-tone wall can add architectural structure to a basic room without installing molding. Paint the upper portion soft ivory and the lower section muted terracotta for a warm dining area. Position the dividing line approximately one-third or halfway up the wall, depending on the ceiling height and nearby furniture. Apply the lighter base color first and allow it to dry completely. Measure the line in several places, connect the marks with a level, and add low-adhesion painter’s tape. Paint the terracotta below it, using an angled brush at the taped edge and a roller across the open area. A slim wood ledge can visually finish the transition. Add a round oak table, cream chairs, a jute rug, and simple ceramic decor to complete the balanced look.
4. Color Drenched Wall
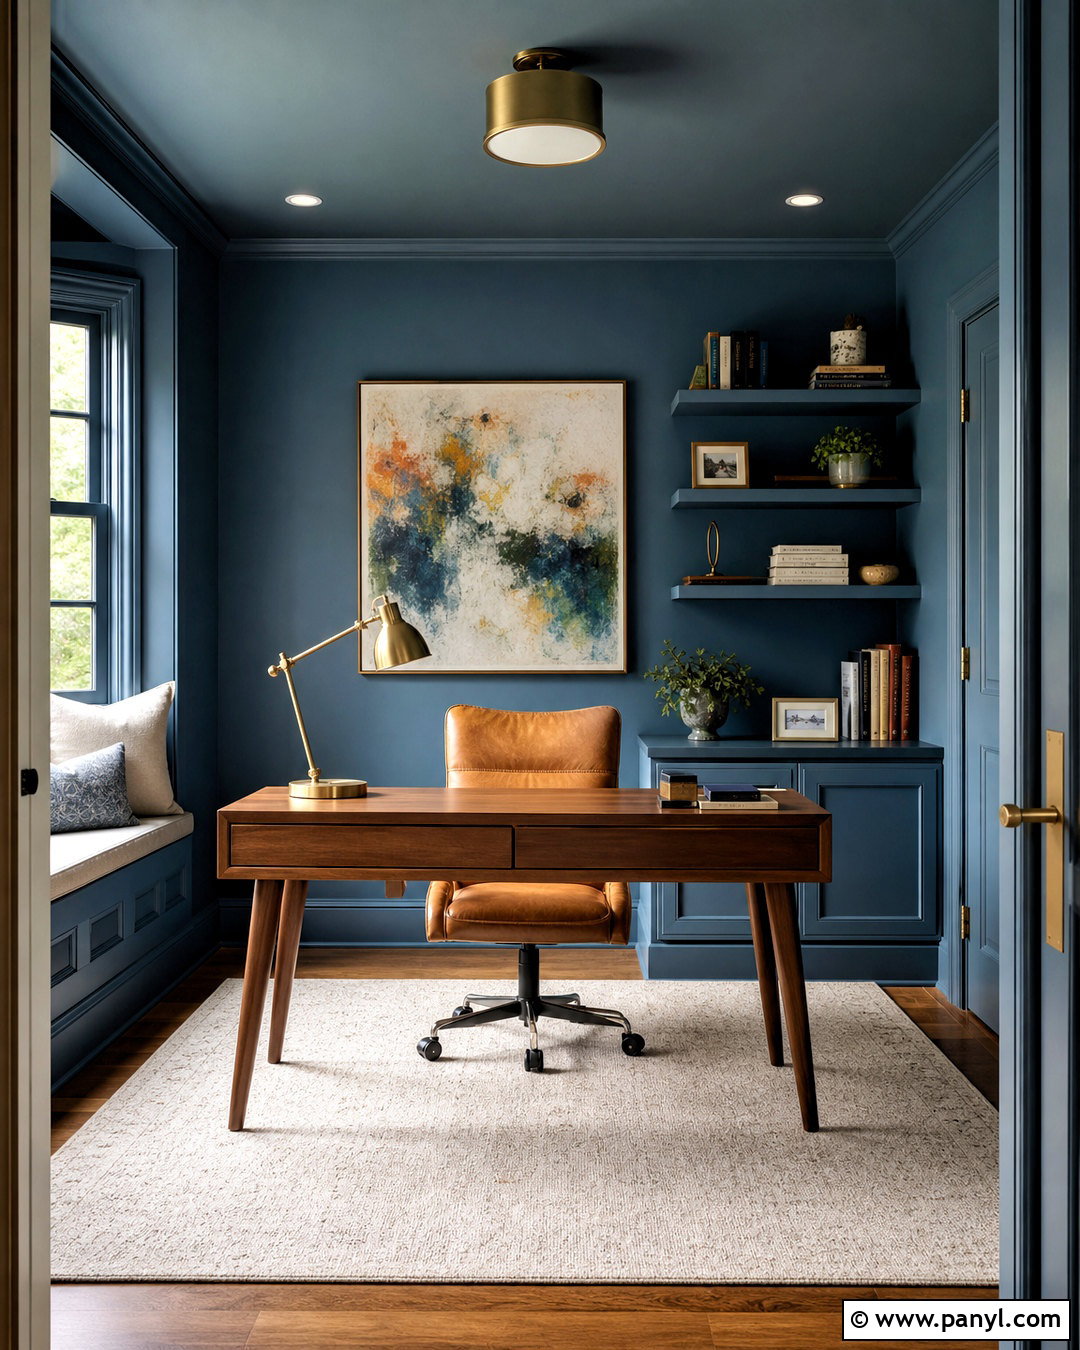
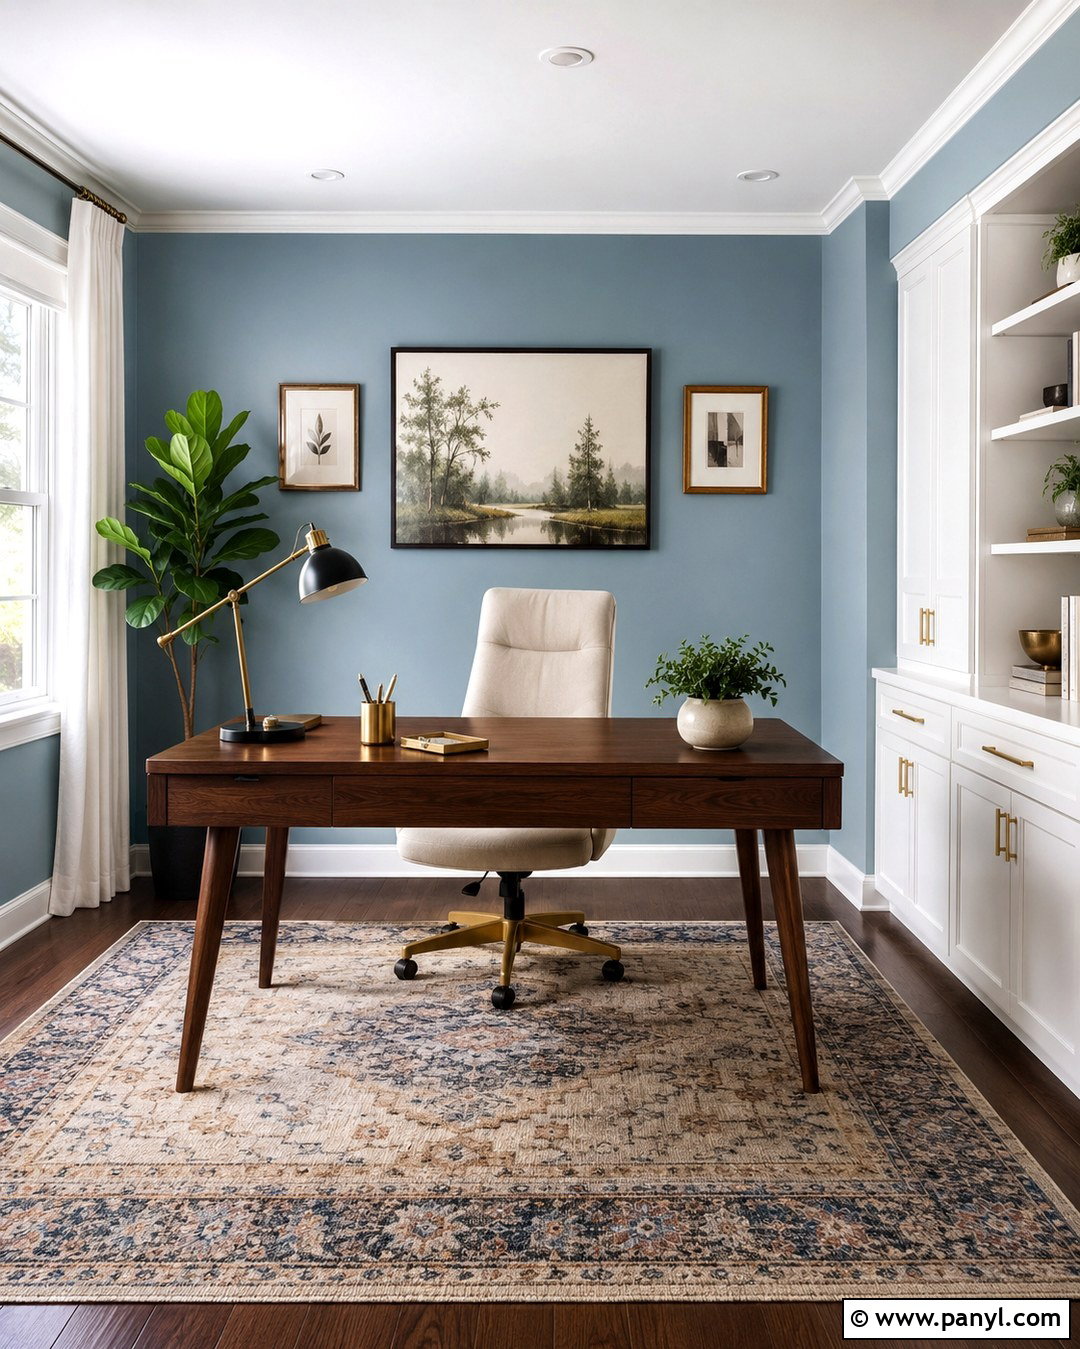
Color drenching wraps the walls, trim, doors, and sometimes the ceiling in one coordinated color. For a cozy home office, use dusty blue throughout the space and vary the paint sheen rather than the hue. Choose matte or eggshell paint for the walls and a more durable satin finish for doors and baseboards. Paint the ceiling a slightly diluted or lighter version if the room has limited daylight. A walnut desk, caramel leather chair, cream rug, and brushed brass lamp add warmth against the blue background. Carefully label paints by surface and sheen to avoid mixing them during application. This complete treatment softens visual interruptions, makes ordinary trim feel purposeful, and creates an immersive workspace. Keep accessories limited so the surrounding color remains the room’s most memorable feature.
5. Vertical Striped Wall
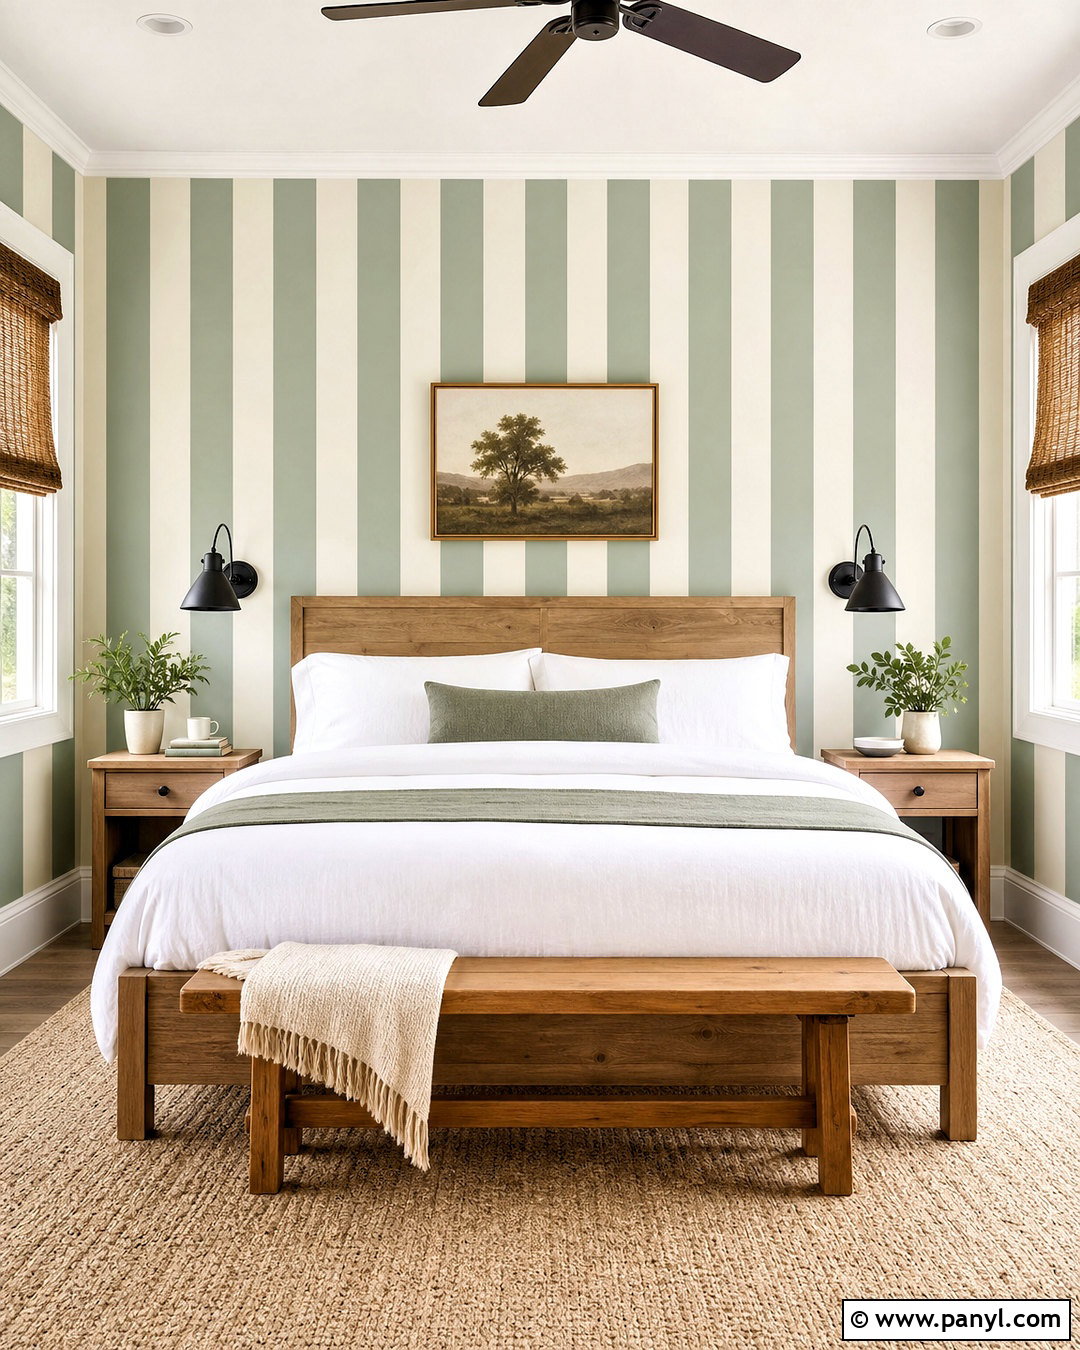
Vertical stripes give a bedroom or hallway a tailored look while drawing attention upward. Begin with a creamy white base, then add evenly spaced muted green stripes approximately eight to twelve inches wide. Measure the full width of the wall before deciding on stripe size so narrow leftover sections do not appear at the corners. Use a level or laser guide to mark each vertical line, and place low-stick tape along the correct side of every mark. Press the tape edges firmly before applying paint. Remove the tape slowly after the final coat according to the paint and tape instructions. () Complete the room with a simple wood bed, white linen bedding, woven shades, and small black accents. The limited palette keeps the striped wall crisp, calm, and easy to decorate.
6. Horizontal Striped Wall
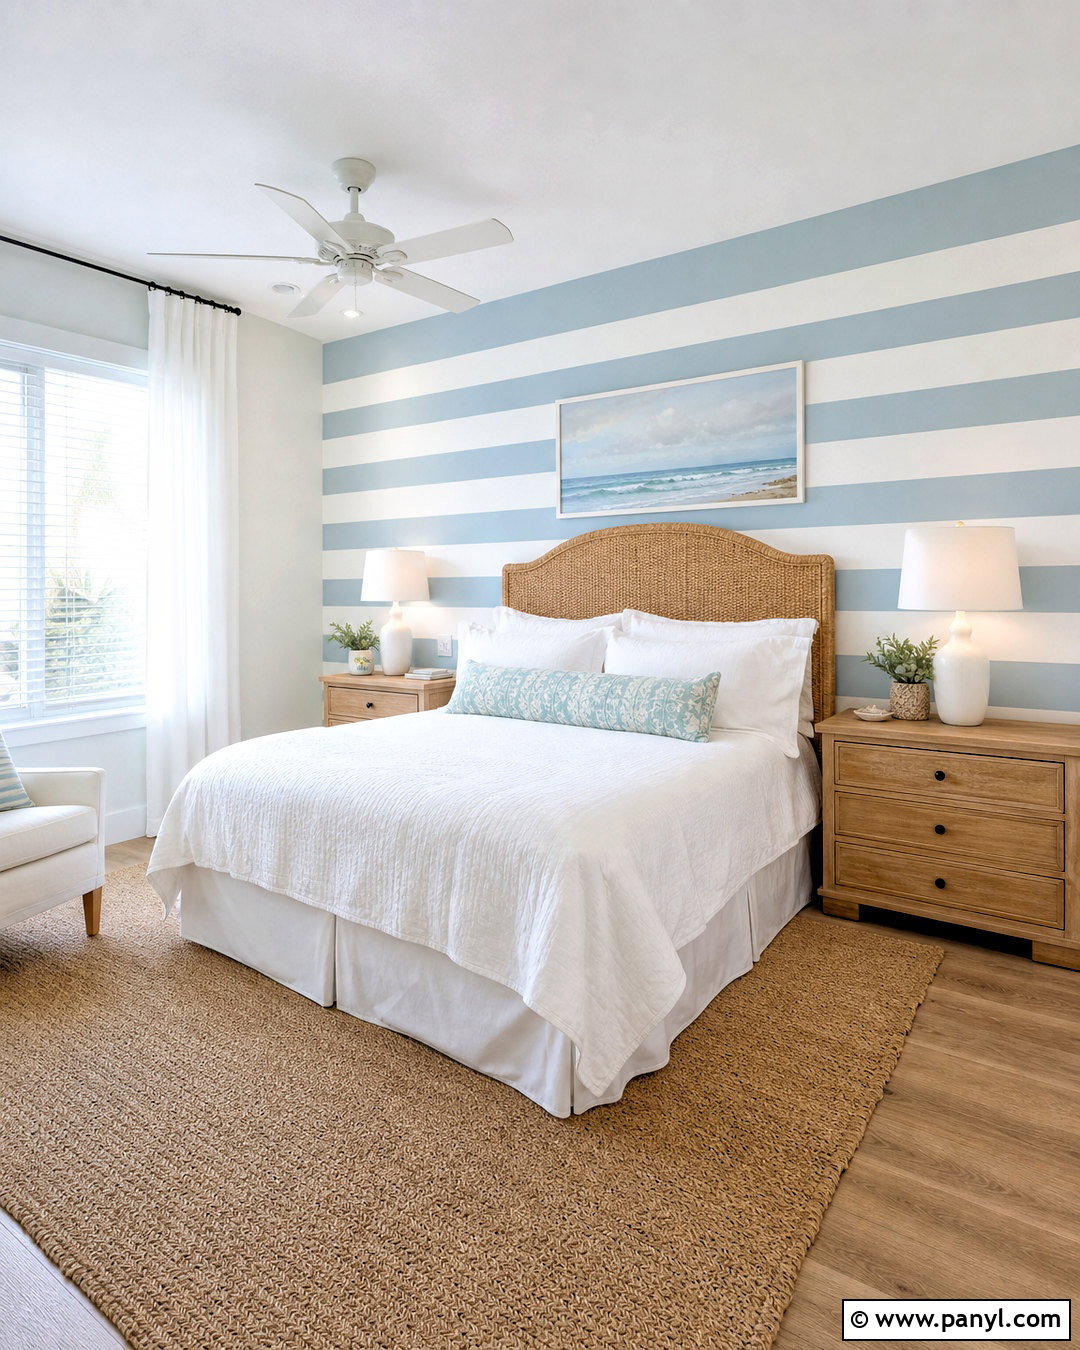
Wide horizontal stripes can make a narrow room appear broader and more visually connected. Create a relaxed coastal guest room with alternating soft white and pale blue-gray bands. Paint the white base first, allow it to cure, and divide the wall height into an odd number of equal sections. Use a level to draw straight guidelines before applying tape. Lightly seal each tape edge with the base color, let it dry, and then roll on the blue-gray paint. This extra step can help create cleaner boundaries on lightly textured walls. Furnish the room with a natural rattan headboard, white bedding, light oak tables, and a sand-colored rug. Keep the stripes generously proportioned because many narrow bands can make a small room feel busy rather than open and restful.
7. Geometric Painted Wall
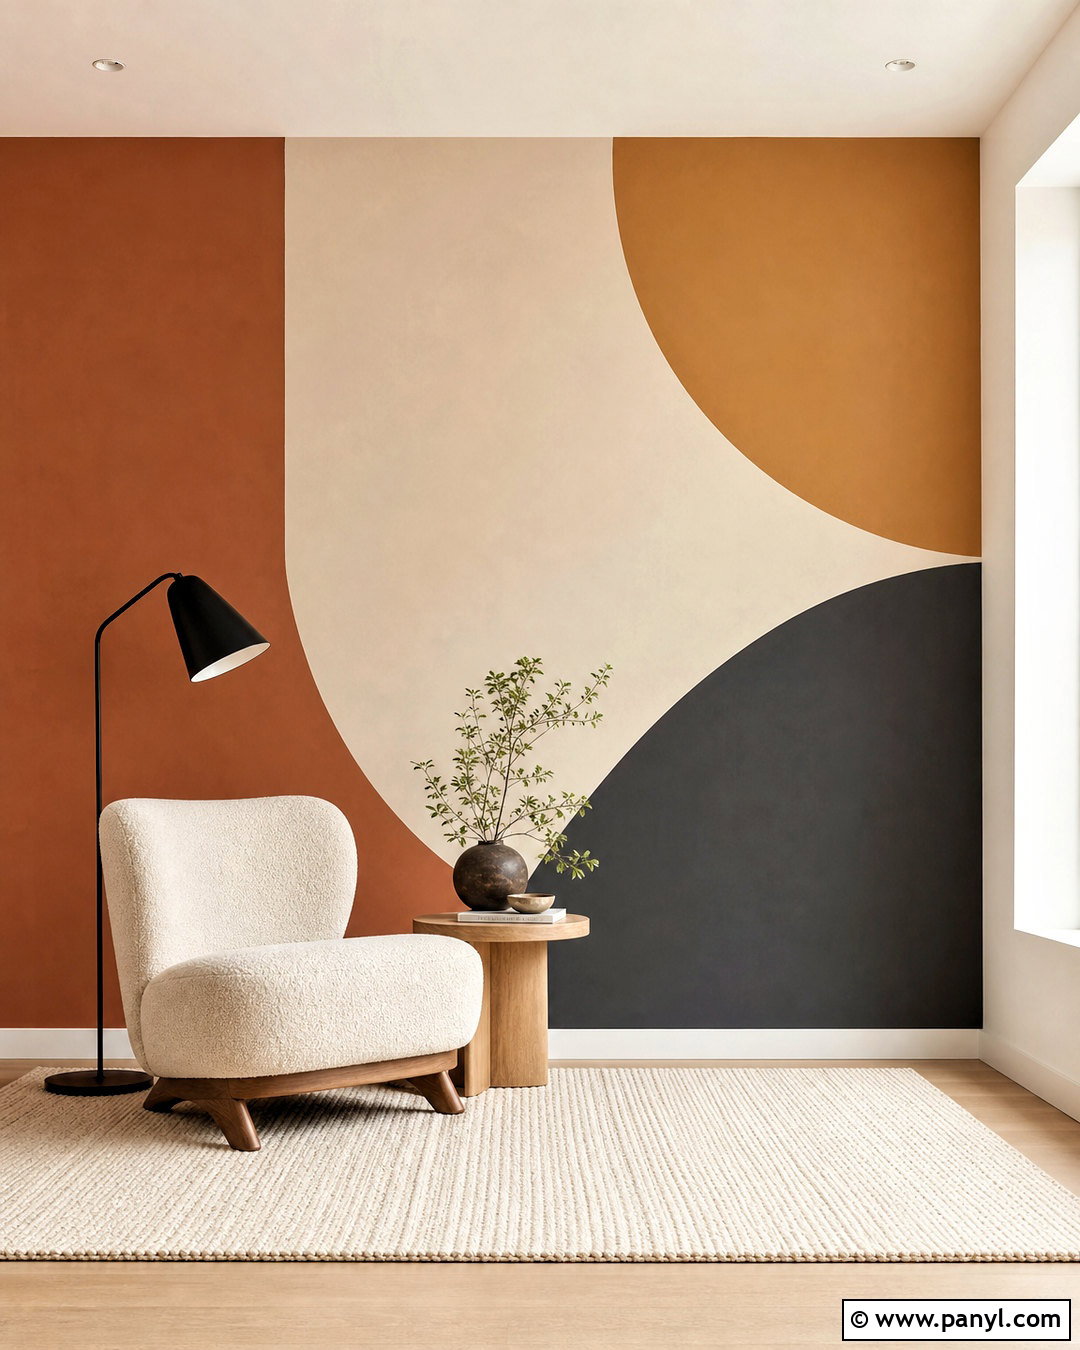
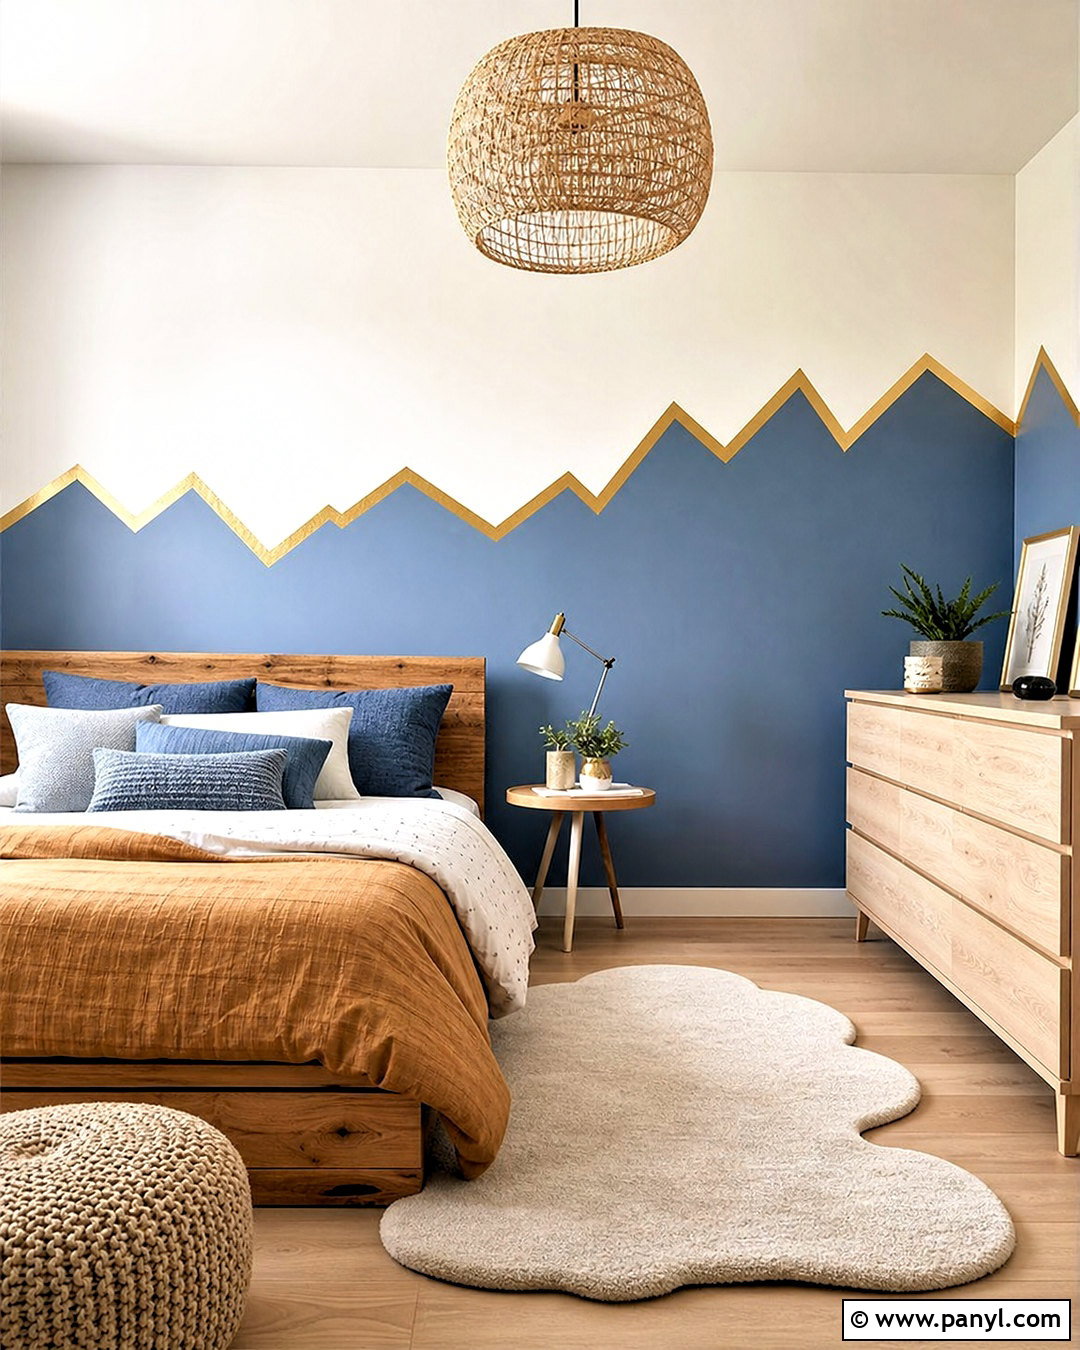
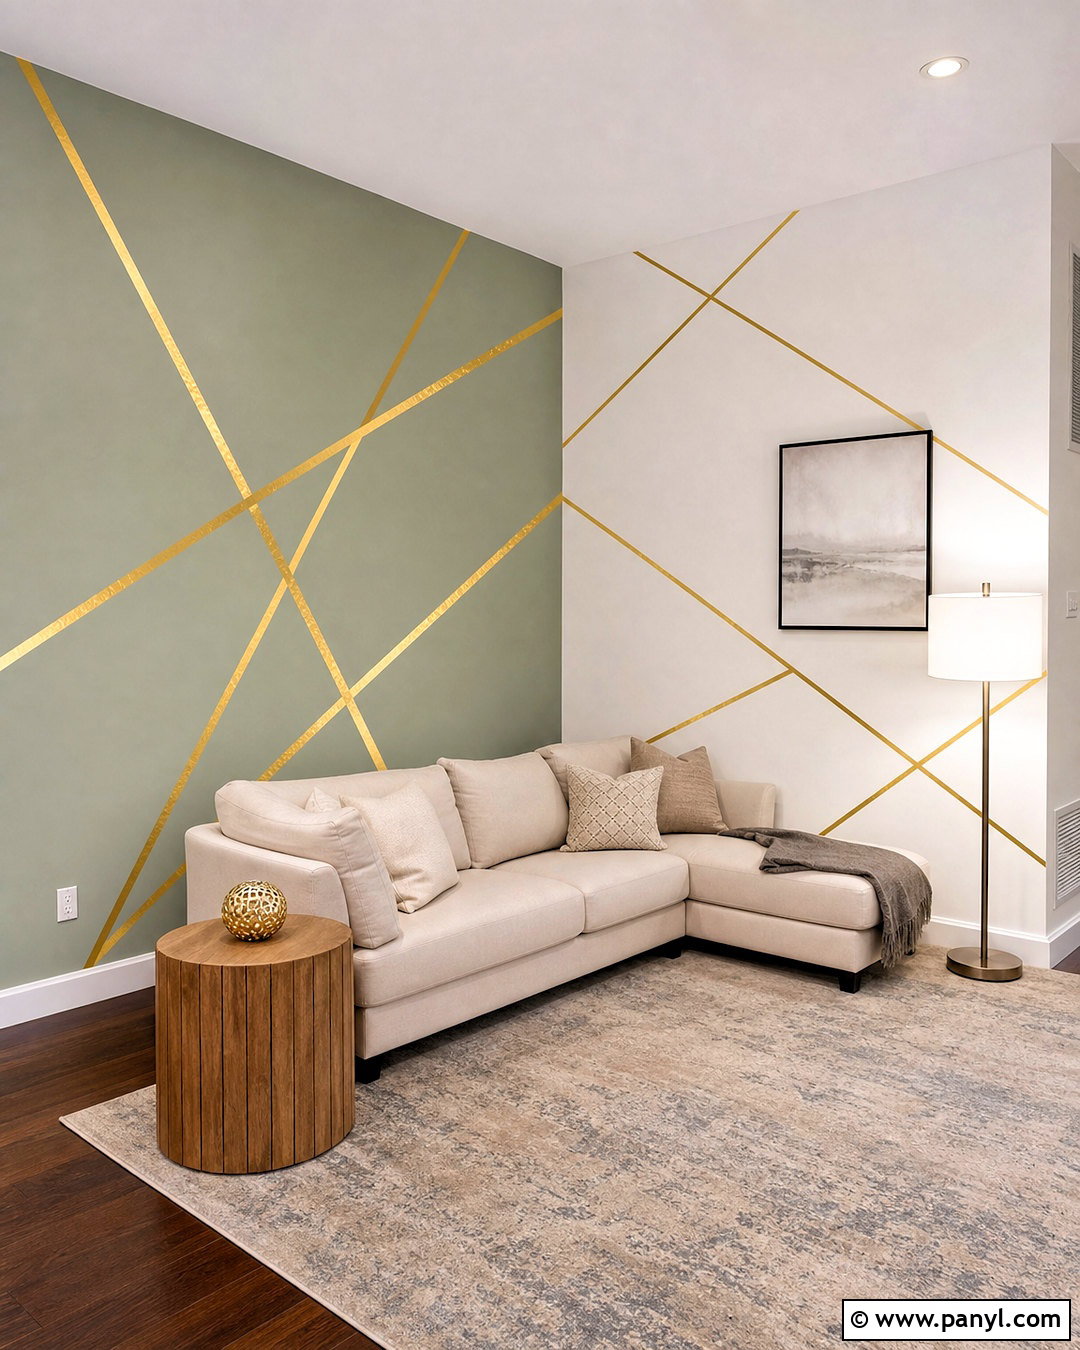
A geometric painted wall introduces movement and color without requiring wallpaper. Build a modern reading corner around large overlapping shapes in clay, beige, muted mustard, and charcoal. Begin with a warm white base and sketch the composition on paper before transferring it to the wall. Use a tape measure, long level, and lightly drawn pencil marks to establish triangles, rectangles, or angled blocks. Paint the lightest section first, allow suitable drying time, and retape for each darker color. Working from light to dark helps reduce coverage problems. Sherwin-Williams similarly recommends planning, measuring, taping, and painting geometric patterns in stages. () Finish the corner with a low cream chair, black floor lamp, oak side table, and textured rug that repeat the mural’s neutral tones.
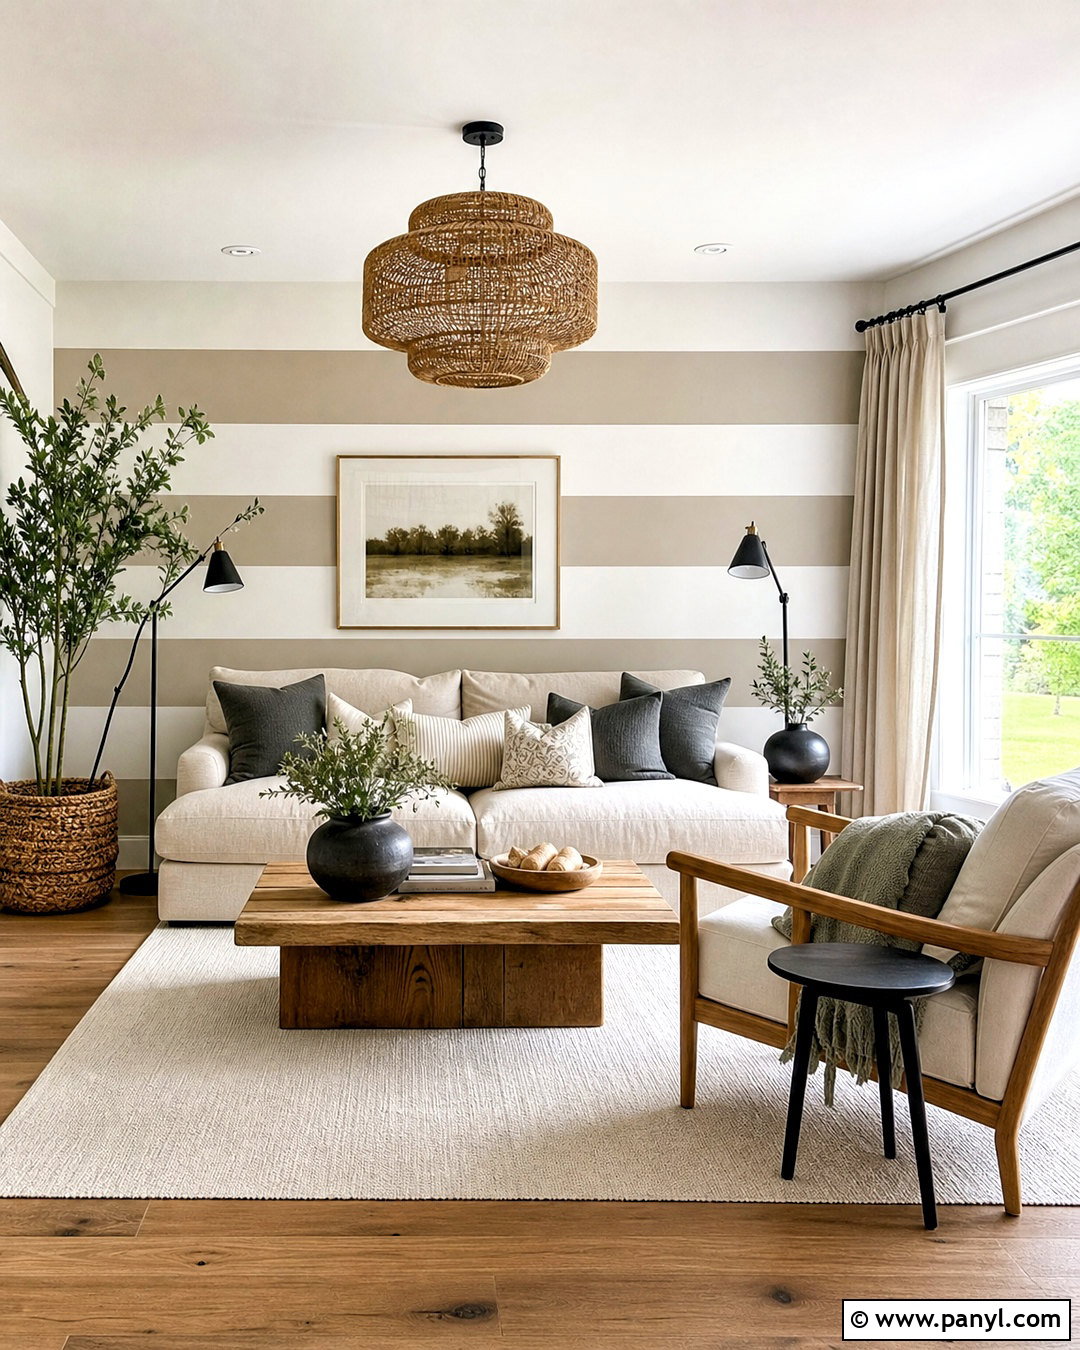
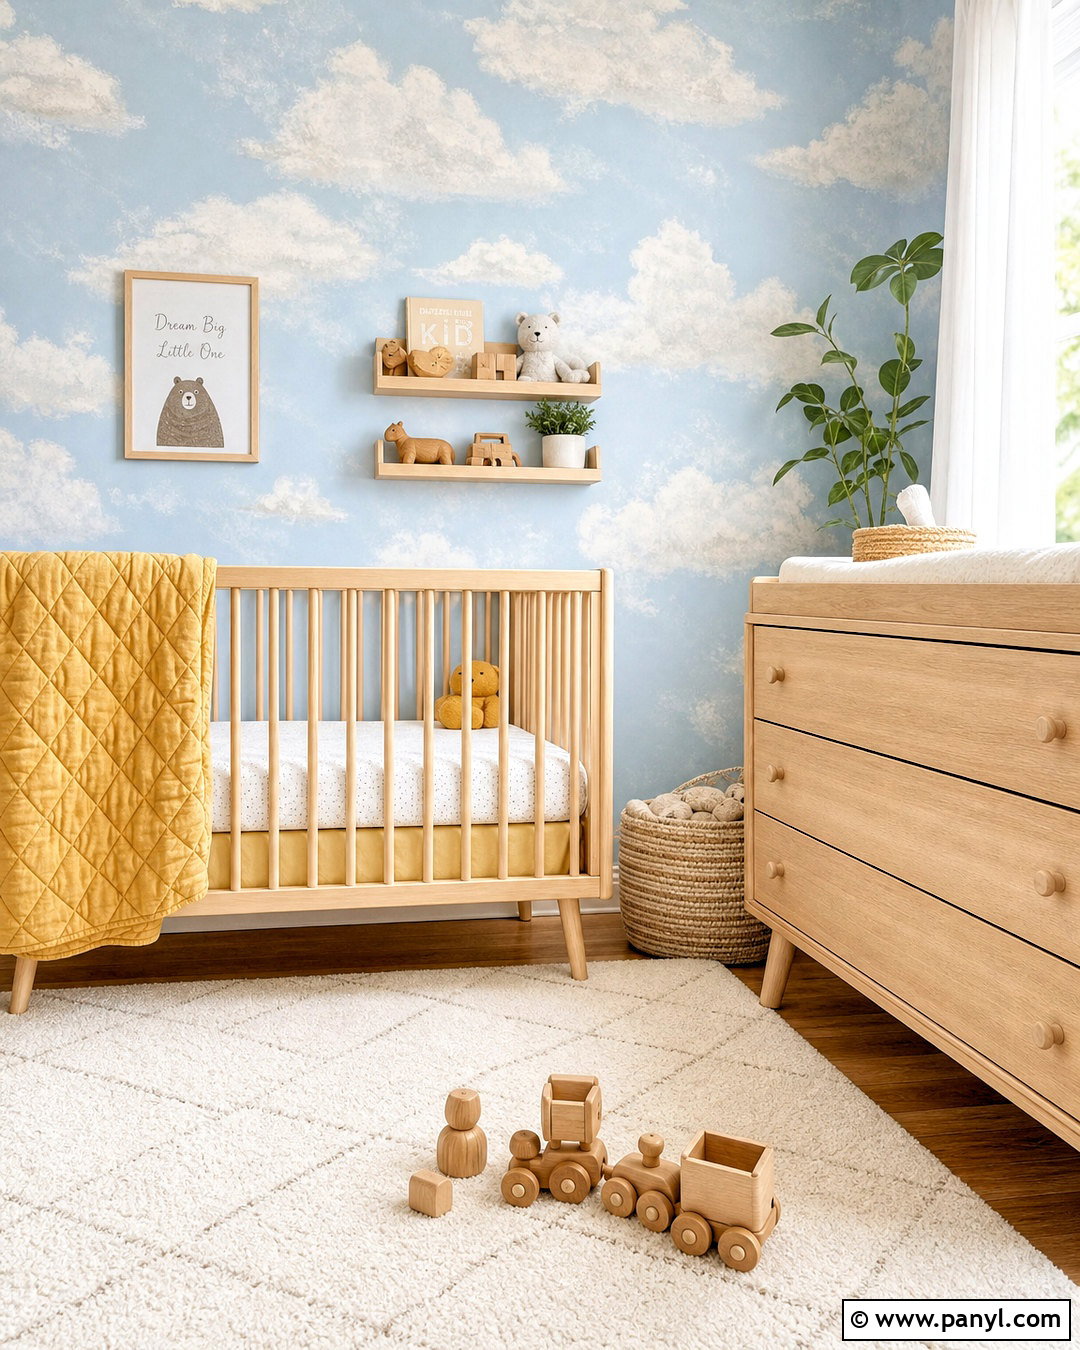
8. Painted Arch Wall
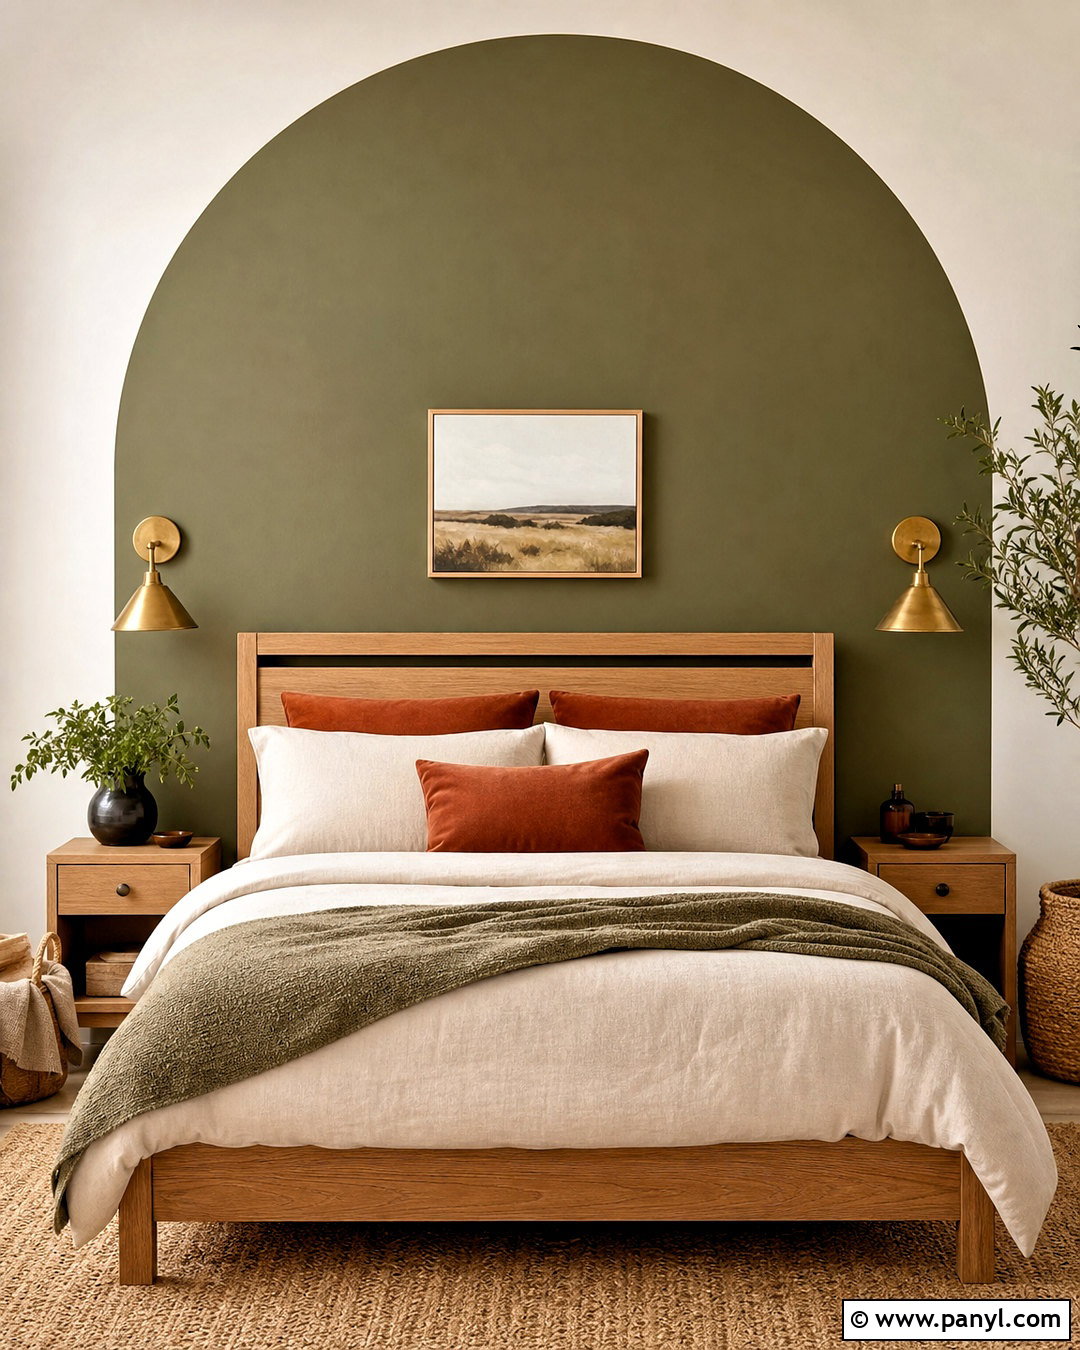
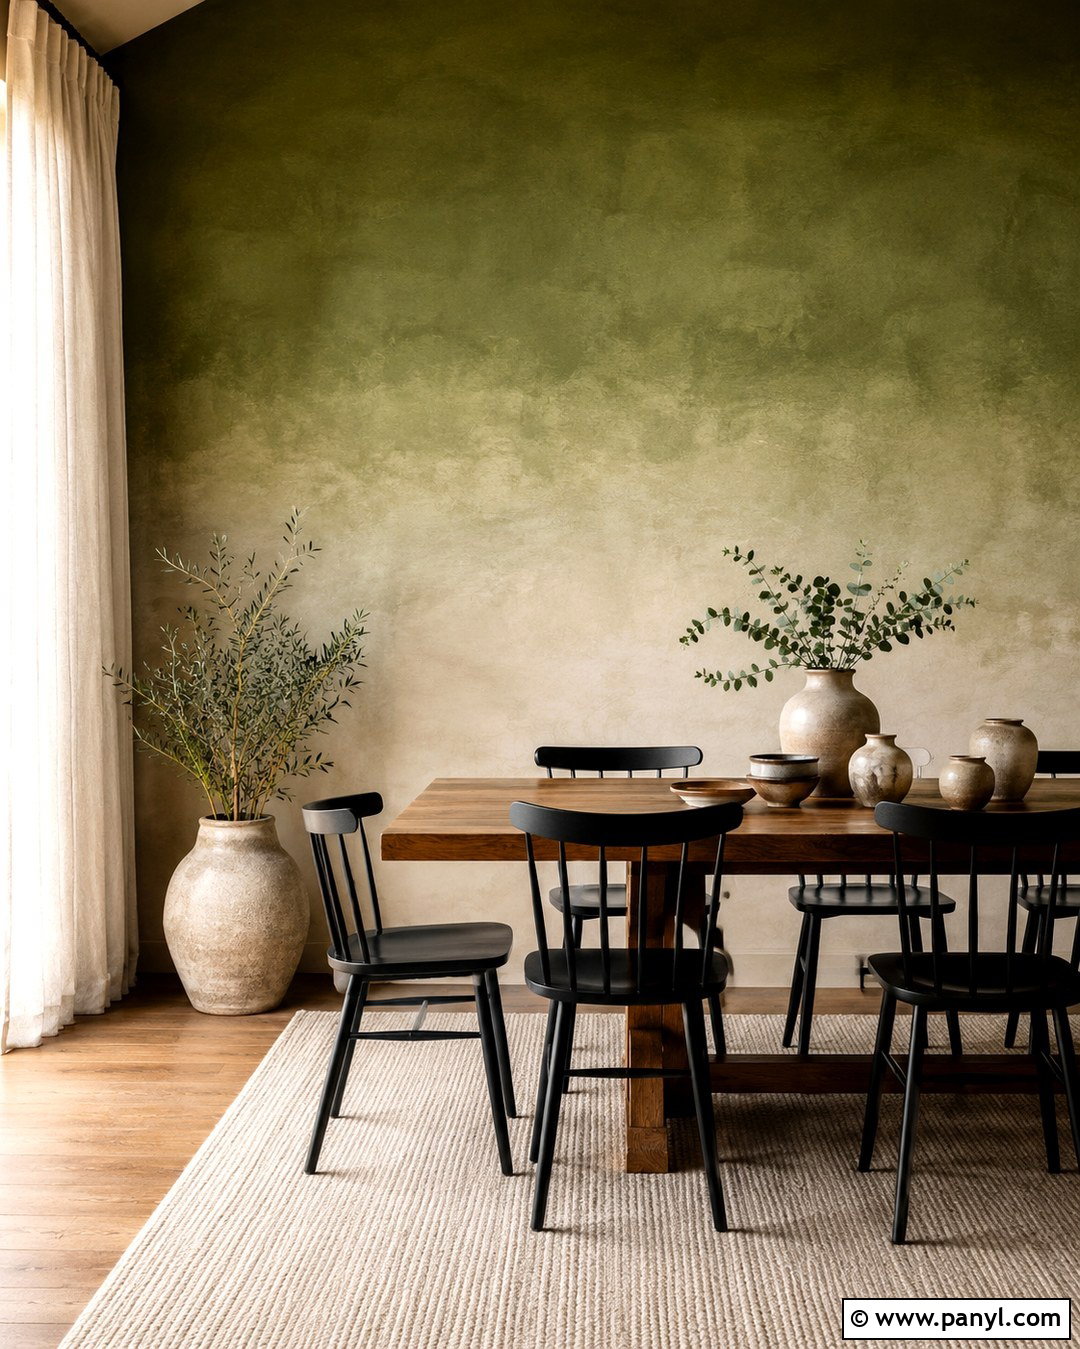
A painted arch can define furniture or create a focal point where the room lacks architectural detail. In a compact bedroom, center a broad olive green arch behind a simple oak bed. Determine the arch width from the bed and nightstands, then mark two straight vertical sides. Create the curved top using a pencil attached to string, a flexible measuring guide, or a homemade compass. Fill the straight areas with a small roller and paint the curve slowly with an angled brush. Add a second coat after the first has dried as directed. Style the room with ivory bedding, rust-colored pillows, matching wall sconces, and woven baskets. Keeping the arch wider than the headboard makes the bed arrangement feel grounded, while the organic curve softens the straight lines of surrounding furniture.
9. Ombre Wall
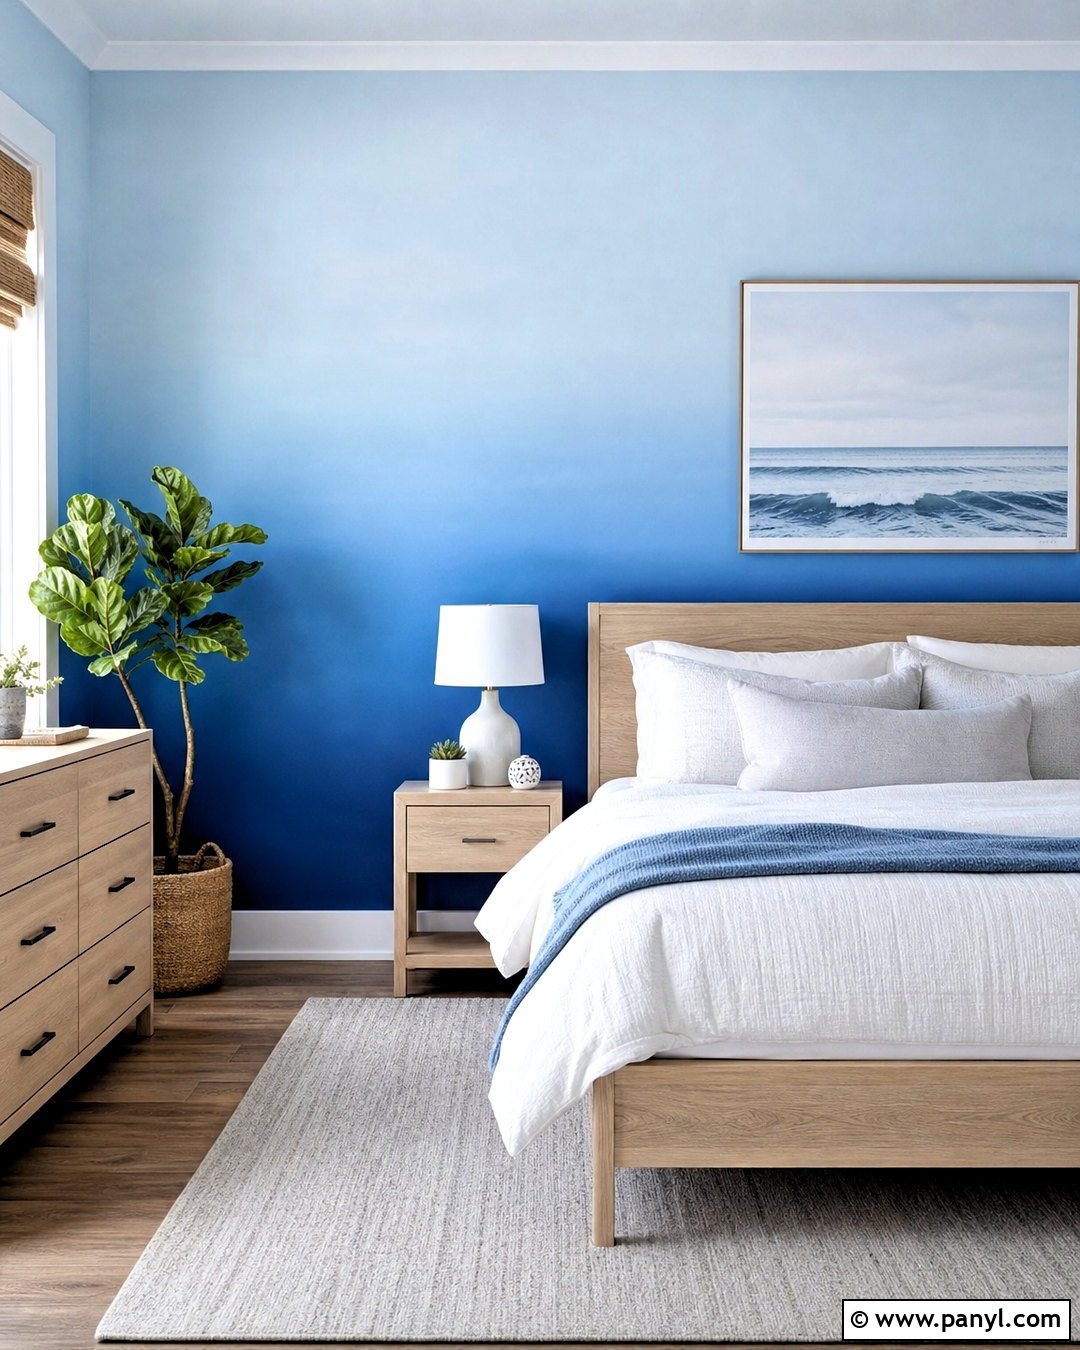
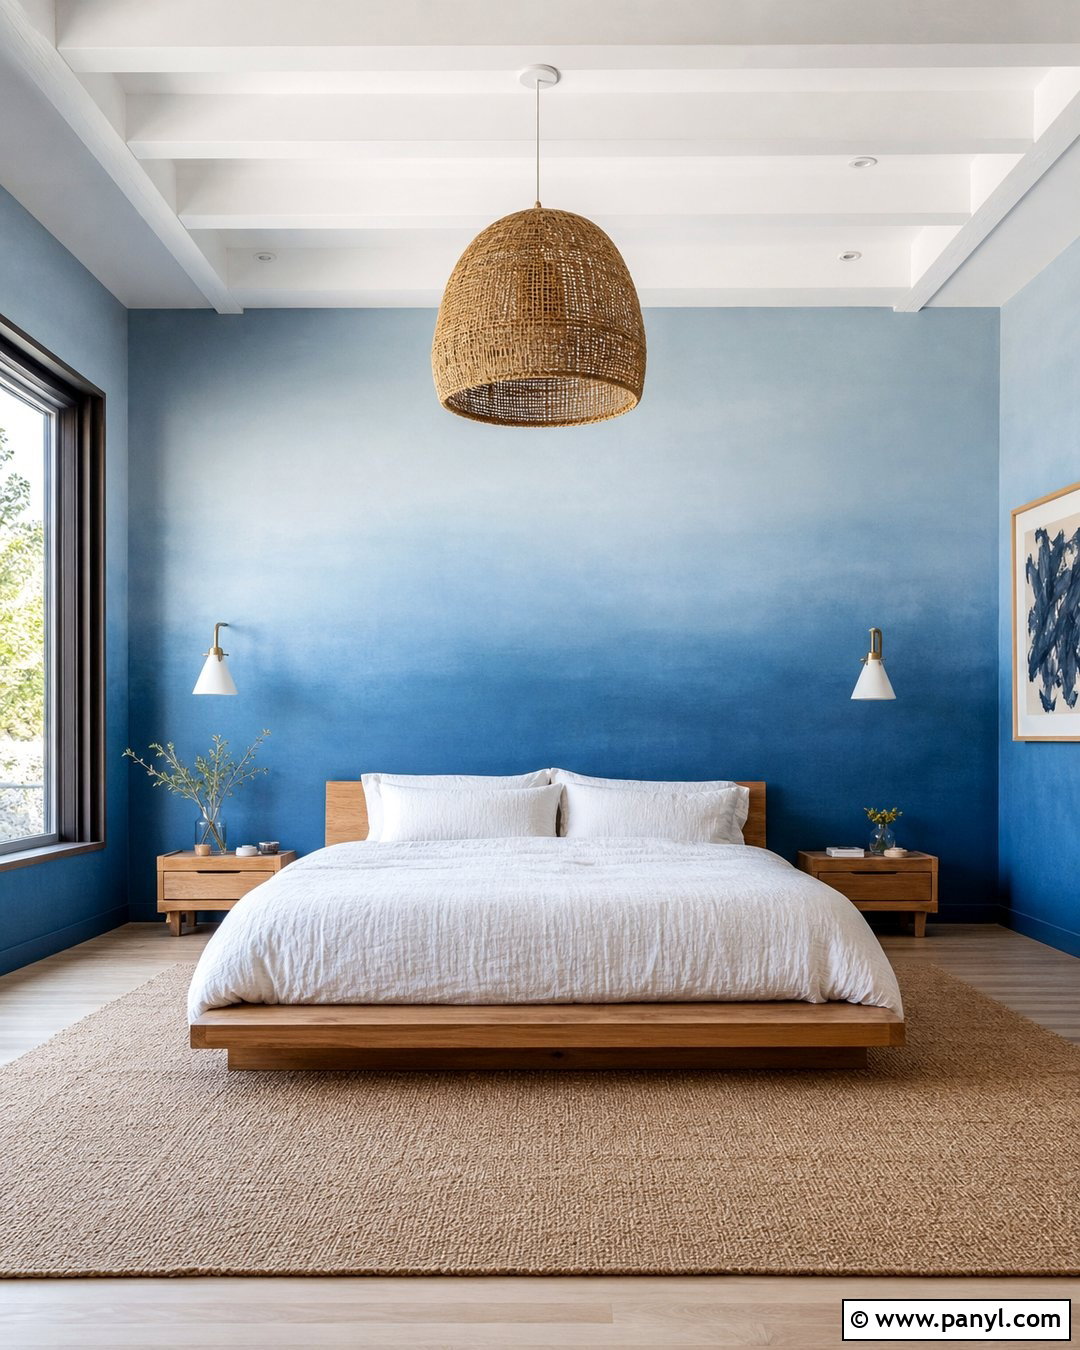
An ombre wall creates a gentle transition that can make a bedroom feel atmospheric without becoming overly graphic. Use three related blue shades, placing the deepest blue near the floor, medium blue through the center, and pale sky blue at the top. Paint the lightest base first. Mark three broad horizontal areas, then apply the middle and lower colors while leaving space between them. Rewet adjacent edges and blend with separate brushes using soft crossing strokes. Work in small sections because the paint must remain wet enough to merge smoothly. () Pair the finished wall with a light wood bed, crisp white linens, a pale gray rug, and minimal coastal artwork. Similar undertones across all three colors produce the most natural and peaceful progression.
10. Color Block Wall
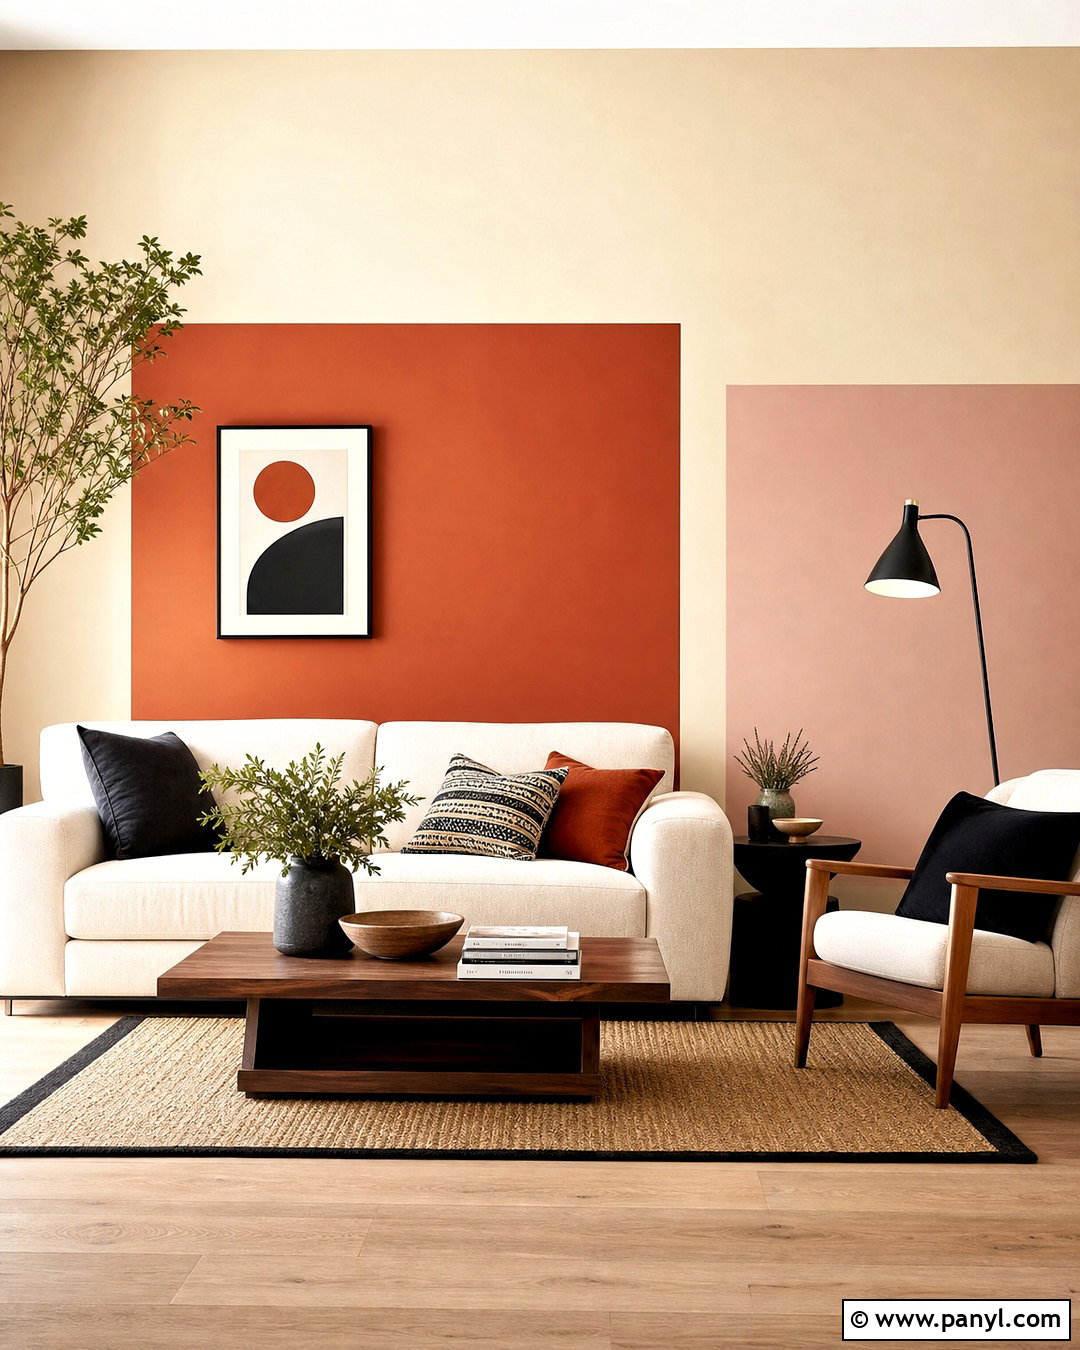
Color blocking turns a blank wall into an organized composition of large, simple shapes. Design a contemporary living room wall with a warm beige base, a large rust rectangle behind the sofa, and a muted blush block extending toward a reading chair. Plan the blocks around the furniture rather than placing them randomly. Sketch the arrangement to scale, transfer the corners with a measuring tape and level, and use painter’s tape to define each edge. Paint one block at a time, starting with the palest color. Furnish the room with a cream sofa, walnut coffee table, black floor lamp, and pillows that repeat the rust and blush shades. Leaving generous areas of the base color visible prevents the composition from overwhelming the room and helps every shape look deliberate.
11. Half Painted Wall
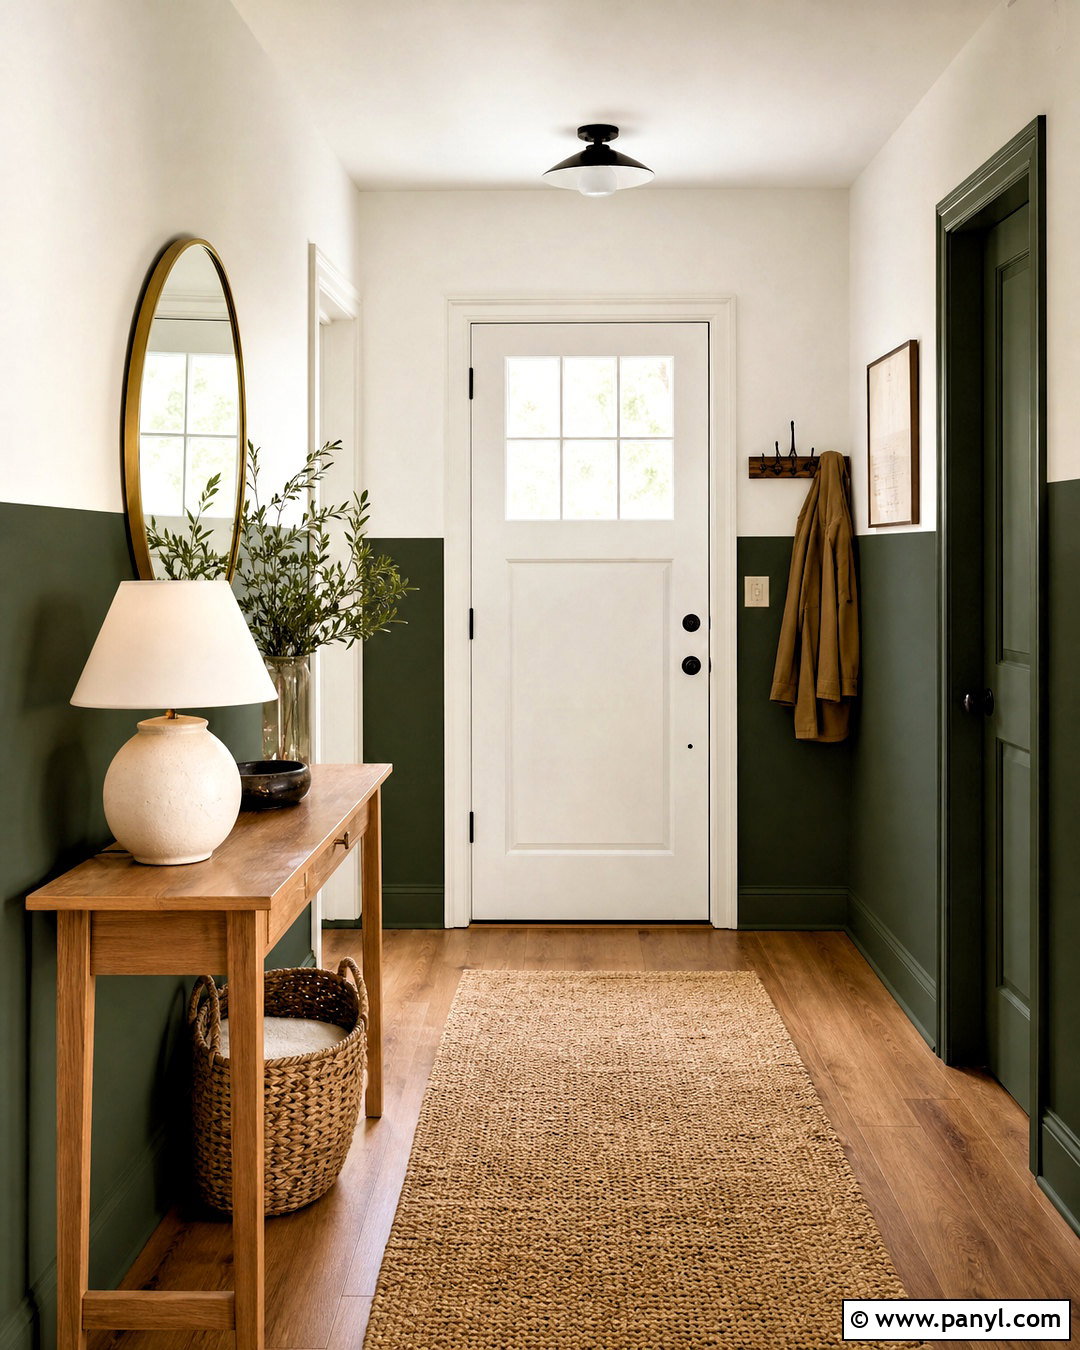
A half-painted wall offers a simple way to introduce stronger color while preserving brightness. In a small entryway, paint the lower half deep forest green and keep the upper section warm white. Set the dividing line slightly above a console table so the darker area visually supports the furniture. Measure from the floor at regular intervals, connect the marks with a level, and tape carefully. Paint the green section with an eggshell or satin finish that is practical for a frequently touched area. Add a slim oak console, round brass-framed mirror, woven runner, and ceramic table lamp. Paint the baseboards green for a continuous lower band, or leave them white for stronger contrast. The finished entry feels grounded, polished, and visually wider without requiring permanent wall paneling.
12. Painted Wall Panel Effect
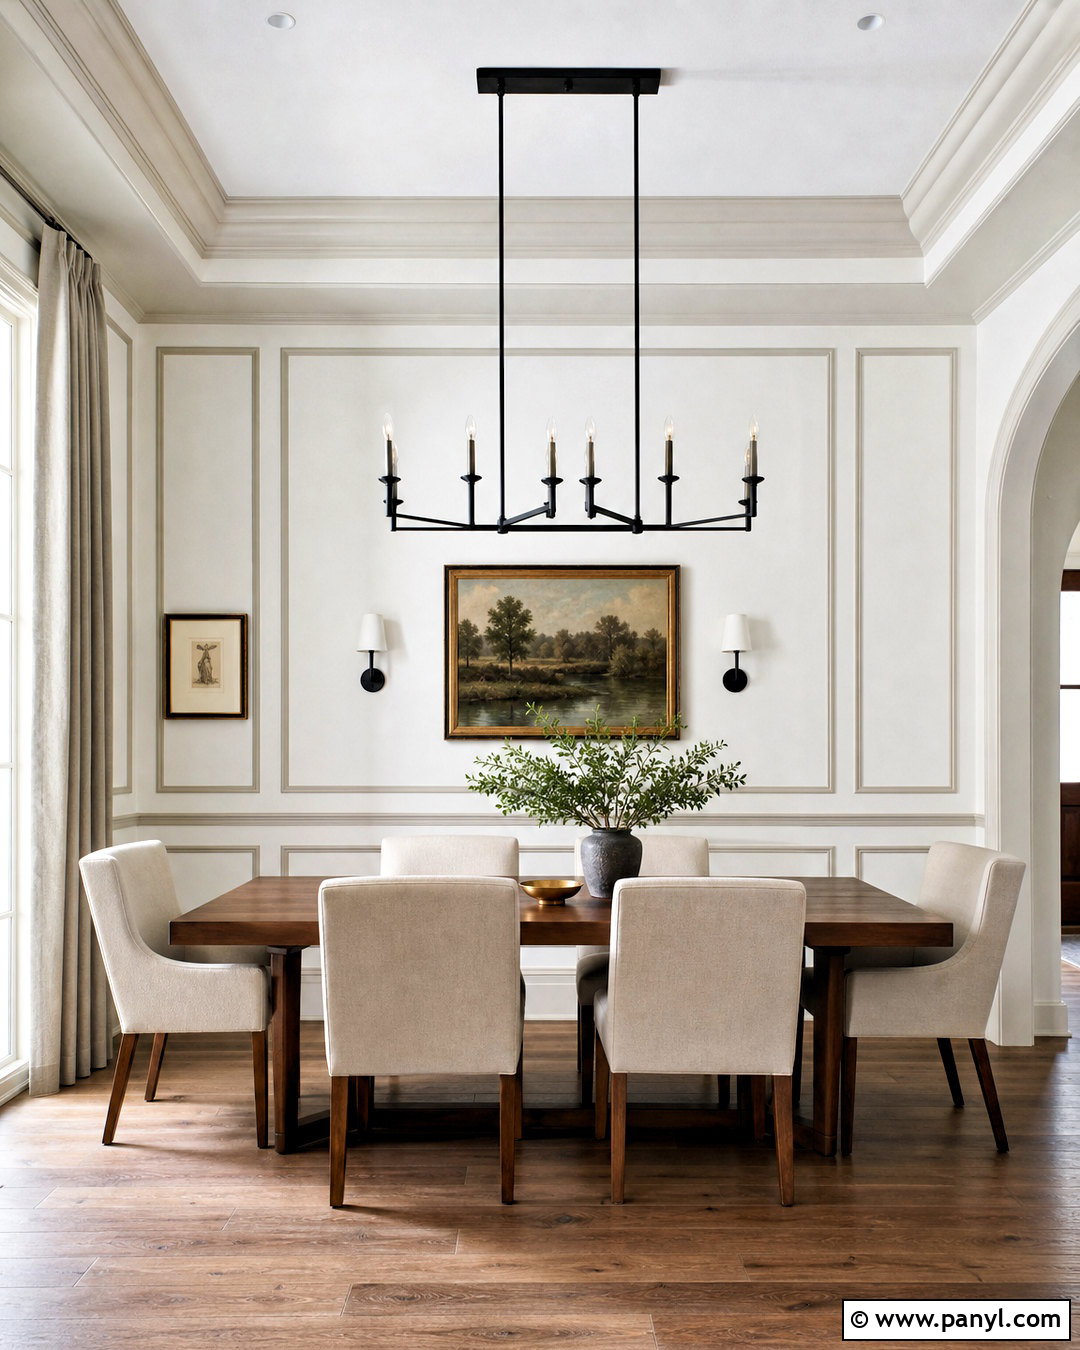
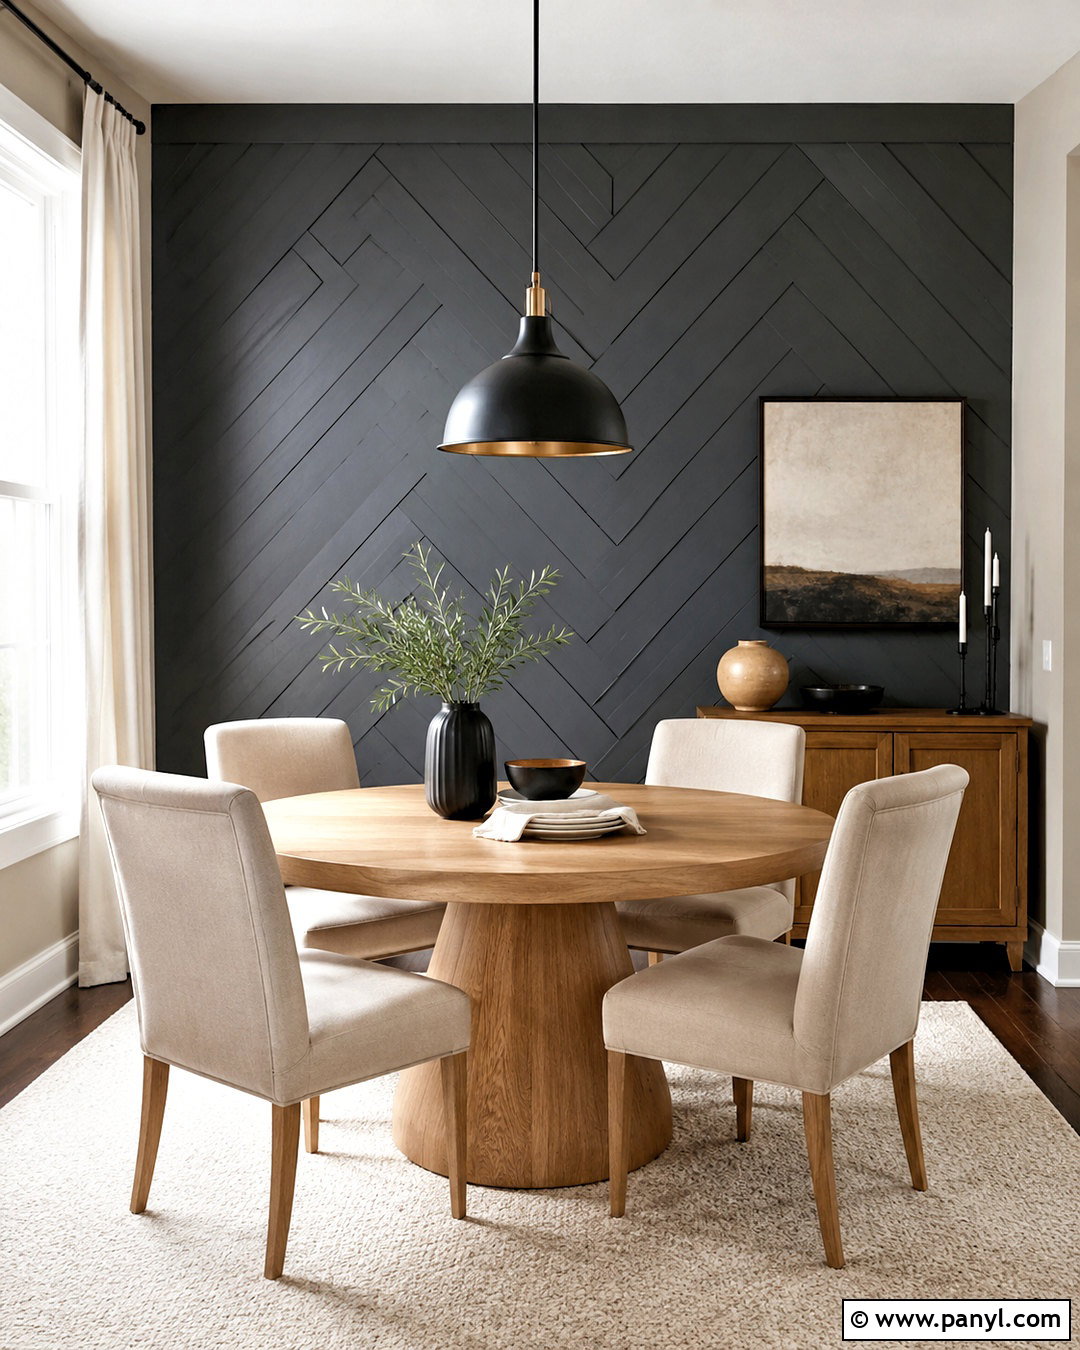
Paint can imitate the proportions of decorative paneling at a lower cost and with less construction. Create a refined dining room by painting rectangular panel outlines in soft greige over a warm white wall. First measure the wall, furniture placement, and outlet locations. Plan evenly spaced rectangles with consistent margins around every side. Use delicate painter’s tape to form the outer and inner boundaries, then fill the bands with greige paint. For more dimension, paint the interior sections a slightly paler greige or use a different sheen of the same color. Complete the space with a walnut dining table, upholstered beige chairs, a black linear chandelier, and understated framed artwork. Precise spacing is essential because consistent proportions make the painted treatment resemble real architectural millwork from across the room.
13. Limewash Effect Wall
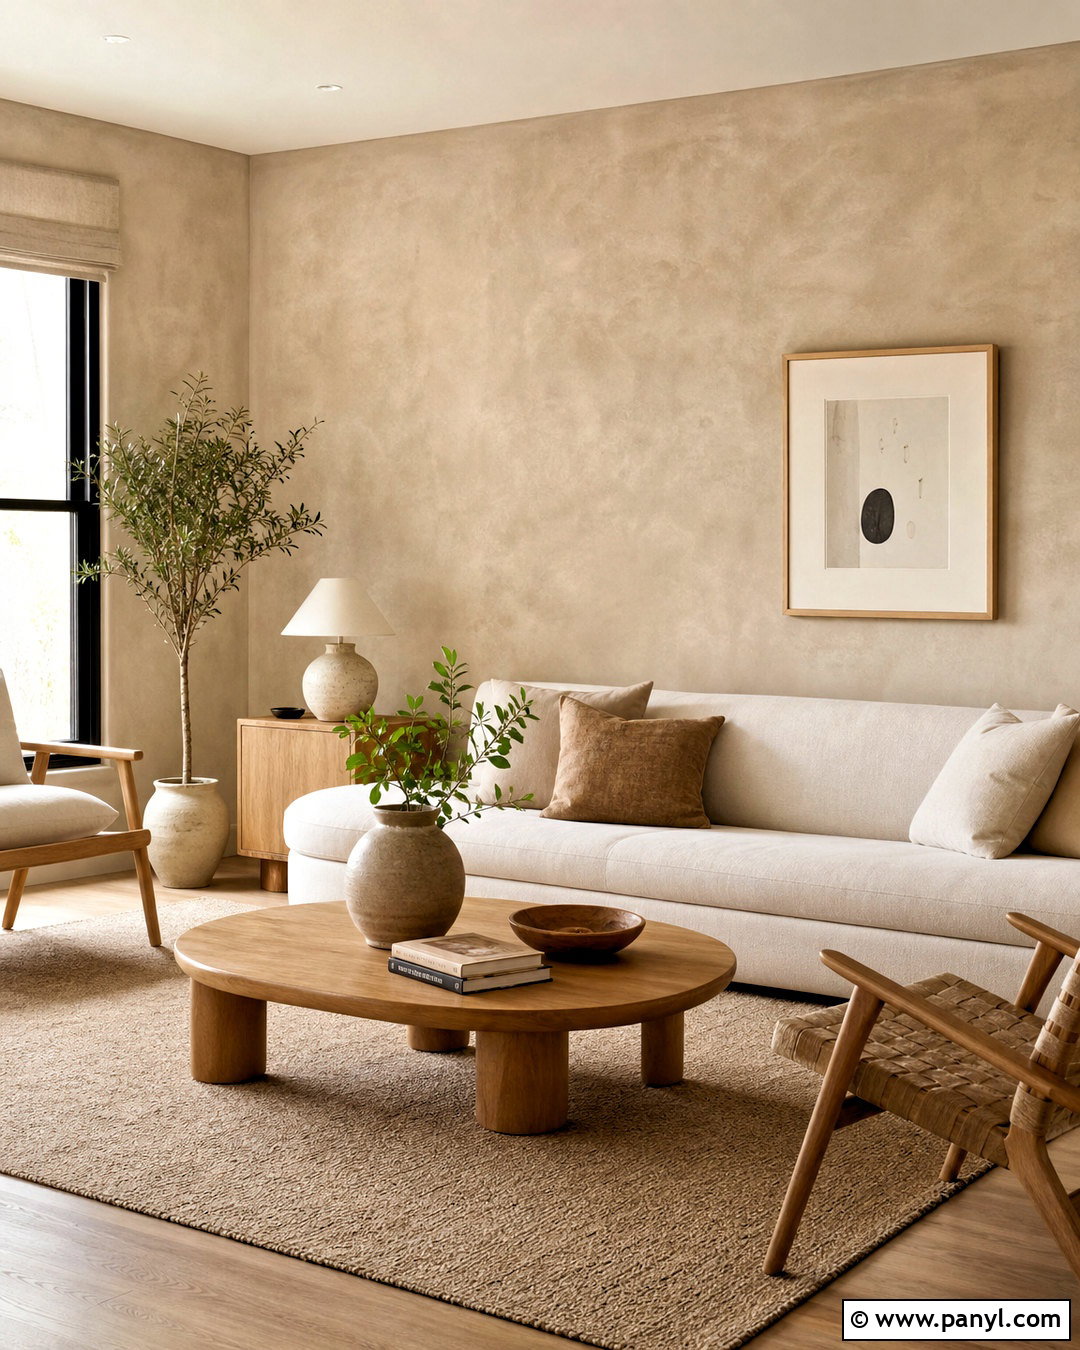
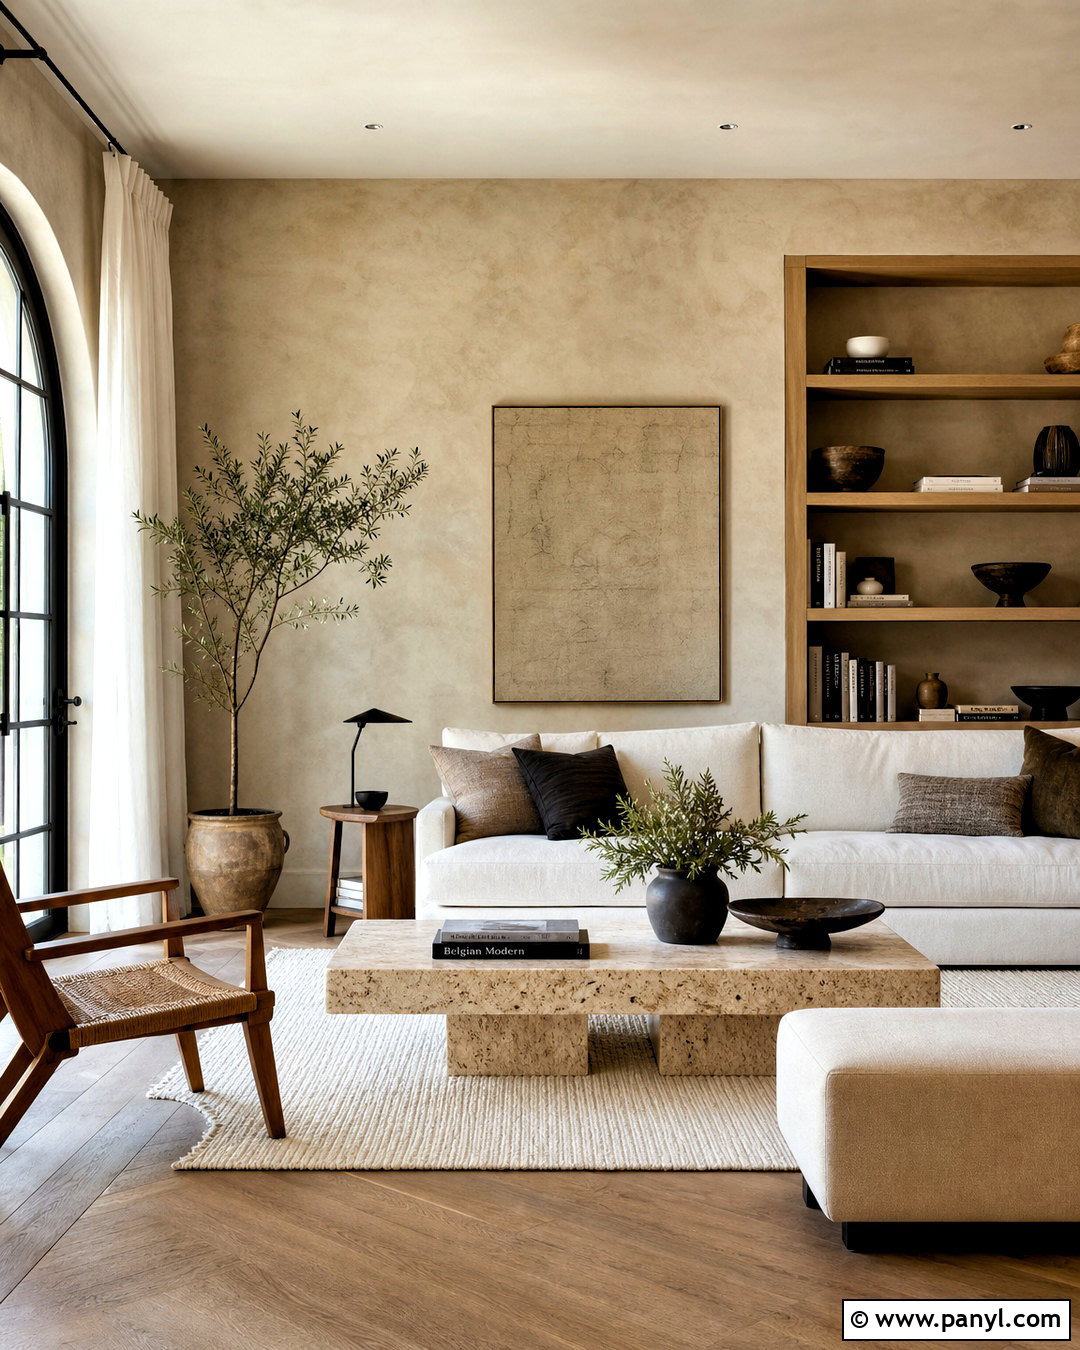
A limewash-inspired finish brings soft movement and an aged, mineral appearance to a living room. Choose a warm putty beige with subtle taupe undertones and pair it with pale oak, linen upholstery, and handmade ceramic decor. Use a coating specifically designed for the intended wall surface, and follow its primer and application requirements. Apply the finish with a wide masonry-style brush in loose, overlapping strokes rather than perfectly straight lines. Work across the wall continuously to avoid obvious stopping points. The natural variation should remain visible, so resist trying to make every section identical. Style the room with a low cream sofa, rounded wood coffee table, textured wool rug, and simple plaster lamp. The restrained furnishings allow the softly clouded wall texture to create warmth without making the room look heavily distressed.
14. Sponge Painted Wall
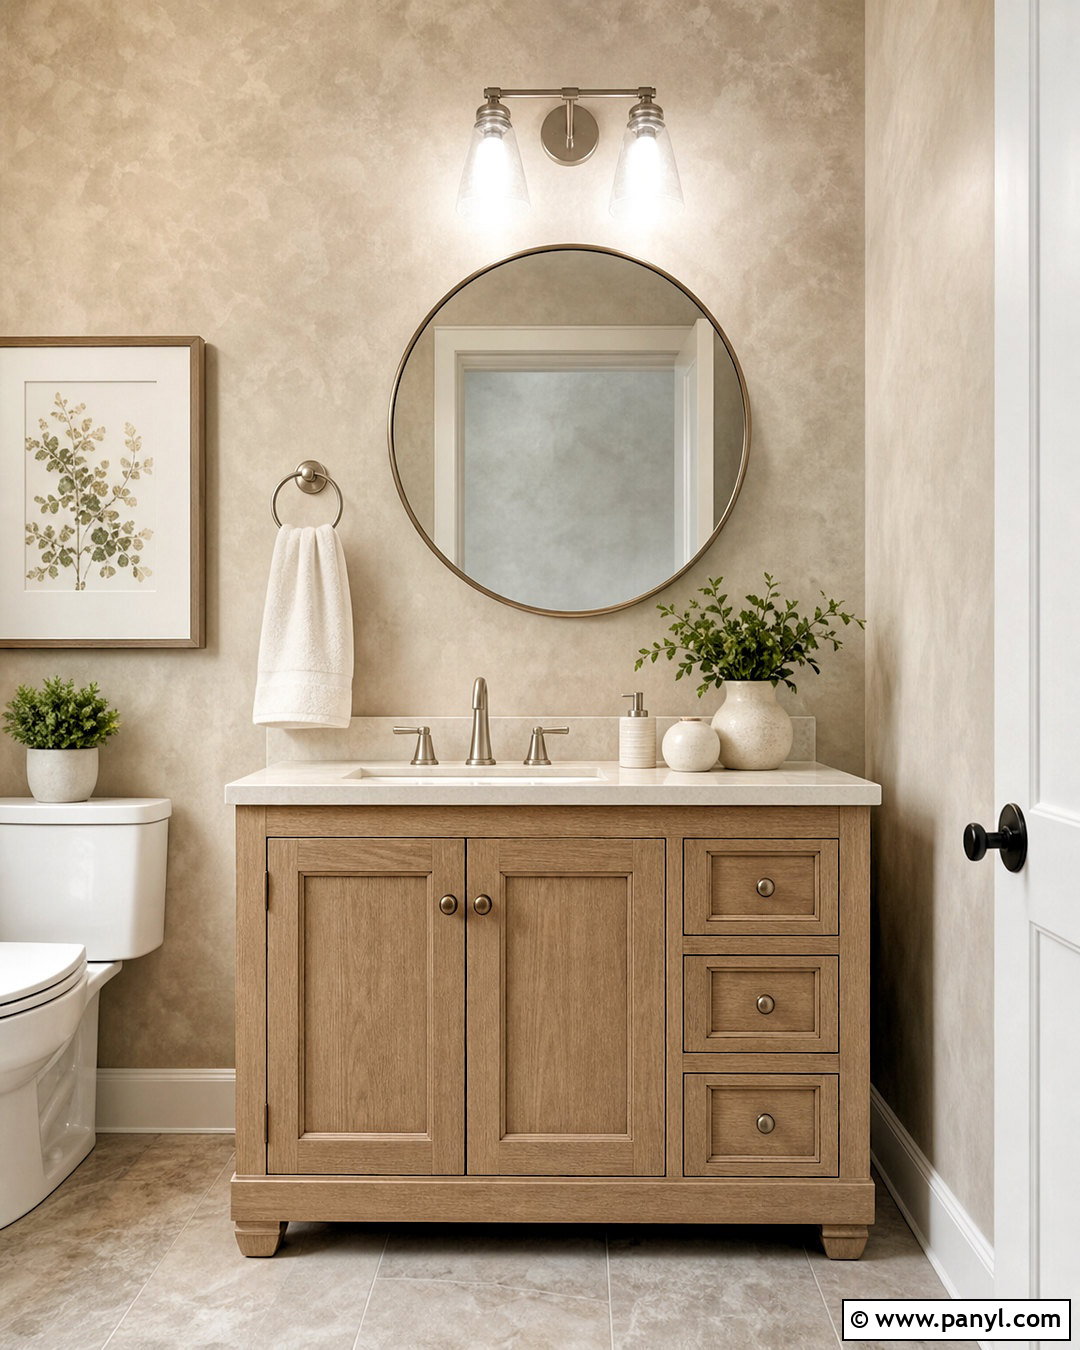
Modern sponge painting can look subtle and sophisticated when the colors have similar undertones. Start with a pale mushroom base in a powder room, then layer a slightly deeper taupe using a natural sea sponge. Test the pattern on cardboard before touching the wall. Dip the sponge lightly, remove excess paint, and press it onto the surface with varied rotation. Avoid forming repeated rows or obvious stamped shapes. Soften crowded areas with a clean sponge while the glaze or top layer remains workable. Add a white oak vanity, creamy quartz countertop, brushed nickel faucet, round mirror, and simple ivory towels. Limiting the palette to two quiet neutrals transforms the technique from dated to contemporary. The completed room should show gentle tonal movement rather than sharp, high-contrast spots.
15. Rag Rolled Wall
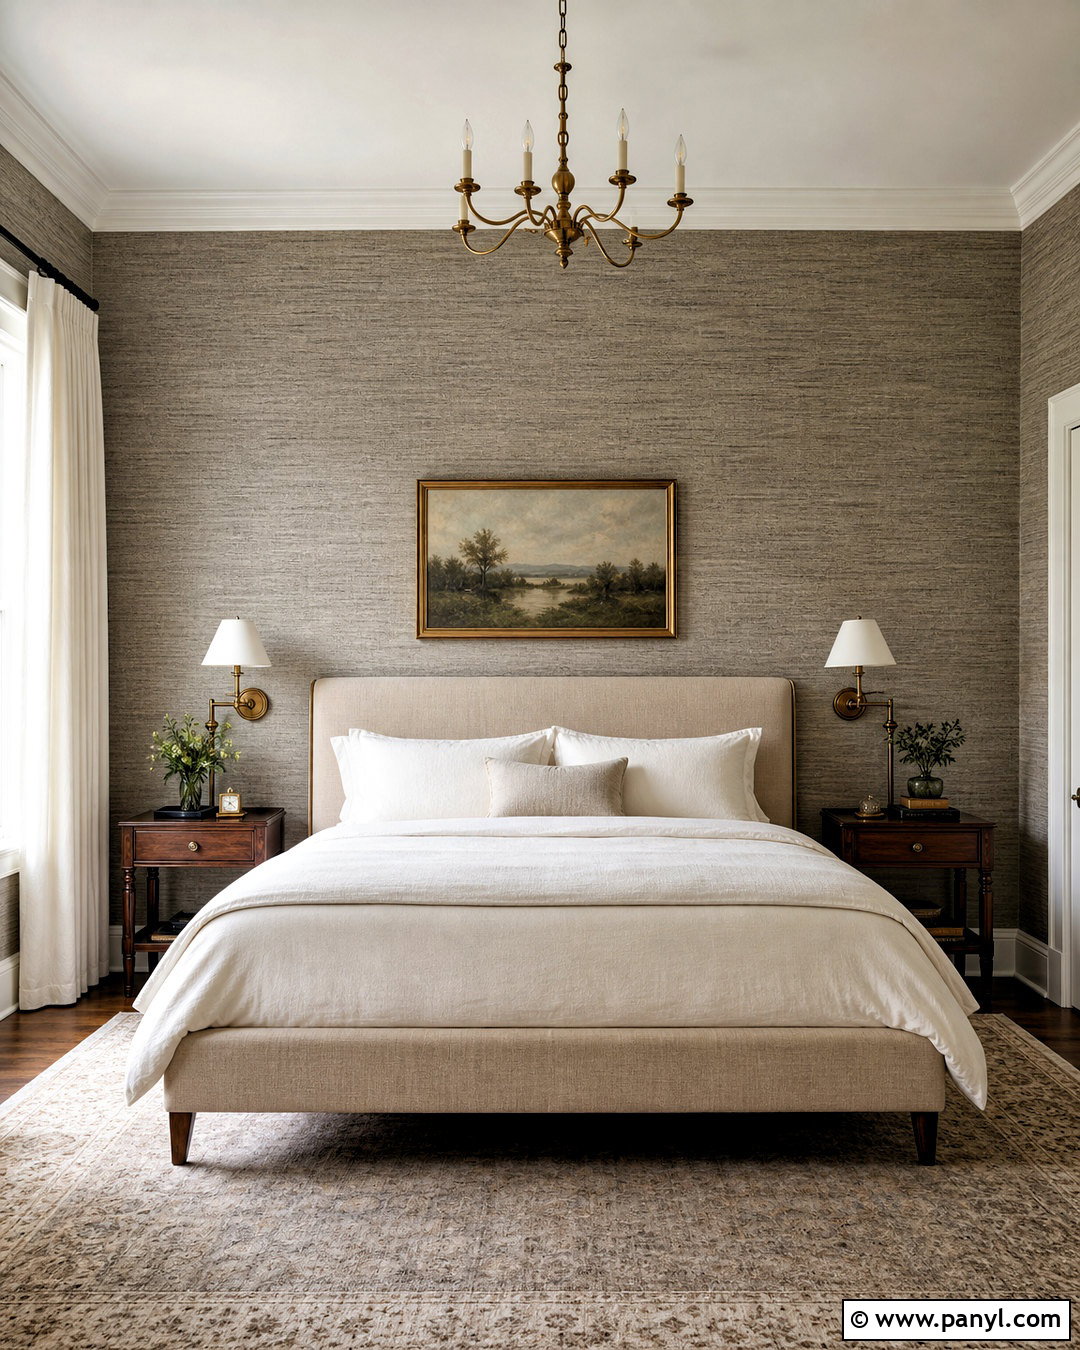
A rag-rolled finish adds soft fabric-like texture that suits a calm bedroom or traditional sitting room. Paint the wall a light warm gray, then apply a slightly darker gray glaze in small sections. Twist a clean lint-free cloth into a loose roll and move it gently across the wet top layer. Change direction often so the pattern remains irregular and natural. Keep several clean cloths nearby because a saturated rag can smear rather than lift or distribute the finish. Pair the textured wall with an oatmeal upholstered bed, walnut nightstands, ivory curtains, and antique-brass lighting. Use solid bedding instead of busy prints, allowing the subtle wall pattern to provide visual depth. Practicing the rolling motion on a sample board will help establish the right pressure before beginning the full wall.
16. Stenciled Wall
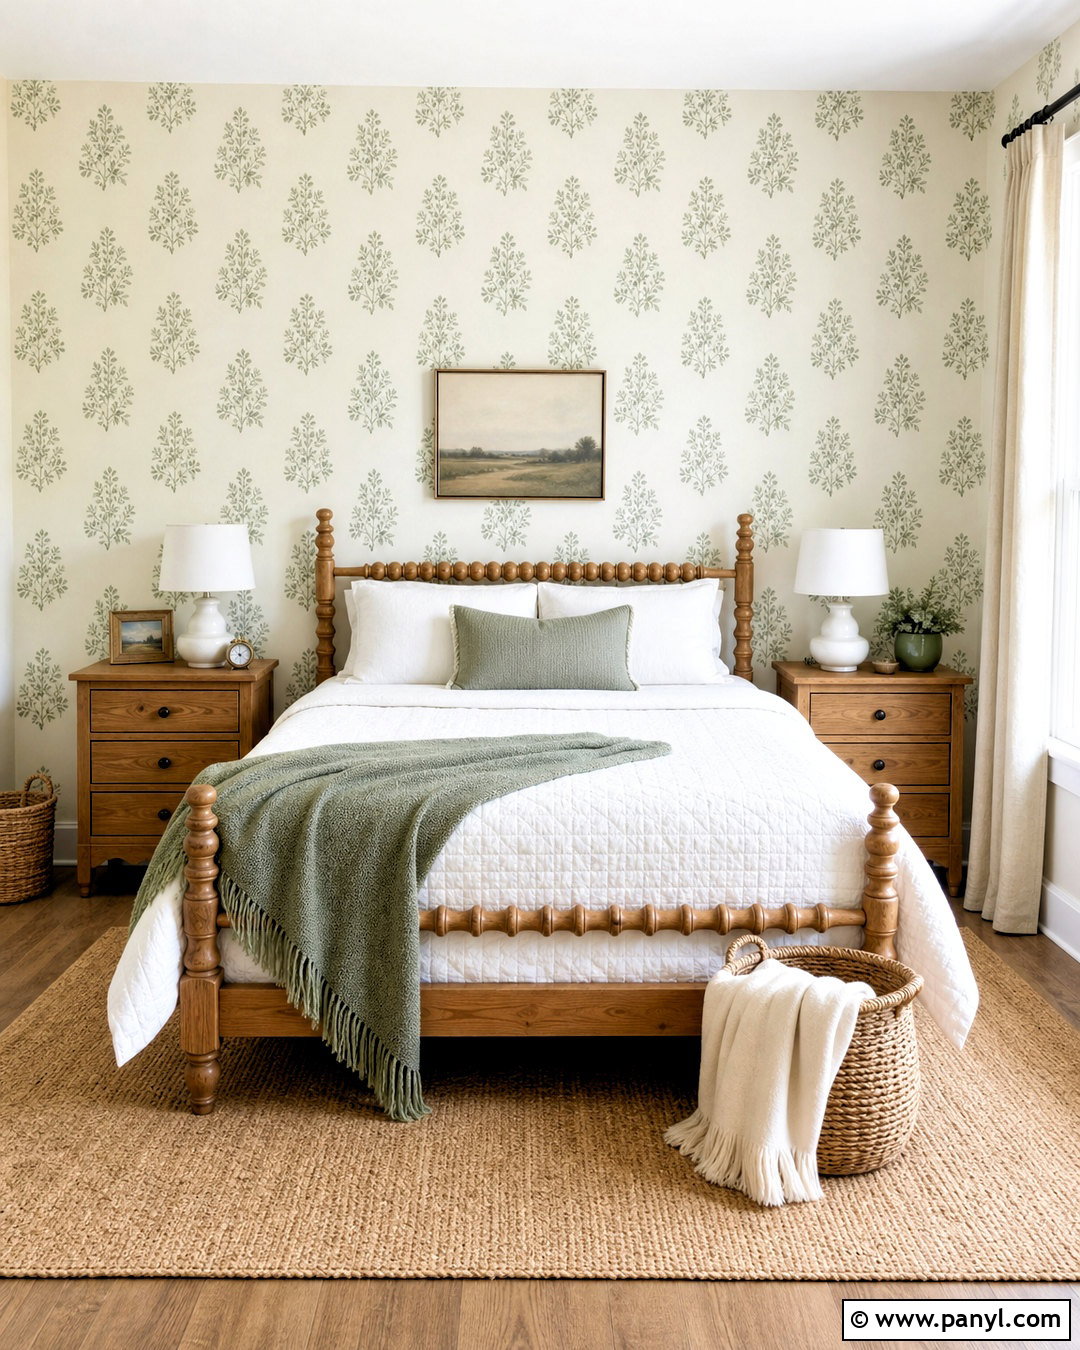
A stenciled wall can deliver the detail of wallpaper while allowing complete control over color and scale. Create a welcoming guest bedroom with a soft cream base and a repeating leafy pattern in dusty sage green. Locate the wall’s center and begin the pattern there so the design ends evenly at both corners. Secure the stencil with low-tack adhesive or tape. Load a dense foam roller with minimal paint, remove the excess, and apply several light passes instead of one wet coat. Use registration marks to align each repeat. Complete the room with a spindle wood bed, white quilt, sage throw, linen curtains, and natural baskets. A low-contrast palette keeps minor imperfections less noticeable and gives the finished room a relaxed, hand-painted character rather than a rigid printed appearance.
17. Landscape Mural Wall
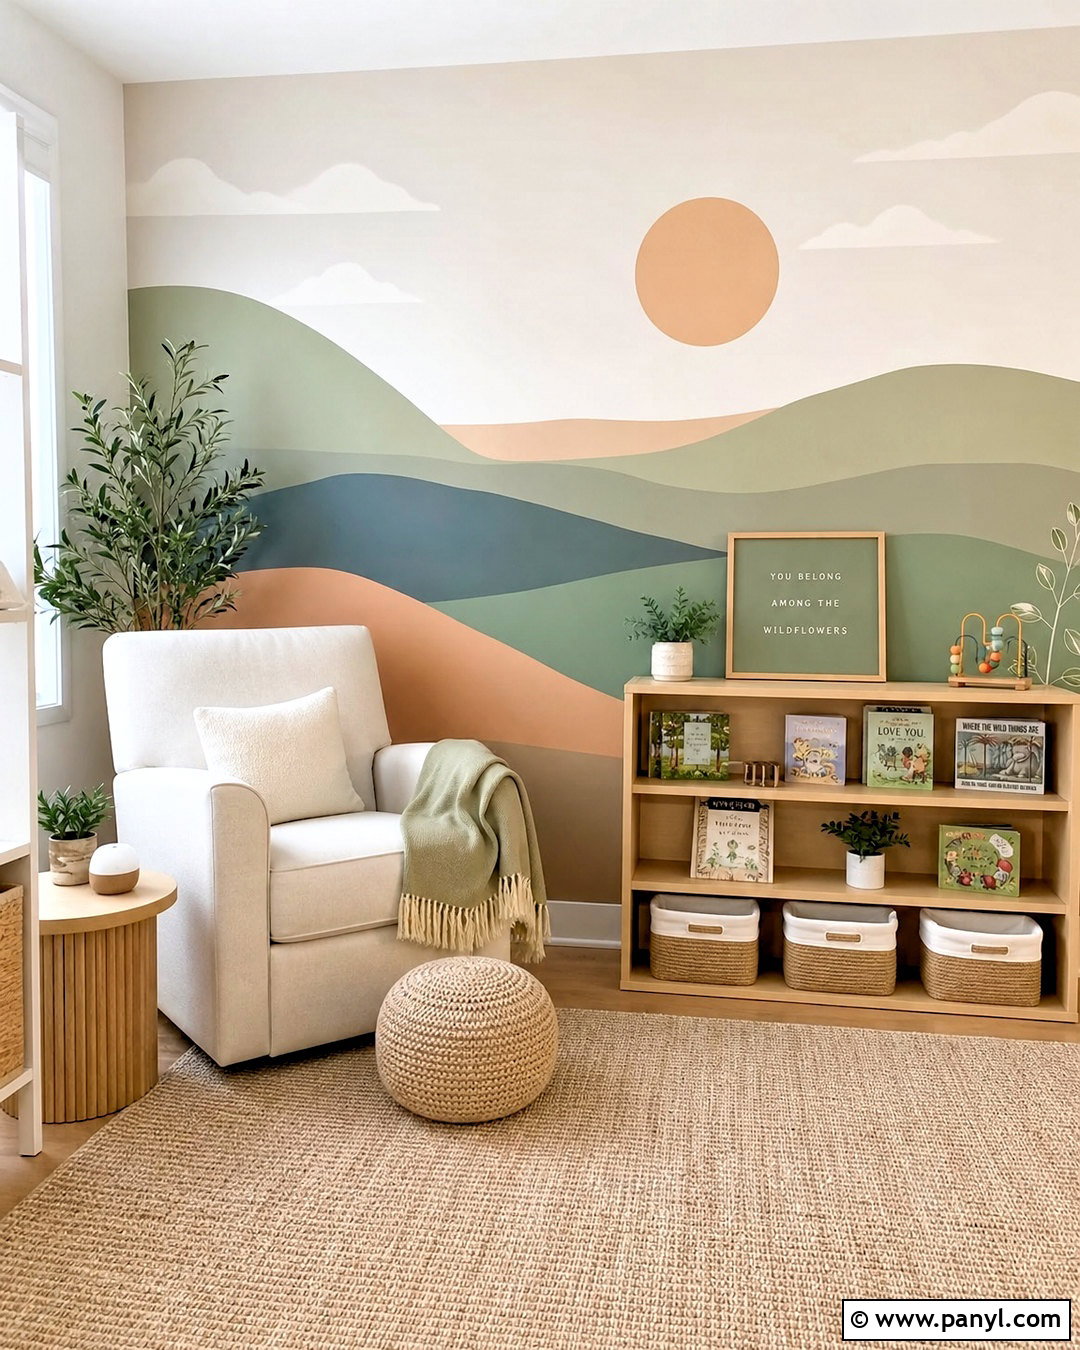
A simple landscape mural can create a complete focal wall without requiring advanced illustration skills. Design a nursery or reading room with layered hills in warm cream, muted sage, dusty blue, and soft terracotta. Sketch broad, flowing shapes in pencil, keeping the lowest hills darker and the distant layers lighter. Paint the background first, followed by each overlapping foreground section. Small rollers cover broad areas efficiently, while angled brushes keep the curved boundaries controlled. Add minimal tree silhouettes or a pale rising sun if the composition needs a focal point. Finish the space with light oak shelving, a cream armchair, neutral storage baskets, and a washable beige rug. Repeating the mural colors in small accessories helps the artwork connect naturally with the entire room.
18. Checkerboard Wall
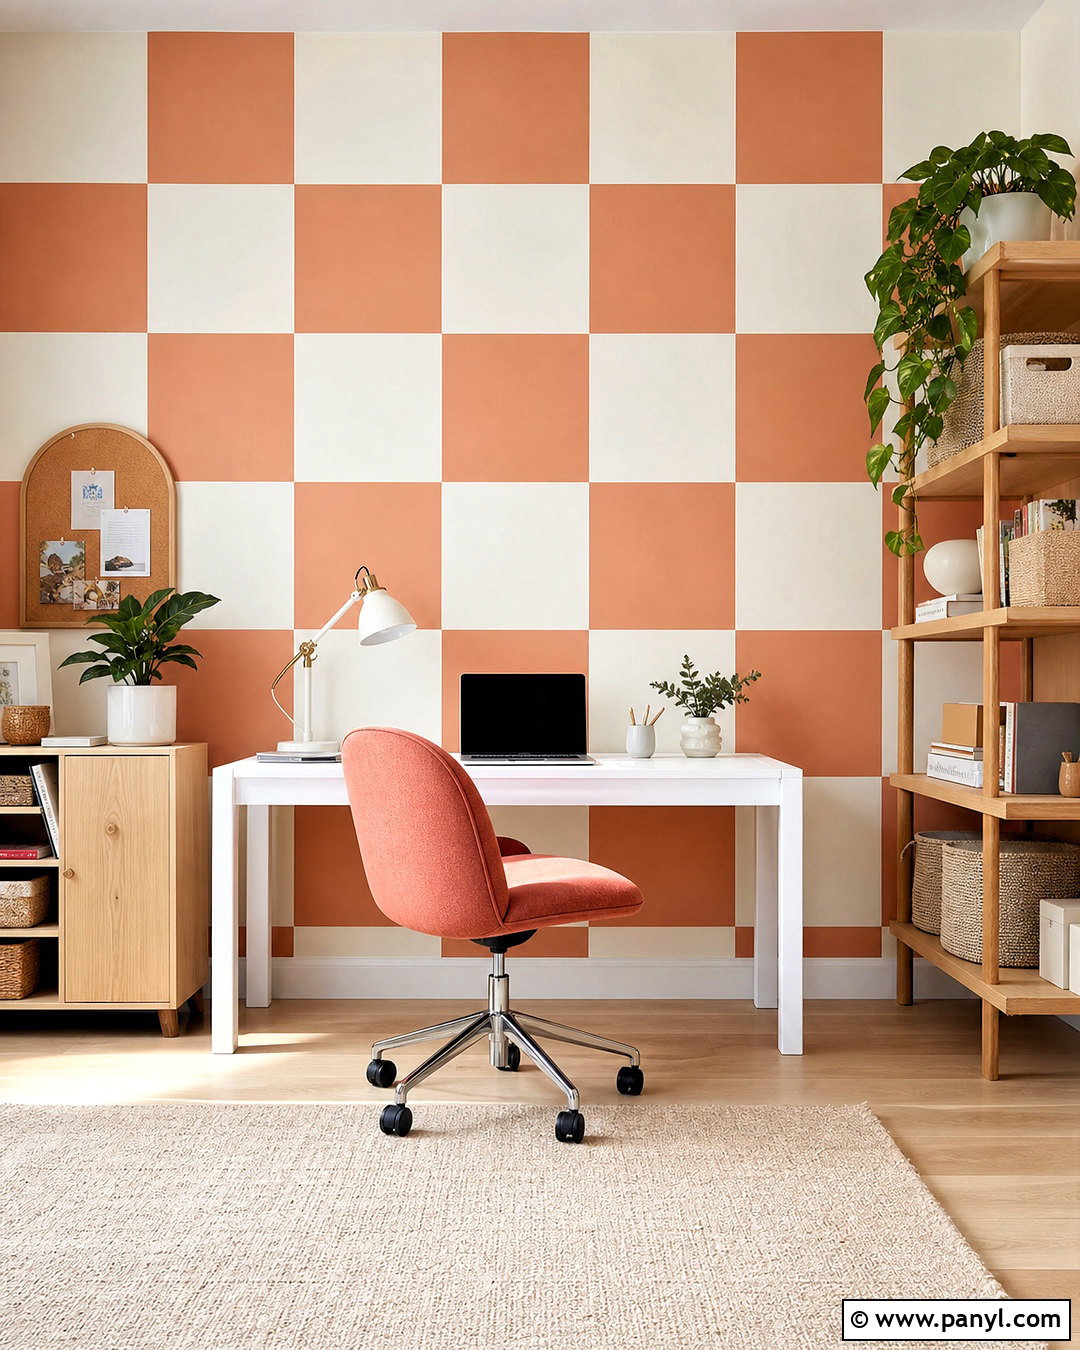
A large painted checkerboard creates a playful but orderly feature for a home office, craft room, or child’s bedroom. Use warm white and muted peach squares rather than harsh black and white for a softer result. Measure the wall width and height, then choose a square size that allows the grid to end evenly. Paint the warm white base and let it dry fully. Draw the grid with a level, tape alternating squares, and mark those scheduled for paint to avoid mistakes. Apply the peach in thin coats and remove tape carefully after the final application. Complete the room with a white desk, pale wood storage, a coral task chair, and simple neutral accessories. Oversized squares keep the wall graphic and modern while reducing visual clutter.
19. Scalloped Border Wall
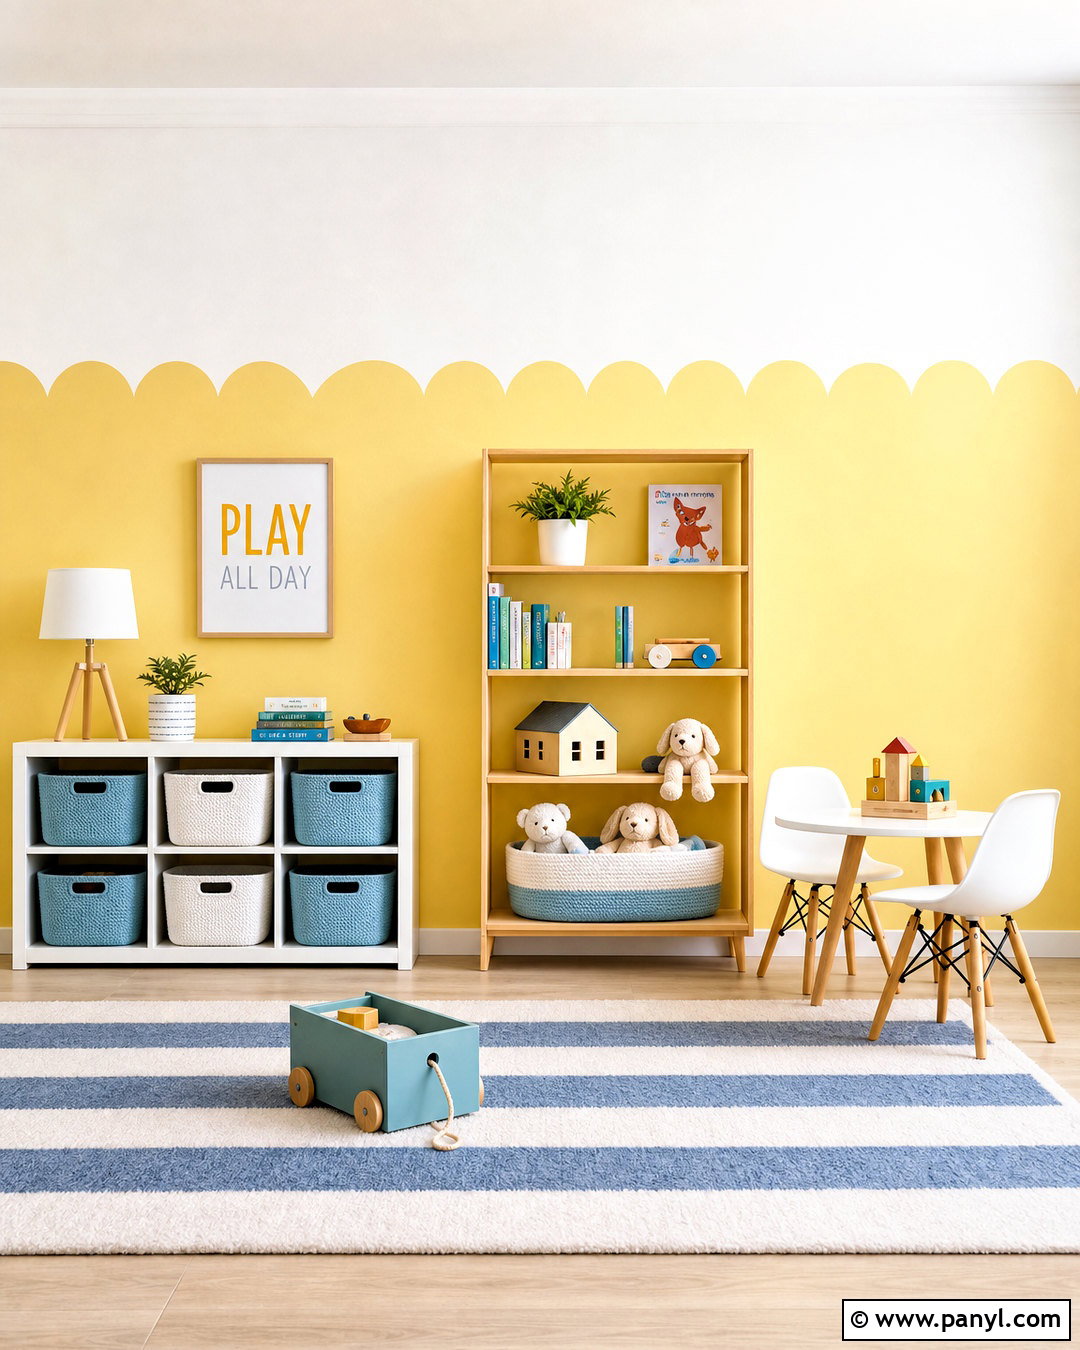
A scalloped painted border adds an approachable decorative detail to a bedroom, playroom, or cheerful laundry area. Paint the lower two-thirds of the wall soft butter yellow and keep the upper portion clean white. Create a cardboard semicircle template or use a round household object to trace evenly spaced scallops along the dividing line. Check the layout at both corners before drawing the full border. Fill the yellow area with a roller, then use a small artist’s brush to define each curved edge. Add white furniture, pale oak shelves, light blue storage baskets, and a simple striped rug. Keeping the scallops uniform makes the result feel finished, while the gentle yellow-and-white palette provides charm without overwhelming the surrounding furniture or practical storage.
20. Ceiling Wrap Wall
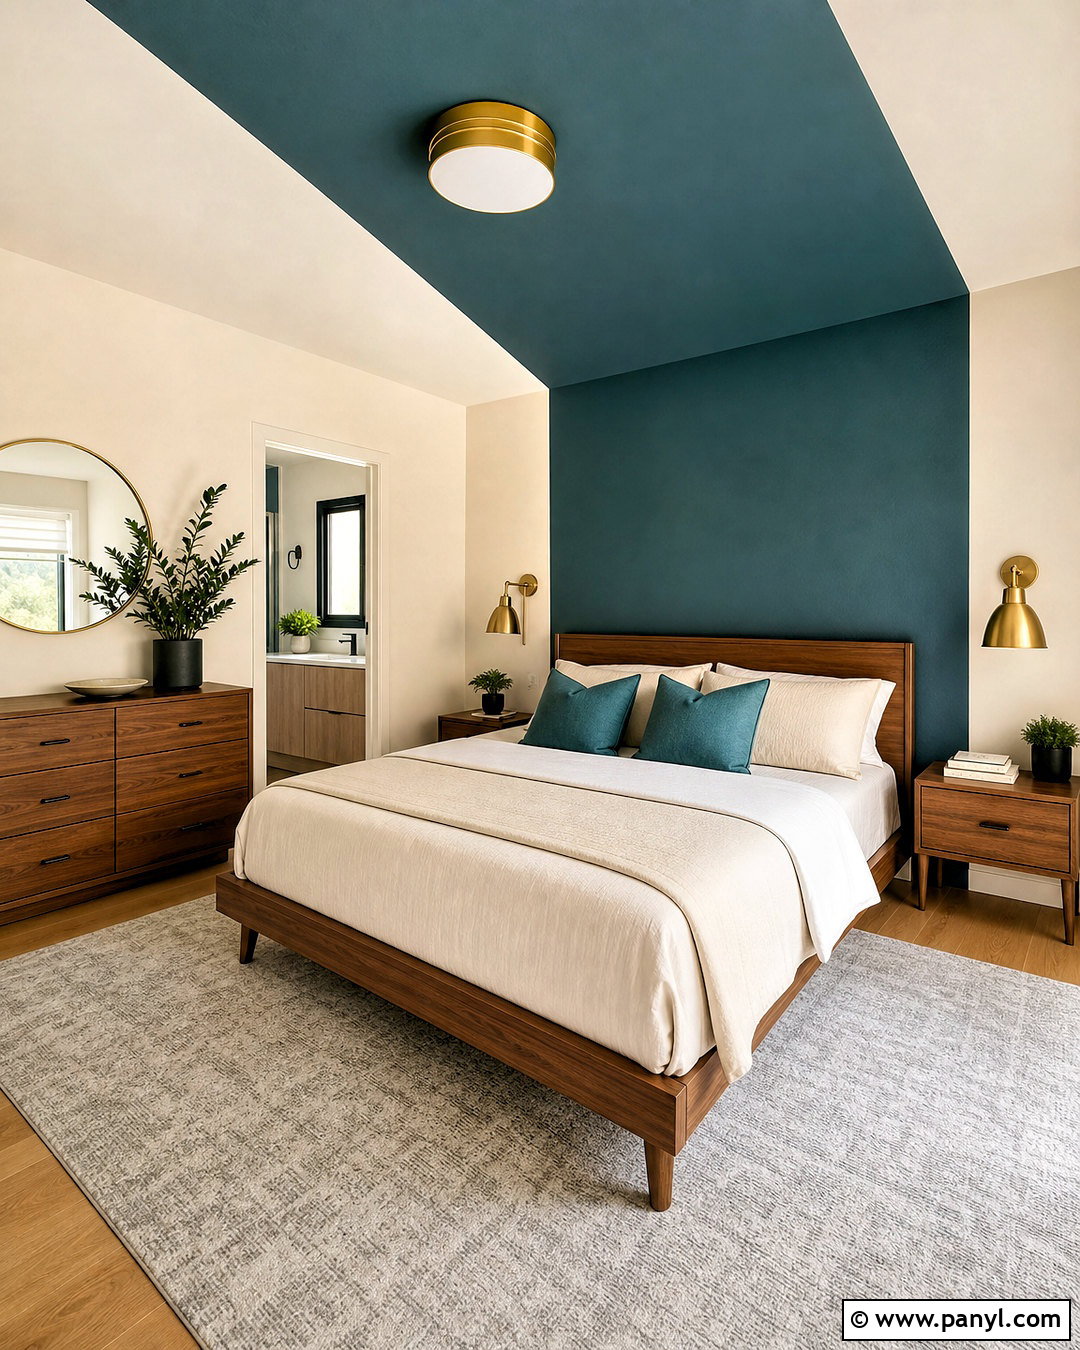
Extending wall color partially across the ceiling creates an immersive feature that can define a bed, desk, or dining zone. In a bedroom, paint the headboard wall deep teal and continue the color three feet onto the ceiling. Keep the remaining walls warm white to balance the richer shade. Mark the ceiling boundary with a laser level or carefully measured chalk line, then apply painter’s tape. Paint the wall and ceiling section as one continuous shape, maintaining consistent coverage near the inside corner. Complete the room with a walnut bed, ivory bedding, muted teal pillows, brass sconces, and a light neutral rug. The overhead color visually frames the sleeping area and makes a basic rectangular room feel more architectural without adding bulky furniture or permanent construction.
Conclusion:
The most successful wall treatment combines careful preparation, suitable paint, accurate measurements, and a design that supports the entire room. Start with a clean, sound surface, protect nearby finishes, and sample every color before committing. Solid walls and half-painted treatments are approachable for beginners, while stripes, stencils, murals, and ombre effects require more planning and patience. If sanding or scraping paint in a home built before 1978, review current lead-safe guidance before disturbing the existing coating. Whether you prefer soothing neutrals or bold graphic patterns, these how to paint a wall ideas can help you create a finished space that feels personal, coordinated, and thoughtfully designed rather than simply covered with a new color.

Related Ideas and Inspiration:
Leave a Reply