
The best **painting hacks for walls** make the entire project easier, from preparing the room to saving leftover paint for future repairs. A beautiful finish depends on more than choosing a stylish color. Clean surfaces, repaired damage, organized tools, careful cutting in, and consistent roller technique all work together. Smart preparation can also reduce drips, visible roller lines, paint waste, and frustrating touch-ups. Whether you are refreshing one bedroom or repainting an open living area, these practical methods help create smoother coverage and cleaner edges without complicated equipment. They also make the process more manageable for beginners while improving the final result. Use the following complete painting hacks for walls to plan an efficient project from start to finish. ()
1. Clean Walls Before Painting
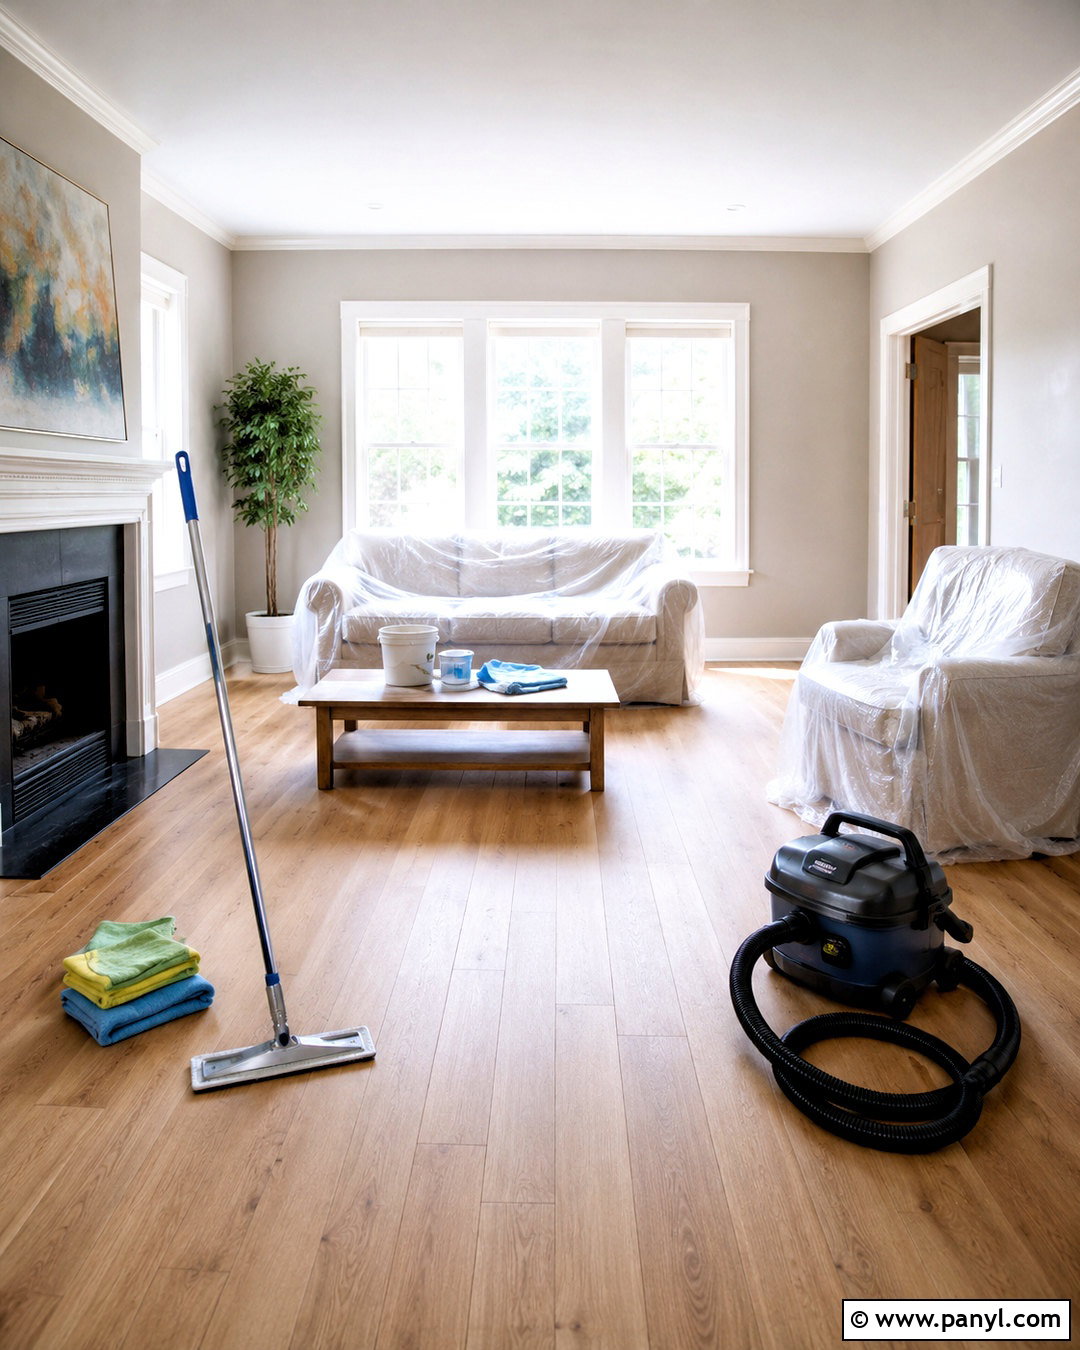
Fresh paint needs a clean, dry surface. Begin by removing pictures, curtains, and lightweight furniture so you can reach the entire wall. Run a vacuum attachment along corners, baseboards, and molding. Next, use a clean microfiber mop to wipe large wall areas without repeatedly climbing a ladder. Wash greasy kitchen walls or marked entryway walls with a mild, low-suds cleaning solution. Avoid soaking drywall, and rinse away any cleaner residue with a slightly damp cloth. Allow everything to dry completely before patching or priming. This simple wall painting hack prevents dust, hair, and oily residue from becoming trapped beneath the finish. Your completed room will look smoother, and the paint will have a better prepared surface to grip. ()
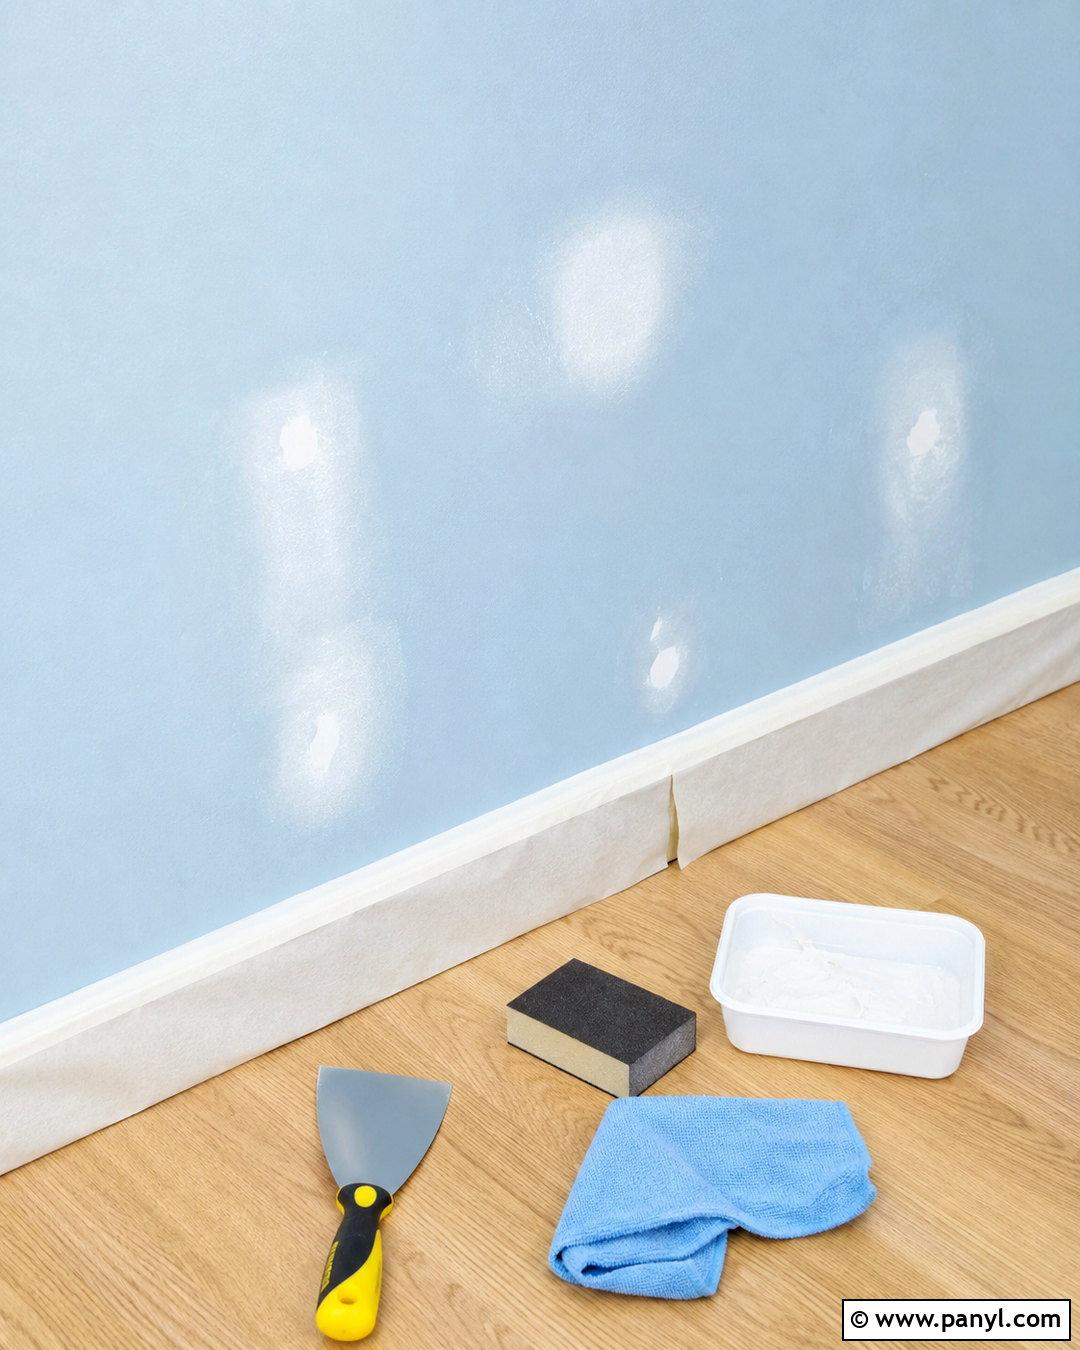
2. Repair Wall Damage Before Painting
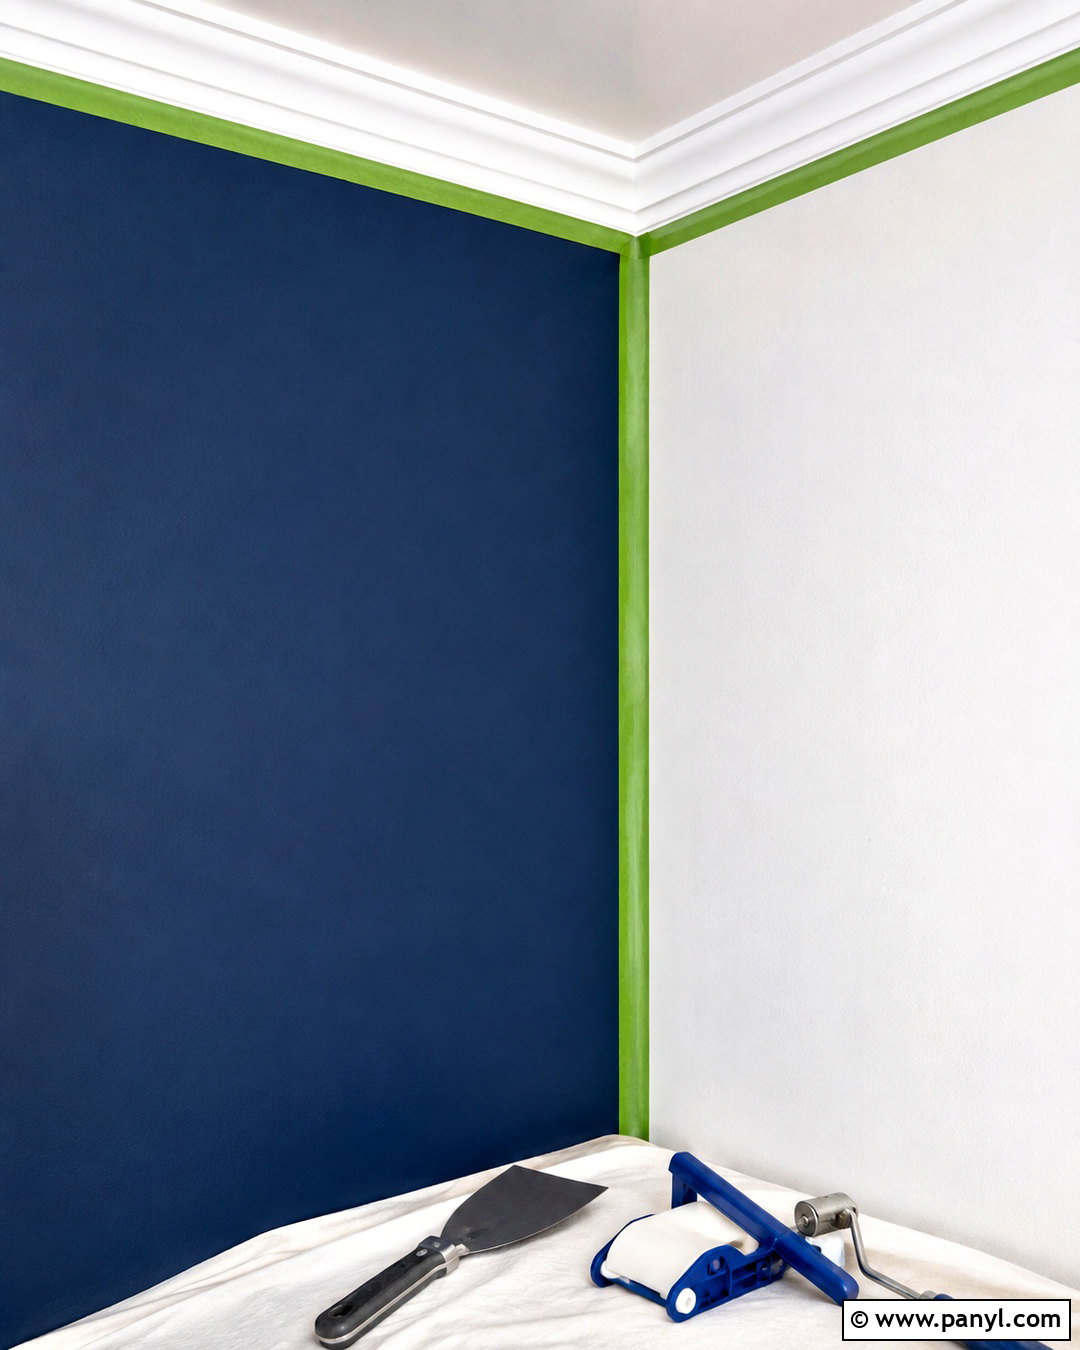
Bright paint can make dents, nail holes, and raised patches more noticeable, so inspect every wall under strong lighting. Mark imperfections with small pieces of painter’s tape, then fill holes with the appropriate spackling or patching compound. Let repairs dry fully before sanding them flush with the surrounding surface. Use a sanding sponge for better control around corners and trim. Remove all dust with a vacuum and damp microfiber cloth. Spot-prime repaired areas so their different porosity does not create dull, uneven patches beneath the finish coat. When working in a home built before 1978, check lead-safe requirements before sanding or disturbing old paint. A carefully repaired and primed room creates a clean foundation that makes the final color appear consistent from corner to corner. ()
3. Test Wall Paint Colors
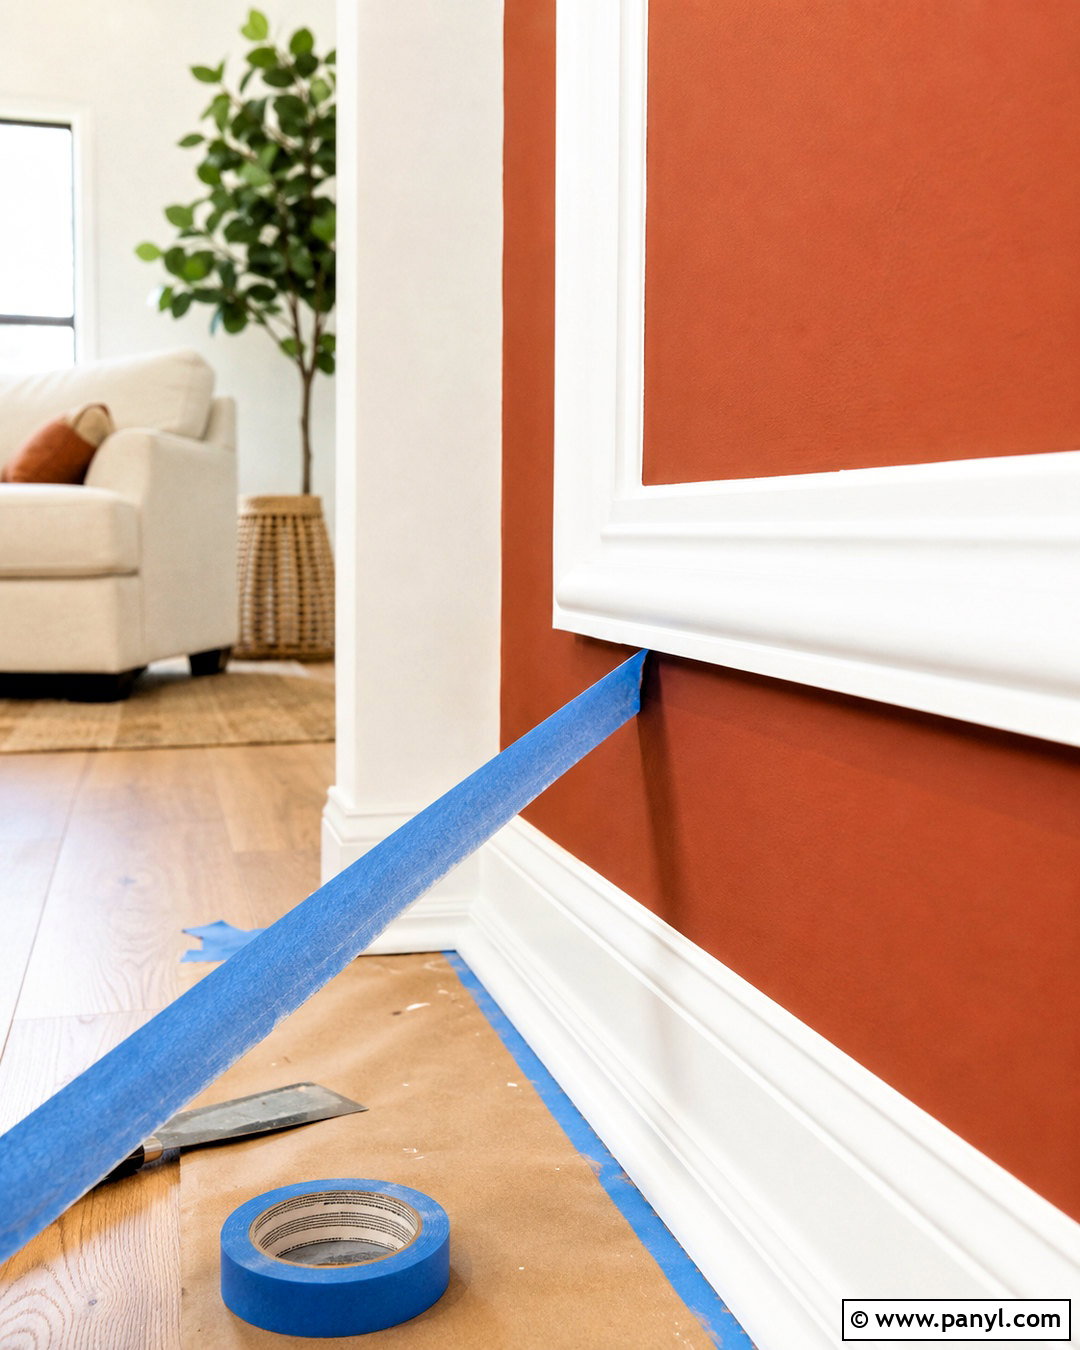
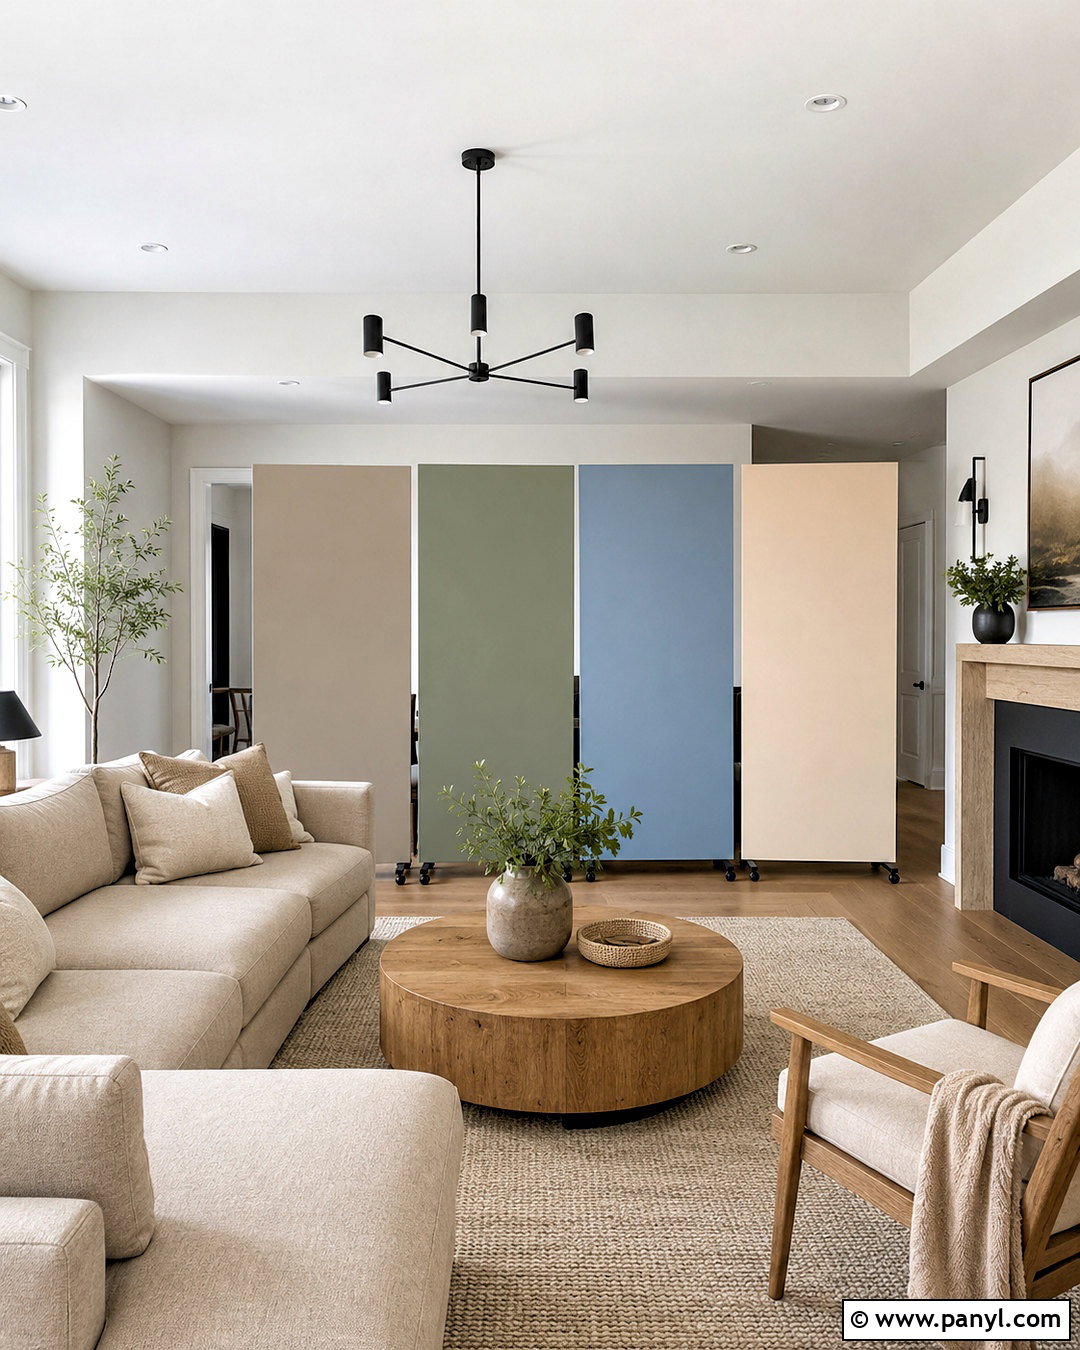
A small color chip cannot show how paint will behave across an entire room. Test several realistic samples on separate movable boards or large sheets of primed poster material. Position them beside the windows, behind the sofa, near the trim, and in the darkest corner. Check each option in morning light, afternoon sun, and evening artificial light. Compare the samples with the flooring, upholstery, cabinetry, and fixed finishes rather than viewing them alone. A warm greige might coordinate beautifully with oak flooring but appear pink beside cool gray tile. Movable samples also prevent a patchwork of test colors from showing through the finished coat. Once you choose a color, confirm the sheen and product line because both can affect the final appearance.
4. Mix Wall Paint Cans Together
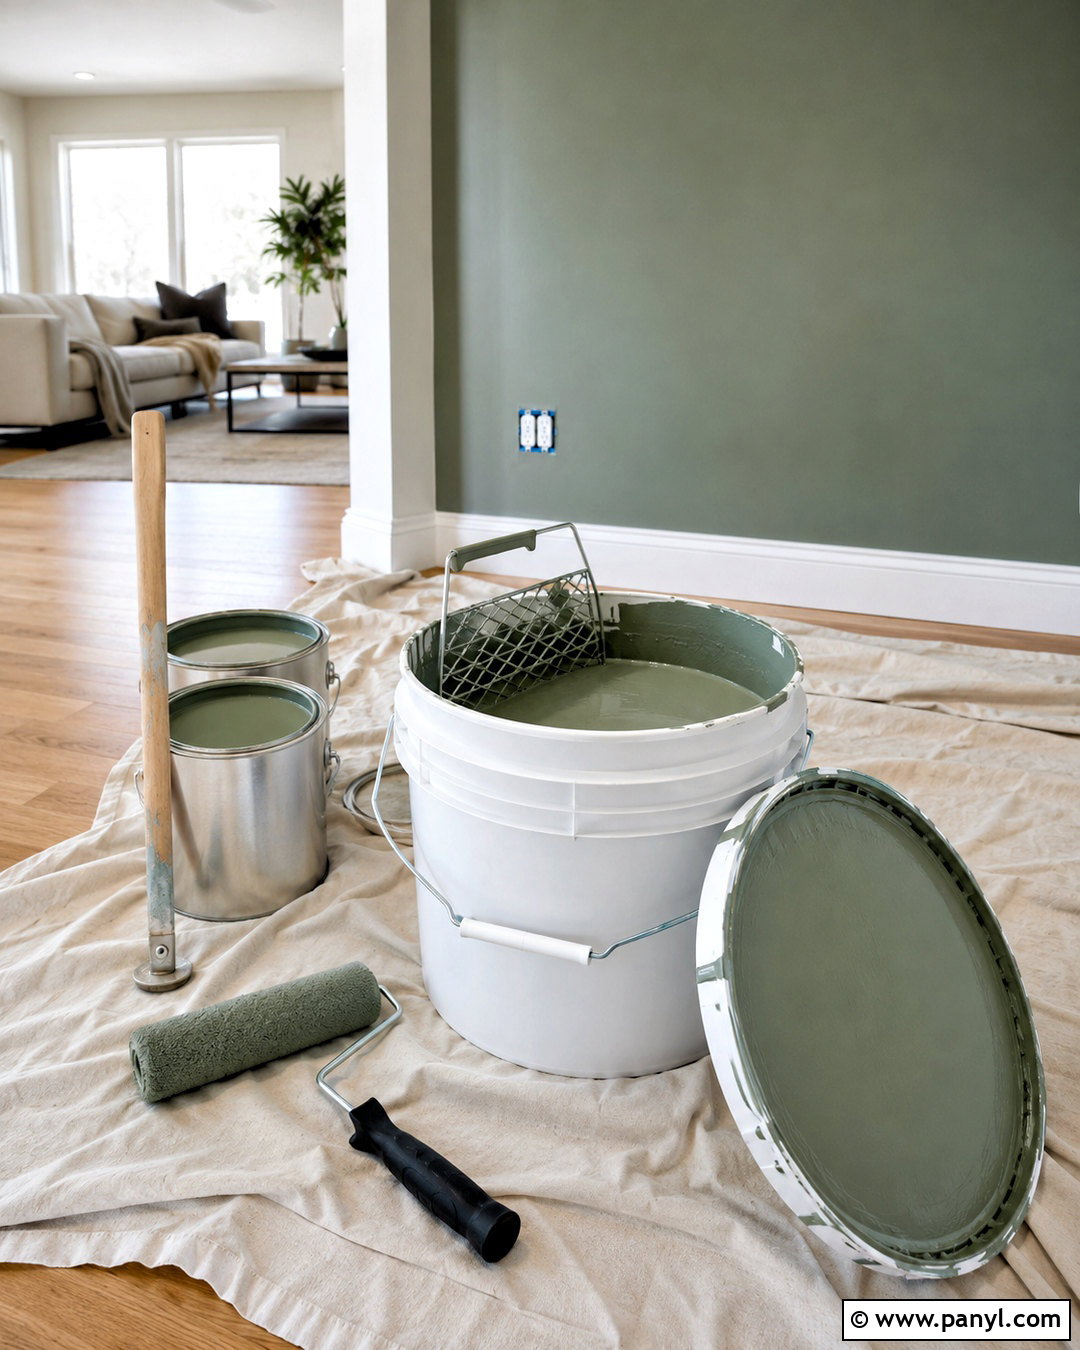
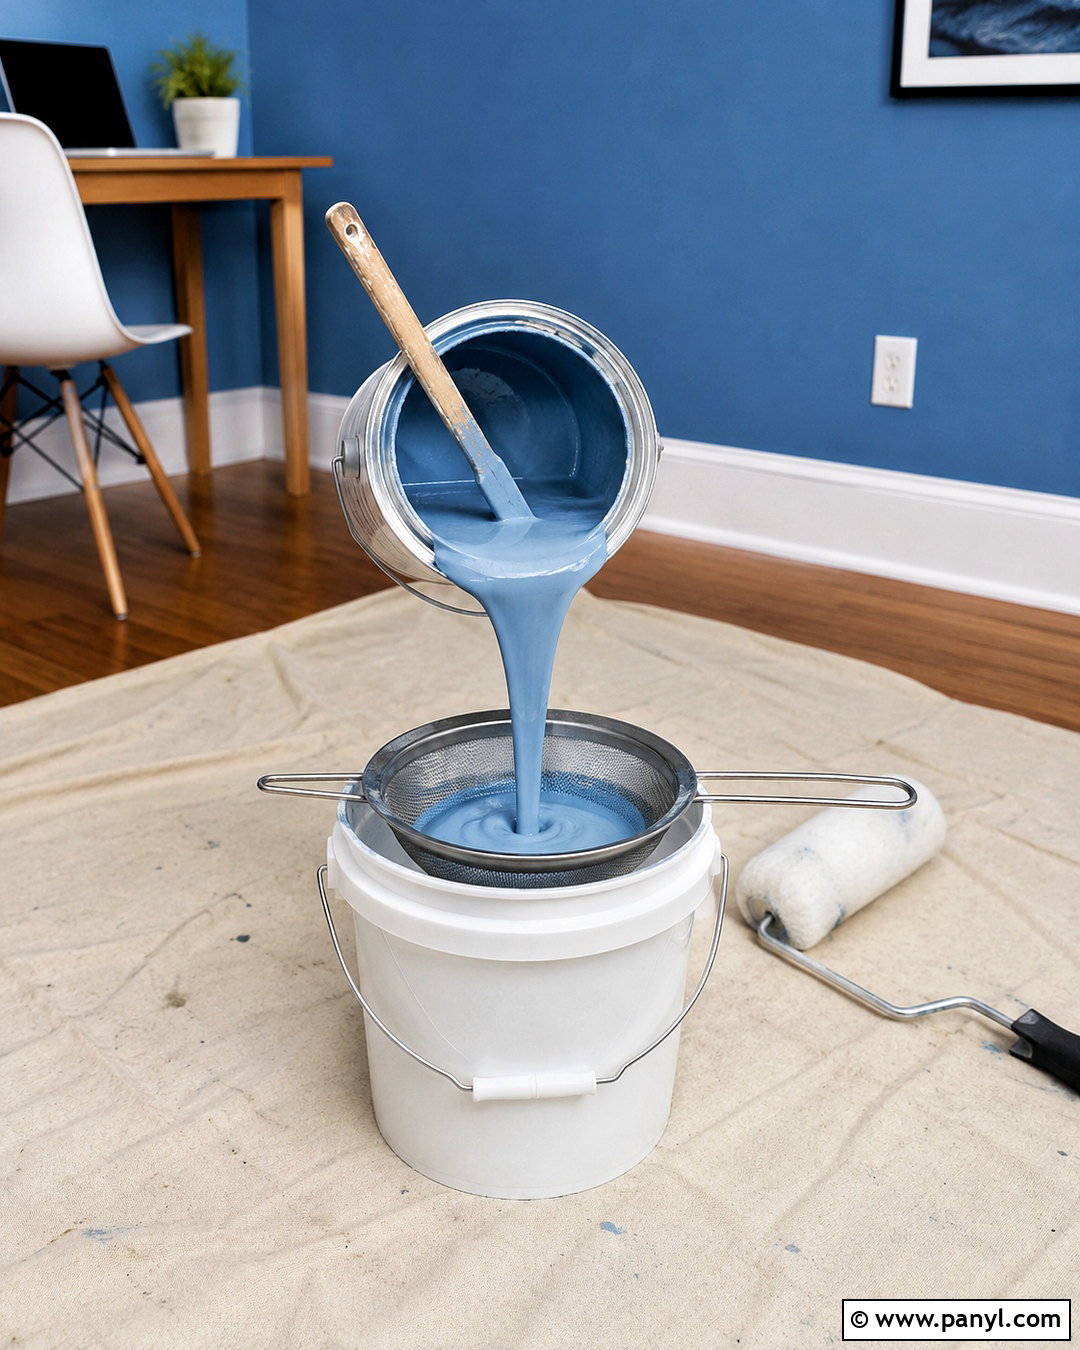
Even cans labeled with the same color can have slight differences, especially when they were mixed at different times. Before painting a large wall or connected room, combine the cans in a clean five-gallon bucket and stir thoroughly. Painters often call this “boxing” the paint. It creates one uniform mixture and helps prevent subtle color shifts midway across the room. Attach a bucket grid if you plan to roll directly from the container, and keep the lid nearby to limit dust and drying. Stir the paint periodically during the project because pigments and solids can settle. This method works especially well in open-concept spaces, long hallways, and rooms with uninterrupted walls where even a small change in color or sheen may become visible. ()
5. Remove Wall Plates Before Painting
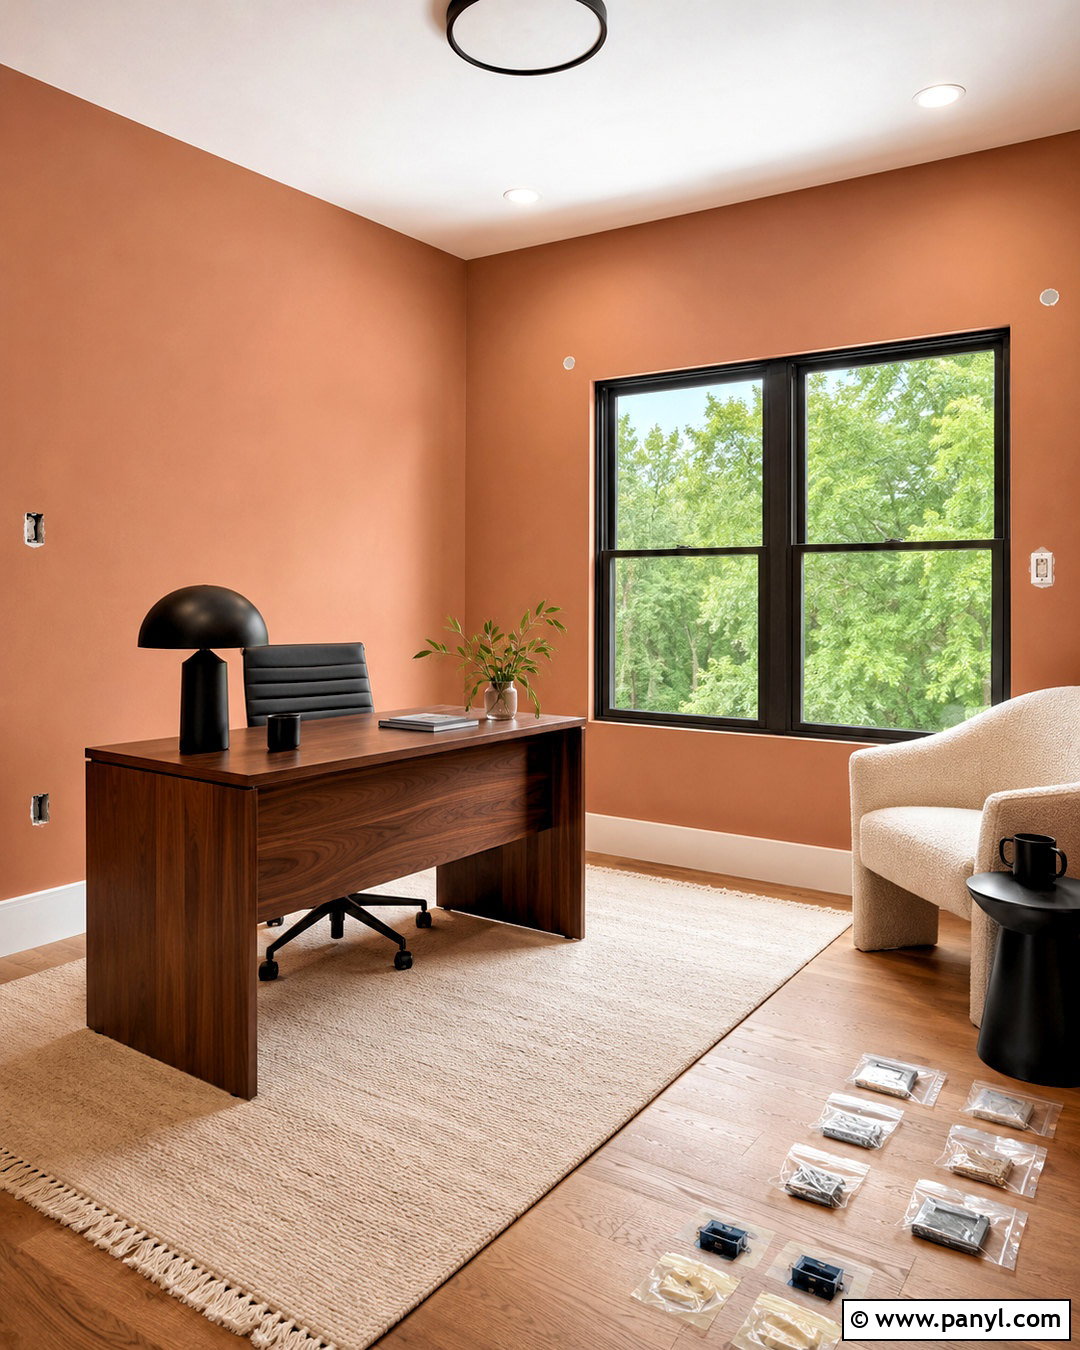
Painting around switch plates and outlet covers often leaves thick edges, accidental smears, and obvious brush marks. Turn off the appropriate power when necessary, then remove the covers before preparing the room. Place each cover with its screws in a labeled bag so nothing disappears. Protect the exposed electrical components carefully without pushing tape or paint inside them. Remove curtain hardware, wall hooks, vent covers, and other detachable fixtures at the same time. This creates an open painting surface and allows the roller to move naturally across the wall. After the final coat has dried, reinstall everything gently without overtightening the screws. The finished room will have clean openings and a more professional appearance, rather than painted-over hardware that makes future maintenance difficult. ()
6. Protect Floors For Wall Painting
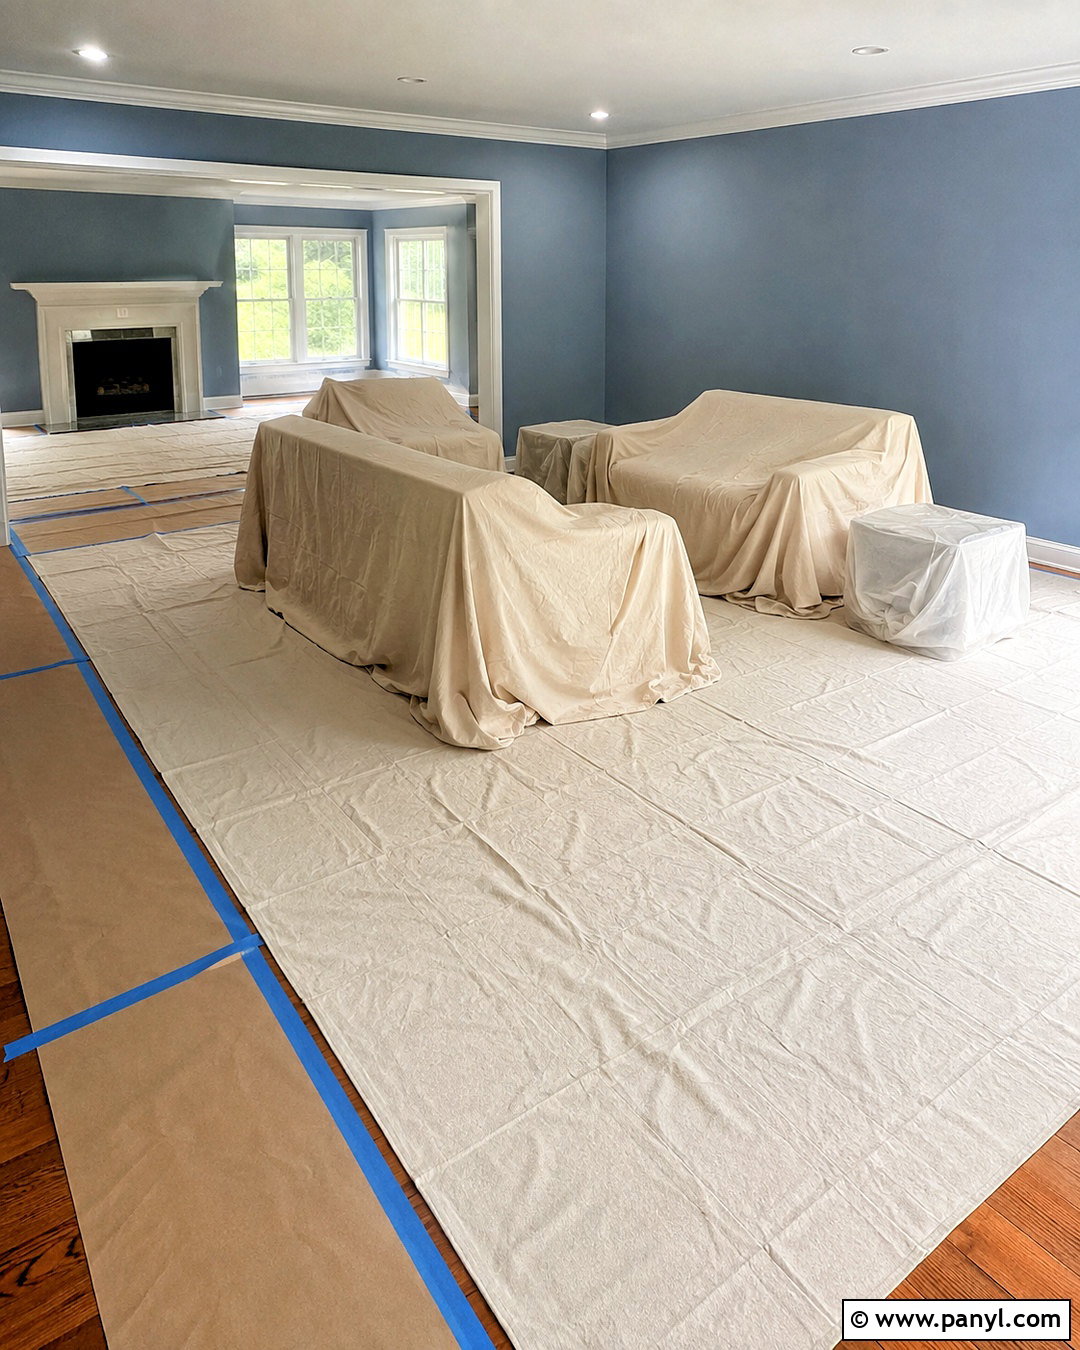
A complete floor protection system is faster than cleaning scattered paint drips afterward. Move furniture out of the room when possible. If large pieces must remain, group them in the center and cover them completely. Lay canvas drop cloths across hard flooring because their textured surface stays in place better than loose plastic. Use rosin paper or another suitable protective floor covering along high-traffic paths. Tape adjoining pieces together so they cannot separate beneath your feet. Lightweight plastic is useful for furniture but can be slippery underfoot, so avoid relying on it as the main walking surface. Keep a damp rag and trash bag within reach for immediate cleanup. With the room properly protected, you can focus on maintaining smooth brush and roller movements instead of watching every drop. ()
7. Seal Painter’s Tape Edges
Painter’s tape works best on clean, dry surfaces that are already firmly painted. Apply it in short sections along trim, baseboards, or adjoining walls, pressing the edge down with a flexible putty knife. For an especially sharp line, brush a thin layer of the existing base color over the tape edge first. Any seepage will match the surface underneath and help seal tiny gaps. After that layer dries, apply the new wall color. Use this complete technique around a contrasting accent wall, white crown molding, or detailed door casing. Do not rely on tape to correct damaged or dusty surfaces. Good preparation, controlled paint application, and a sealed tape edge work together to create a crisp transition without thick ridges or irregular color bleeding. ()
8. Use An Angled Wall Paint Brush
A quality angled sash brush gives you more control where walls meet ceilings, trim, doors, and windows. Choose a comfortable two-inch or two-and-a-half-inch brush that is compatible with your paint. Pour a manageable amount into a small cut-in bucket rather than carrying a full gallon. Dip only part of the bristles, then tap the brush gently against the inside instead of scraping away most of the paint. Create a narrow controlled line at the edge, followed by a wider band that the roller can overlap. Work on one wall at a time so the brushed border remains wet while you roll. This coordinated approach blends the two application methods and reduces the framed effect that can appear when all the cutting in dries before the walls are rolled. ()
9. Keep A Wet Edge While Painting
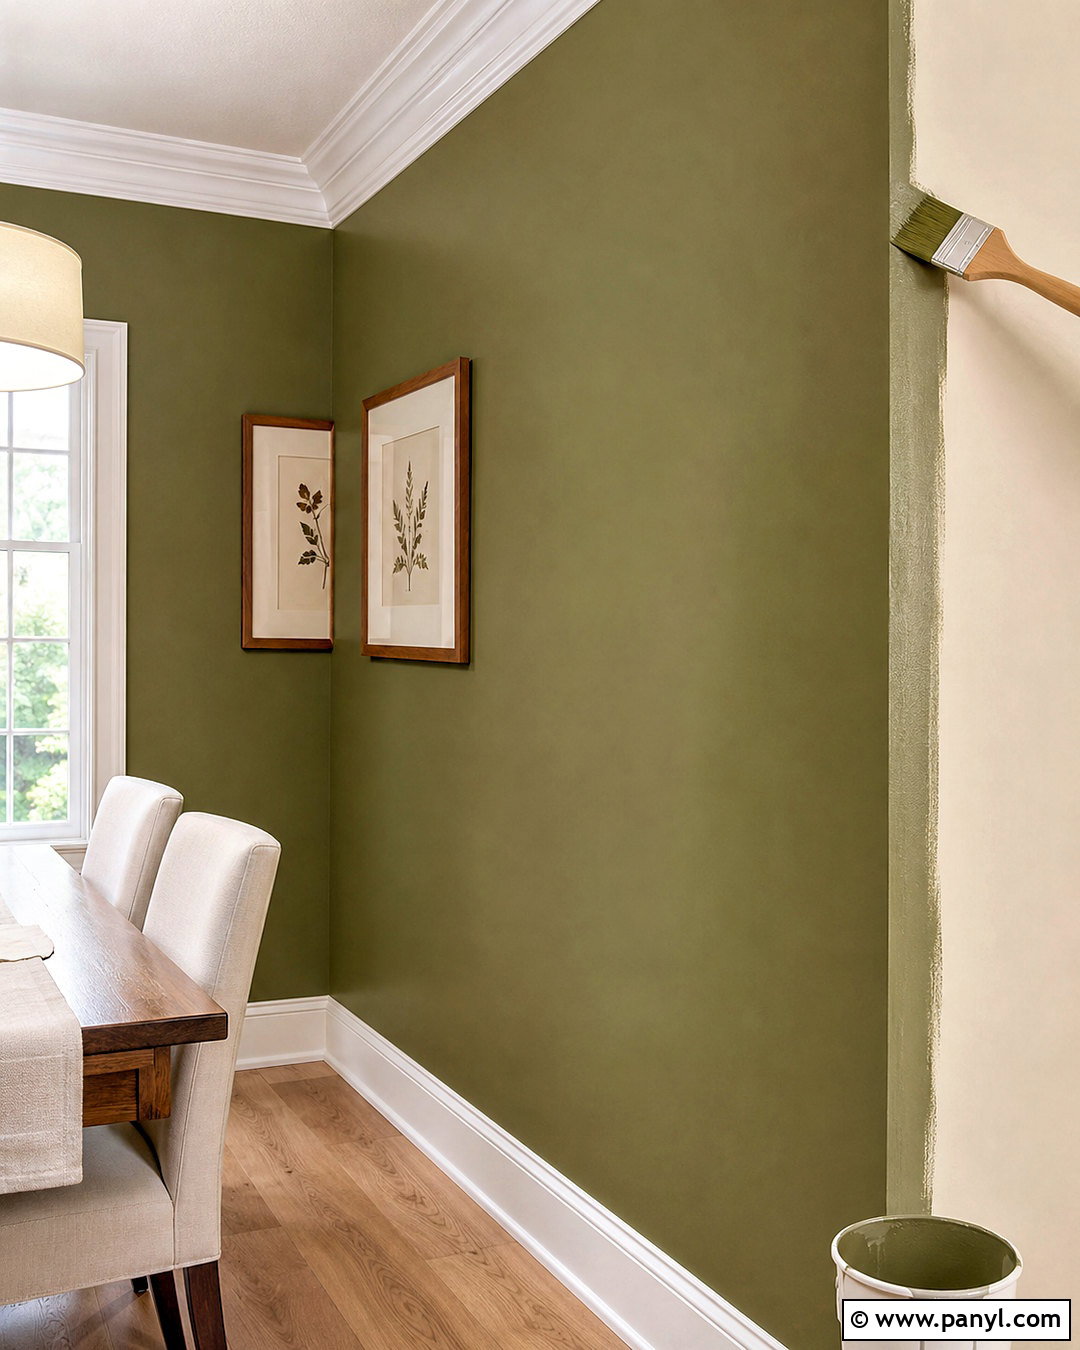
Visible lap marks often develop when one painted area dries before the next section overlaps it. Start near a corner and complete one manageable wall at a time. Cut in a section, then roll beside it while the brushed paint is still wet. Continue across the wall at a steady pace, overlapping the previous roller pass slightly. Avoid stopping in the middle of a broad, highly visible surface. If you need a break, finish at a natural boundary such as a corner, doorway, or window. Maintain enough paint on the roller to cover smoothly without creating runs. A wet edge is particularly important with deeper colors, higher-sheen finishes, and walls receiving strong side lighting. The complete surface will dry with more consistent color, texture, and reflection. ()

10. Load A Paint Roller Evenly
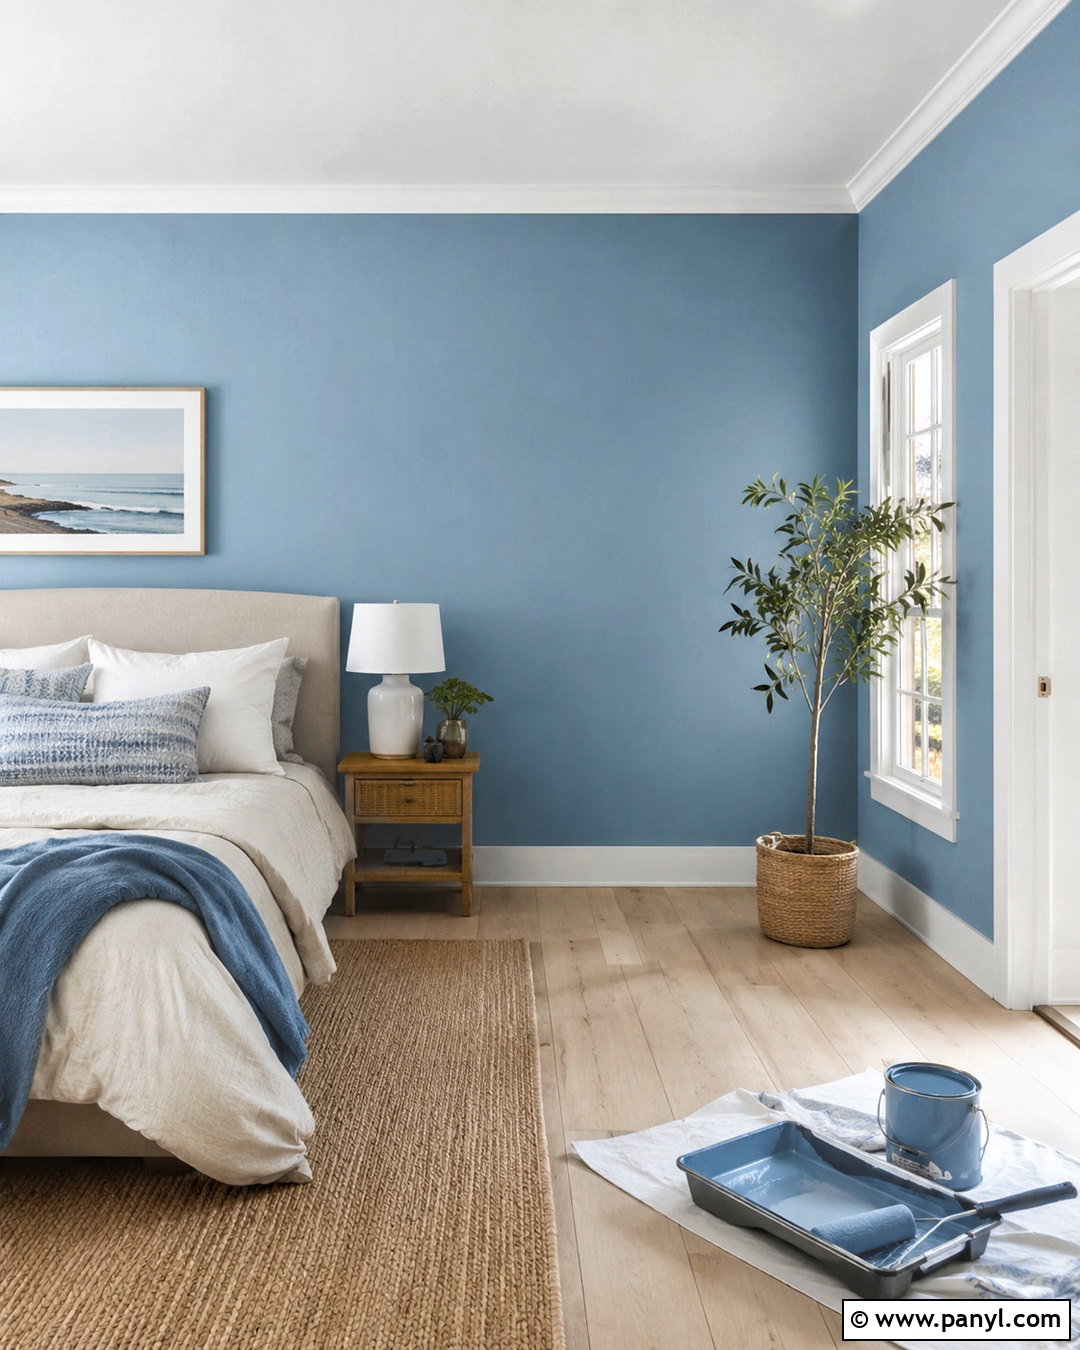
An overloaded roller creates drips, while an underloaded one leaves thin patches and rough lines. Begin by slightly dampening a water-compatible roller cover, then remove every trace of excess moisture. Pour paint into the deeper end of a sturdy tray. Roll the cover through the paint and across the tray’s ridged ramp several times until it is evenly coated. The roller should look full but should not release paint when lifted. Apply moderate, consistent pressure instead of pressing hard to squeeze out the last bit. Reload when the roller begins making a sticky sound or stops covering evenly. Keep the tray on a protected, stable surface near your work zone. Balanced loading helps every section of the wall receive a similar amount of paint, creating smoother coverage with fewer drips and heavy edges.
11. Choose The Right Roller Nap
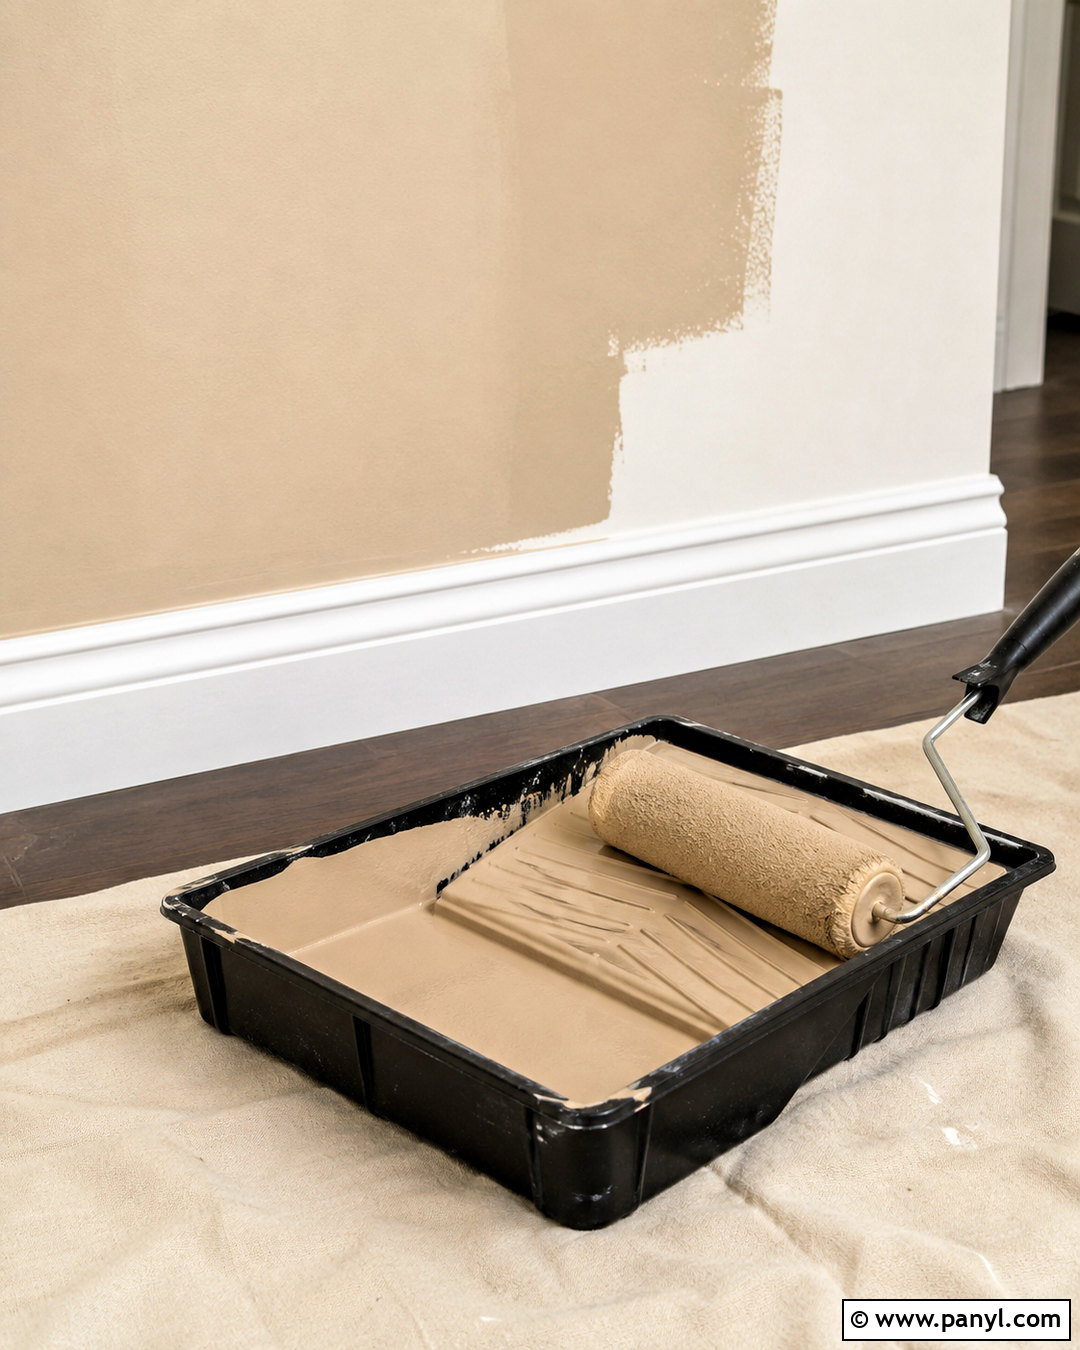
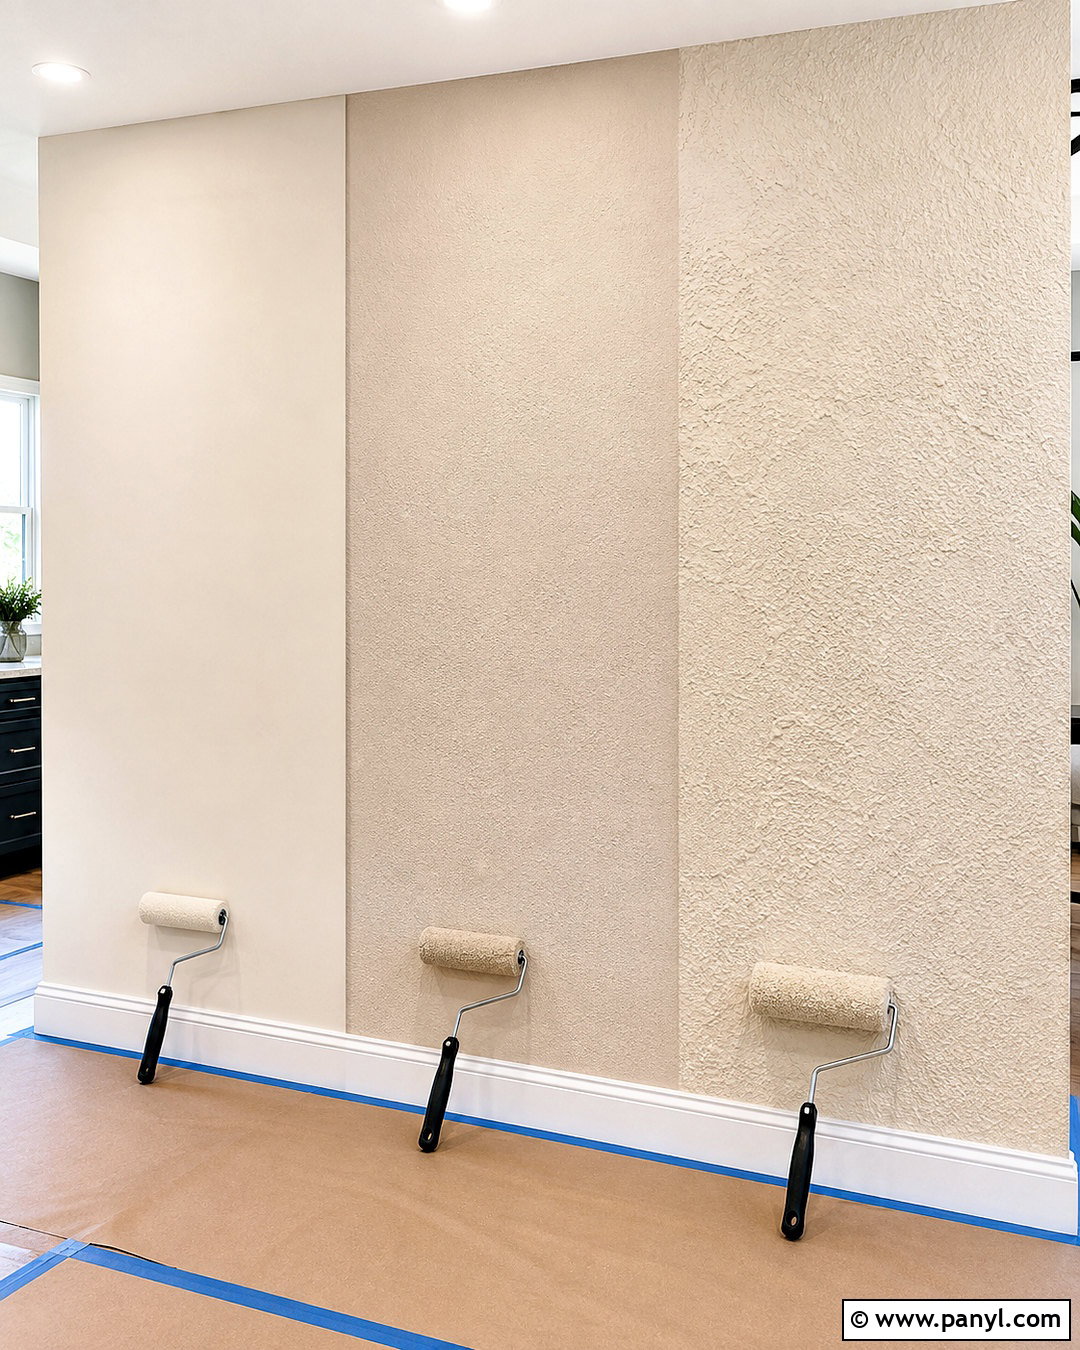
The wall’s texture should determine the roller cover, not whichever roller happens to be nearby. Smooth drywall generally works best with a shorter nap that leaves a refined finish. Lightly textured surfaces need a medium nap that can reach shallow variations. Heavier textures require a thicker nap capable of carrying paint into deeper recesses. Match the roller material to the paint manufacturer’s guidance as well. Before use, remove loose fibers with painter’s tape or a quick vacuum so they do not become embedded in the wall. Choose one roller type for the entire connected space to maintain a consistent texture. The correct cover improves coverage while reducing repeated passes, splatter, and missed areas. It also helps the painted walls coordinate visually with the room’s clean trim, ceiling, and architectural details. ()
12. Use An Extension Pole For Walls
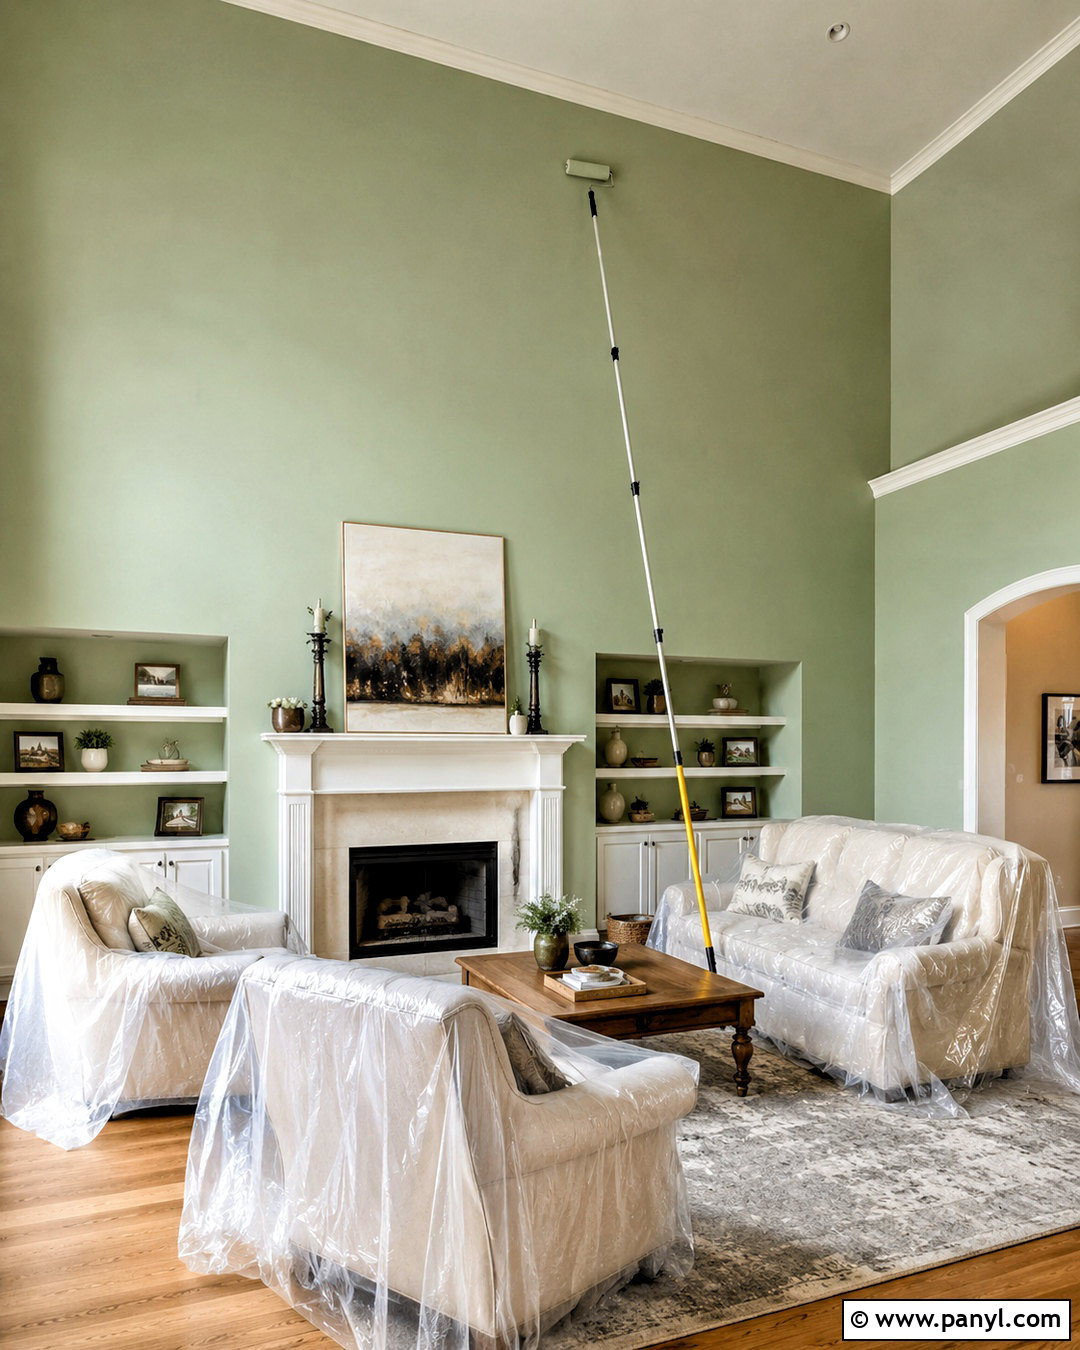
An extension pole is not only for tall ceilings. It allows you to roll most standard walls with longer, steadier movements while keeping your body a comfortable distance from the wet surface. Select an adjustable pole that locks securely and fits the roller frame without wobbling. Start near the top, keeping the roller below the ceiling line, and work down toward the baseboard. Position yourself far enough away to see the entire pass and control the pressure. The pole also reduces repeated bending, stretching, and ladder repositioning. Combine it with a stable tray or bucket placed outside your walking path. In a finished room, this method produces a more uniform wall texture because your rolling angle and pressure remain more consistent from the ceiling to the floor. ()
13. Roll Walls In Full-Height Sections
Instead of scattering short roller marks across the room, divide each wall into manageable vertical sections. Apply paint in a broad zigzag to distribute it, then roll from near the ceiling toward the baseboard using overlapping passes. Complete the section while it remains wet, and move directly into the next one. Finish each area with light strokes in the same direction to even out the texture. Do not repeatedly roll paint that has started becoming tacky because this can pull at the surface and leave ridges. Keep the section narrow enough that you can maintain a wet edge without rushing. This organized pattern is especially useful on long living room walls and open stairway walls. It produces consistent coverage while preventing missed strips, heavy patches, and random roller texture.
14. Back-Roll Wall Paint
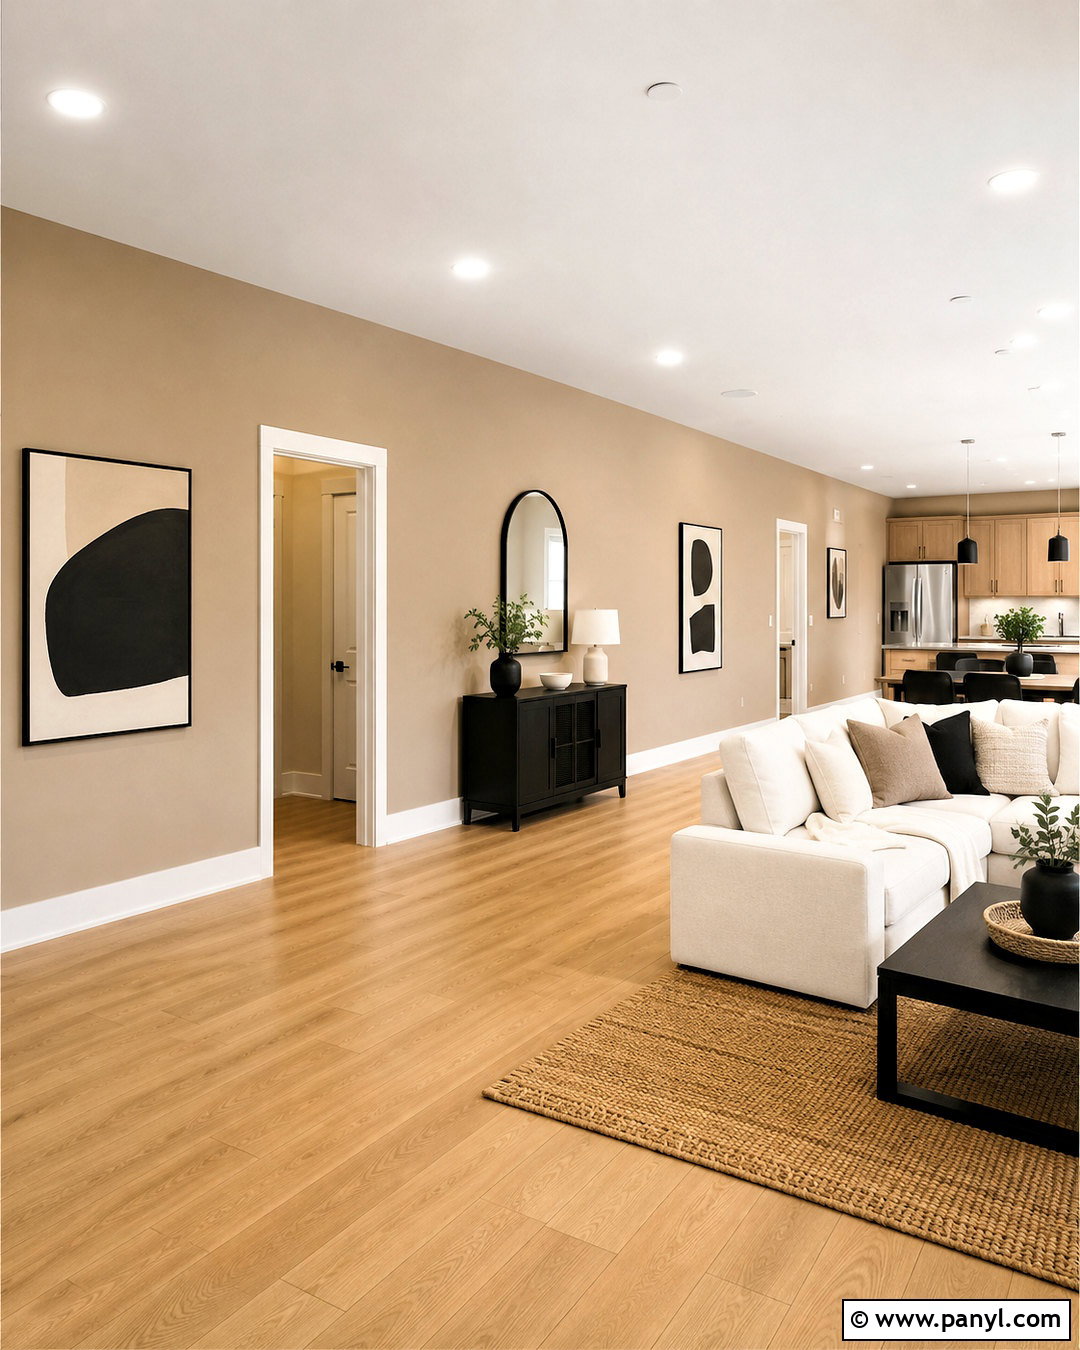
Back-rolling helps blend brushwork and distribute paint evenly across patched, porous, or lightly textured walls. After applying paint to a manageable section, make gentle finishing passes with the roller before the surface begins to set. Use minimal pressure and keep the roller moving in one consistent direction. Along corners and trim, overlap the cut-in area slightly so the brushed border shares the same subtle texture as the main wall. This method is also helpful when one person cuts in and another follows with the roller. Both painters should maintain a coordinated pace to preserve the wet edge. Avoid excessive passes, which can remove paint or create roughness. When completed correctly, the entire room has a unified finish without obvious brush halos, thick borders, or uneven bands around repaired areas.
15. Use A Small Cut-In Bucket
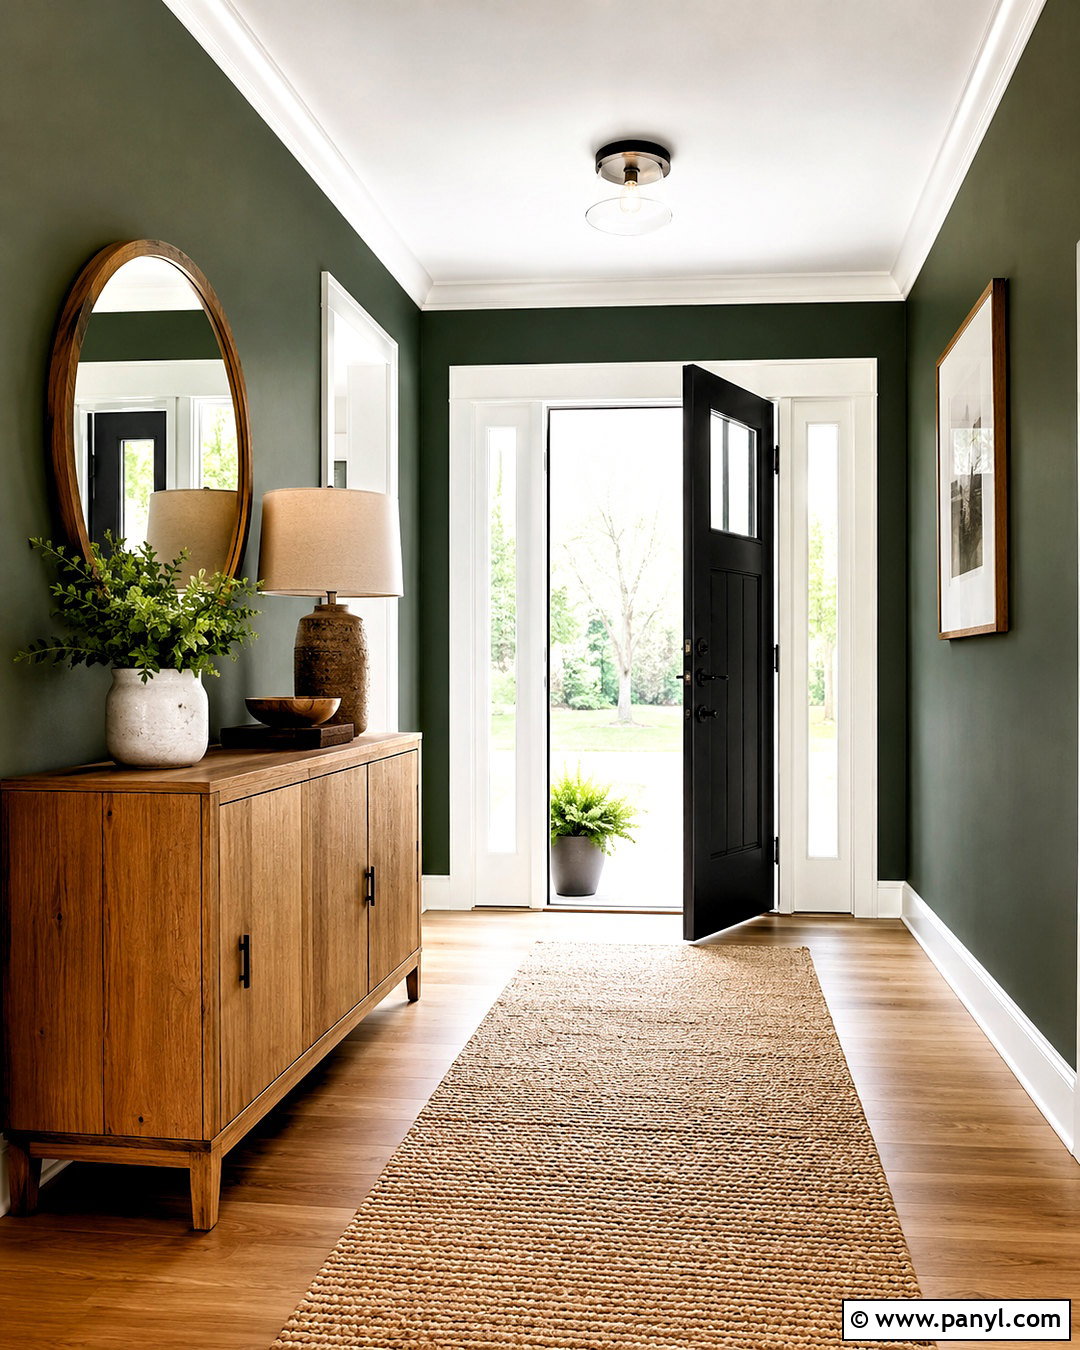
Carrying a full gallon around the room is tiring and increases the risk of a major spill. Pour a limited amount of paint into a lightweight cut-in bucket with a comfortable handle. Add a disposable liner if desired, and use a built-in magnet or brush holder to keep the bristles out of pooled paint. The bucket should contain enough material for a working section but remain easy to control on a ladder. Keep one side relatively clean so you can tap off excess paint. Refill from the main container as needed rather than letting a large amount sit exposed. Combined with an angled brush, drop cloth, and damp cleanup rag, this small workstation makes edging more organized. It also prevents dust and partially dried paint from contaminating the primary supply. ()
16. Strain Old Wall Paint
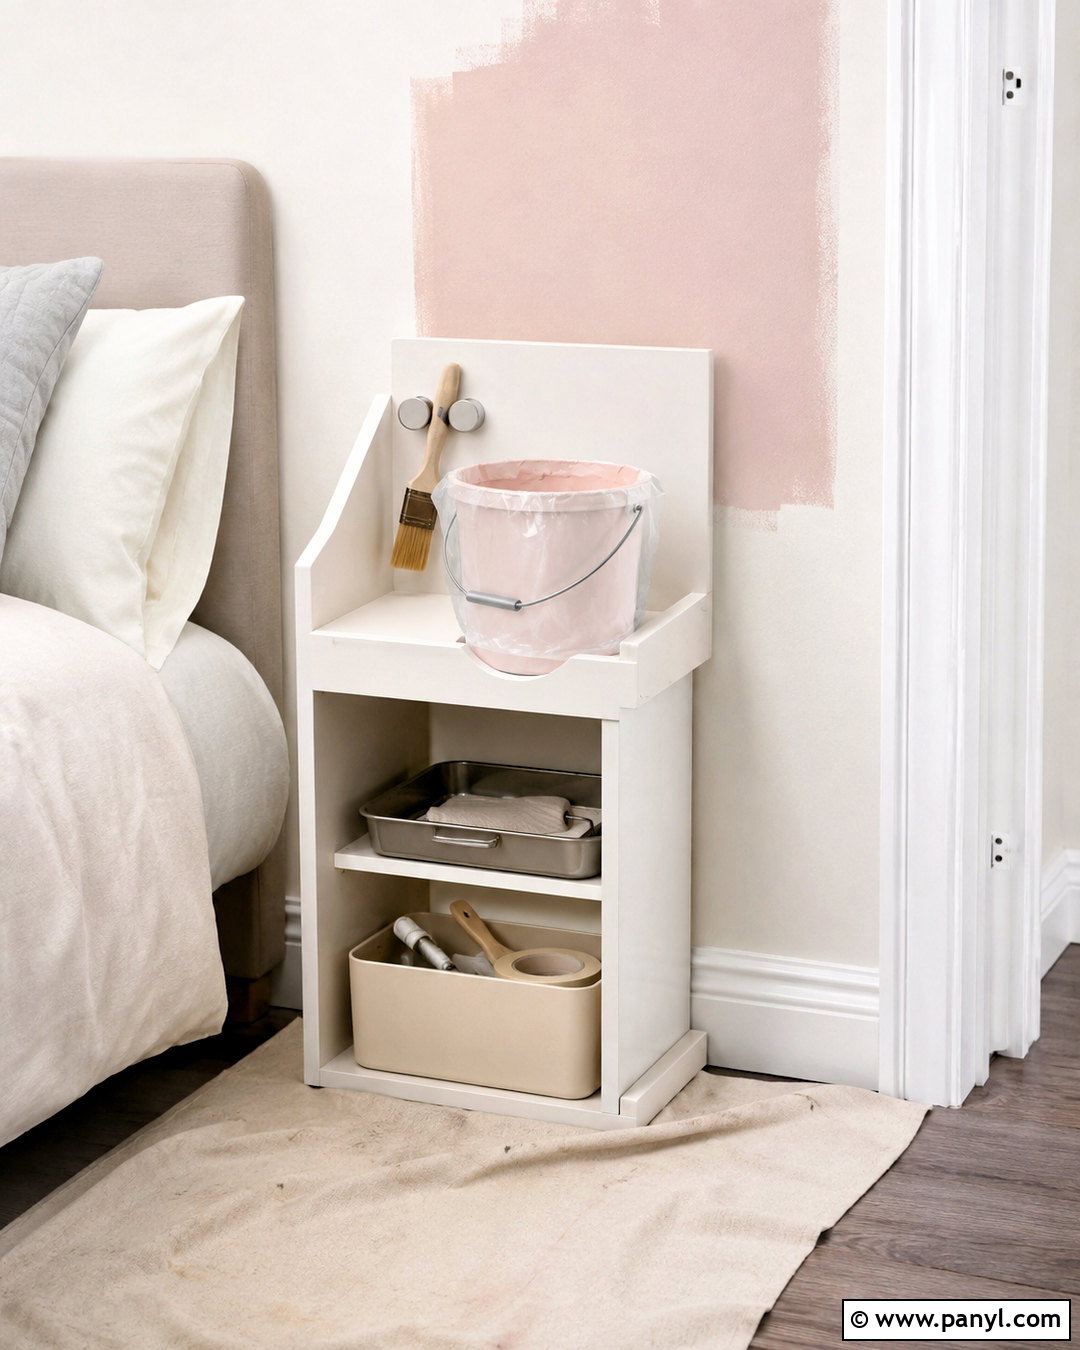
Stored paint can develop dried flakes or small lumps that transfer onto an otherwise smooth wall. Open the container carefully and inspect the paint’s condition. If it still smells and behaves normal but contains minor debris, pour it through a paint strainer into a clean bucket. Stir thoroughly from the bottom, checking that the color and consistency become uniform. Never try to hide large skins or hardened pieces by mixing them into the paint. Use the strained material for an appropriate project only if it remains usable and matches the existing finish. Clean the rim before resealing the original container. This simple step protects your brush and roller from hardened fragments. More importantly, it prevents visible bumps from appearing across a freshly repaired, sanded, and carefully prepared wall.
17. Tint Primer Under Dark Wall Paint
Changing a light room to deep navy, forest green, charcoal, or saturated terracotta can require extra planning. Ask the paint retailer whether a gray or tinted primer is appropriate for the chosen topcoat. A suitable primer creates a more uniform base and can help reveal missed spots while you apply the finish color. It is especially useful over repairs, strong existing colors, stains, or surfaces with uneven porosity. Prime the complete wall when necessary rather than creating scattered patches that may affect the final sheen. Let it dry for the recommended time, then apply the dark paint in consistent coats. Pair the finished walls with balanced lighting, light trim, and coordinated furnishings. The room will feel intentional, while the color appears deeper and more even instead of streaky or patchy.
18. Sand Between Wall Paint Coats
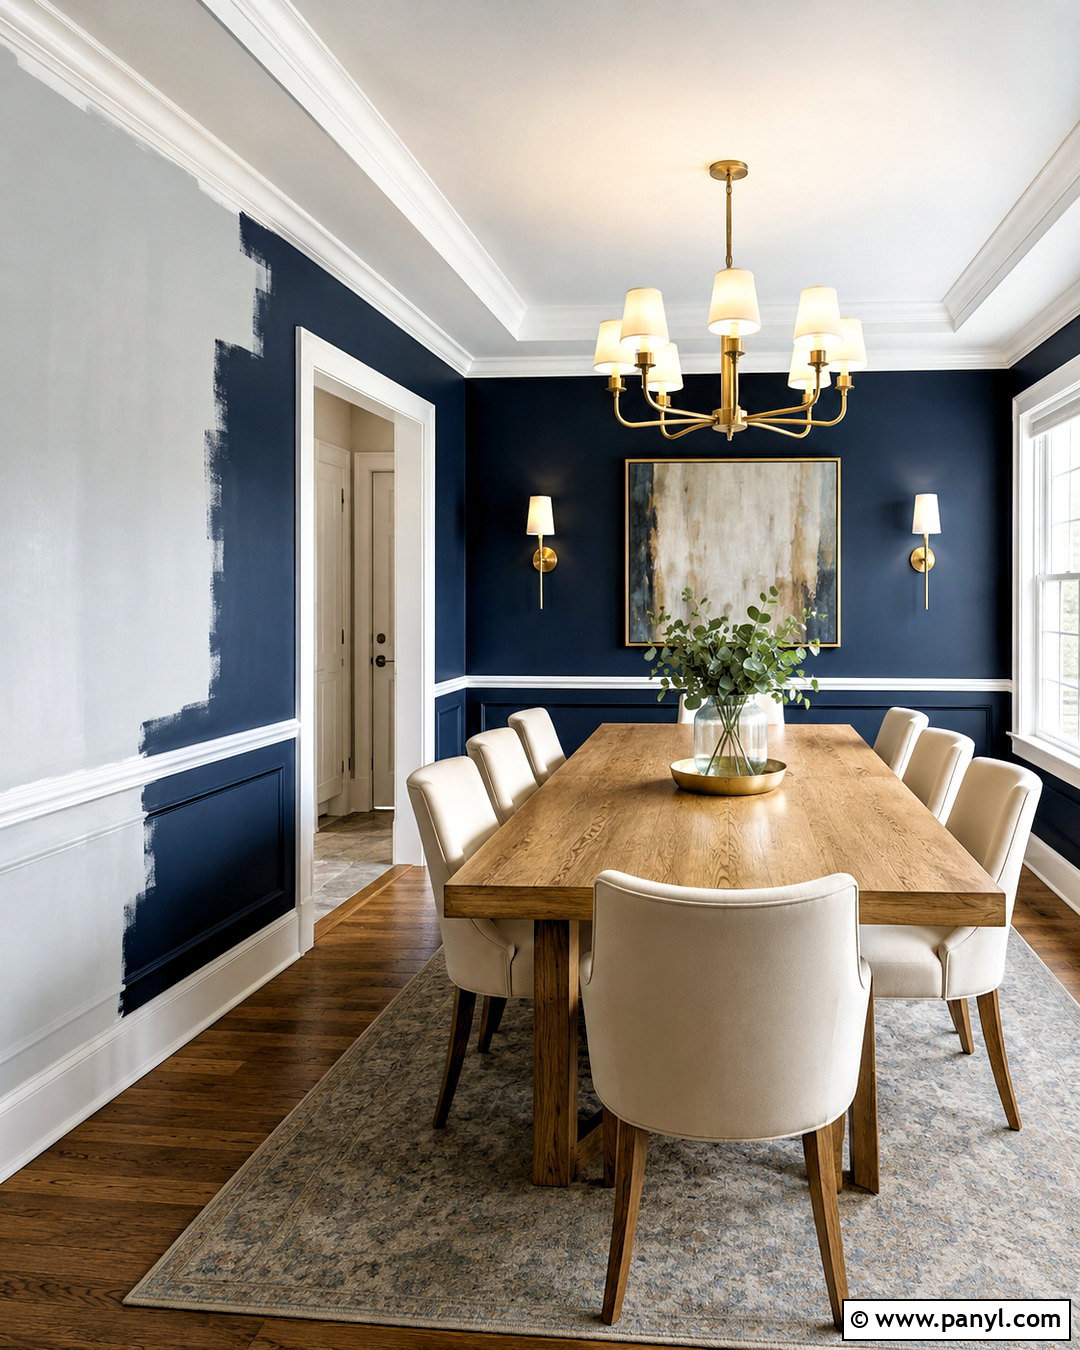
Tiny dust particles, dried drips, and raised roller fibers can make the first coat feel rough. Once it has dried for the recommended time, inspect the walls with bright side lighting. If the surface needs refinement, use a fine-grit sanding sponge and very light pressure. Concentrate on visible bumps or rough repairs instead of aggressively sanding the entire coat. Vacuum the floor and molding, then remove wall dust with a clean microfiber cloth. The surface must be dry and dust-free before repainting. Follow the paint label’s recoat instructions because drying conditions vary with temperature, humidity, sheen, and product type. This careful reset between coats supports a smoother final finish. It is particularly useful on feature walls, entryways, and spaces where natural light emphasizes every surface imperfection.
19. Remove Painter’s Tape Cleanly
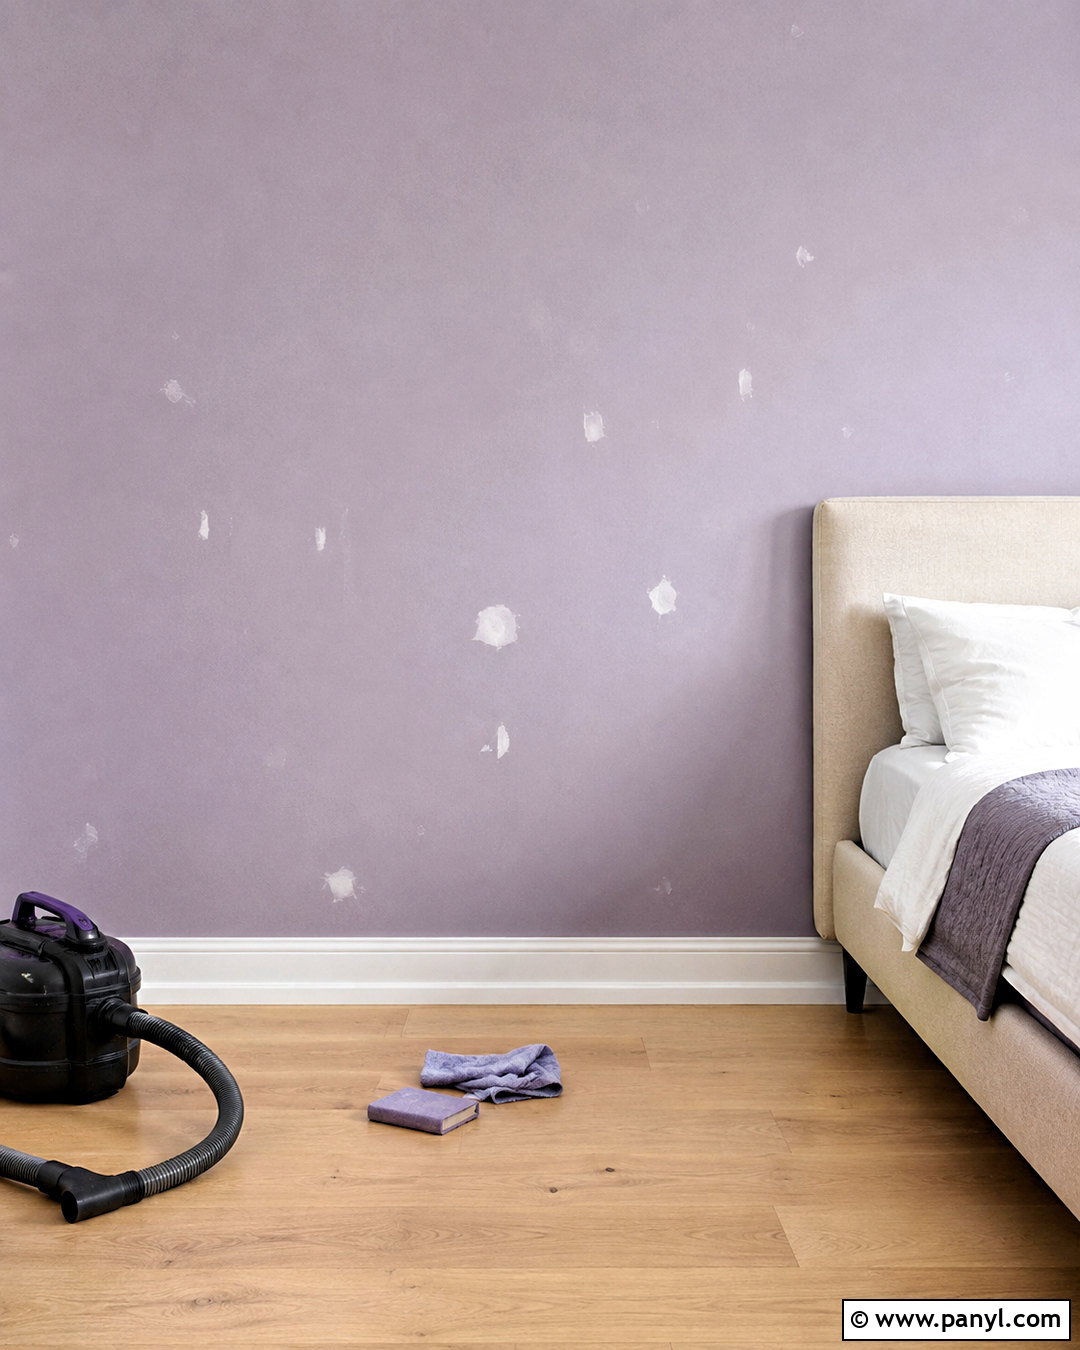
Tape removal should be treated as part of the painting process, not postponed until the entire room has fully hardened. Check the manufacturer’s directions, then peel the tape back slowly at roughly a 45-degree angle while the final coat is still slightly damp when appropriate. Pull it toward the painted line rather than sharply away from the wall. If the paint has already dried, score the edge gently with a sharp utility blade before peeling. This separates the paint film and reduces tearing. Work around the entire room in a planned order, watching corners where paint may be heavier. Afterward, let the walls dry before reinstalling hardware or moving furniture back. Proper removal reveals crisp baseboards, trim, ceilings, and accent wall boundaries without ragged edges or lifted paint.
20. Store Wall Paint For Touch-Ups
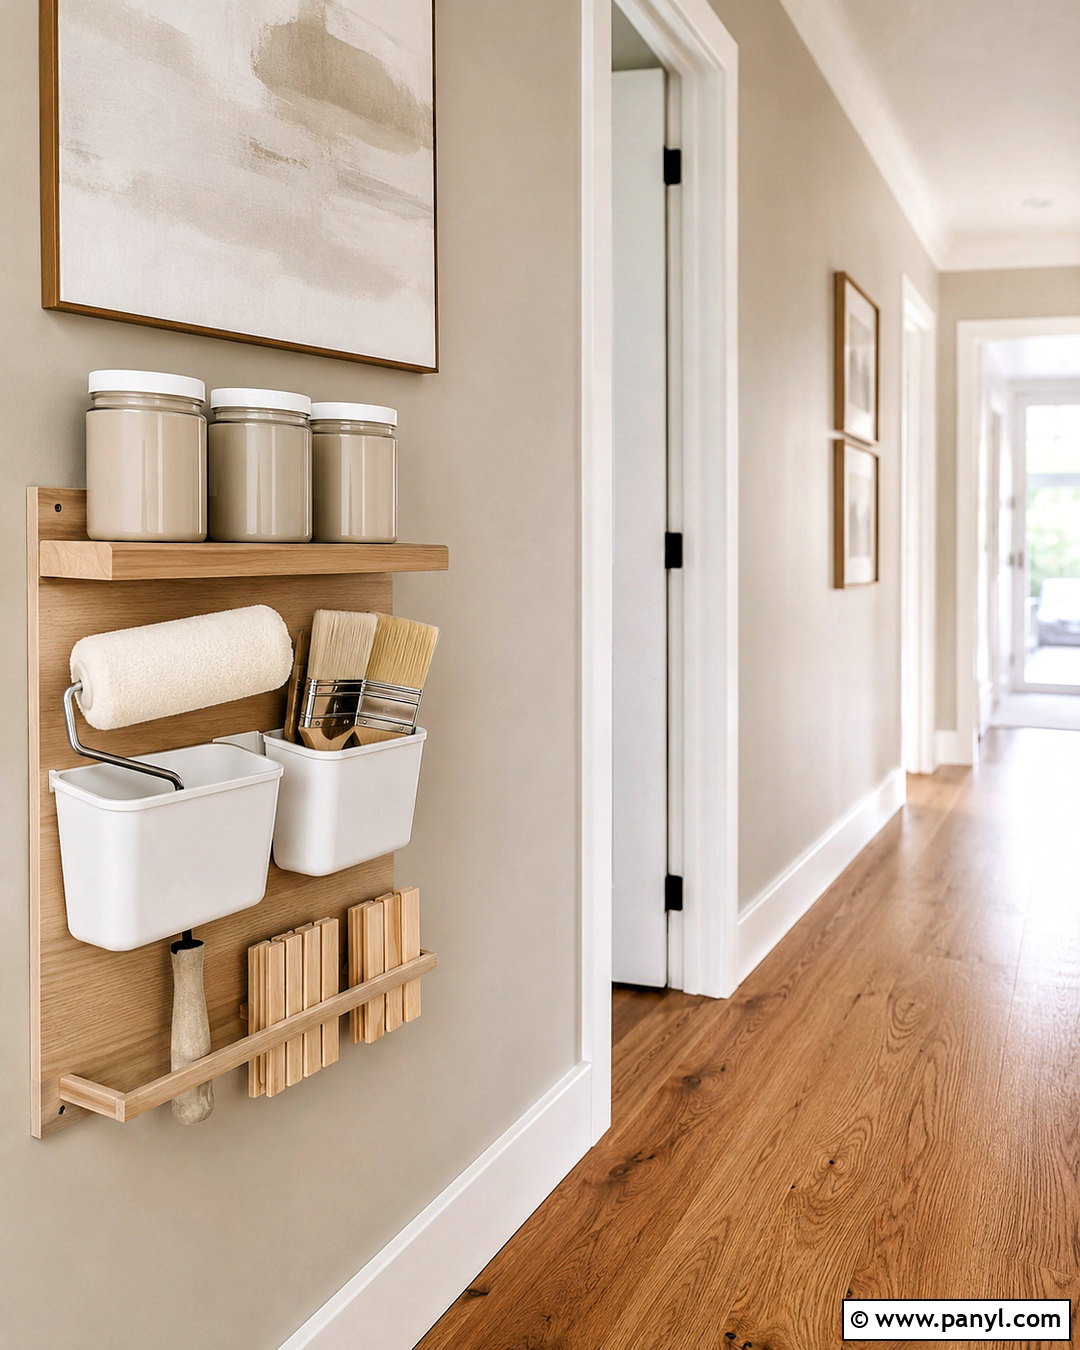
A well-organized touch-up kit keeps the finished room looking fresh long after the main project. Save a small amount of clean paint in an airtight, appropriately sized container. Label it with the room, wall color, brand, product line, sheen, formula information, and project date. Store it in a temperature-stable location according to the manufacturer’s guidance. Keep a small brush, miniature roller, and notes about the original application method nearby. When repairing a mark, clean the spot first and use the same tool texture whenever possible. Apply a minimal amount and feather the edges carefully. Remember that aged wall paint may not blend perfectly because light exposure and surface wear can change its appearance. Good records make future repainting and accurate color matching much easier.
Conclusion:
Successful **painting hacks for walls** focus on controlling the entire process rather than searching for one magical shortcut. Prepare the room, clean and repair every surface, organize the tools, and select equipment that matches the wall texture and paint. During application, keep a wet edge, use consistent roller pressure, and complete one manageable section at a time. Careful taping, back-rolling, and light sanding can further refine the finish. Finally, store labeled touch-up paint so minor repairs remain simple. These practical methods reduce mess and prevent common problems without adding unnecessary complexity. With patience and a coordinated plan, even a beginner can create walls that look clean, smooth, balanced, and professionally finished.

Related Ideas and Inspiration:




Leave a Reply