
These **20 painting walls tips** cover the full process needed to create smooth, even walls without drips, patch shadows, fuzzy roller marks, or messy edges. A professional-looking room starts long before the first coat goes on. Color testing, surface repairs, cleaning, priming, tool selection, and careful protection all influence the final result. The application method matters too. Working in manageable sections and maintaining consistent coverage can make an ordinary DIY paint job look polished. Most importantly, follow the product label because drying, recoating, ventilation, and curing instructions vary between paints. Whether you are refreshing one bedroom or repainting an open living area, use the sections below as your practical guide to **20 painting walls tips**. ()
1. Test Wall Paint Color
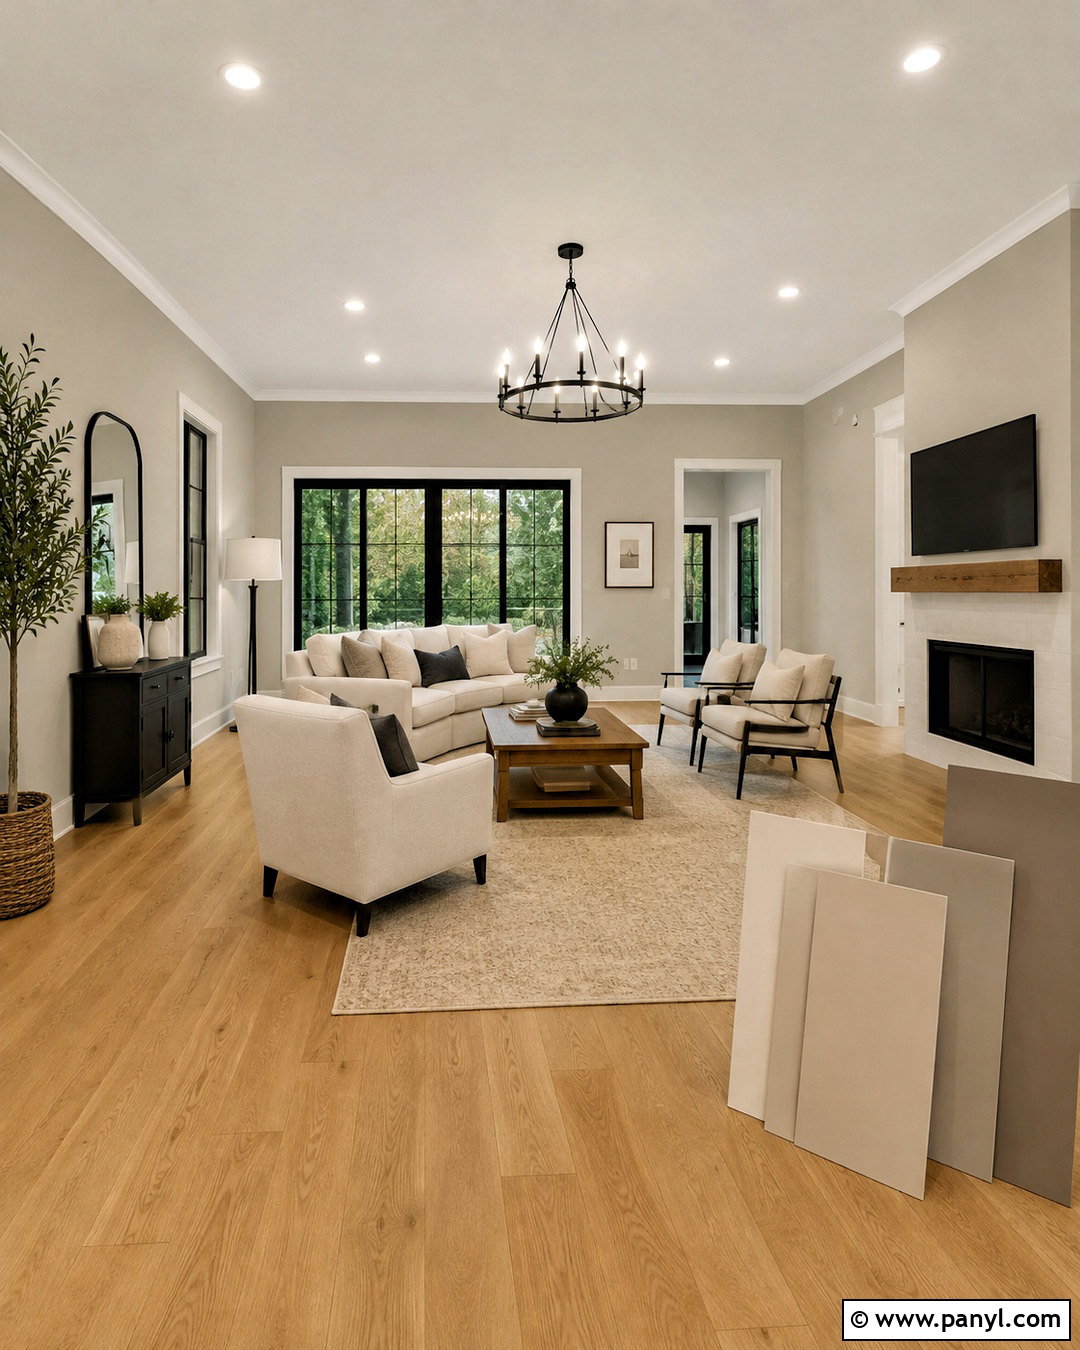
Before buying several gallons, test your shortlisted colors inside the actual room. Paint two coats onto large sample boards, then position them against different walls. This lets you move the color without leaving several test patches behind. Observe each sample in morning daylight, afternoon sun, cloudy conditions, and artificial light at night. Compare it with the flooring, trim, upholstery, countertops, and other permanent finishes. Warm beige may turn yellow beside certain woods, while pale gray can appear blue in a north-facing room. Testing a generous area provides a more useful impression than relying on a small paper chip. Once one color works consistently throughout the day, confirm the finish and purchase the main paint. ()
2. Calculate Wall Paint Quantity
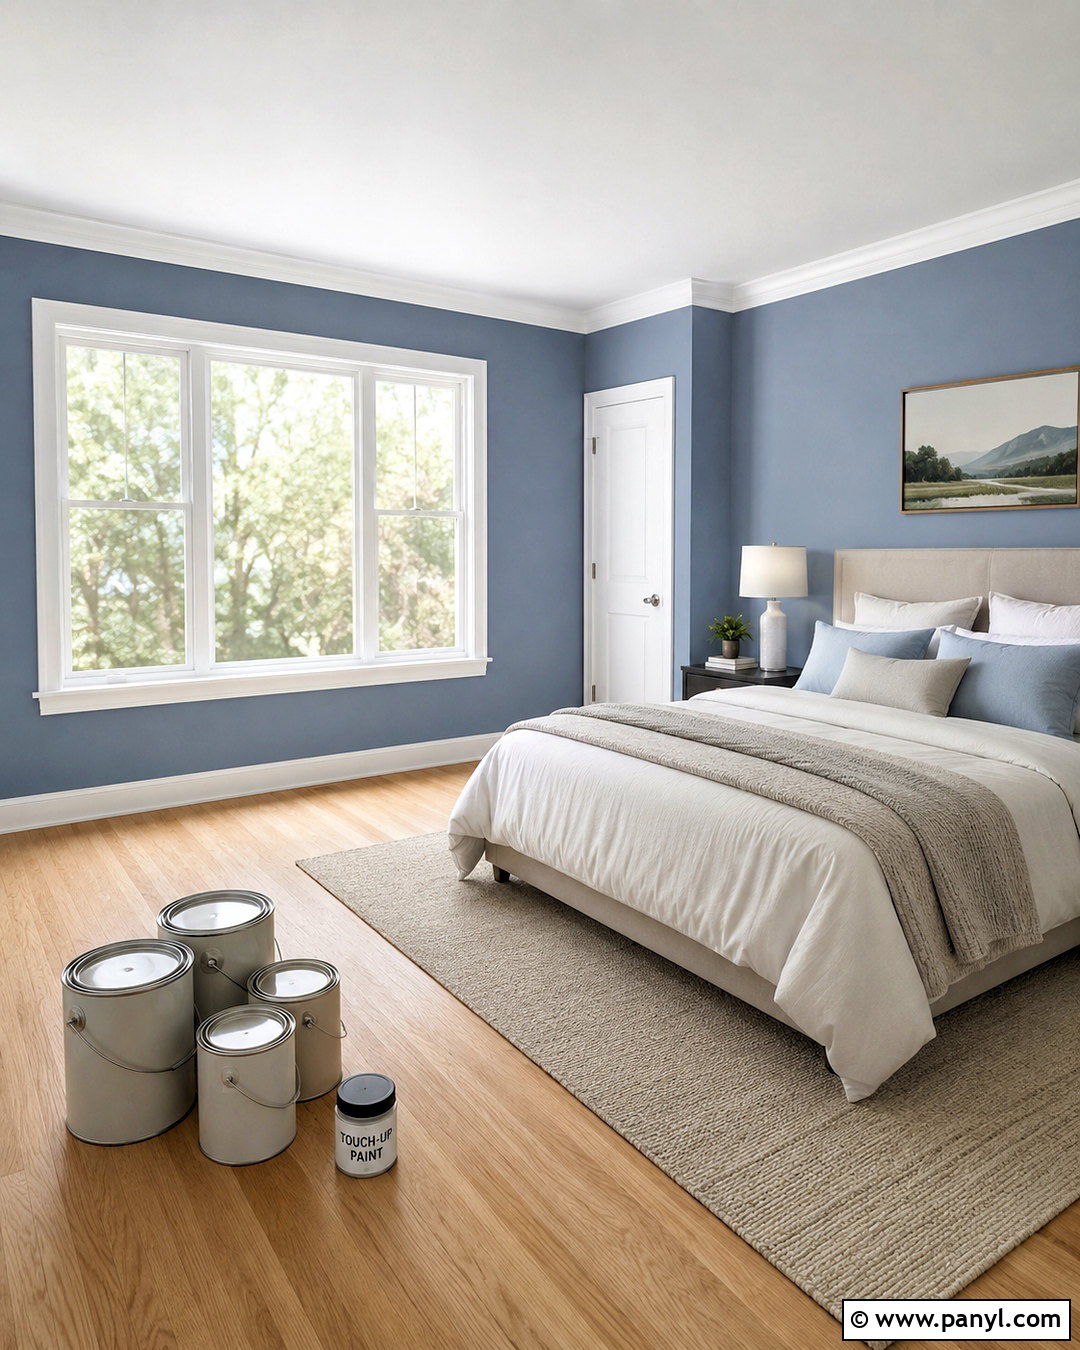
Measure before shopping so you have enough paint to complete each coat without an inconvenient interruption. Multiply the height by the width of every wall, then add the totals. Subtract large doors and windows if desired, although keeping a little extra paint is helpful for future repairs. Product coverage varies with the paint, surface condition, wall texture, application method, and number of coats. A gallon commonly covers approximately 350 to 400 square feet, but porous drywall and heavily textured walls may require more. Include primer as a separate calculation when it is needed. Purchase paint for the entire room at once, and retain a clearly labeled amount for touch-ups after furniture, artwork, and wall-mounted fixtures return. ()
3. Clear The Room Before Painting
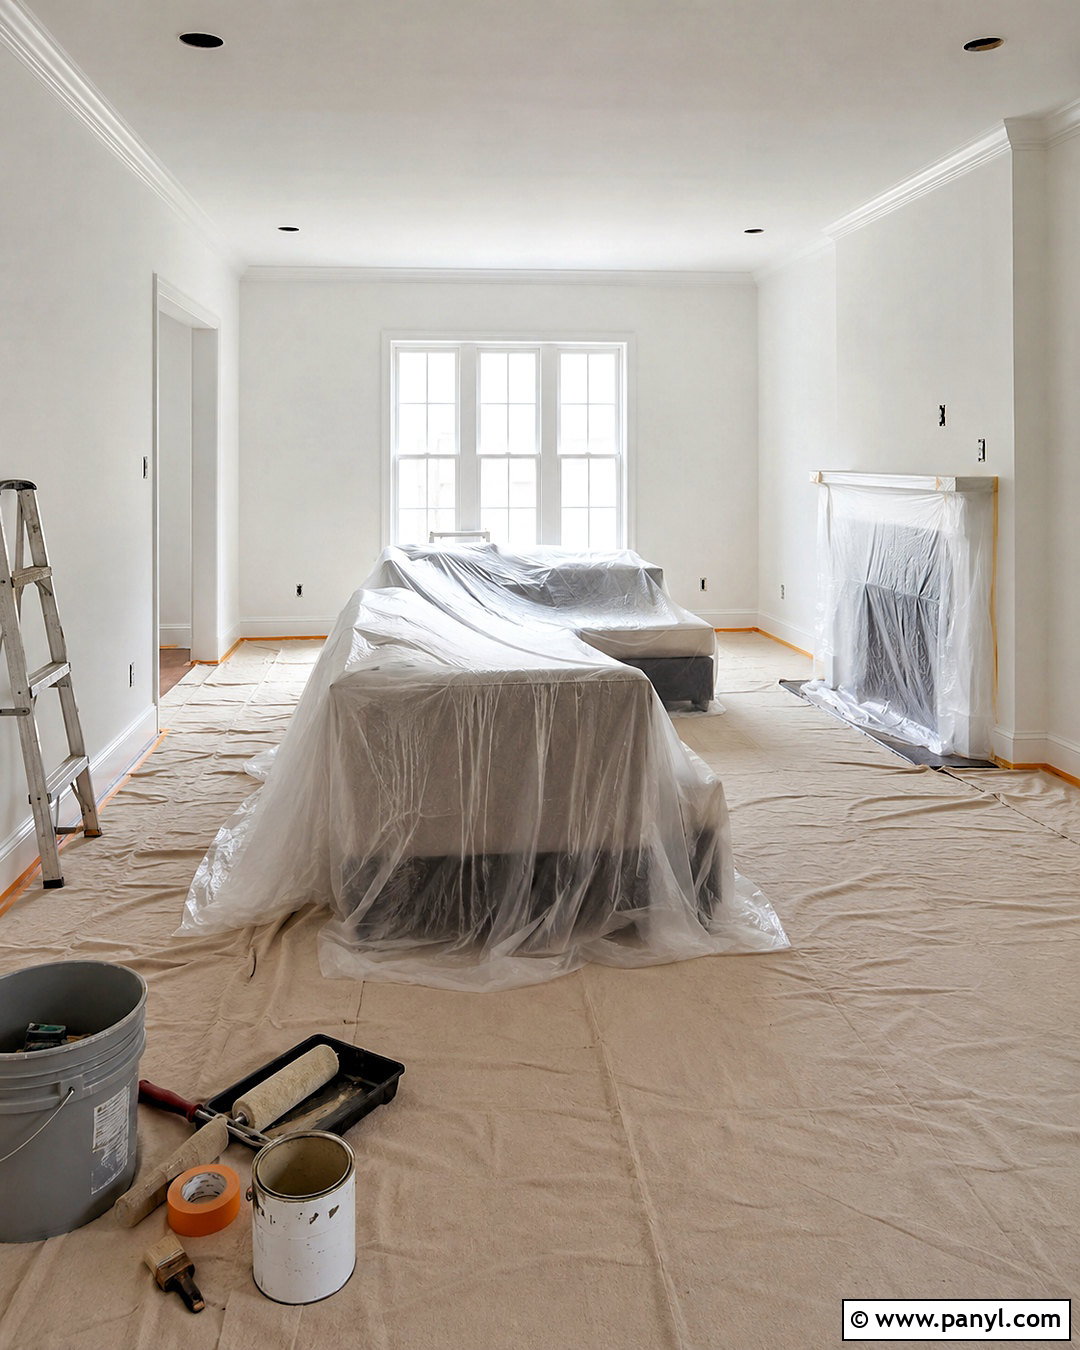
An open, protected workspace makes the painting process faster and helps prevent accidental damage. Remove lightweight furniture, curtains, rugs, artwork, lamps, and decorative accessories. Move large furniture to the center and cover it completely with clean plastic sheeting. Take off outlet covers, switch plates, curtain brackets, and removable hardware rather than attempting to paint around them. Keep labeled screws with each item for simple reinstallation. Cover the entire floor with canvas or plastic-lined drop cloths, paying special attention to the edges beside baseboards. Secure slippery coverings so they cannot shift under ladders or shoes. Finally, create a clear path between the paint station, walls, doorway, and sink. A well-organized room supports cleaner, more consistent work. ()
4. Check For Lead Paint Safety
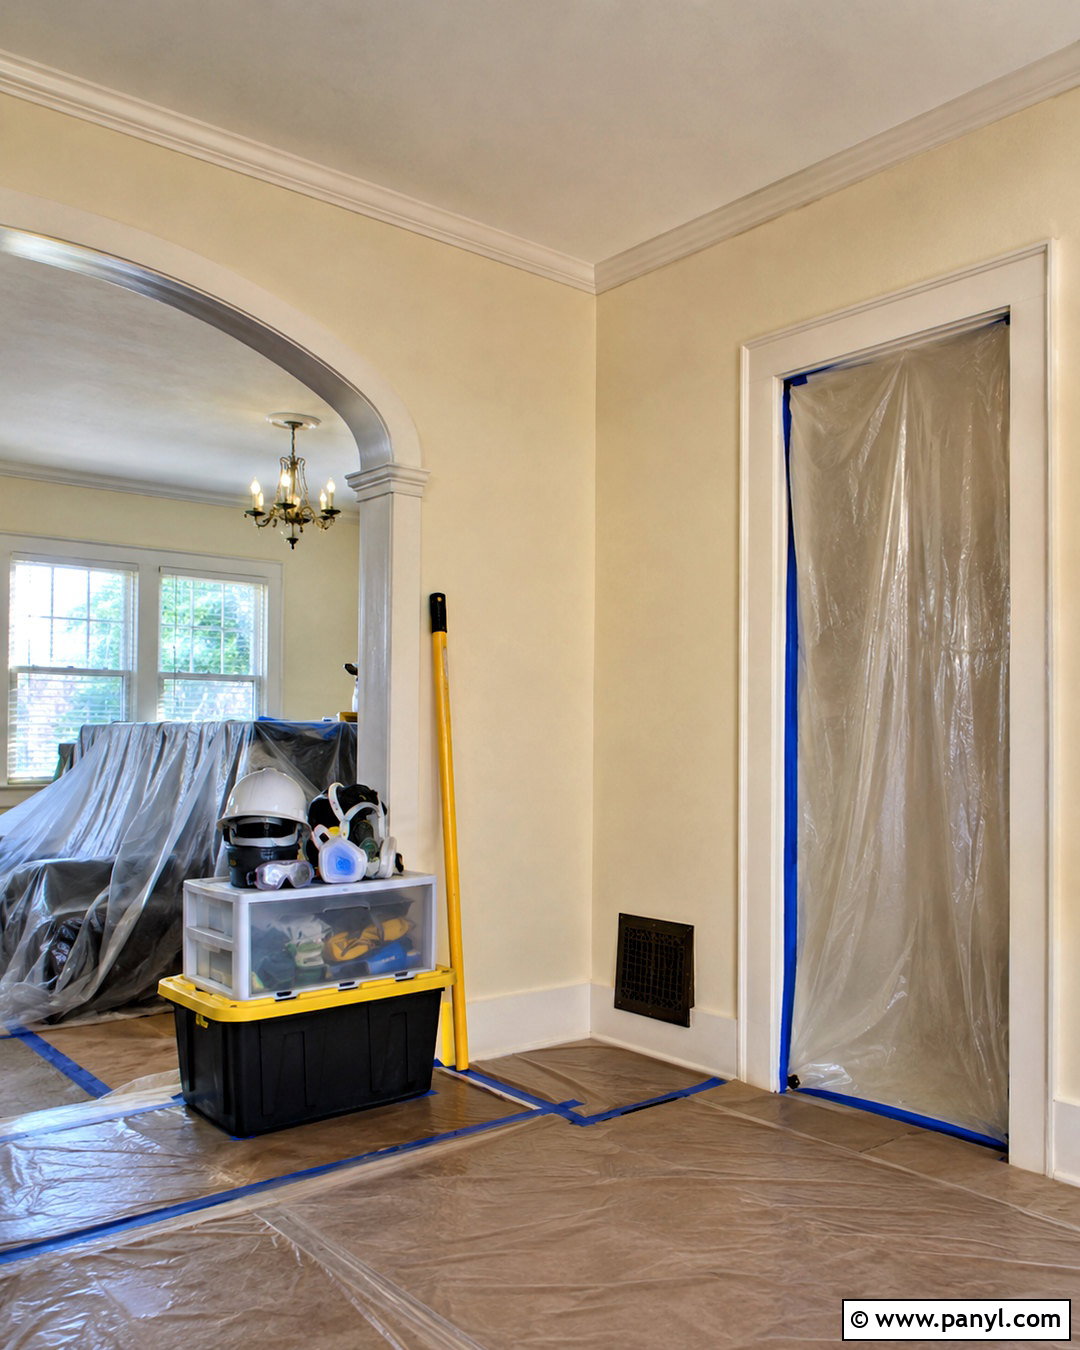
Older walls require an additional safety step before scraping or sanding begins. Homes built before 1978 are more likely to contain lead-based paint, even when newer paint covers the original layers. Disturbing those surfaces can release hazardous dust and chips. Determine the home’s age and consider professional testing before creating dust. The EPA recommends hiring a lead-safe certified contractor for renovation, repair, or painting work that may disturb lead paint. If you handle applicable work yourself, follow current lead-safe practices rather than using ordinary dry sanding or uncontrolled scraping. Keep children, pets, and vulnerable household members away from the project area. Safety planning may not change the room’s final color, but it is an essential part of responsible wall preparation. ()
5. Clean Walls Before Painting
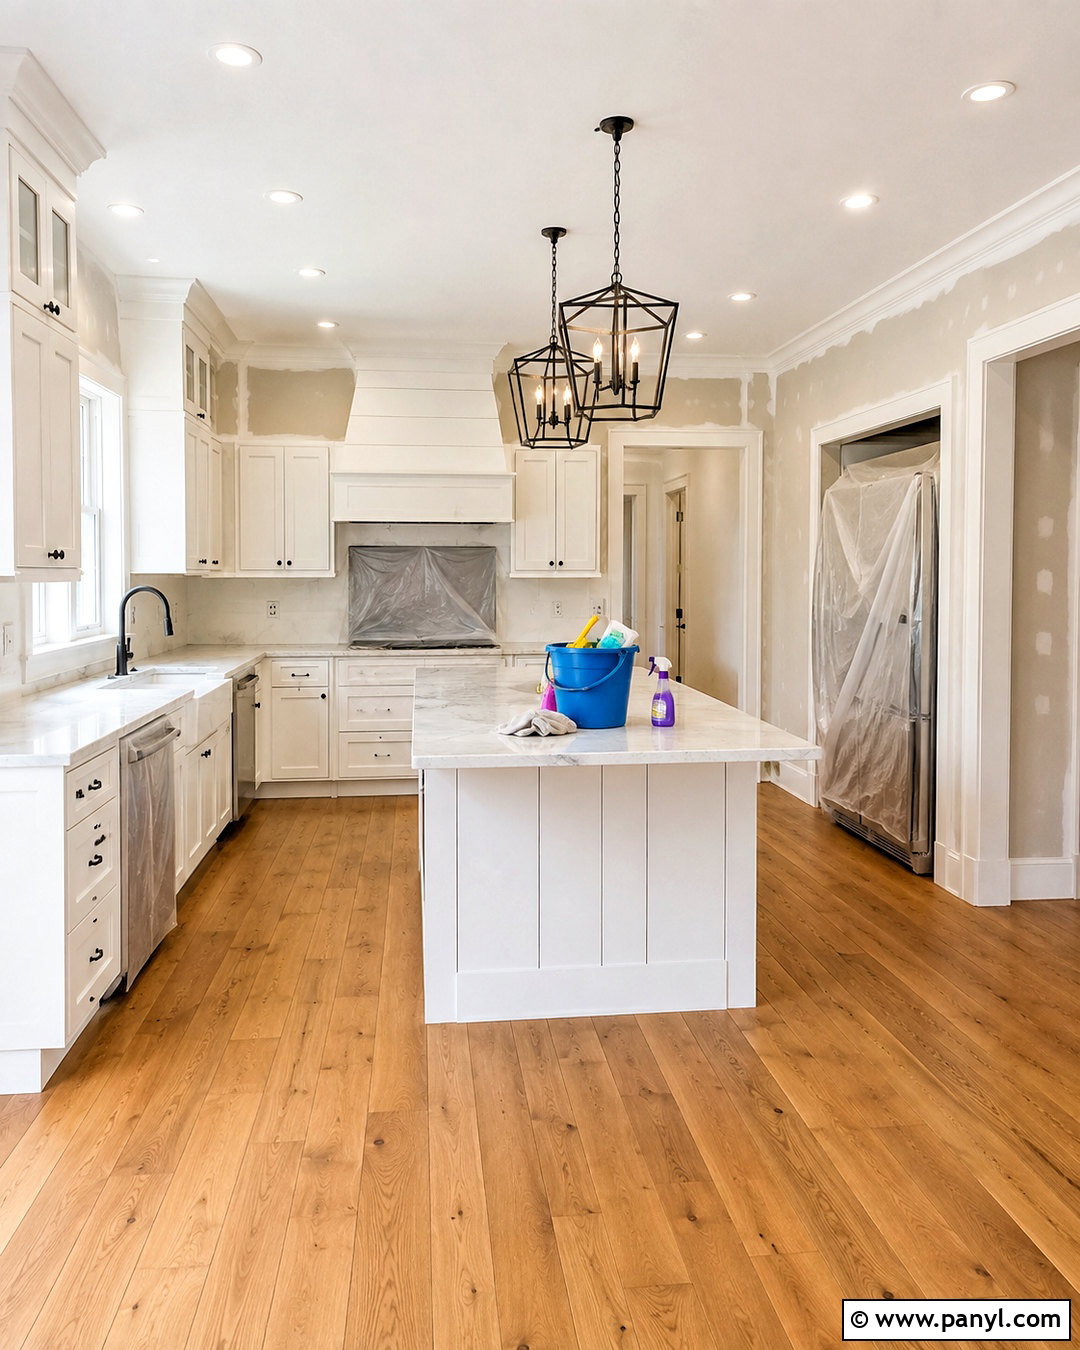
Walls that look clean can still hold dust, grease, fingerprints, cooking residue, and invisible grime. These contaminants may interfere with adhesion and leave uneven areas in the finish. Vacuum cobwebs and loose dust first, including corners, baseboards, and the tops of door frames. Wash ordinary walls gently with warm water and mild soap, using a soft sponge rather than soaking the drywall. Kitchens and high-touch areas may need closer attention. Rinse away cleaner residue with a separate damp sponge and clean water. Address mildew appropriately instead of painting over it. Allow the room to dry completely before patching, taping, priming, or painting. Beginning with a clean surface gives the finished color a more uniform appearance and reduces preventable peeling problems. ()
6. Repair Wall Holes And Cracks
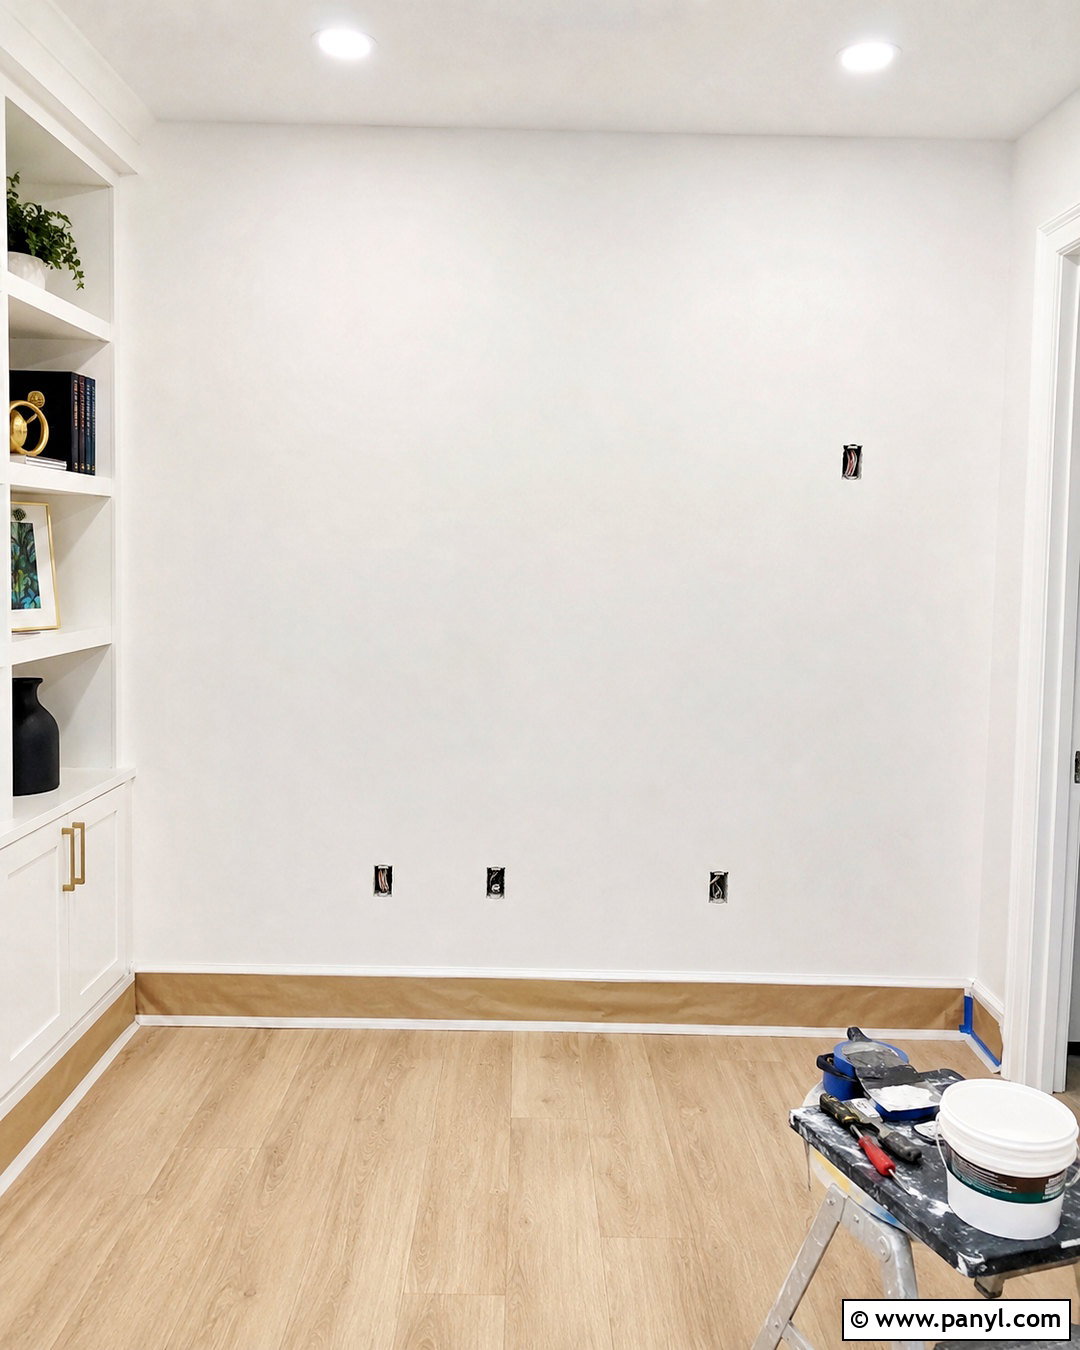
Bright new paint highlights dents, nail holes, and cracked patches that previously blended into a tired wall. Inspect the entire room under strong lighting before opening the paint. Fill small holes and shallow dents with an appropriate spackling compound. Wider drywall damage may require joint compound and reinforcing tape, while plaster walls can need materials designed for plaster repair. Apply filler in thin layers instead of creating a thick mound that takes longer to dry. Scrape away loose paint around damaged areas and feather rough edges carefully. Let every repair dry according to its label before sanding. Run your hand across each patch to find raised ridges that are difficult to see. A smooth, stable surface creates a much more convincing finished wall. ()
7. Sand Walls Smooth
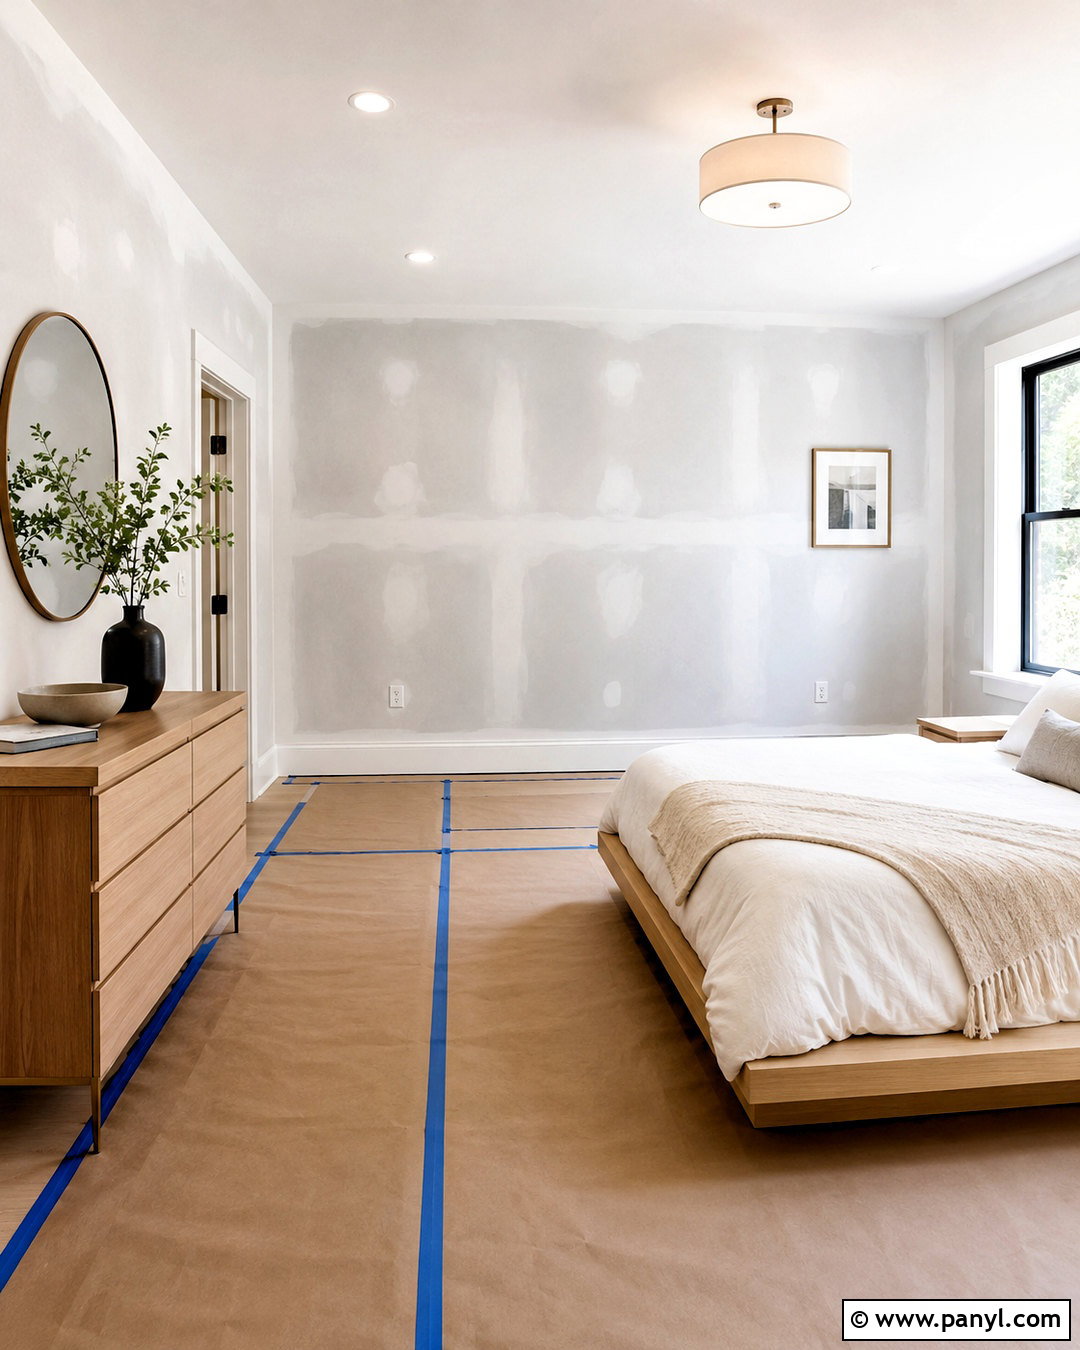
Sanding blends repaired areas into the surrounding surface and removes bumps that can cast shadows through fresh paint. Use fine-grit sandpaper or a sanding sponge for ordinary patches, working lightly until the transition feels level. Feather the sharp edges around old chips instead of leaving a visible ridge. Previously painted glossy walls may also need light scuff sanding so the next coating can bond properly. Avoid aggressive sanding that damages drywall paper or changes the wall texture. Afterward, vacuum the floor, baseboards, and nearby trim. Remove remaining dust from the wall with a clean method recommended for the surface and paint system. Primer and paint should go onto a dry, dust-free wall. Otherwise, fine debris can create gritty areas in an otherwise smooth finish. ()


8. Caulk Wall And Trim Gaps
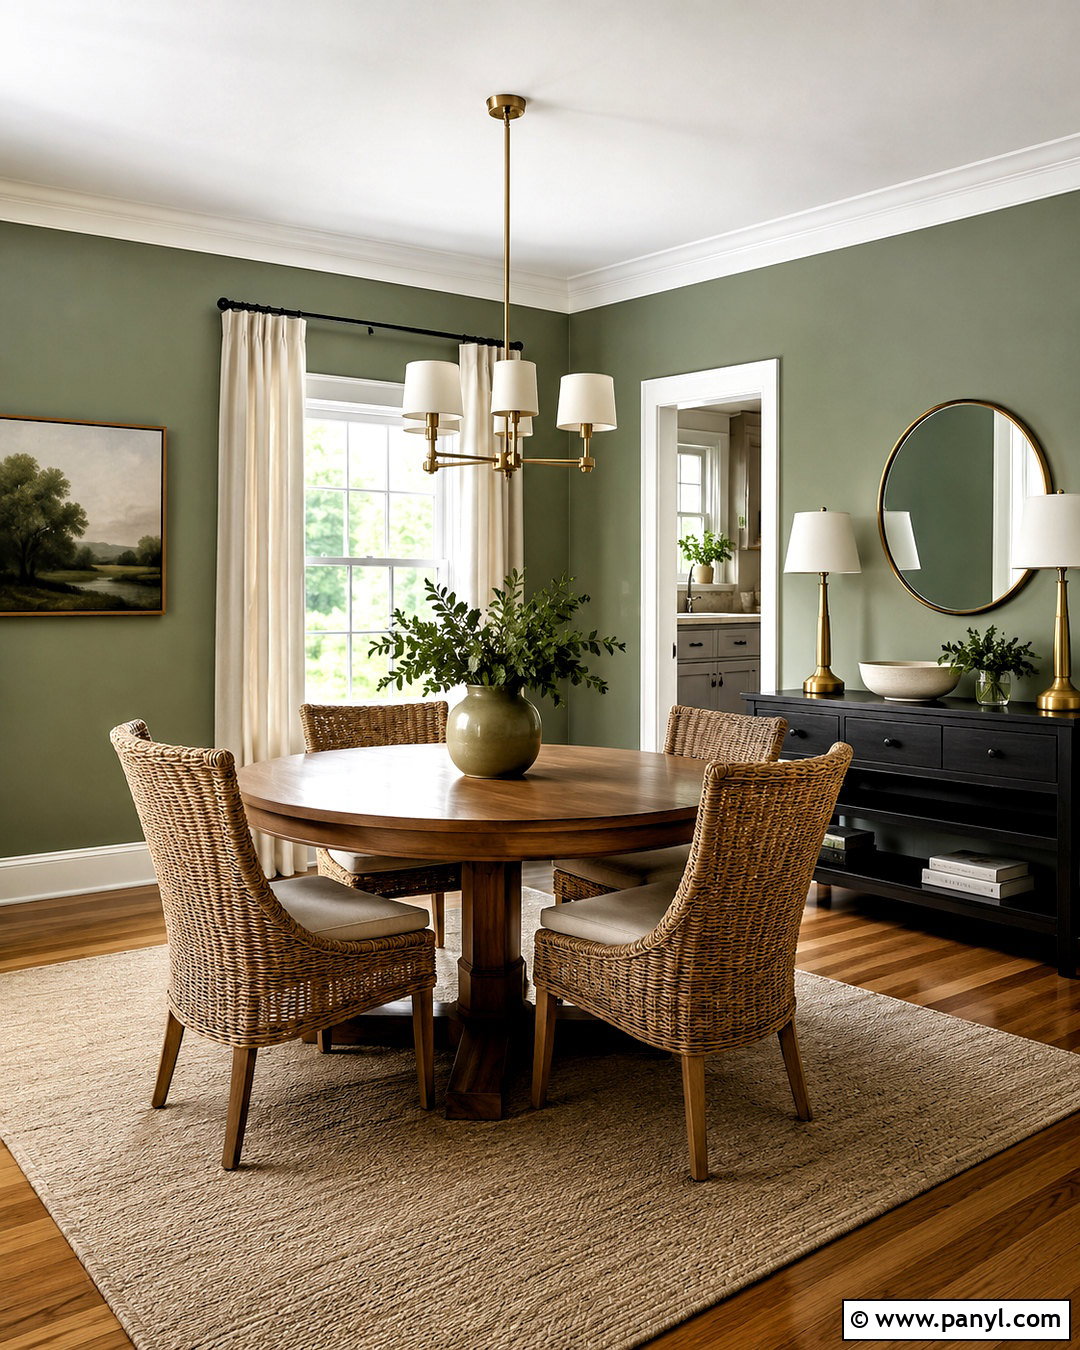
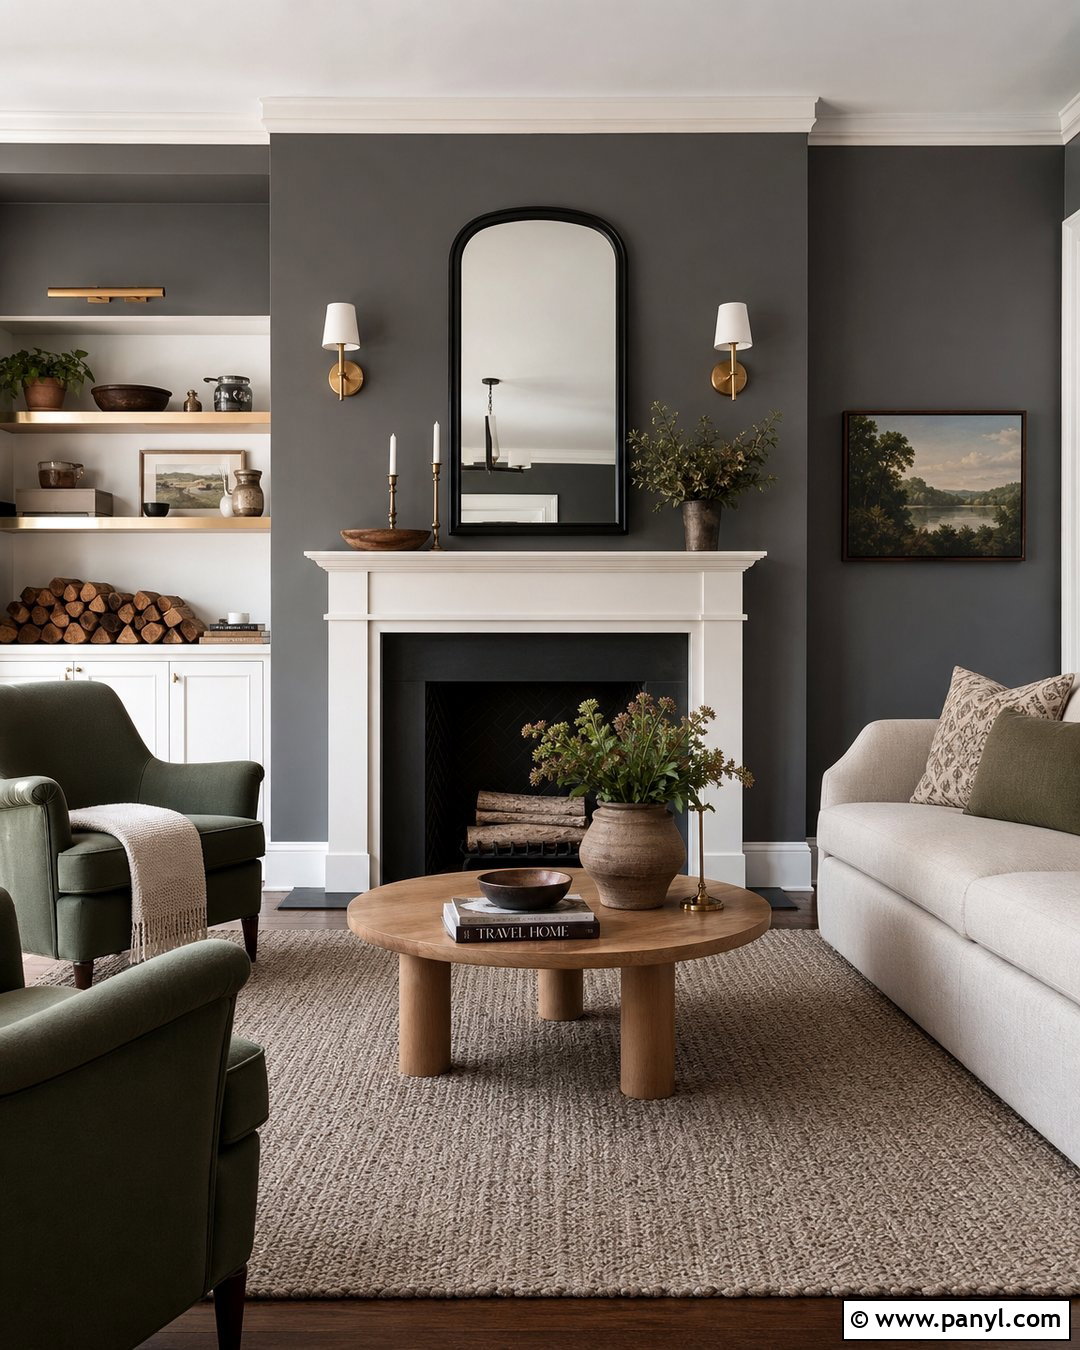
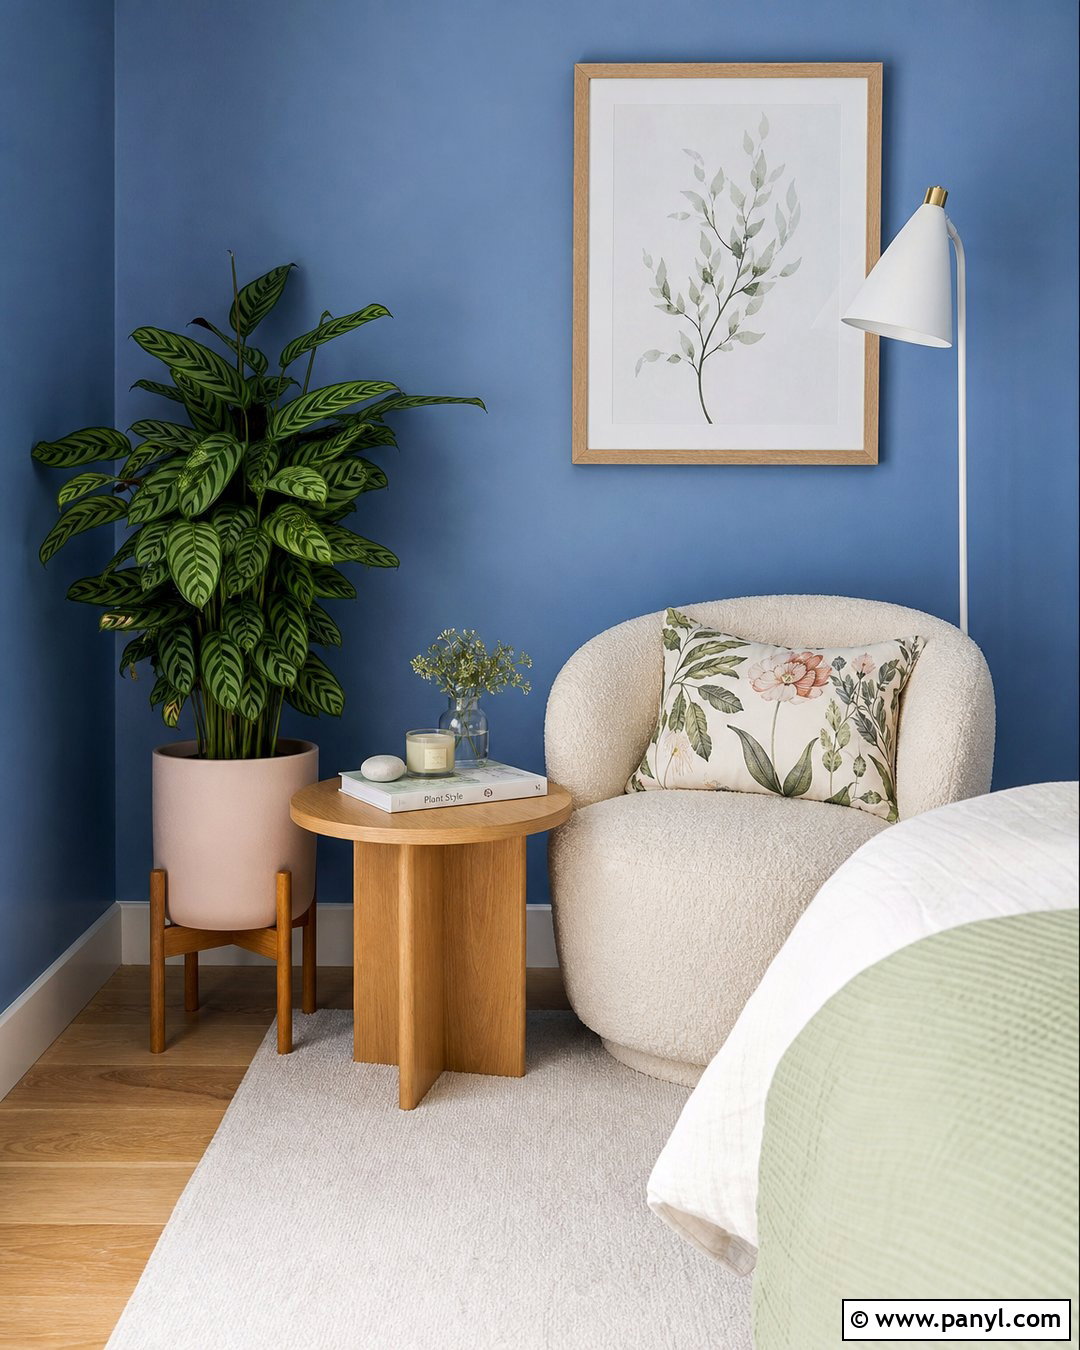
Small dark gaps between walls, baseboards, window casings, and crown molding can make a freshly painted room look unfinished. Fill suitable joints with a thin bead of paintable acrylic or acrylic-latex caulk. Cut the nozzle close to the tip so the opening matches the narrow gap. Apply steady pressure while moving the caulk gun at an even pace. Smooth the bead promptly with the recommended tool or a damp finger, then wipe away excess before it skins over. Do not use caulk to disguise structural movement or large drywall cracks that require proper repair. Confirm that the product is paintable and follow its drying instructions before coating it. Neat caulk lines visually connect the walls and trim, producing cleaner transitions throughout the completed room. ()
9. Prime Walls Correctly
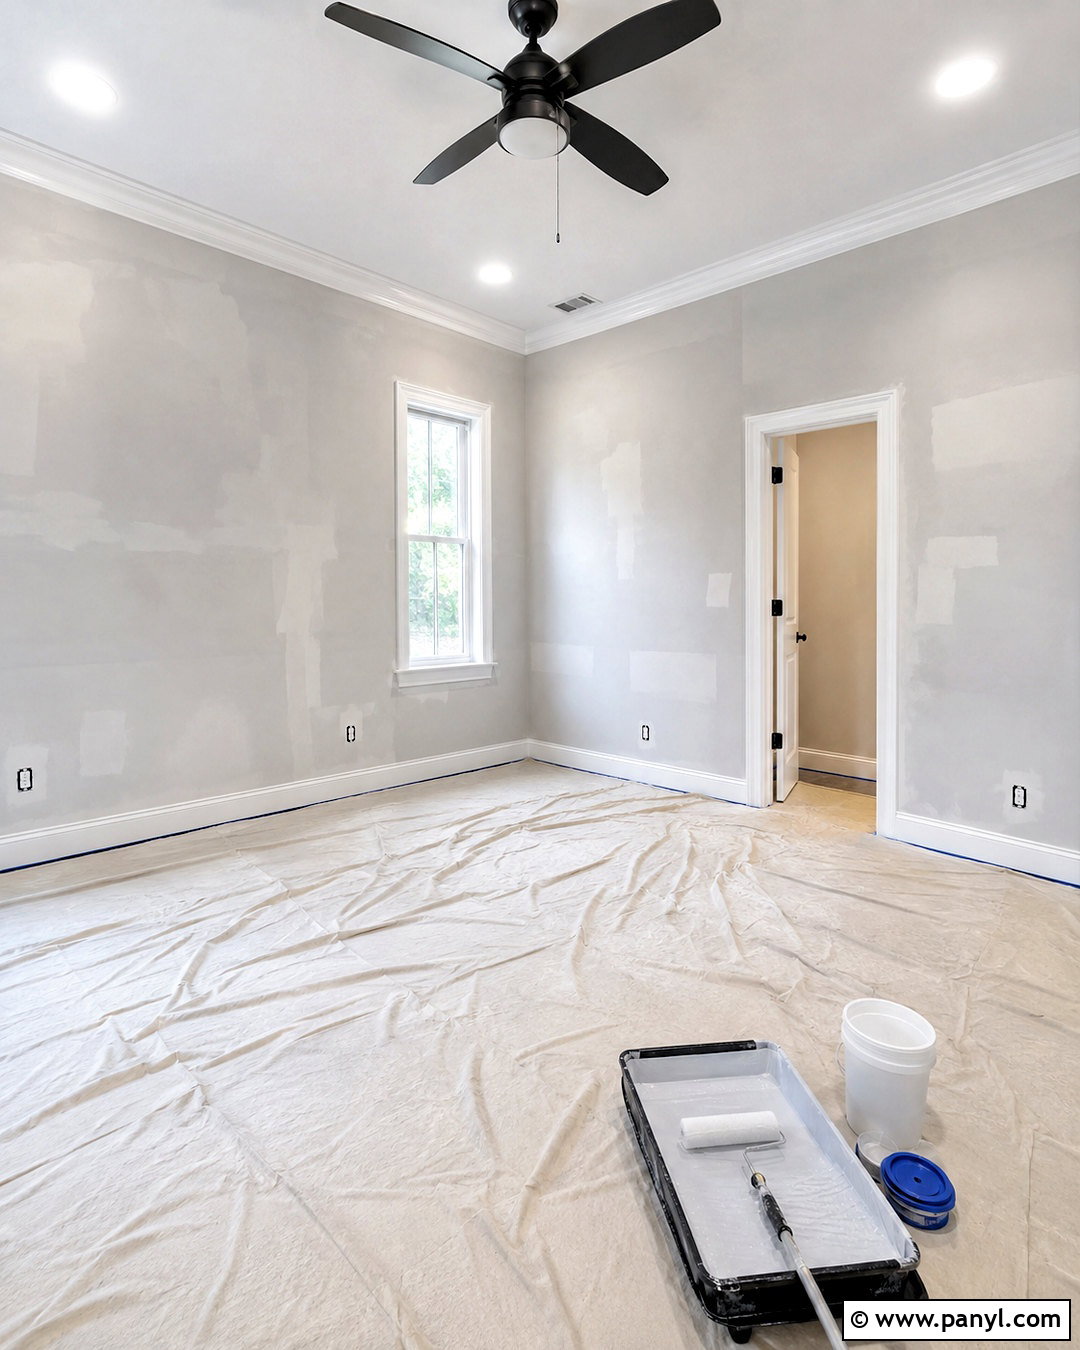
Primer is especially valuable on new drywall, bare repairs, porous surfaces, strong stains, glossy finishes, and major color changes. However, one formula does not solve every problem. New drywall needs a primer that controls uneven absorption, while water stains, grease, marker, or smoke discoloration may require a suitable stain-blocking product. Spot-priming repaired patches can prevent dull areas, but a full coat may be preferable when the room has widespread repairs or is changing dramatically from dark to light. A tinted or deep-base primer can also support certain saturated colors. Apply primer evenly around edges and across the main wall, then let it dry completely. Match the primer to the surface and topcoat rather than selecting one solely because it is inexpensive. ()
10. Choose The Right Paint Sheen
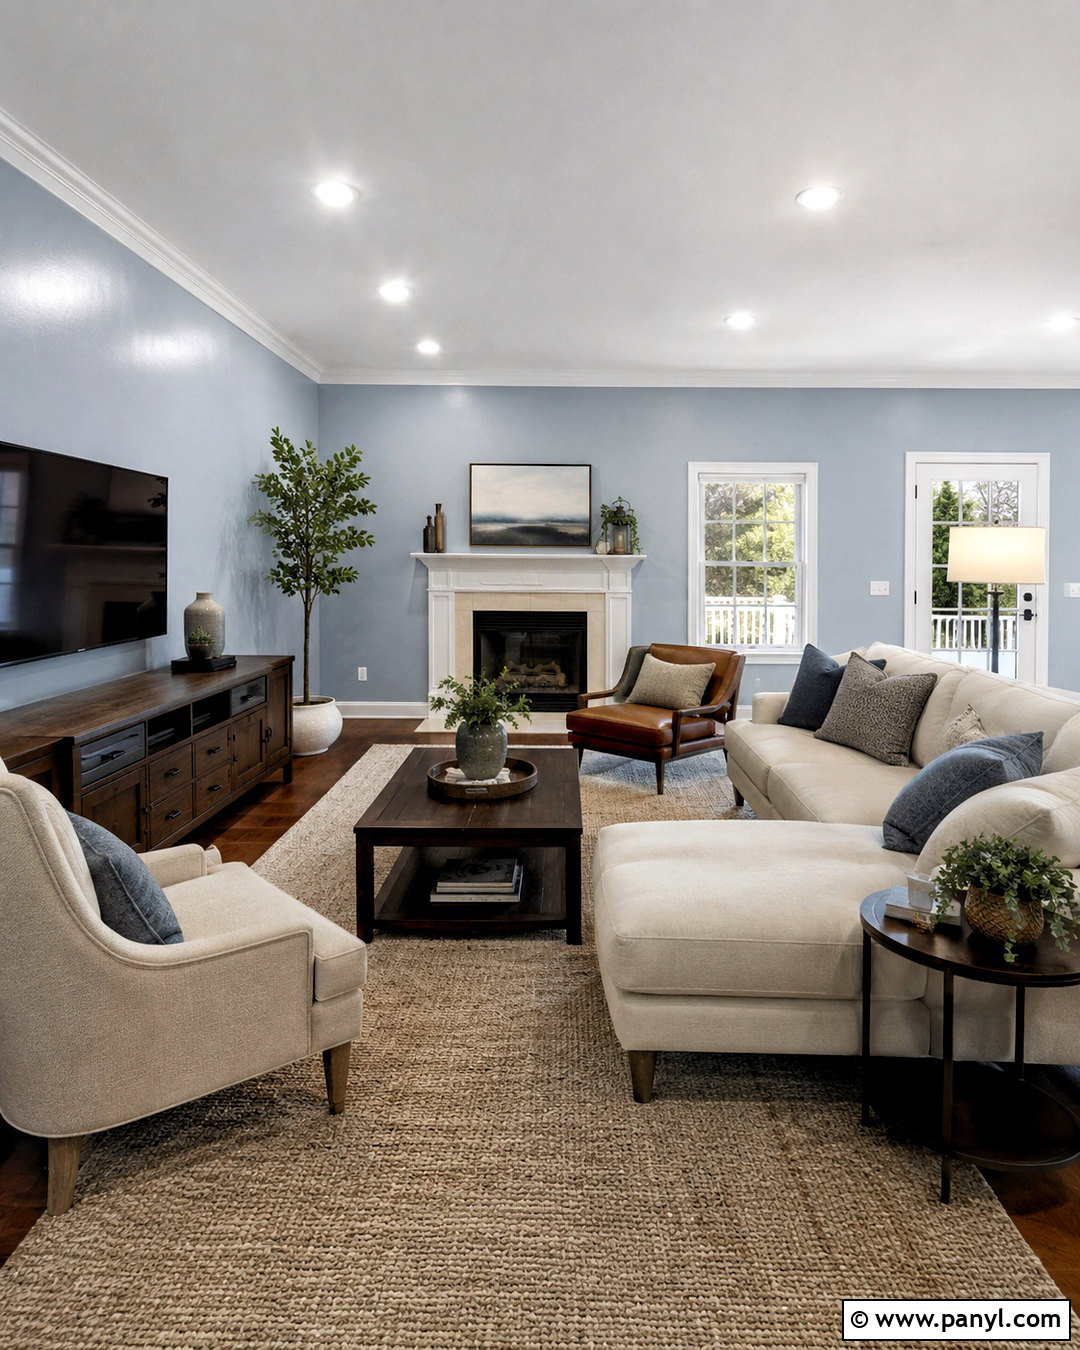
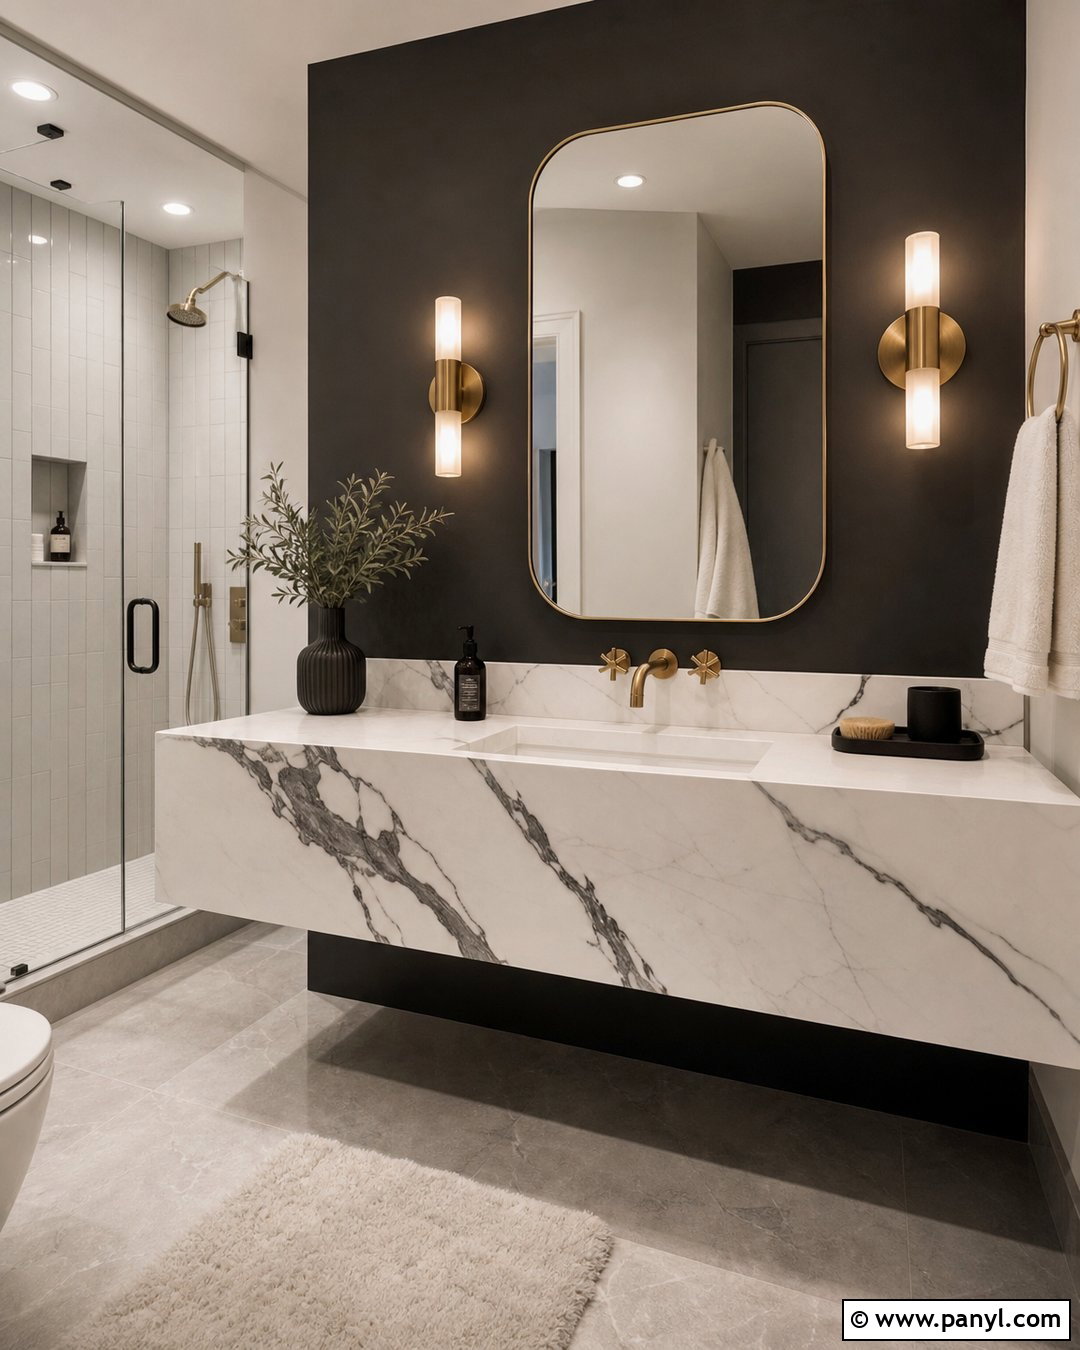
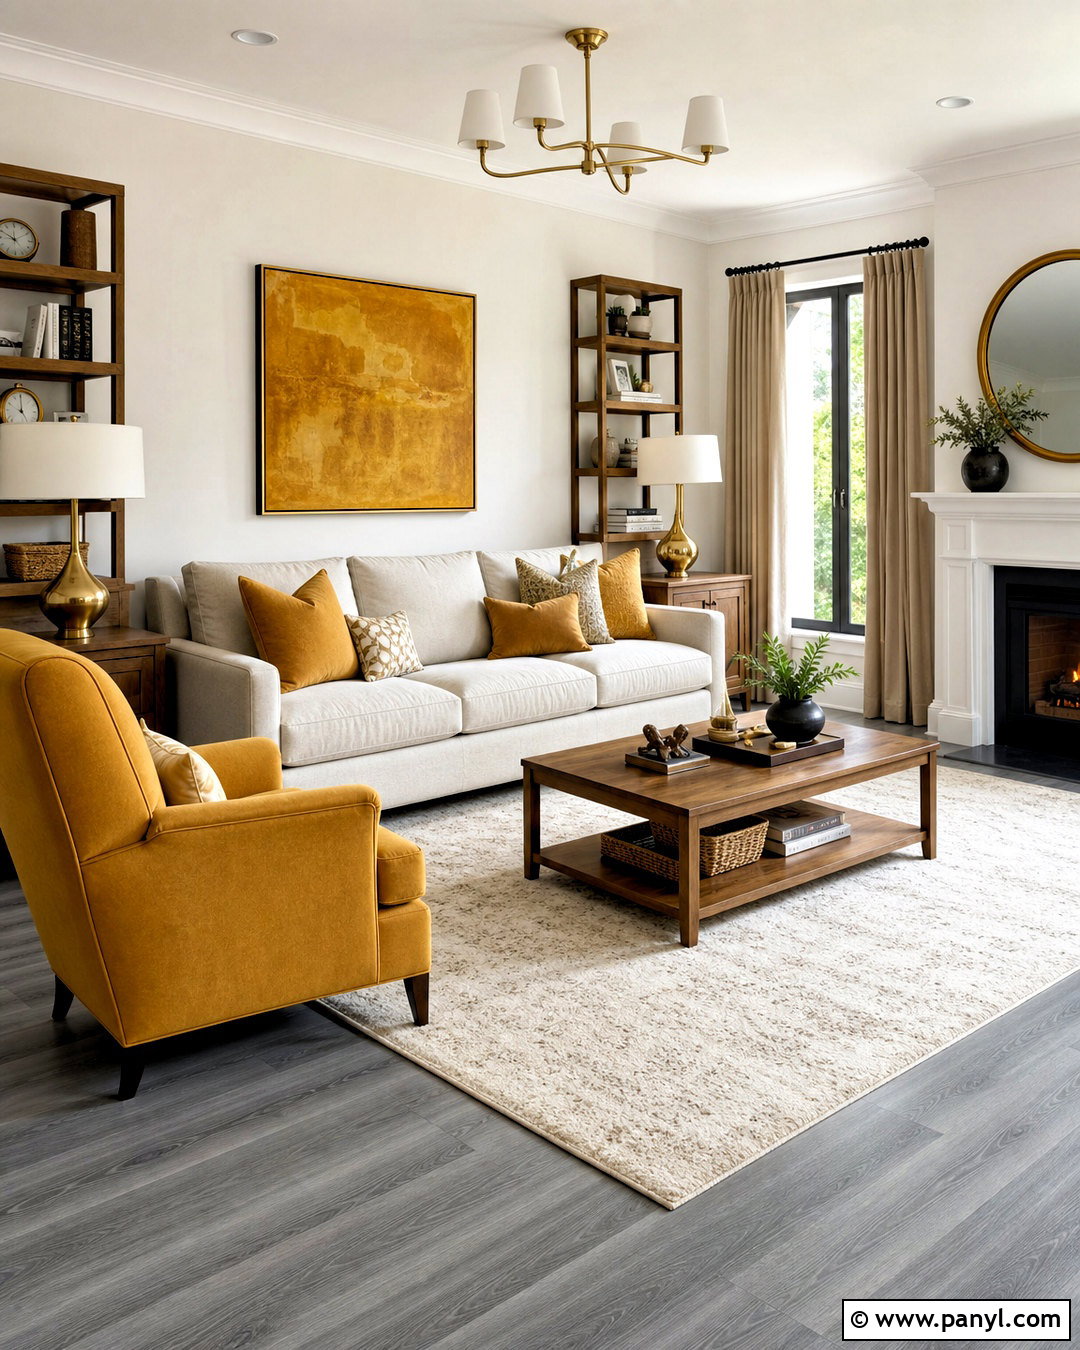
The paint finish affects both the room’s appearance and how clearly wall imperfections show. Flat and matte finishes reflect less light, helping disguise minor waviness and repaired areas. Eggshell provides a soft glow and is a practical choice for many living rooms, bedrooms, dining rooms, and hallways. Higher-sheen finishes reflect more light, so they can emphasize dents, roller ridges, and uneven drywall. They may still be useful where easier cleaning or stronger moisture resistance is important, depending on the specific product. Consider the room’s traffic, lighting, wall condition, and maintenance needs together. Use a consistent sheen across connected walls unless a deliberate finish change is part of the design. Always check the manufacturer’s recommended uses because performance differs between modern paint formulas. ()
11. Match The Roller Nap To The Wall
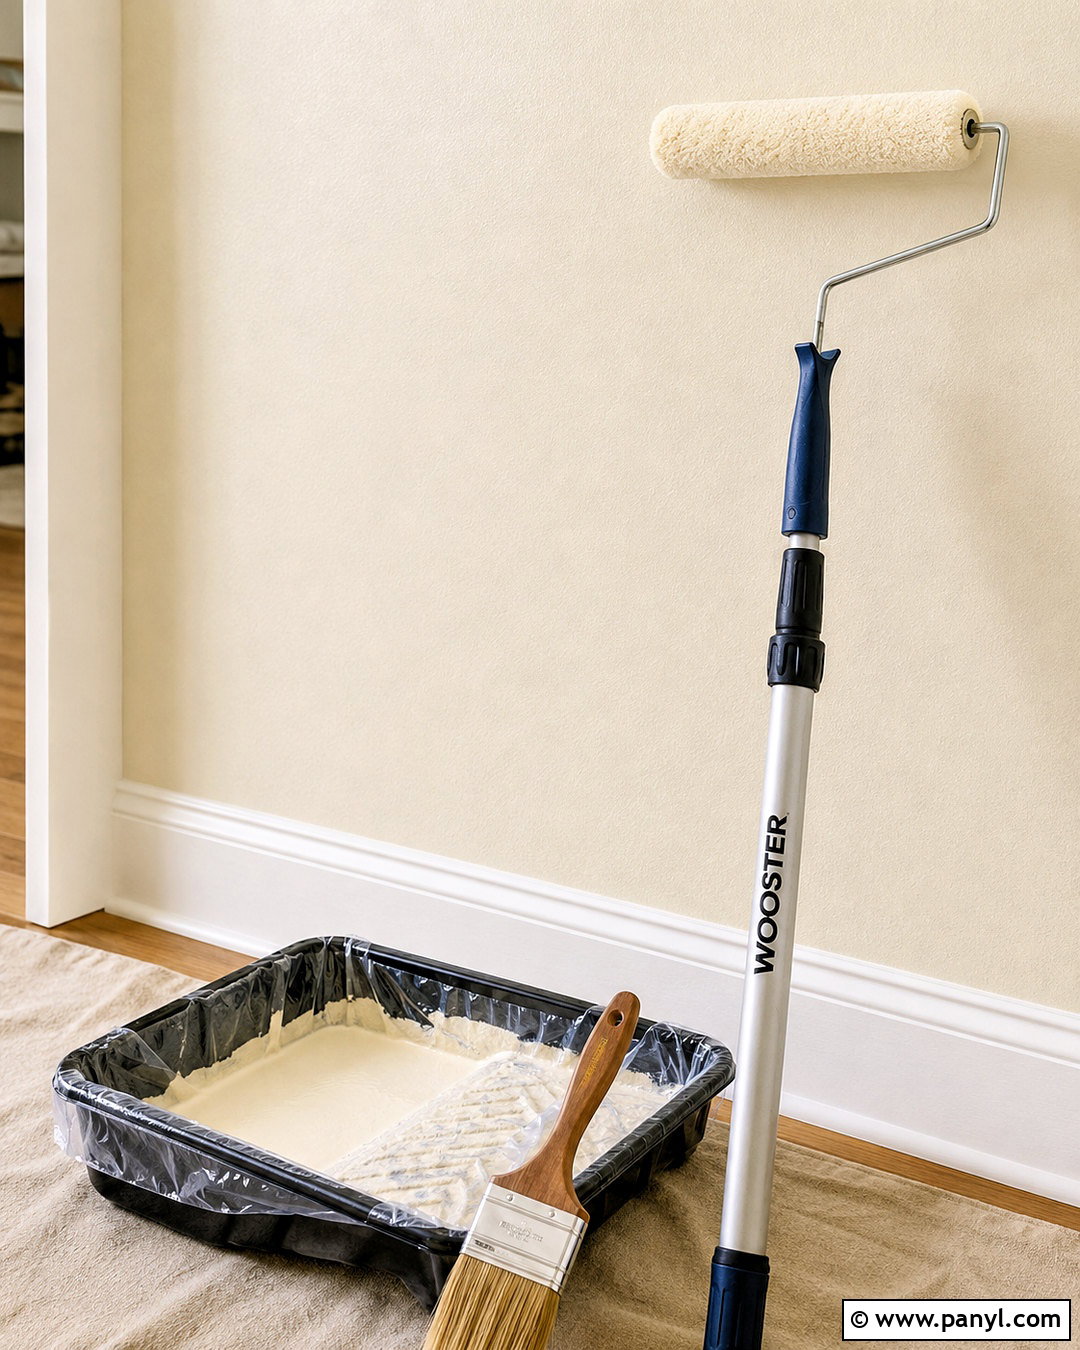
A suitable roller cover holds enough paint while leaving a texture that complements the wall. For many smooth interior walls, a 3/8-inch nap is a dependable starting point. Very smooth surfaces and glossier coatings may benefit from a shorter nap, while textured drywall, masonry-like finishes, or heavy stippling usually require a thicker cover that can reach into recesses. Choose a high-quality, lint-resistant roller rather than the least expensive multipack. Before painting, remove loose fibers according to the manufacturer’s directions. Pair the cover with a sturdy frame, extension pole, lined tray, and angled brush. Using one coordinated set of tools helps the cut-in areas and rolled surfaces blend visually. The correct roller creates better coverage without depositing excessive stipple, fuzz, or heavy edge lines. ()
12. Apply Painter’s Tape Cleanly
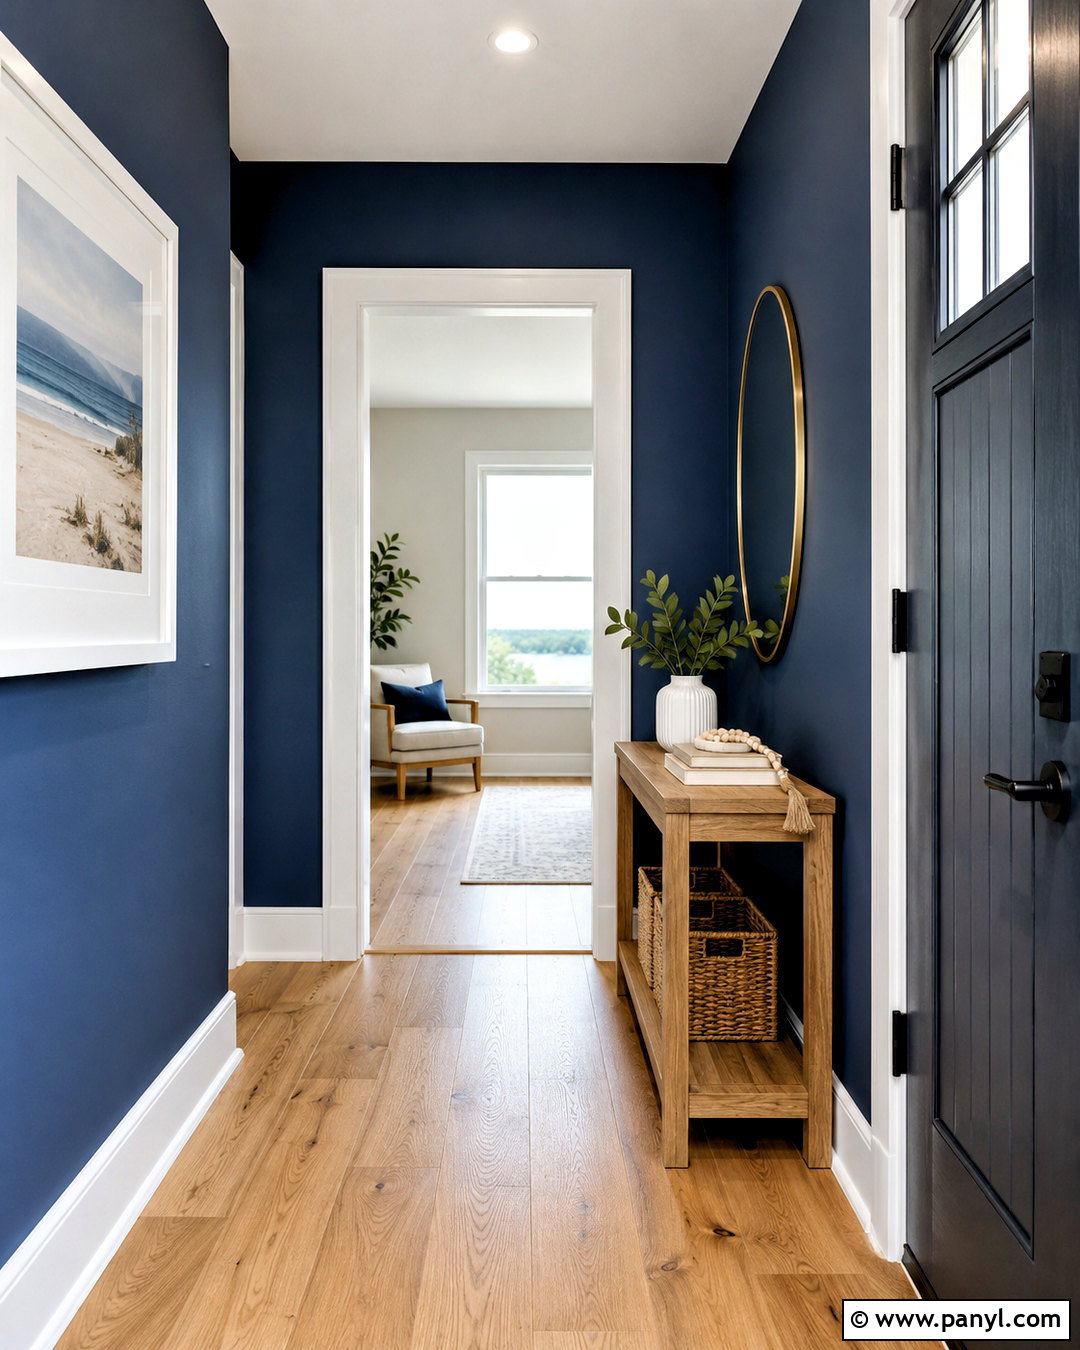
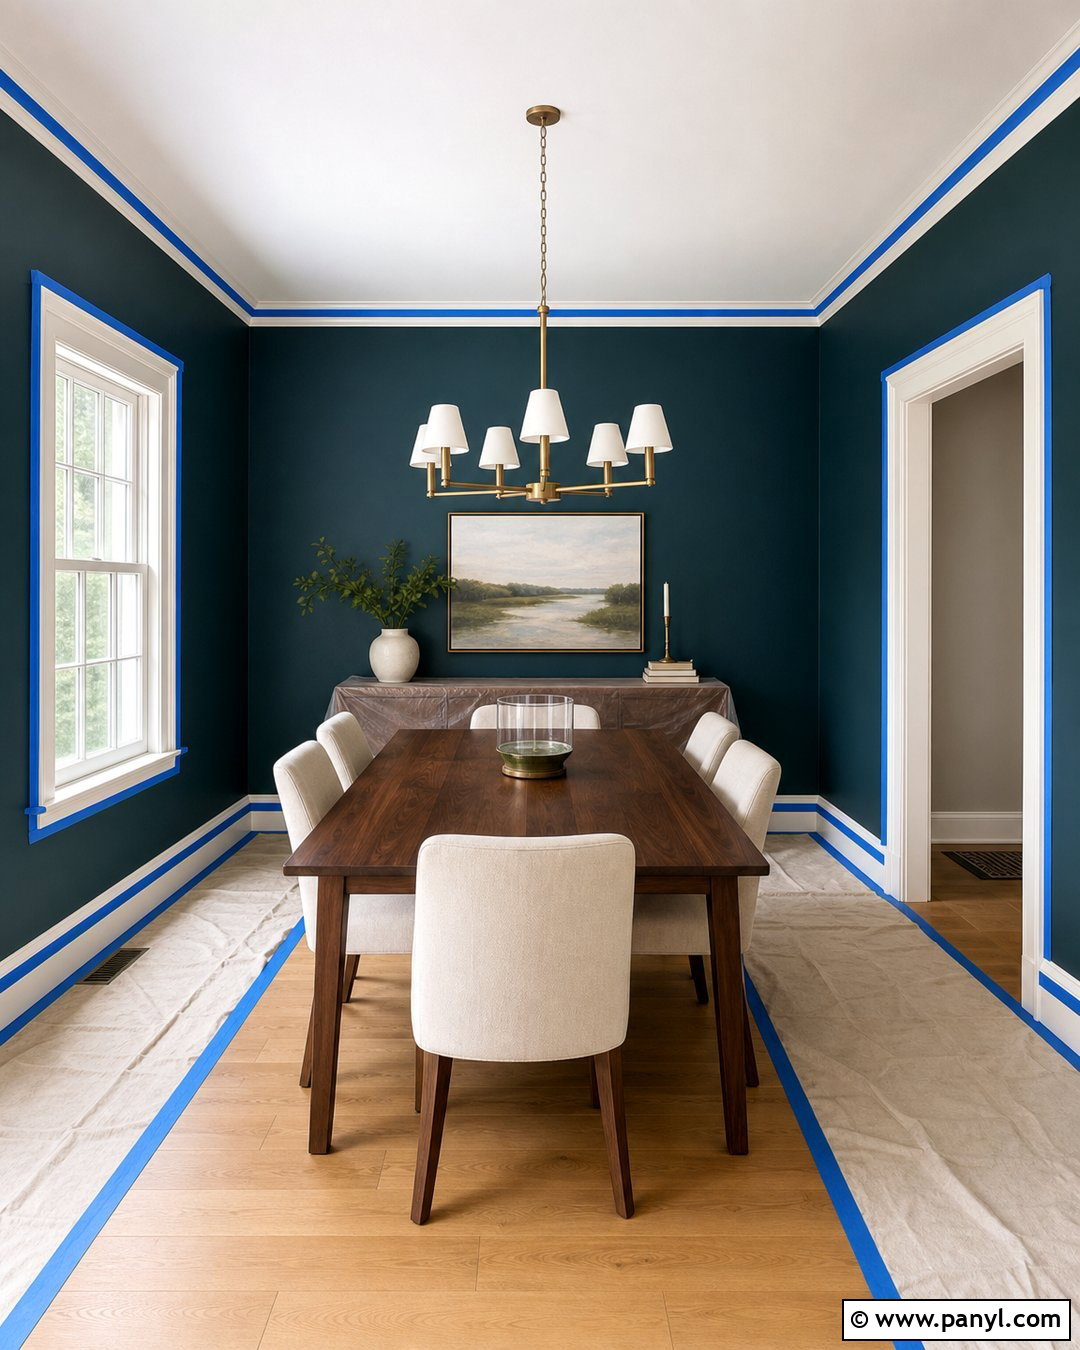
Painter’s tape works best when the underlying trim or surface is clean, dry, sound, and fully cured. Use longer continuous strips where practical because numerous short pieces create more seams where paint can seep through. Press the tape firmly along the edge in small sections. A clean putty knife can help seal the painting edge without damaging the surface. Do not stretch the tape, since stretched sections can lift or shrink back. Protect baseboards, window trim, built-ins, or adjoining surfaces according to your comfort level and the room’s design. Tape is not a substitute for controlled brushwork, so avoid flooding it with paint. A carefully sealed boundary combined with a lightly loaded angled brush produces a cleaner, sharper line than heavy paint pushed against loose tape. ()
13. Mix Wall Paint Thoroughly
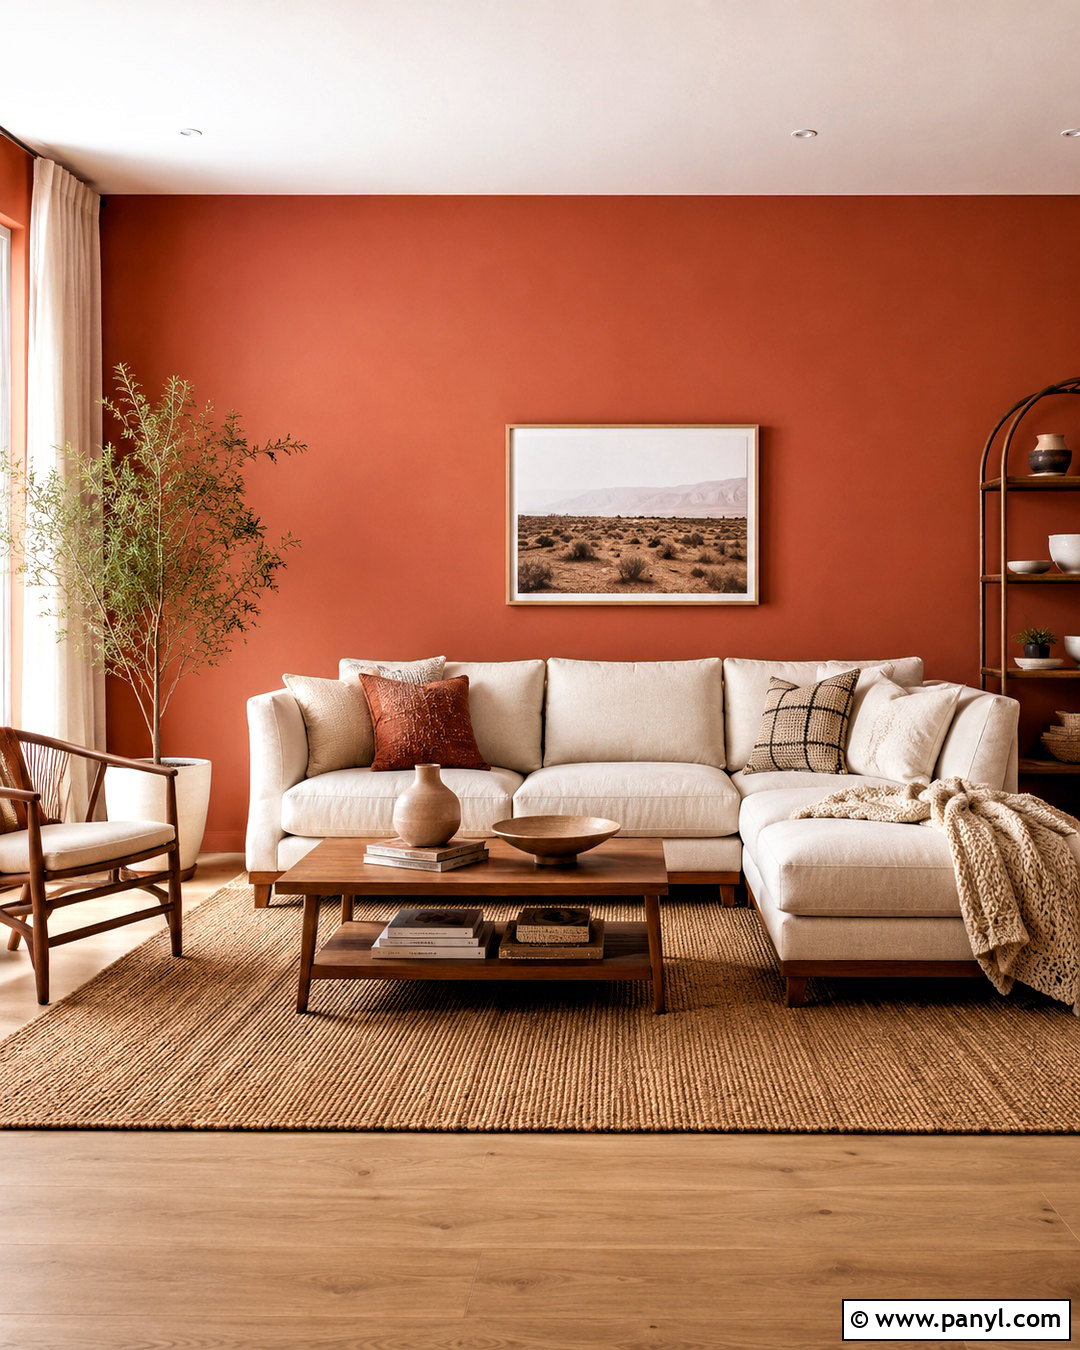
Colorants and paint solids can settle while cans sit in storage, so stir every container before application. Scrape gently along the bottom and mix until the color and consistency appear completely uniform. If several gallons of the same color will cover one room, combining them in a larger clean bucket can minimize subtle can-to-can variation. This method is particularly helpful on expansive walls where a slight shift could become noticeable. Pour only a manageable amount into the working tray or handheld pail, and keep the main container covered when possible. Stir again after long breaks. Never thin paint unless the product instructions permit it and specify the correct method. Proper mixing creates a consistent color, sheen, and viscosity, helping the finished walls read as one continuous surface rather than separate painted sections.
14. Cut In One Wall At A Time
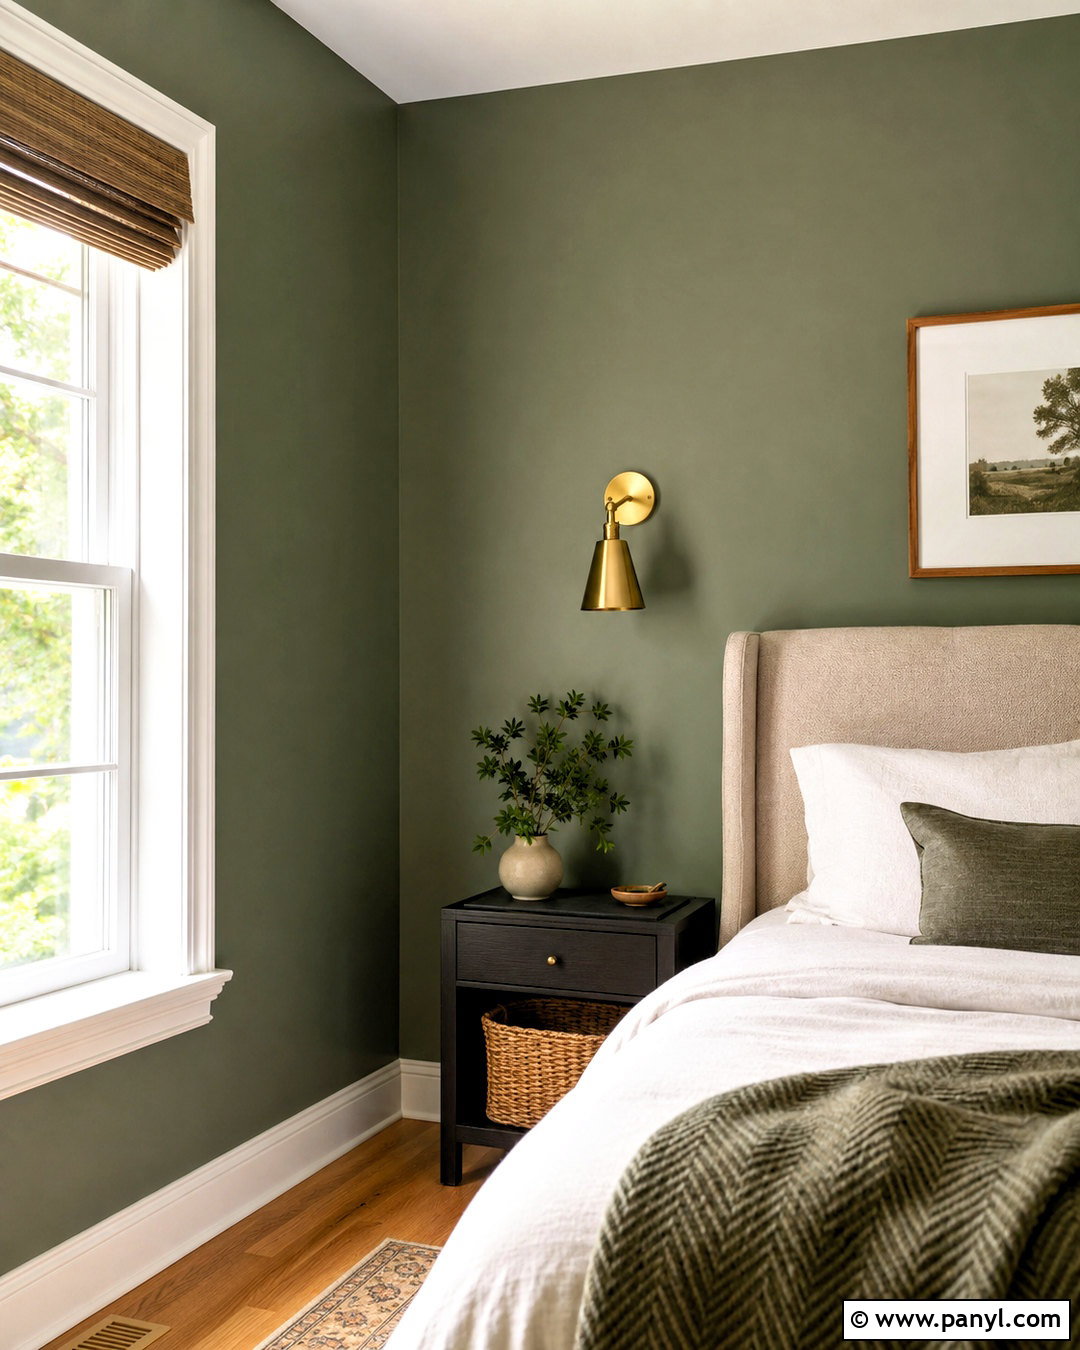
Cutting in means brushing paint around ceiling lines, corners, windows, doors, molding, switches, and other places a standard roller cannot reach. Use a quality 2- to 2½-inch angled sash brush for control. Pour paint into a small pail instead of repeatedly dipping into the main can. Load only part of the bristles, remove excess, and create a narrow, even band along the boundary. Feather the inner edge so it blends easily with the roller texture. Rather than cutting in the entire room hours before rolling, complete one manageable wall and roll it while those brushed borders remain workable. This approach helps the perimeter and central area dry together, reducing the chance of a darker or shinier frame around the wall. ()
15. Keep A Wet Paint Edge
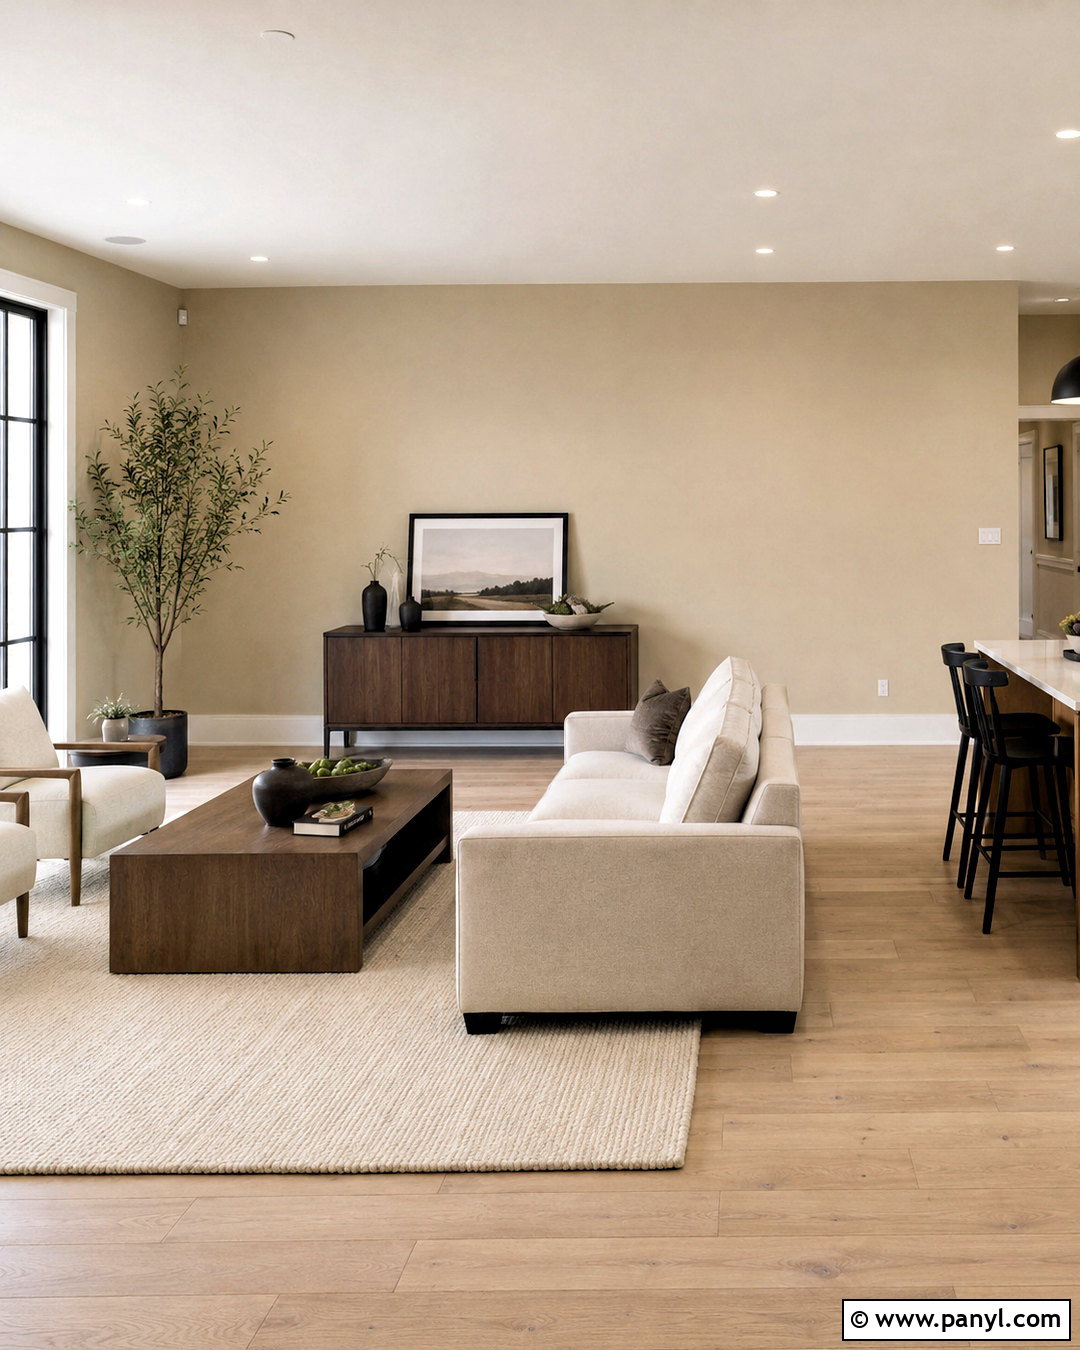
Lap marks often appear when fresh paint overlaps an area that has already started drying. Prevent them by working continuously from one side of the wall toward the other. Paint manageable sections instead of scattering strokes across the room. Each time the roller is reloaded, begin in the unpainted area and work back into the wet section with a slight overlap. Keep enough paint on the roller so you do not have to press hard or stretch the last application too far. Large, sunny, warm, or breezy rooms may require smaller working areas because the surface can set faster. Plan breaks at natural boundaries such as corners, doors, or complete walls. A consistent wet edge allows separate roller passes to level into a smooth, unified finish. ()
16. Roll Paint In Small Sections
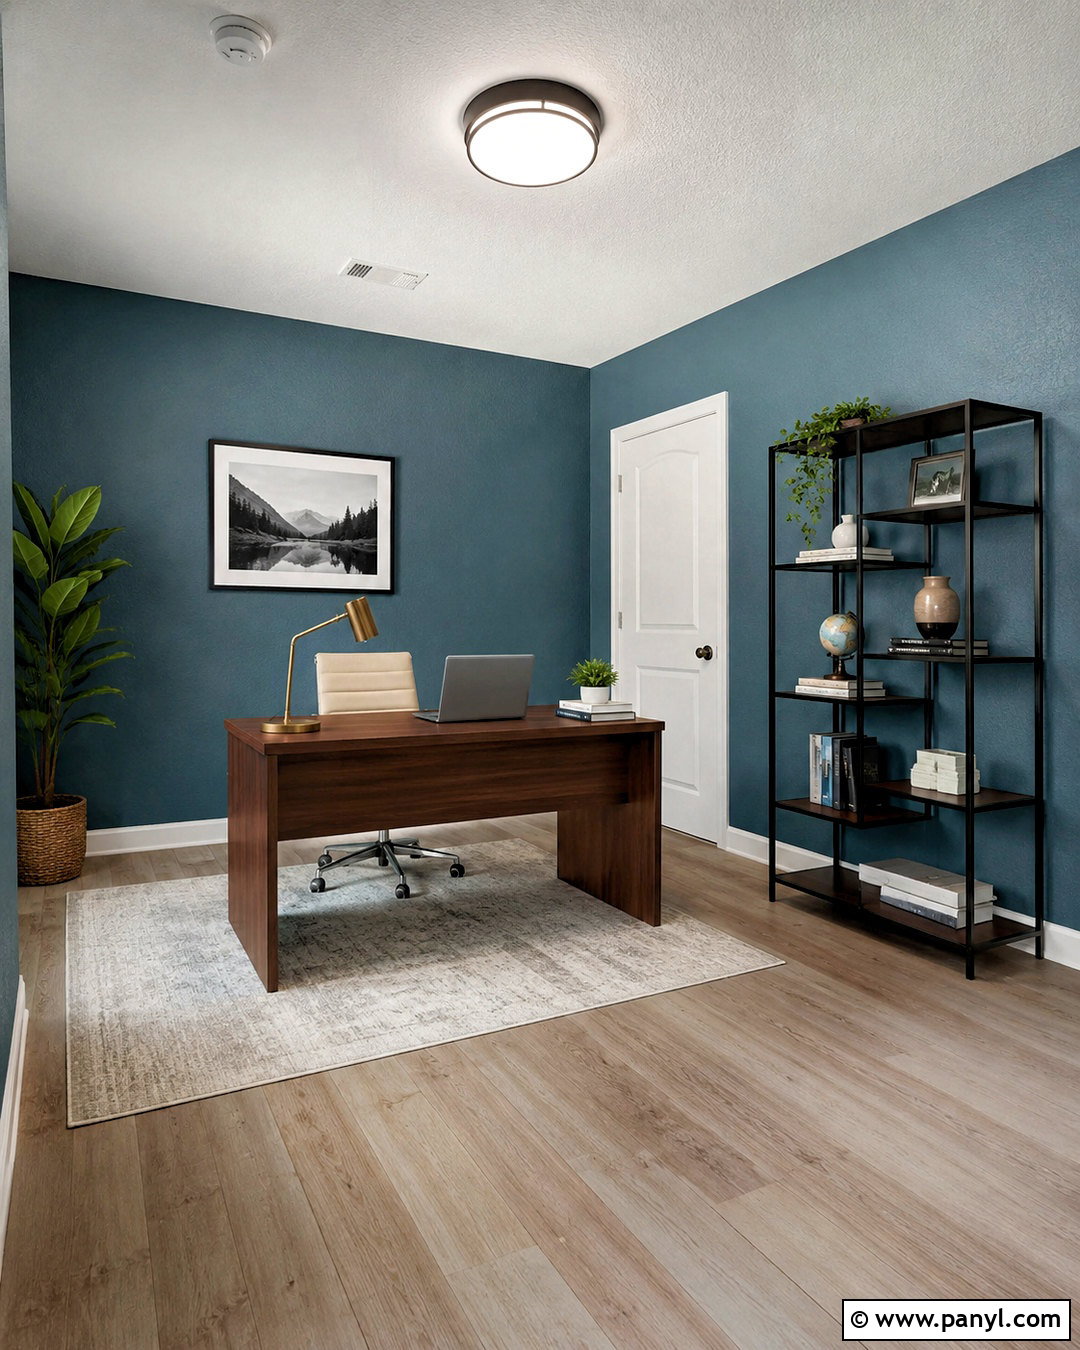
Load the roller evenly on the tray’s ridged area until the cover is saturated but not dripping. Begin near the top of the wall beside the freshly cut edge. Distribute paint across a section approximately three feet wide using a loose W-shaped path, then fill the open spaces without repeatedly rolling over areas that are already setting. Overlap adjacent passes by several inches to avoid narrow missed strips. Work from top to bottom and maintain a consistent direction throughout the room. Before moving on, lightly finish the section with controlled strokes that create an even roller texture. Watch the wall from an angle to spot thin coverage, drips, or thick edges while they remain workable. Small sections provide greater control and help preserve a wet edge. ()
17. Use Light Roller Pressure
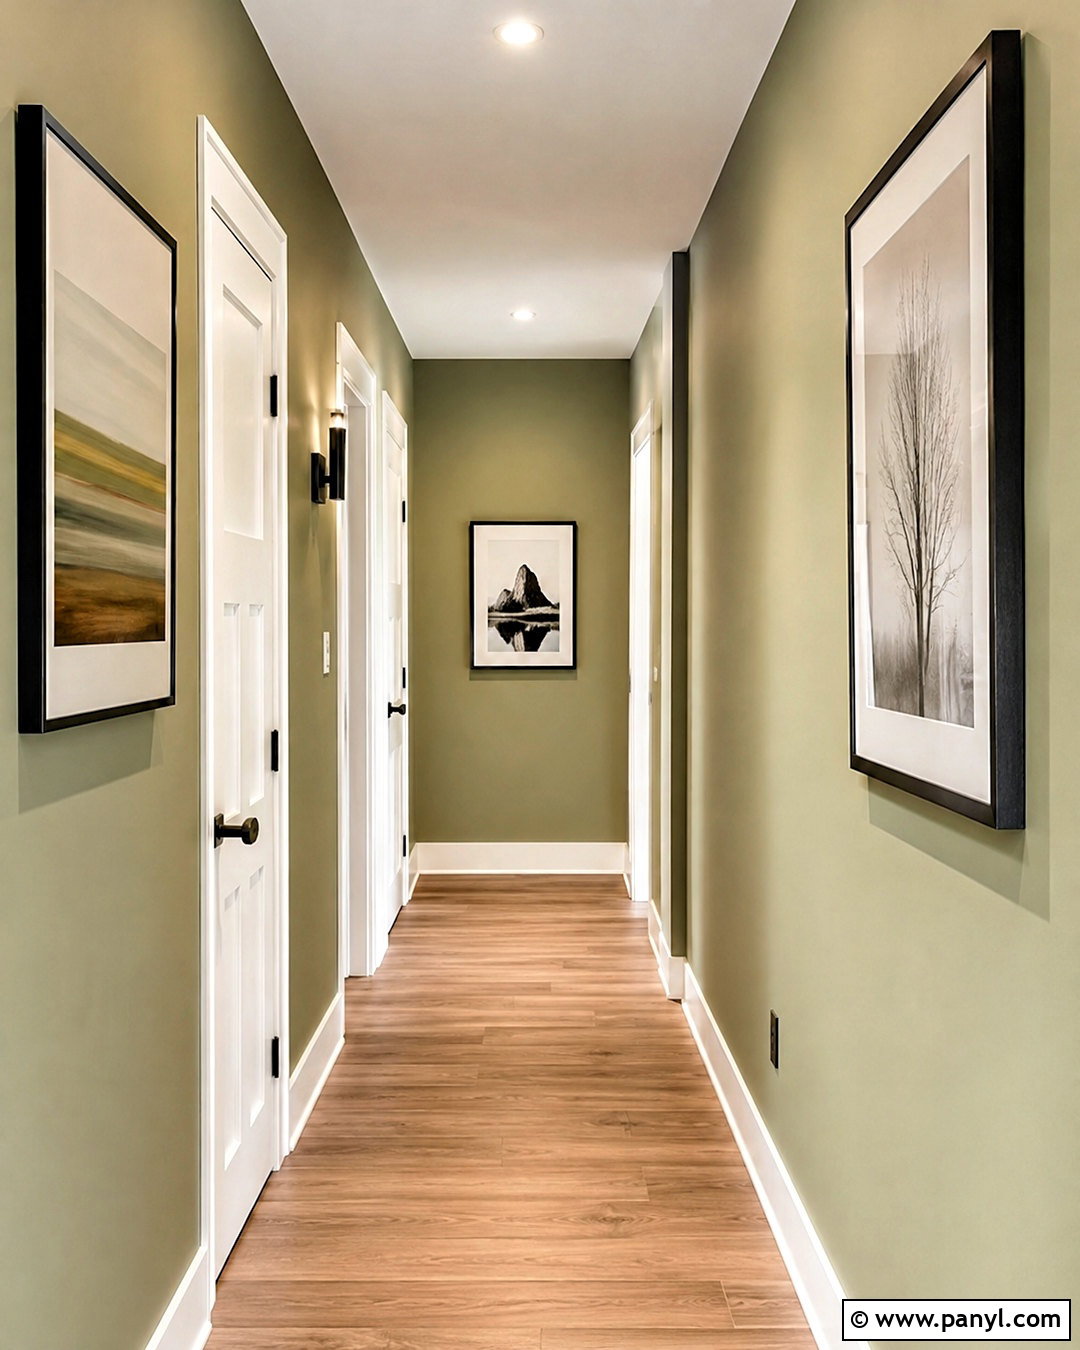
Pressing harder does not produce better coverage. It squeezes paint away from the roller, creates ridges at the cover’s edges, and can leave an uneven texture. Let the loaded roller and paint do most of the work. Maintain enough pressure for full contact while keeping your shoulders and grip relaxed. When coverage starts becoming thin, reload instead of forcing the remaining paint across a larger area. An extension pole makes this easier by reducing constant bending and ladder movement. Adjust it so you can comfortably reach near the ceiling and baseboard while standing at a useful viewing distance. Keep the roller frame straight rather than twisting it at the end of each pass. Consistent, light pressure creates a calmer surface with fewer heavy lines, drips, and visible transitions. ()
18. Apply A Full Second Coat
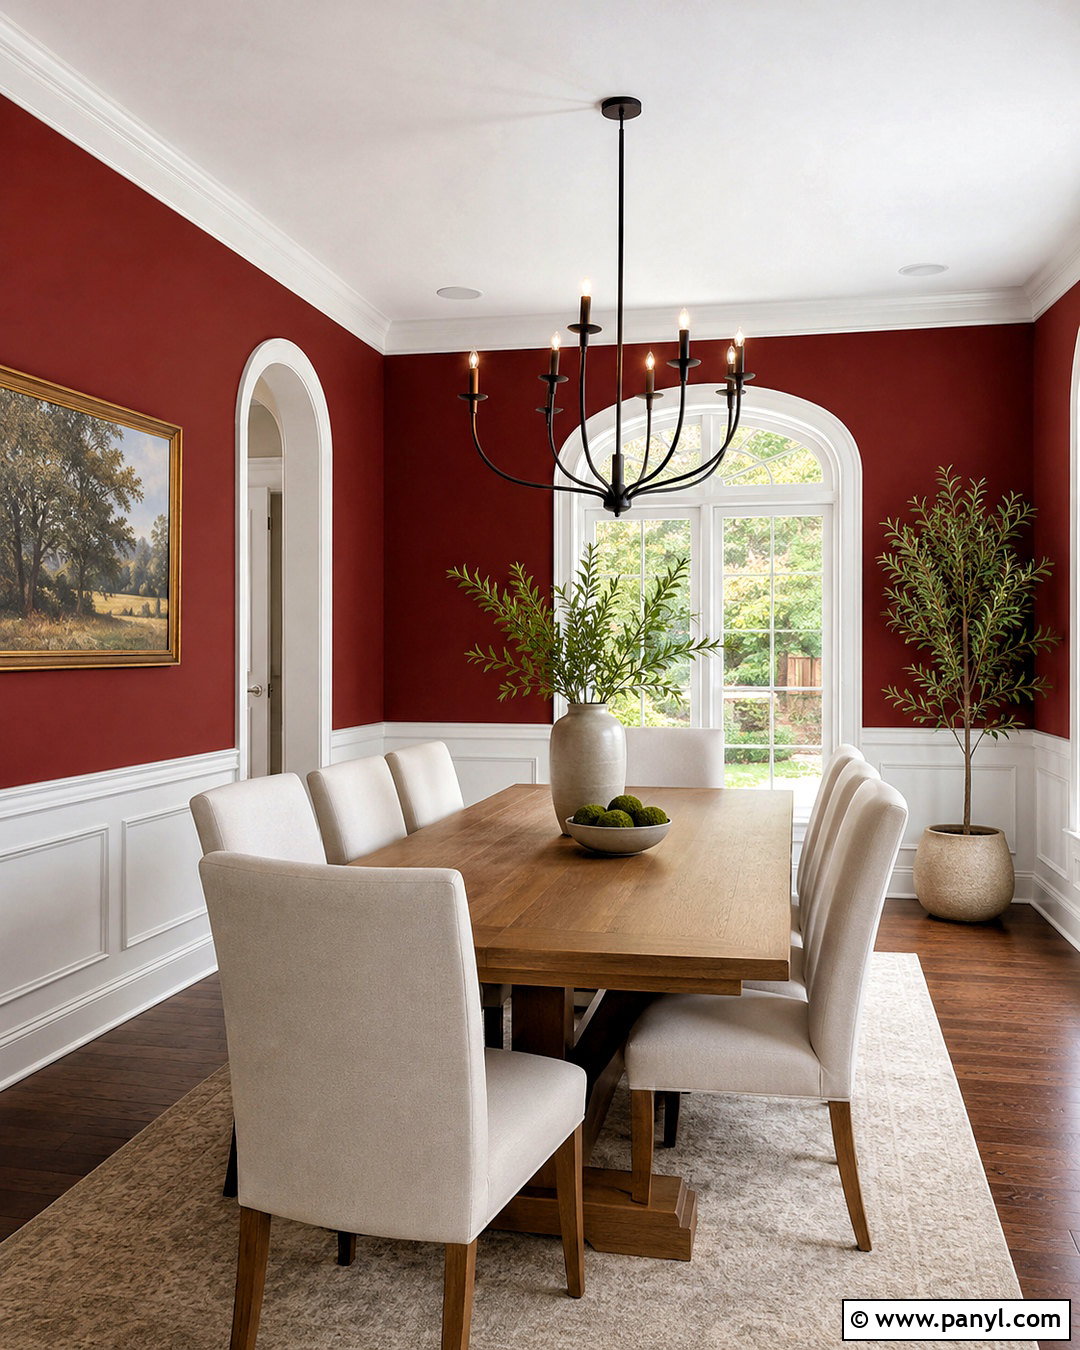
The first coat establishes coverage, but a complete second coat improves color development and helps even out minor variations. Allow the first layer to dry for the full recoat time printed on the can. Touch-dry paint may not be ready for another application, especially in cool or humid conditions. Examine the room under bright light and carefully smooth any dried drips or small rough areas before continuing. Repeat the same process for the second coat: cut in, roll manageable sections, maintain a wet edge, and apply uniform pressure. Do not limit the second coat to obvious thin spots because isolated applications may create sheen differences. Two complete, consistent coats generally produce a richer and more cohesive wall than one heavy coat that dries slowly or sags. ()
19. Remove Painter’s Tape Carefully
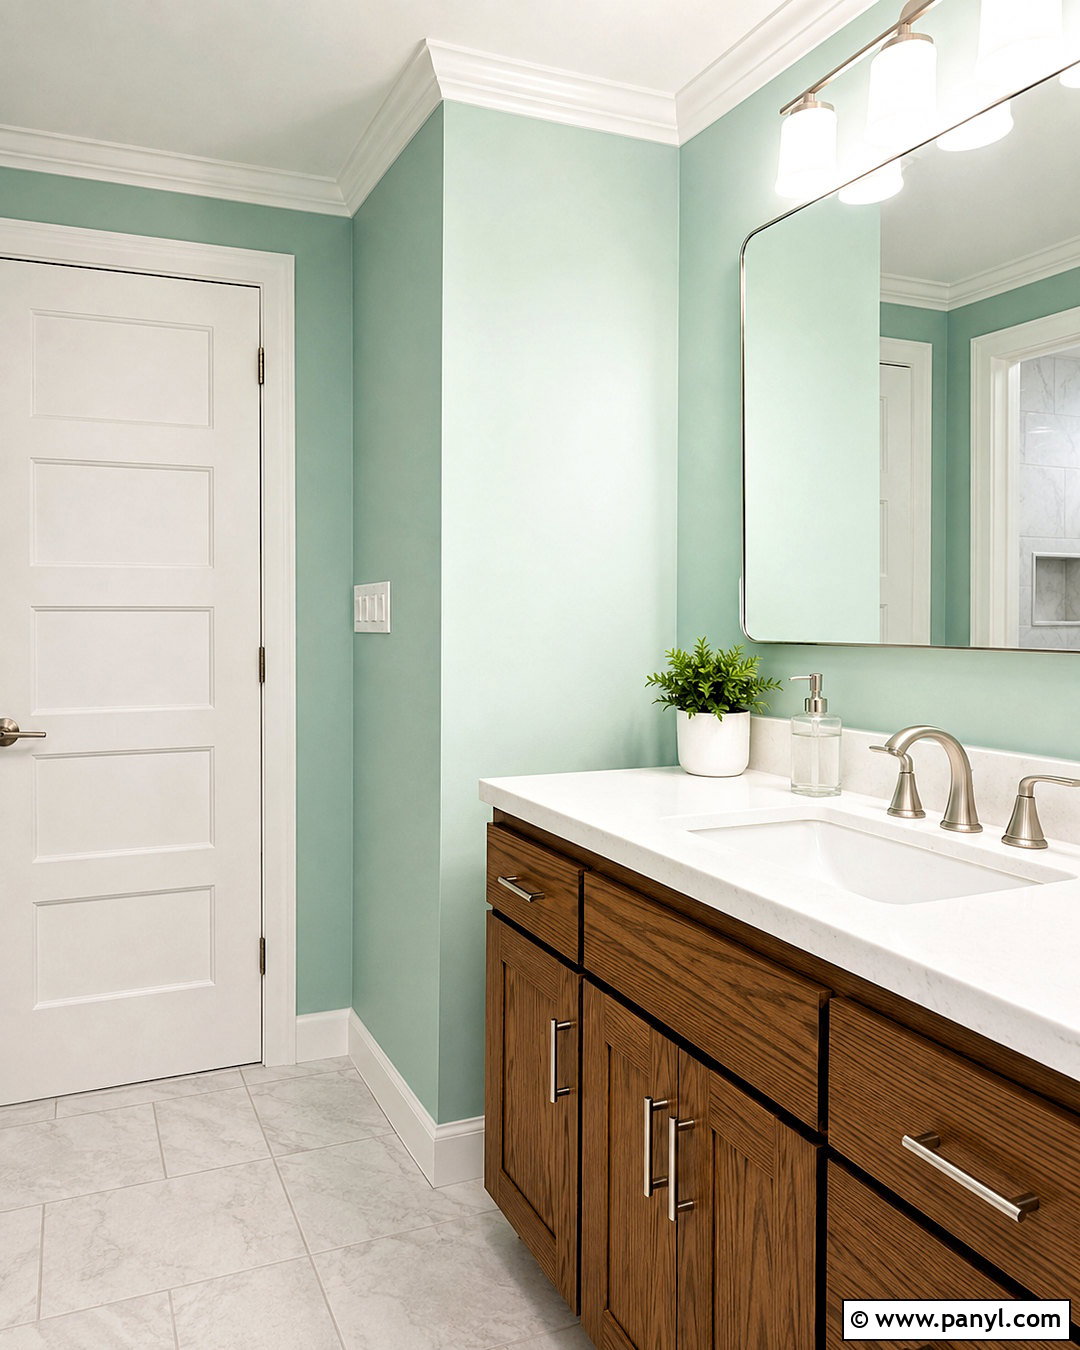
Tape removal deserves the same patience as tape application. Follow the tape and paint manufacturers’ directions because recommended timing can vary. Pull the tape back slowly at approximately a 45-degree angle instead of lifting it straight away from the surface. If dried paint has sealed the edge, score the line gently with a sharp utility knife or clean blade before pulling. This helps prevent the new wall coating from tearing away with the tape. Keep your hands clean so wet or partially cured paint is not transferred onto trim. Inspect each boundary immediately and correct tiny imperfections with a small artist’s brush rather than a full-size sash brush. Careful removal reveals crisp ceiling lines, baseboards, windows, and door frames that make the entire room look professionally finished. ()
20. Inspect And Cure Painted Walls
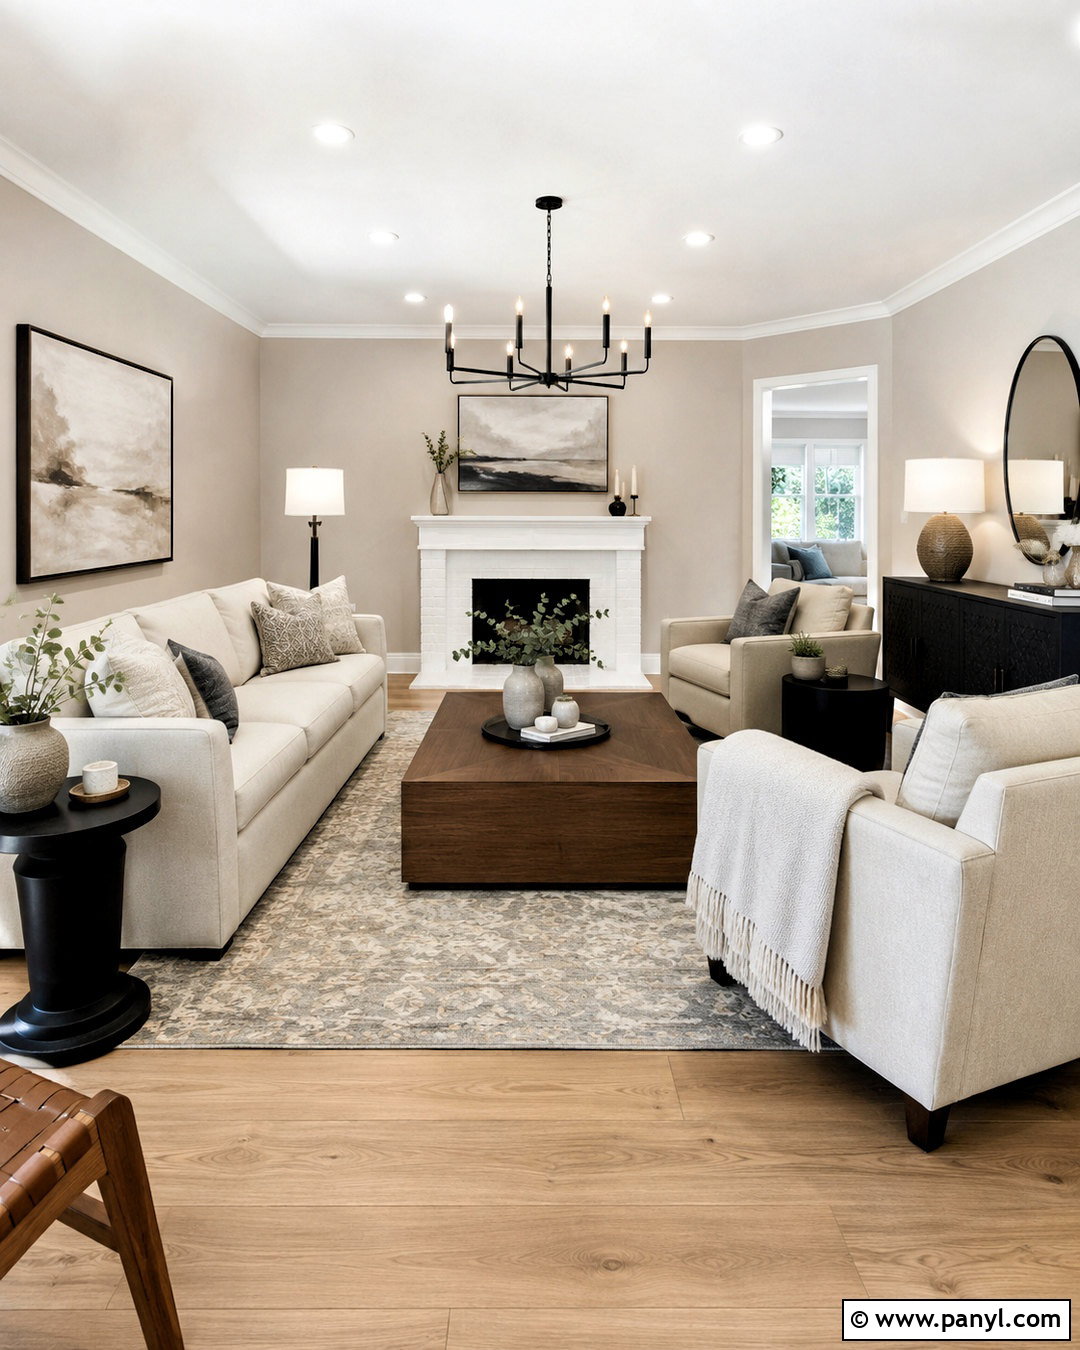
Once the final coat is dry, inspect the walls from several positions in bright natural and artificial light. Look for missed spots, roller ridges, drips, patch shadows, or thin areas near corners and trim. Make small corrections with the original paint and matching application tool. A brush repair in the middle of a rolled wall can leave a different texture, so use a miniature roller when appropriate. Allow the coating to cure for the time stated by the manufacturer before washing it, pressing furniture against it, or reinstalling tightly fitted fixtures and artwork. Replace clean outlet covers and hardware carefully. Label leftover paint with the room, color, sheen, product, and date. Proper curing and organized touch-up paint help the completed room remain clean and consistent. ()
Conclusion:
Successful painting is less about speed and more about following a thoughtful sequence. Test the color, measure carefully, clear the space, and repair every visible flaw before coating the walls. Match your primer, sheen, brush, and roller to the specific room and surface. During application, work one wall at a time, keep a wet edge, use light pressure, and allow each layer to dry correctly. Finish by removing tape carefully, inspecting the room in strong light, and giving the coating enough time to cure. Following these **20 painting walls tips** will help you achieve cleaner edges, smoother coverage, richer color, and a durable finish that makes the entire room feel thoughtfully renewed. ()

Related Ideas and Inspiration:


Leave a Reply