
Wall texture can make a plain room feel warmer, more finished, and more personal. It can also soften uneven surfaces and turn an overlooked wall into a strong design feature. These 20 how to texture a wall ideas cover subtle sprayed finishes, hand-troweled plaster, dimensional panels, wallpaper, wood treatments, and renter-friendly options. Before starting, clean and repair the surface, protect nearby finishes, and practice your technique on scrap drywall. Primer can help create even porosity so the texture bonds and dries consistently. () If an older home has unknown textured coatings, avoid sanding until hazardous materials have been ruled out. () Explore these 20 how to texture a wall ideas to find a complete look that suits your room, skill level, and budget.
1. Orange Peel Wall Texture
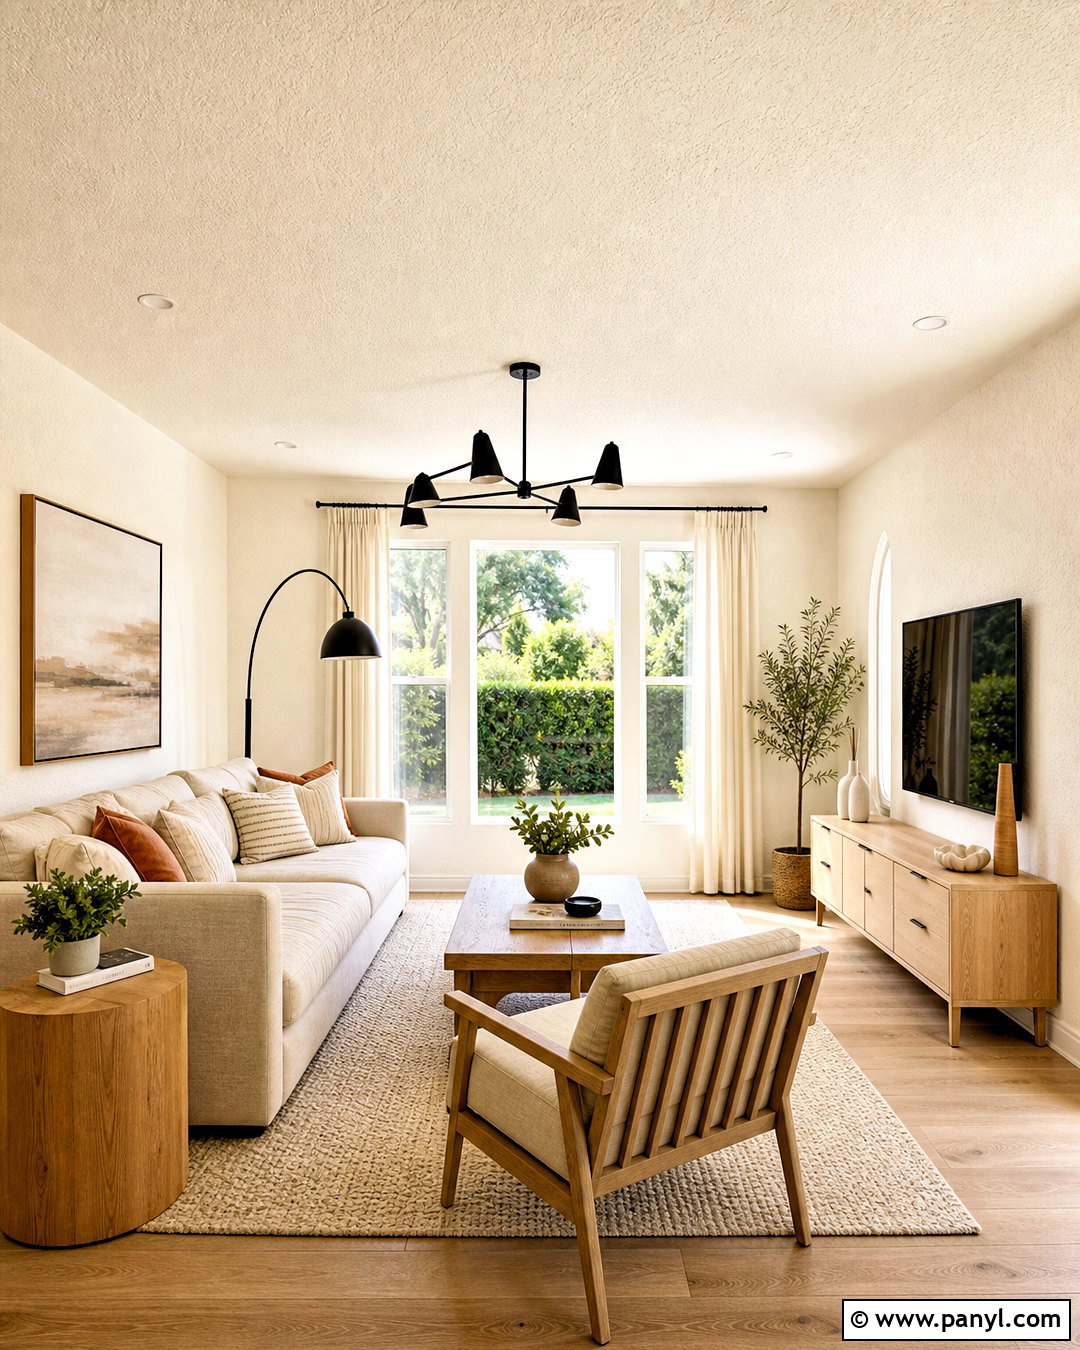
Orange peel texture creates a lightly dimpled surface that works especially well in casual living rooms, hallways, and bedrooms. Start with repaired, clean drywall and a coat of suitable primer. Thin premixed joint compound according to the texture sprayer instructions, then test the nozzle setting on cardboard. Spray with slow, overlapping passes while keeping the hopper gun a consistent distance from the wall. Sprayers can cover broad areas quickly, but surrounding floors, doors, windows, and furniture require careful protection. () Finish the room with warm white walls, light oak furniture, linen upholstery, and matte black lighting. This simple palette lets the subtle texture catch daylight without making the space appear busy. Prime and paint after the compound has dried completely.
2. Knockdown Wall Texture
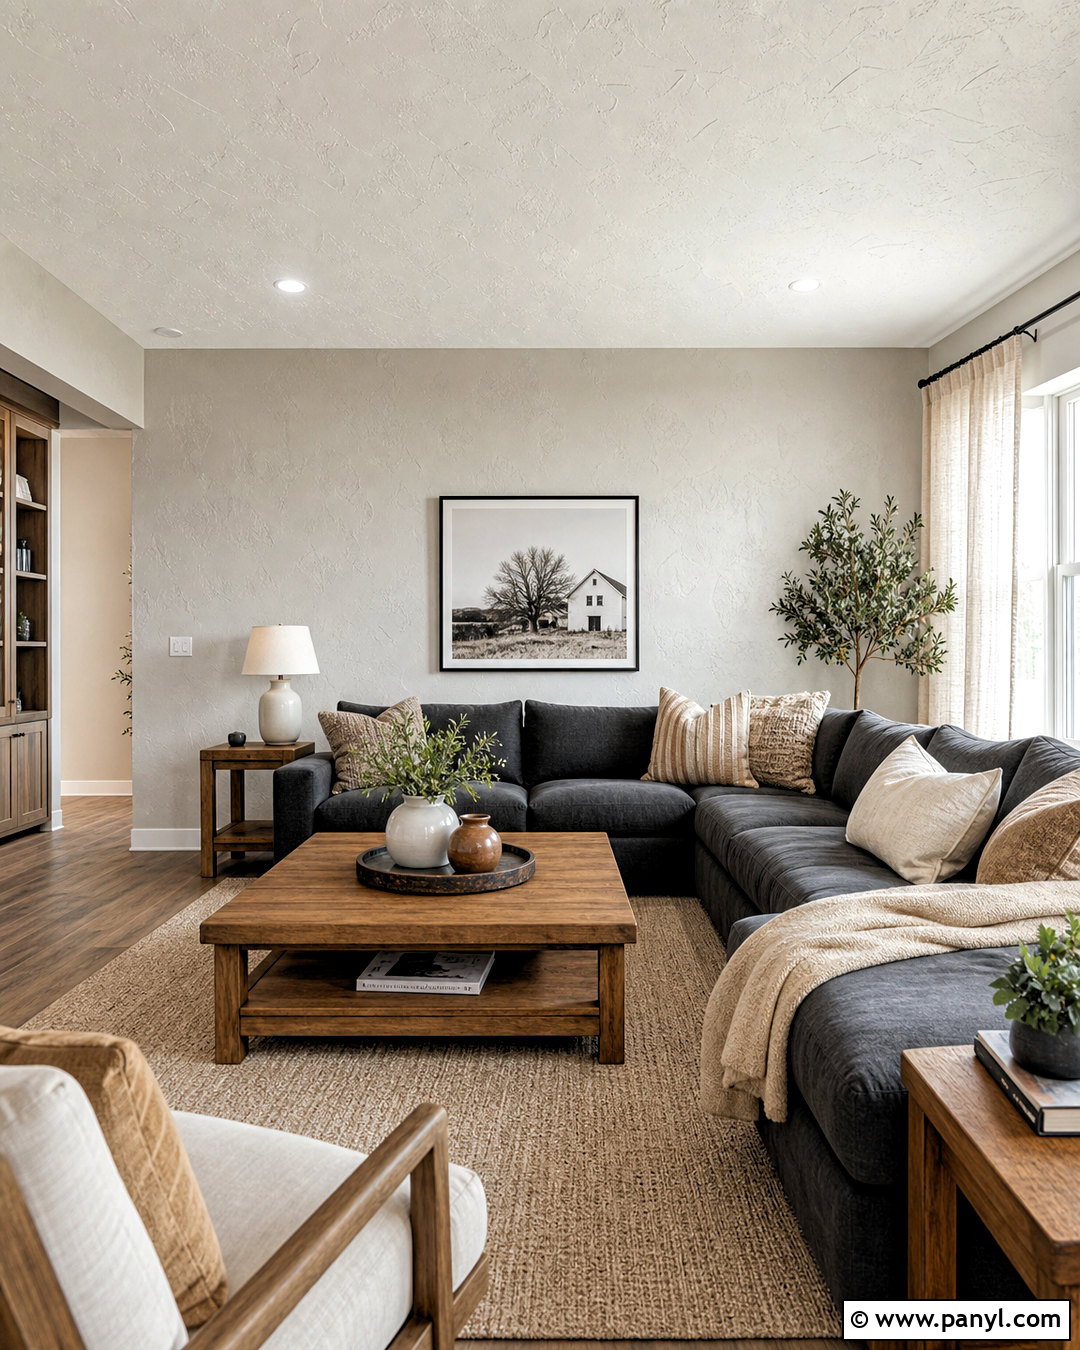
Would you like more movement than orange peel without creating a heavily rustic finish? Knockdown texture delivers irregular flattened patches that add depth while remaining practical for everyday rooms. Spray or roll a consistent layer of thinned joint compound over the prepared wall. Allow the raised peaks to firm slightly, then glide a wide knockdown knife across them with light, even pressure. The goal is to flatten the tops rather than scrape the wall smooth. () Use this finish throughout a relaxed family room painted soft greige. Add a charcoal sectional, medium-tone wood tables, woven curtains, and simple ceramic accessories. Keeping the furniture streamlined balances the organic wall pattern and helps the completed room feel current rather than overly traditional.
3. Skip Trowel Wall Texture
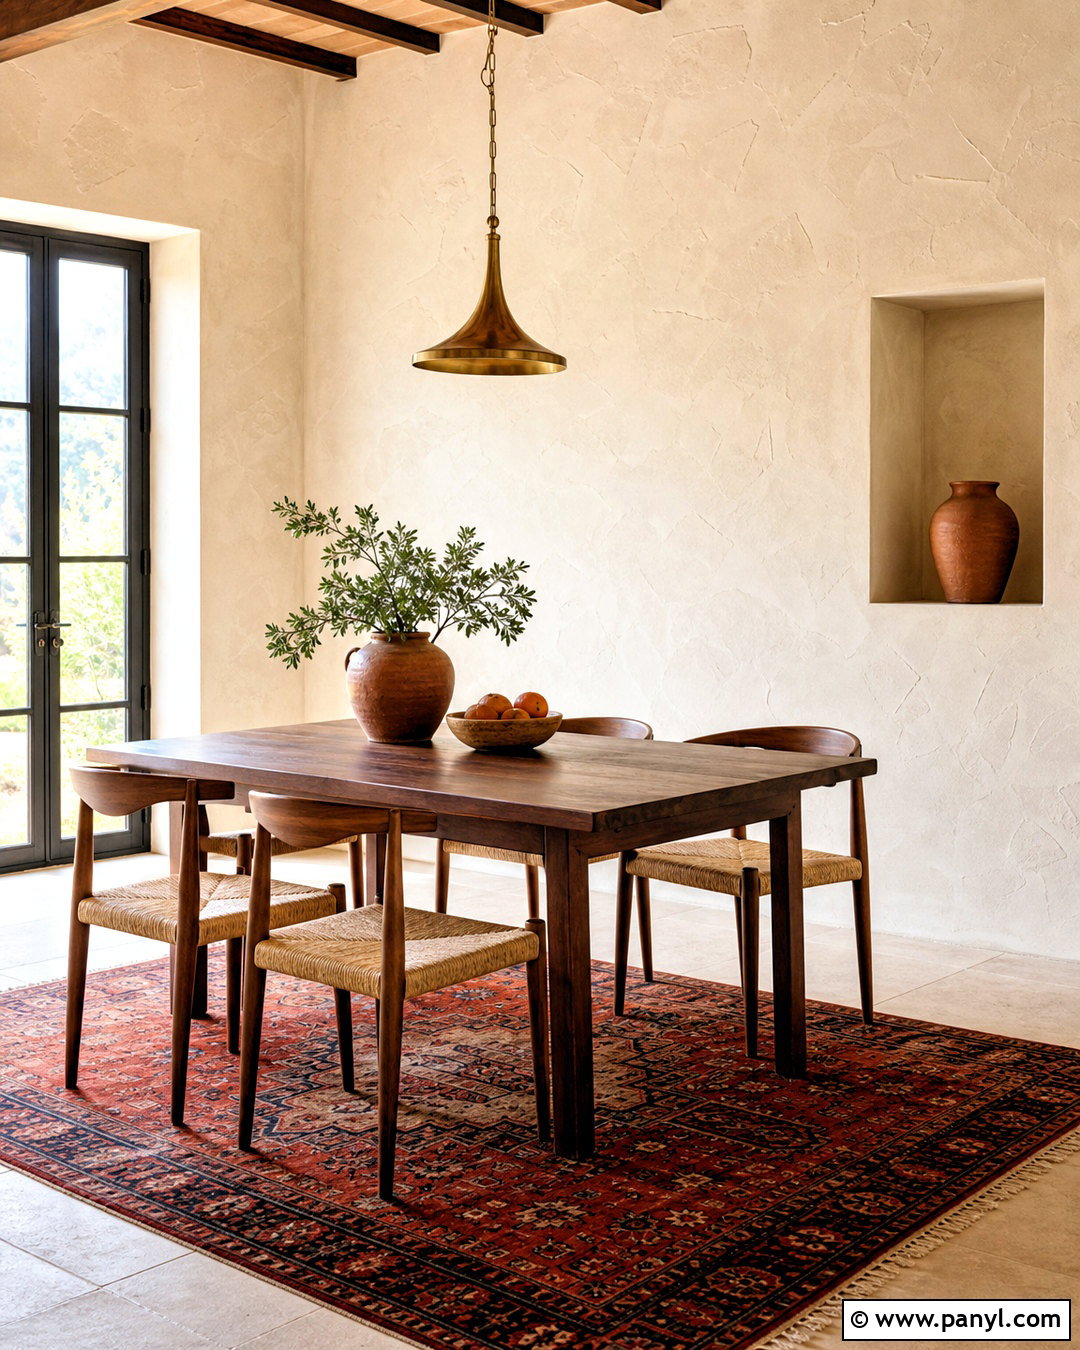
Skip trowel texture gives walls an old-world plaster appearance through scattered areas of thin and raised compound. Apply joint compound with a curved drywall knife or broad trowel, holding the tool at a shallow angle. Move in overlapping arcs, allowing the blade to skip lightly across the surface and leave random open spaces. Avoid repeating identical marks because natural variation is what gives this finish its character. Skip trowel requires greater control than beginner-friendly orange peel and knockdown techniques, so practice first. () Paint the finished walls creamy ivory and create a warm Mediterranean dining room with a walnut table, rush-seat chairs, an aged brass pendant, and neutral pottery. Terracotta-colored textiles will bring out the handcrafted plaster effect.
4. Sand Swirl Wall Texture
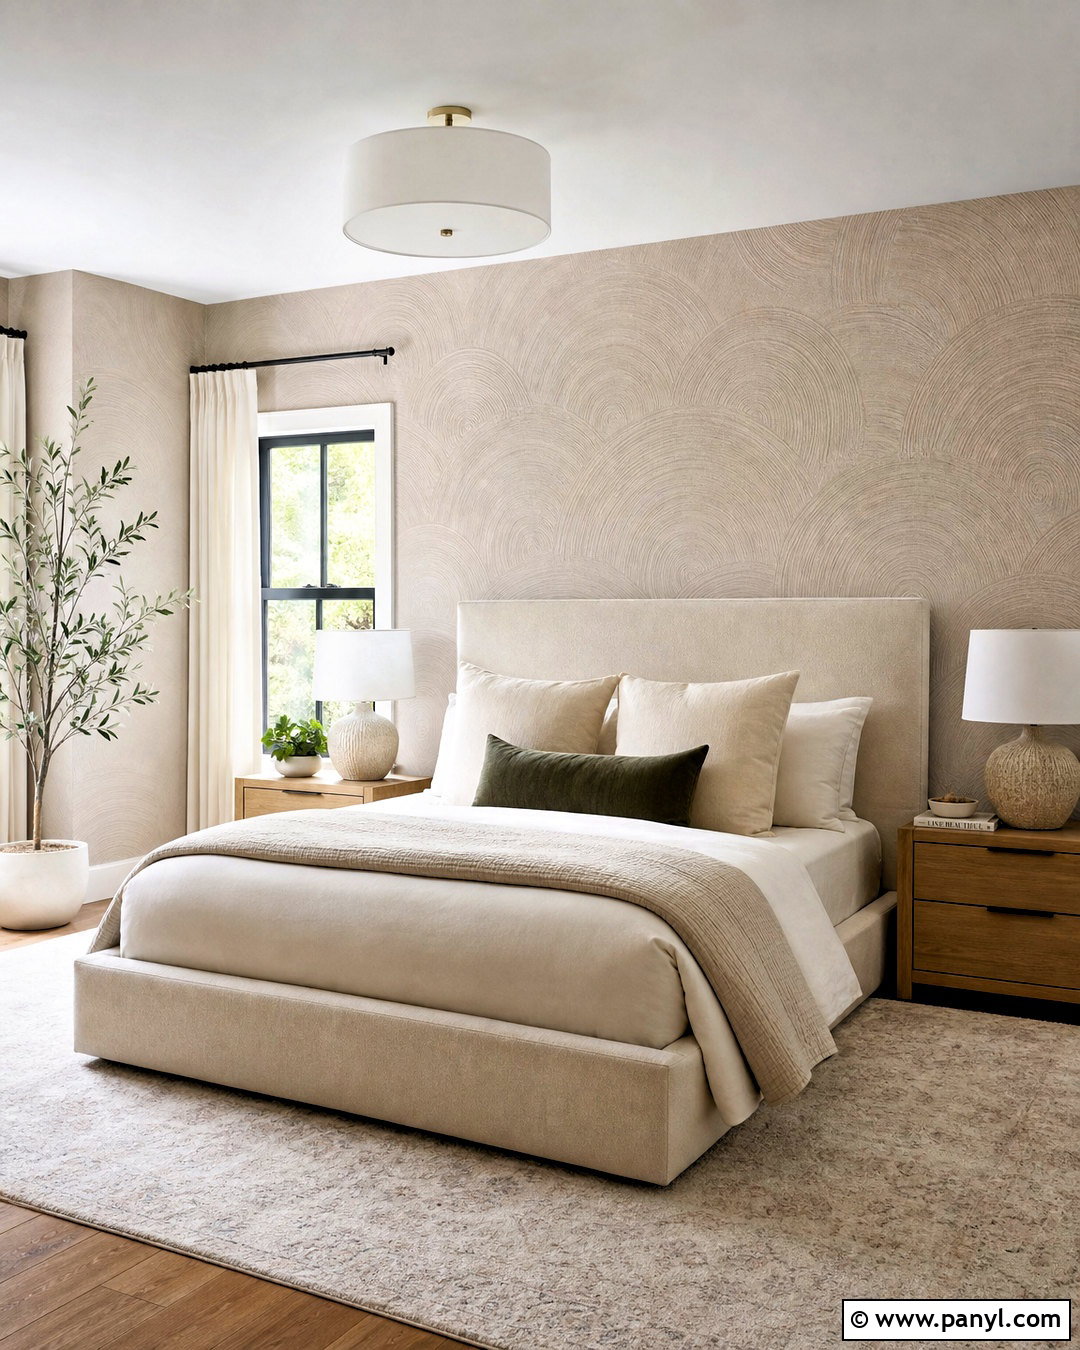
Soft overlapping circles can give a bedroom or dining area gentle movement without introducing strong color. For sand swirl texture, combine a suitable texture product with fine sand as directed by its manufacturer. Roll a workable section onto the primed wall. While it remains wet, use a thick brush to create overlapping half circles in steady rows. Keep each curve similar in scale but slightly varied in placement so the pattern feels handmade. Sand swirl and combed finishes require patience and a controlled rhythm, making a practice panel especially useful. () Complete the room with pale taupe paint, an upholstered oatmeal bed, oak nightstands, ivory curtains, and ceramic lamps. Quiet colors prevent the circular texture from overpowering the restful arrangement.
5. Comb Wall Texture
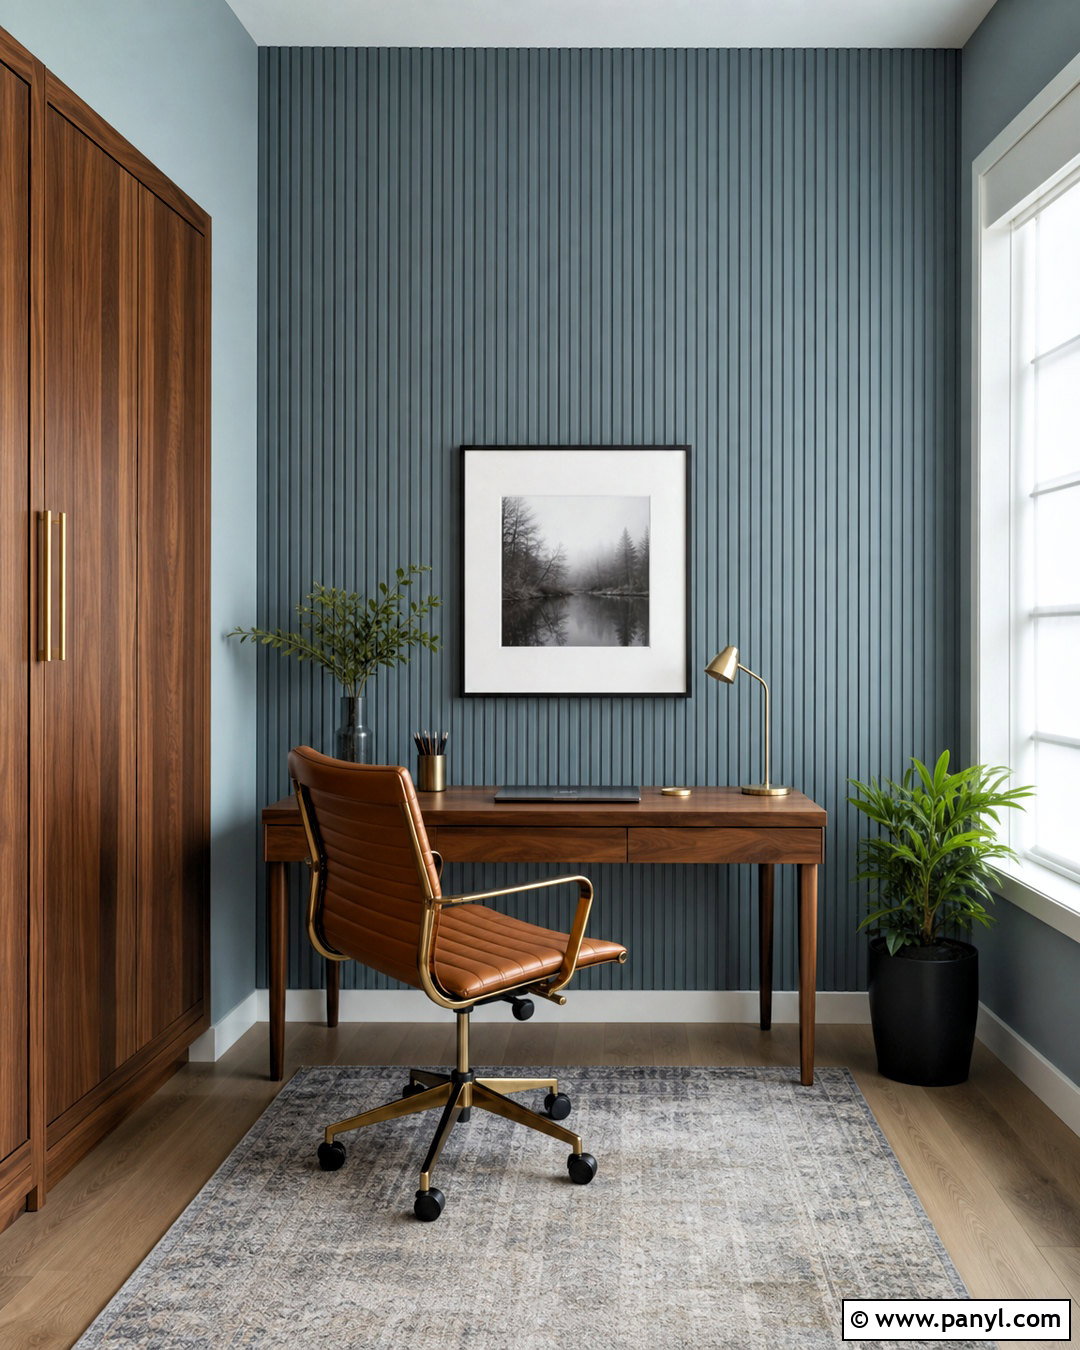
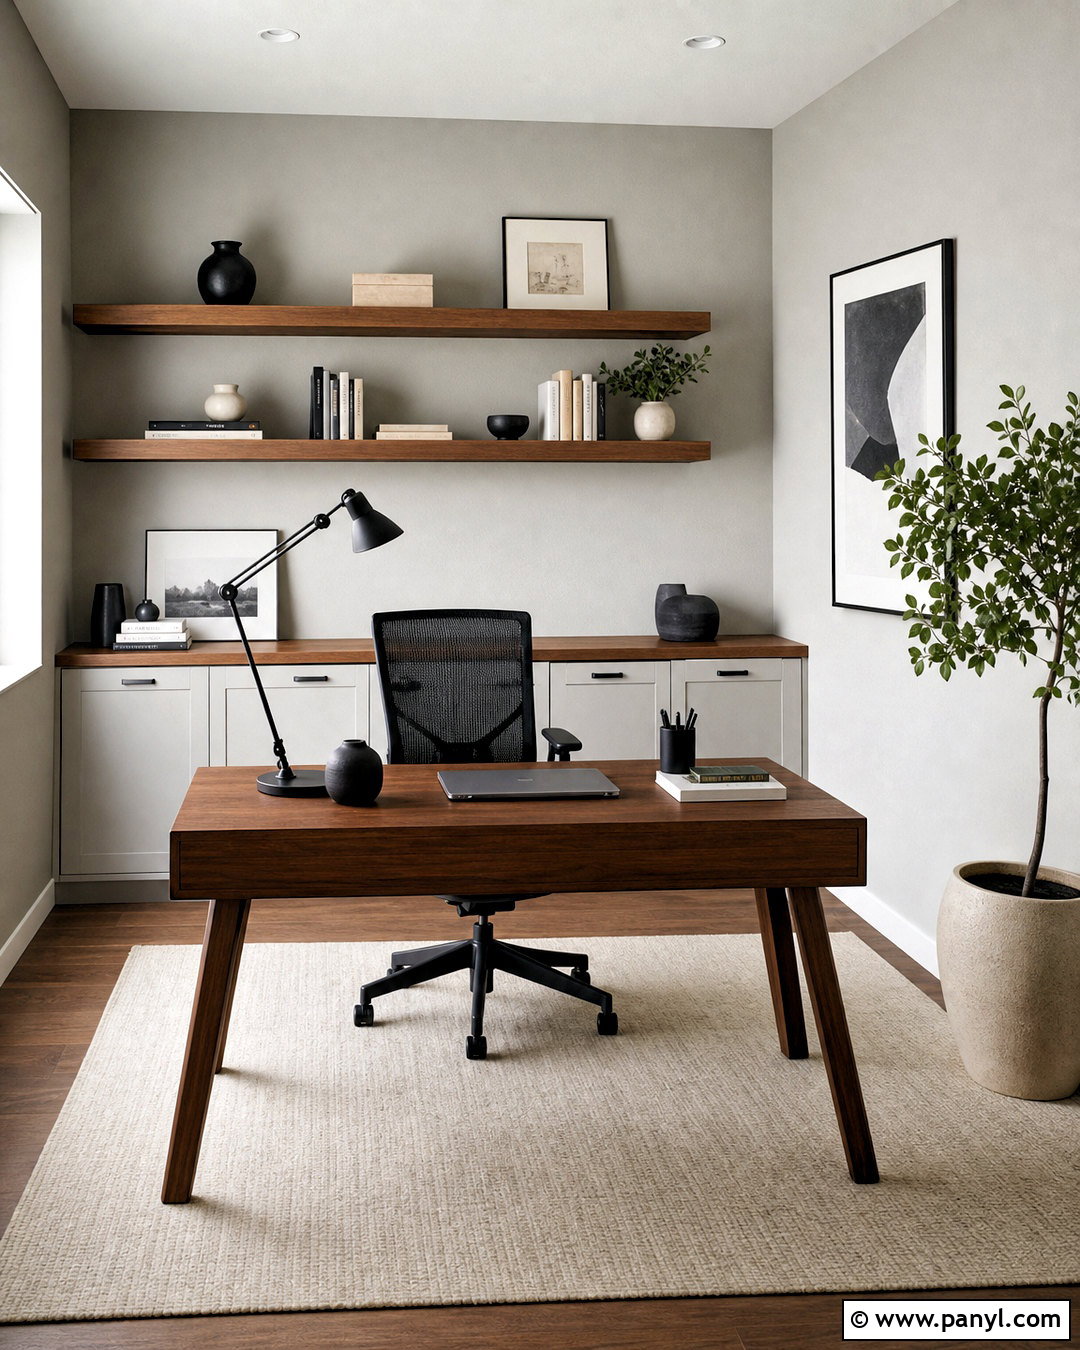
Comb texture turns wet joint compound into orderly lines, waves, arches, or repeated fan shapes. Spread a thin, even layer of compound across a manageable wall section with a trowel. Draw a clean notched texturing comb through the material before it begins setting. Straight vertical lines can visually raise a low ceiling, while wide arches create a more decorative focal wall. Wipe the comb between passes to prevent clumps from disrupting the pattern. Practicing on scrap drywall helps establish the right pressure and spacing before working on the finished surface. () Try vertical comb texture in a compact home office painted muted blue-gray. Pair it with a walnut desk, tan leather chair, closed storage, and a slim brass lamp for a structured, tailored result.
6. Slap Brush Wall Texture
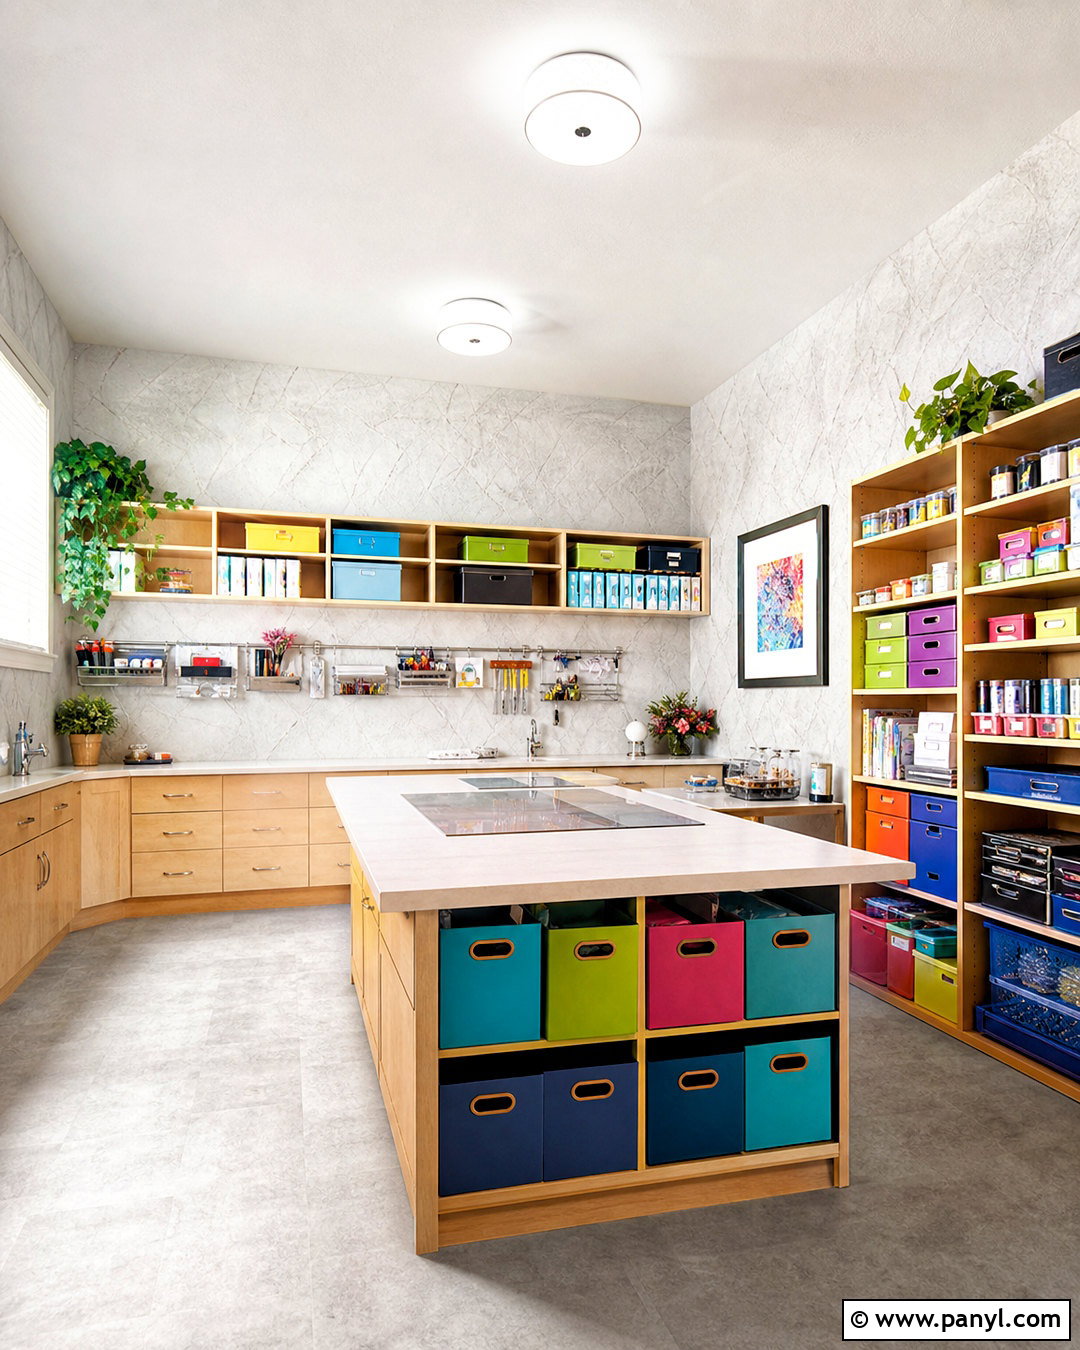
A slap brush finish has lively, branching impressions that can disguise minor unevenness and give a casual room noticeable character. Roll diluted joint compound evenly over one wall section at a time. Press a double crow’s-foot or round texturing brush into the wet material, pull it away, rotate it slightly, and repeat. Overlap the impressions enough to avoid bare gaps, but do not arrange them in obvious rows. Texturing tools such as brushes, heavy-nap rollers, and knives can produce significantly different patterns, so test the brush first. () Use slap brush texture on the walls of a bright craft room. Soft white paint, natural birch cabinets, colorful storage boxes, and a durable pale gray floor create a cheerful but organized space.
7. Stomp Brush Wall Texture
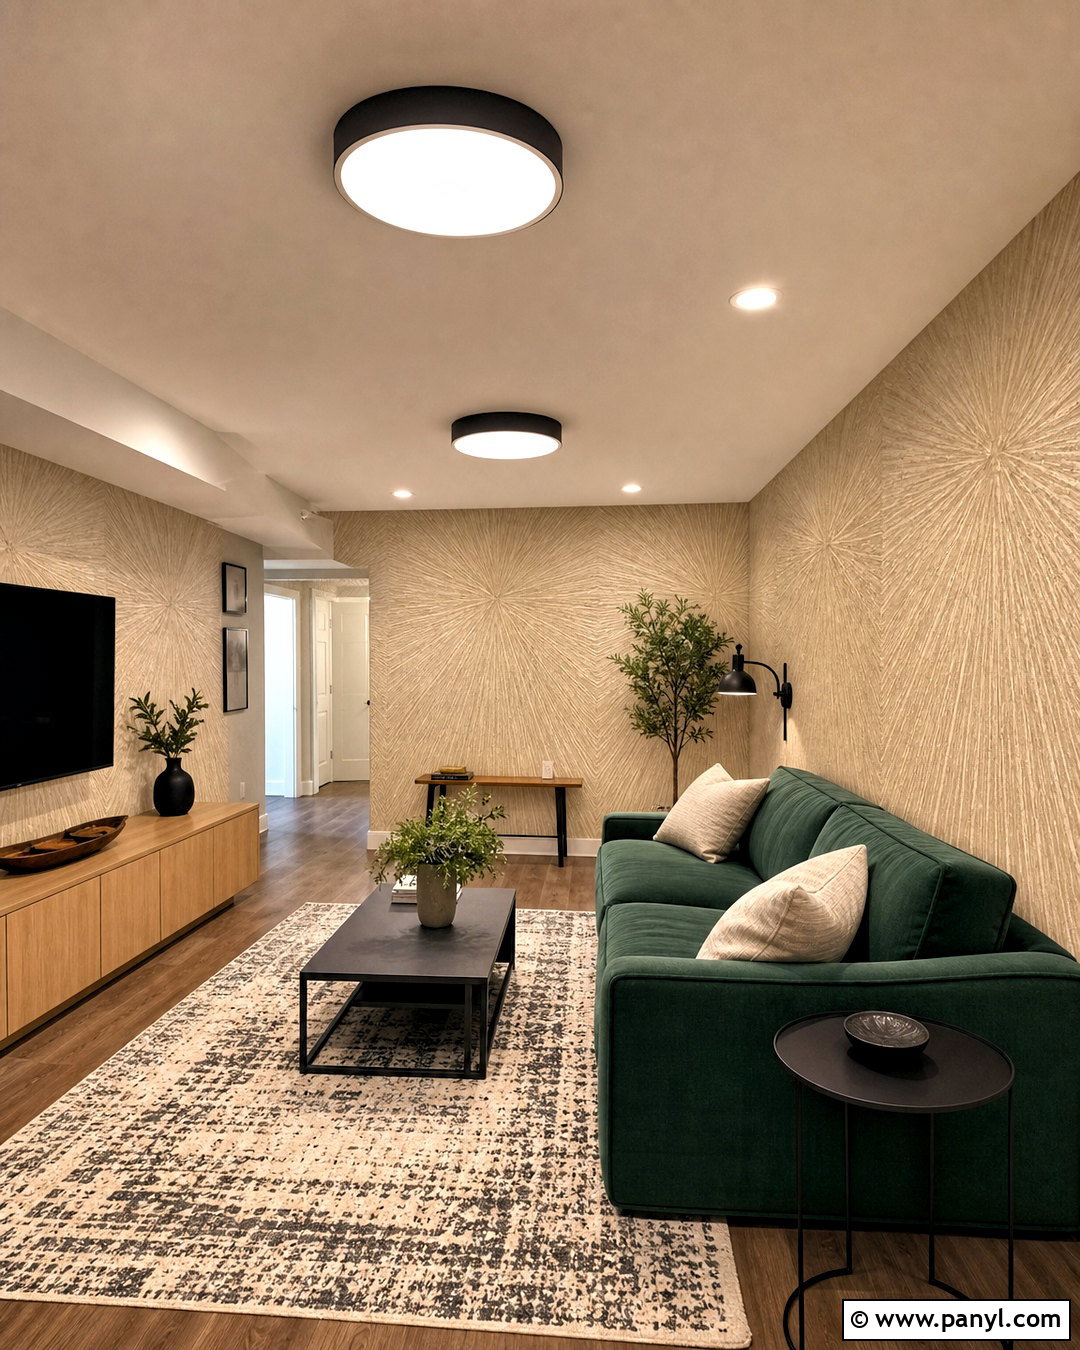
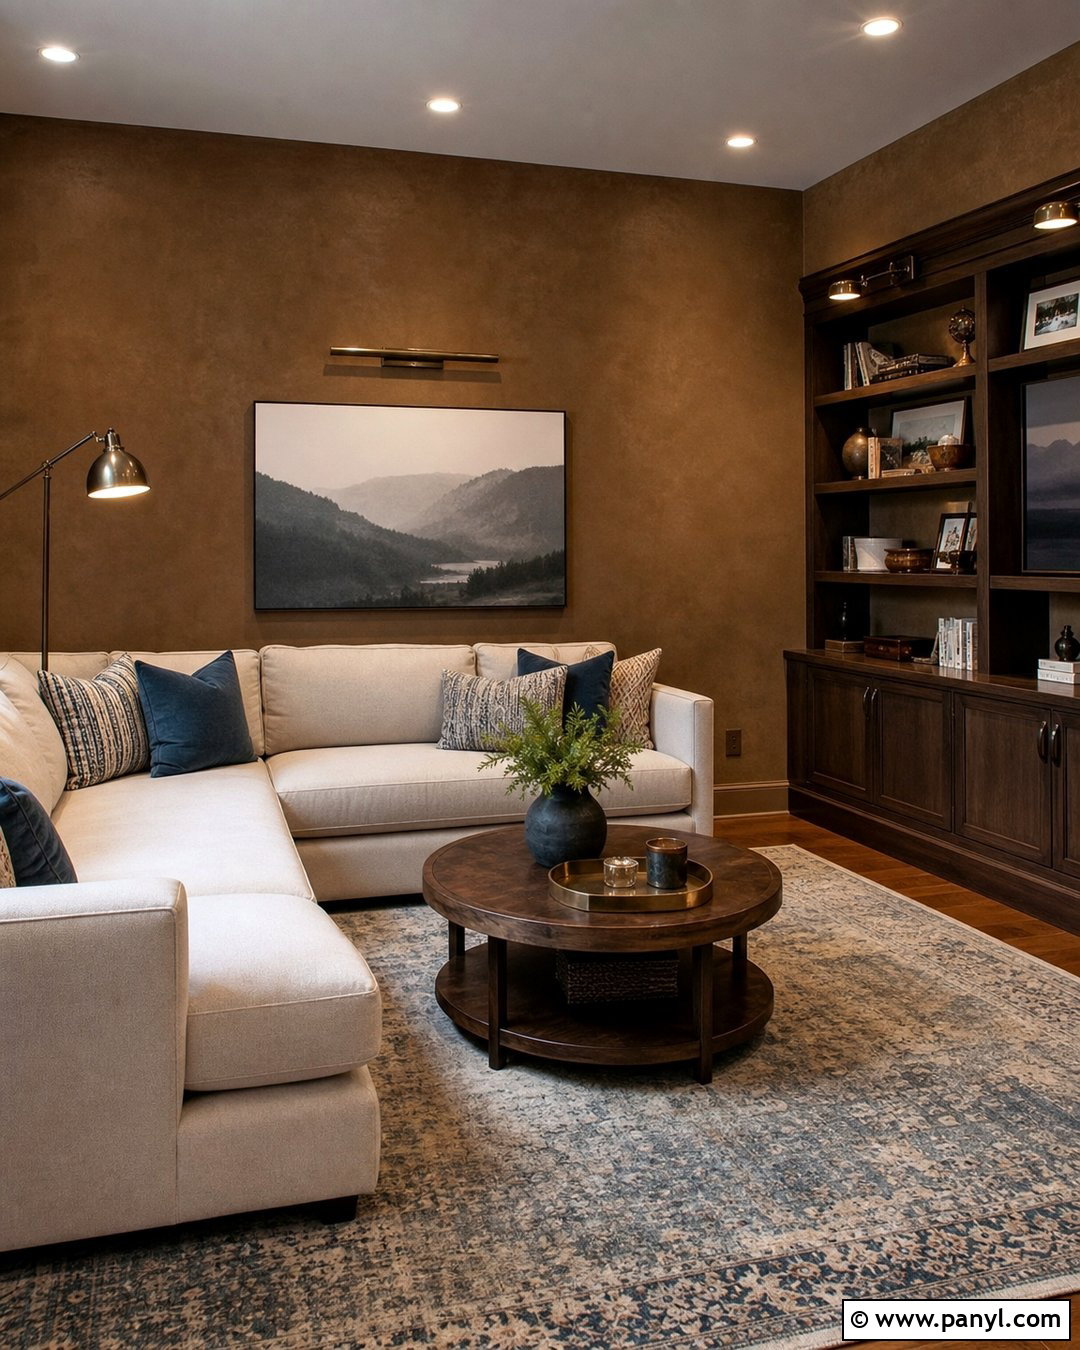
Stomp brush texture creates soft starburst patterns by pressing a large brush directly into wet compound. Begin with a primed wall and roll on an even layer of properly mixed joint compound. Load the brush lightly, press it flat against the wall, and pull it straight back. Rotate the brush as you continue so the impressions stay varied and natural. If you prefer a gentler surface, let the peaks set briefly and flatten them with a wide knife to create a stomp knockdown finish. () This treatment suits a relaxed basement lounge painted warm beige. Add a deep green sofa, low oak media cabinet, washable patterned rug, and broad white ceiling lighting. Simple furniture keeps the energetic wall pattern visually balanced.
8. Sponge Wall Texture
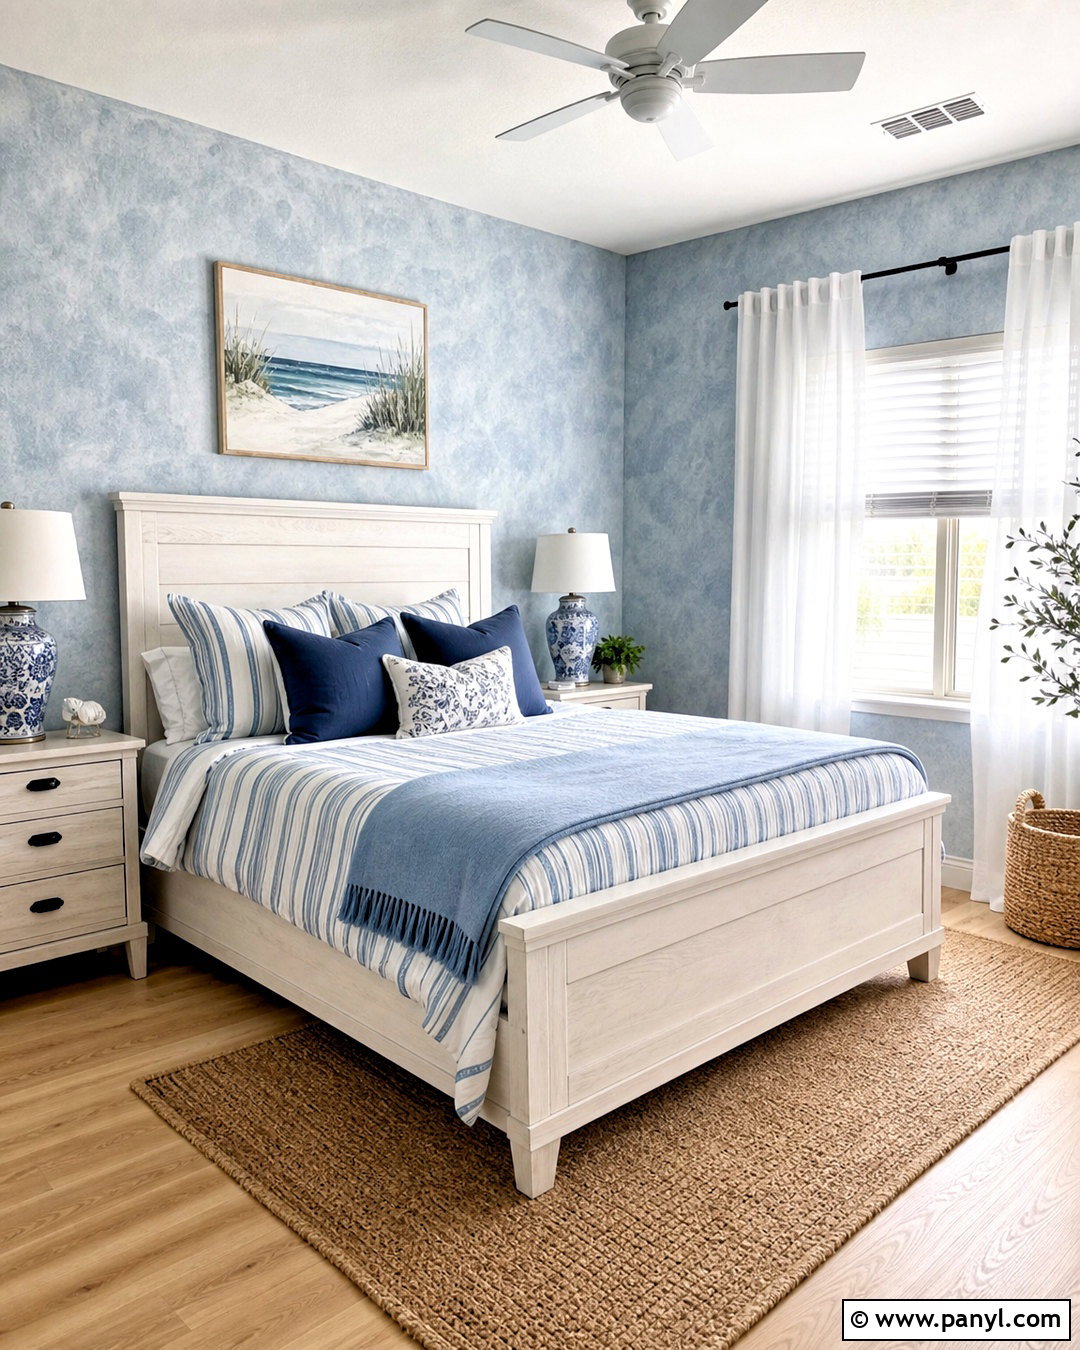
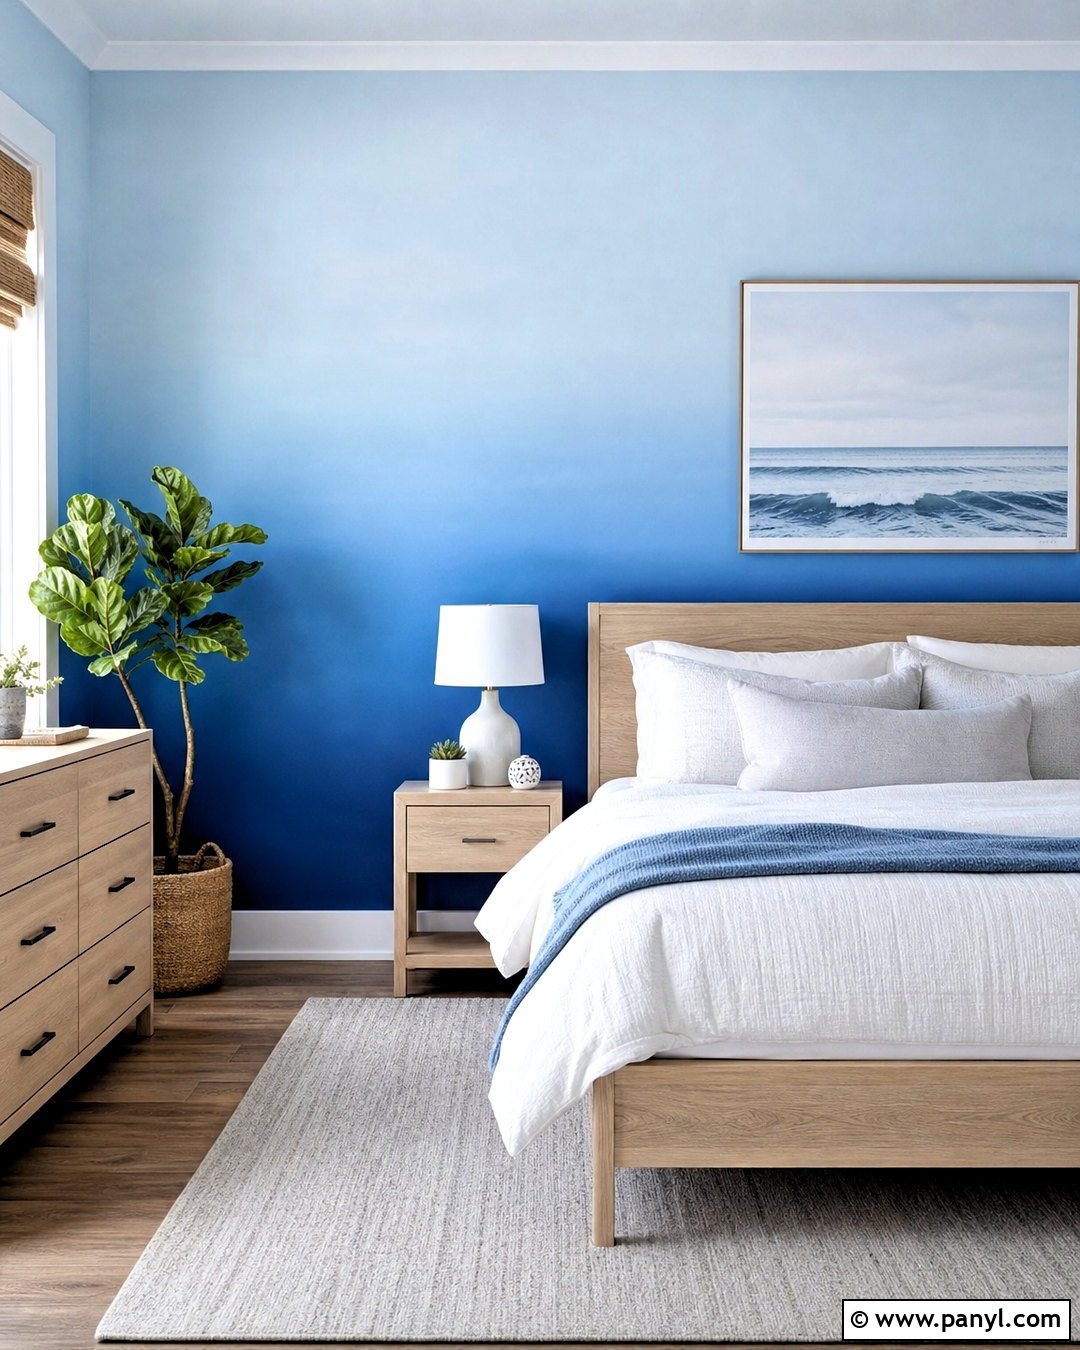
For an easy handmade finish, use a natural sea sponge to dab paint or a thin layer of compound across the wall. Begin with a smooth base coat in a light neutral. Dip the sponge into the texture mixture, remove the excess, and press it gently against the surface. Turn the sponge frequently and overlap marks to prevent a repeated stamp effect. You can also layer two close paint colors for visual texture without building a deeply raised surface. Sponge application is an accessible approach because it uses simple supplies and allows gradual coverage. () Create a breezy guest room with pale blue-gray walls, a white oak bed, striped cotton bedding, woven baskets, and soft white curtains. The mottled finish will resemble weathered coastal plaster.
9. Textured Roller Wall Finish
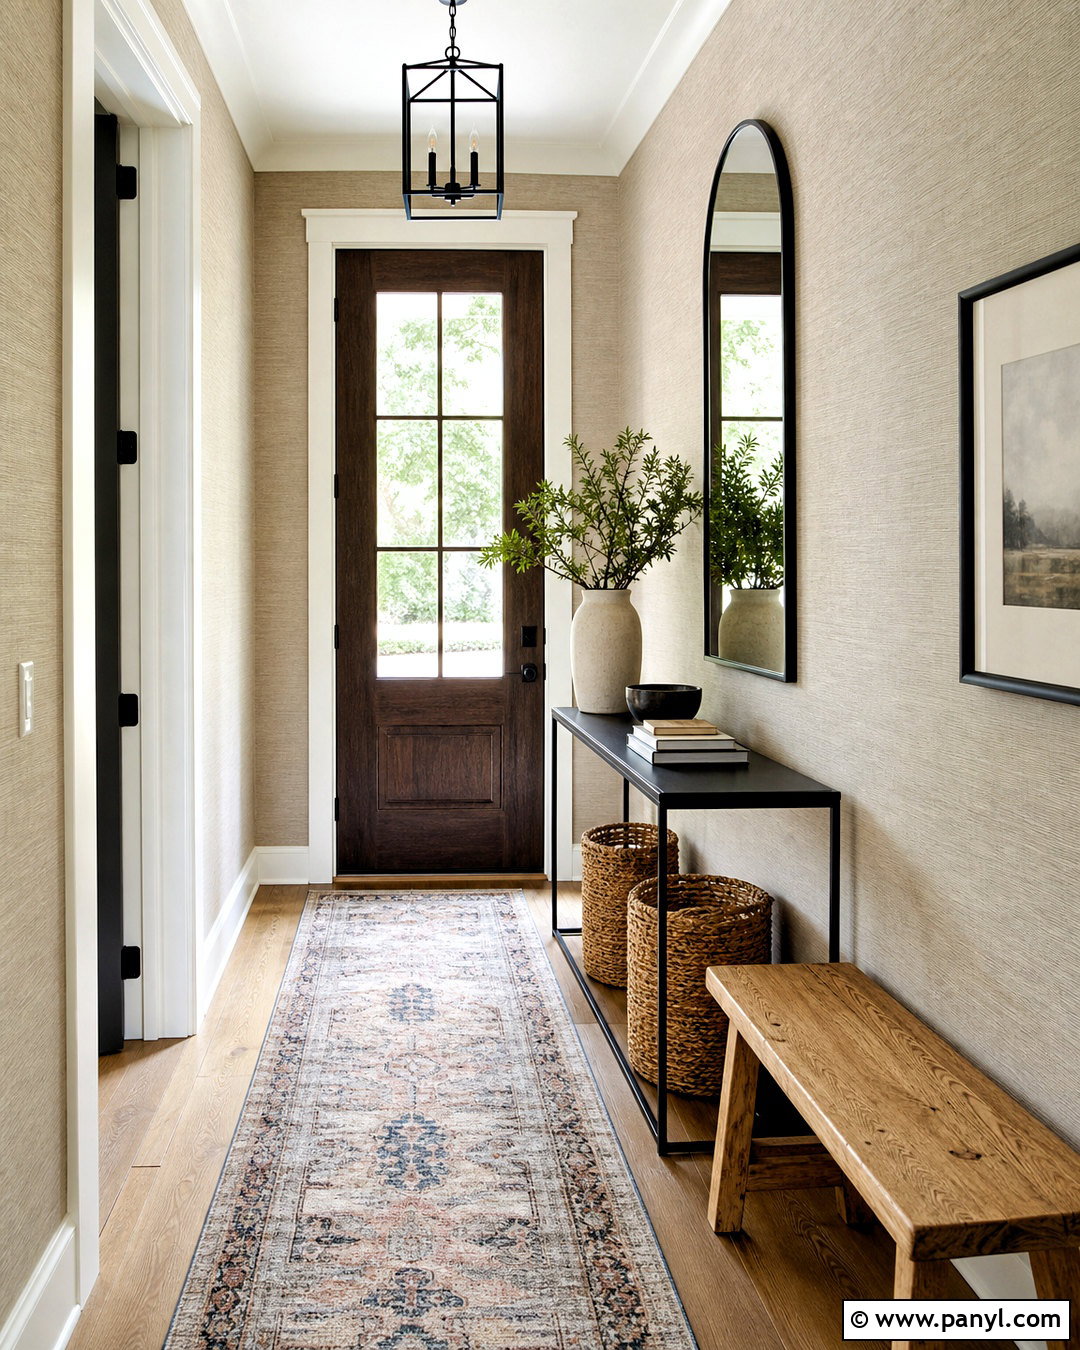
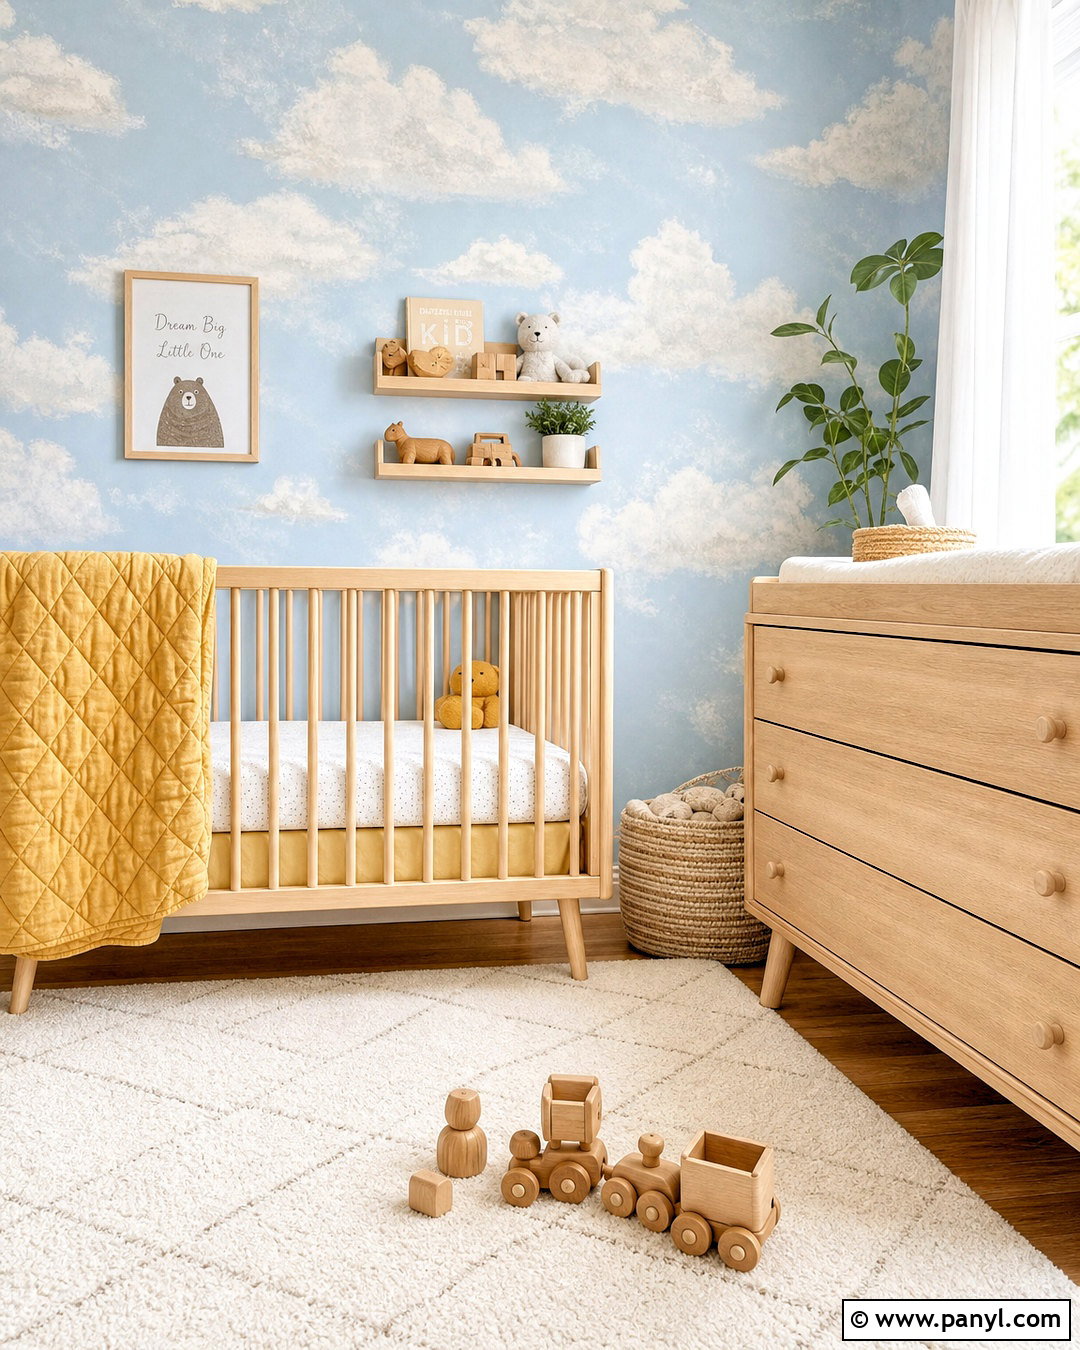
A patterned roller can apply repeatable texture without requiring advanced trowel skills. Choose a subtle roller pattern and practice aligning the edges on a sample board. Apply a uniform layer of texture paint or joint compound, then roll from ceiling to floor using consistent pressure. Work in narrow sections while the material remains open. Clean excess compound from the roller whenever the pattern becomes clogged or blurred. Heavy-nap and specialty rollers can create visible patterns, but consistency depends on even product thickness and steady movement. () Use a small linen-like pattern in a transitional entryway. Paint it mushroom beige, then add a slim black console, rounded mirror, oak bench, washable runner, and closed shoe baskets for a polished entrance.
10. Rag Rolled Wall Texture
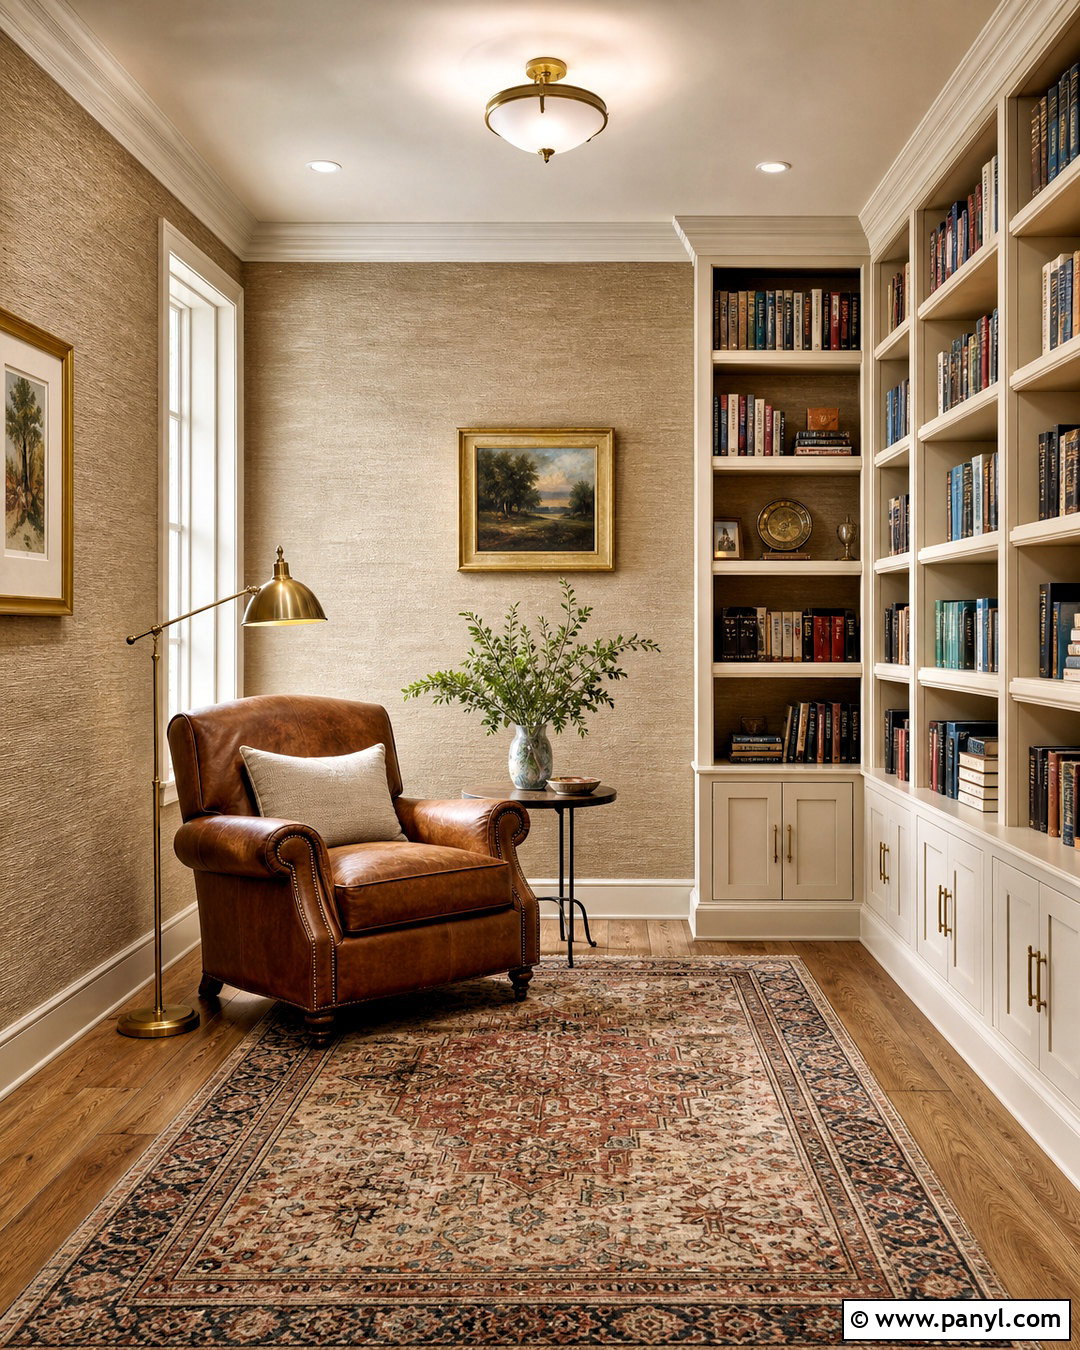
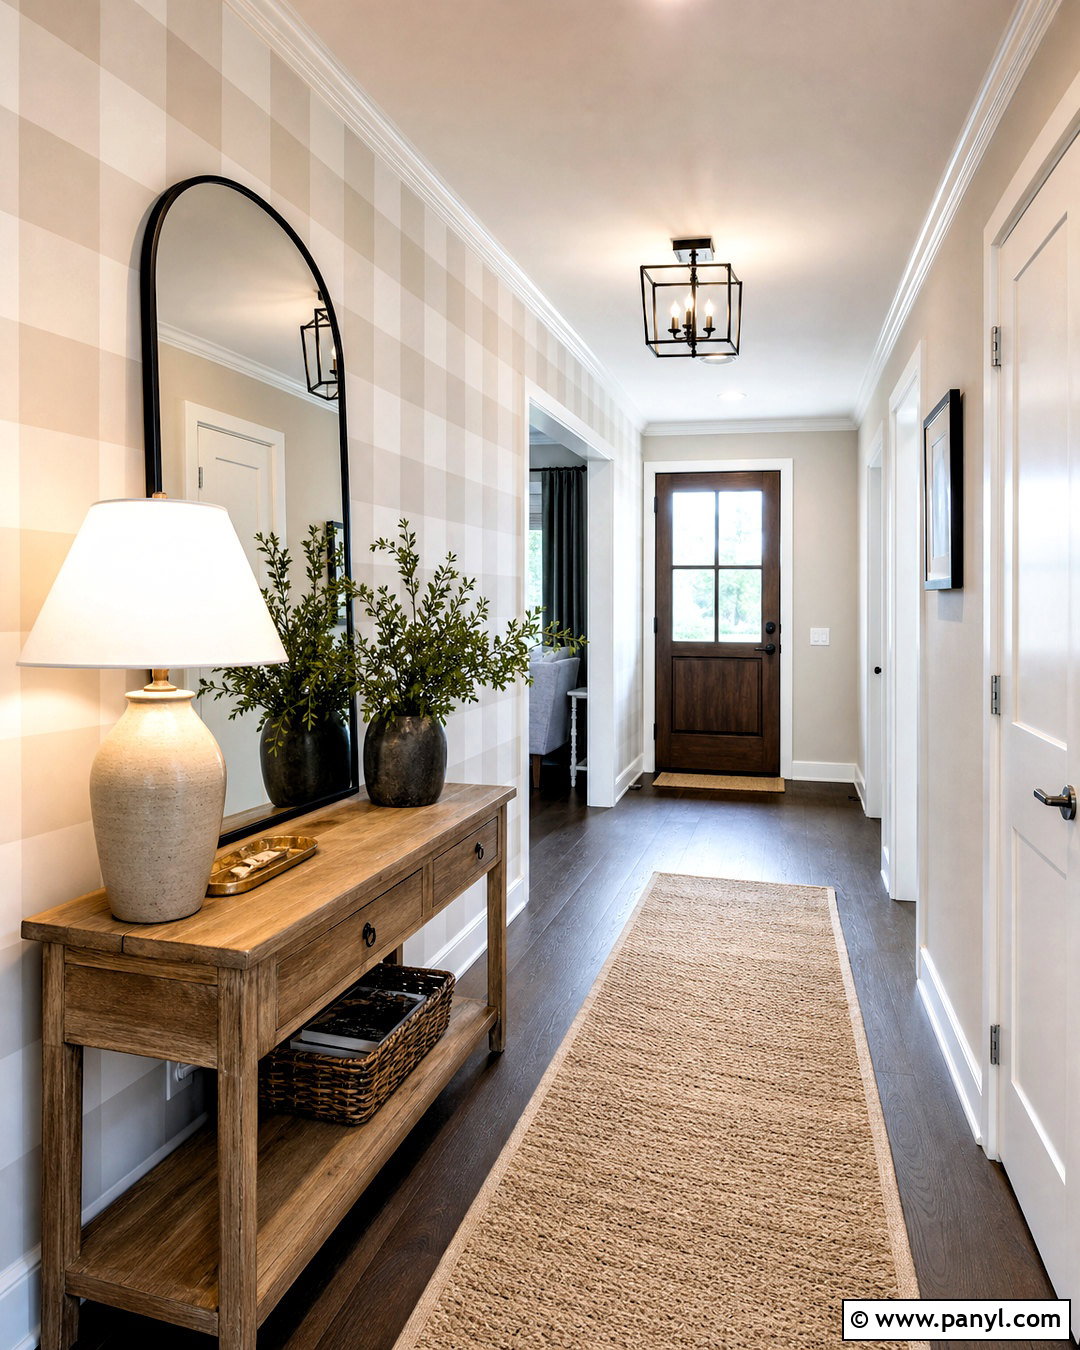
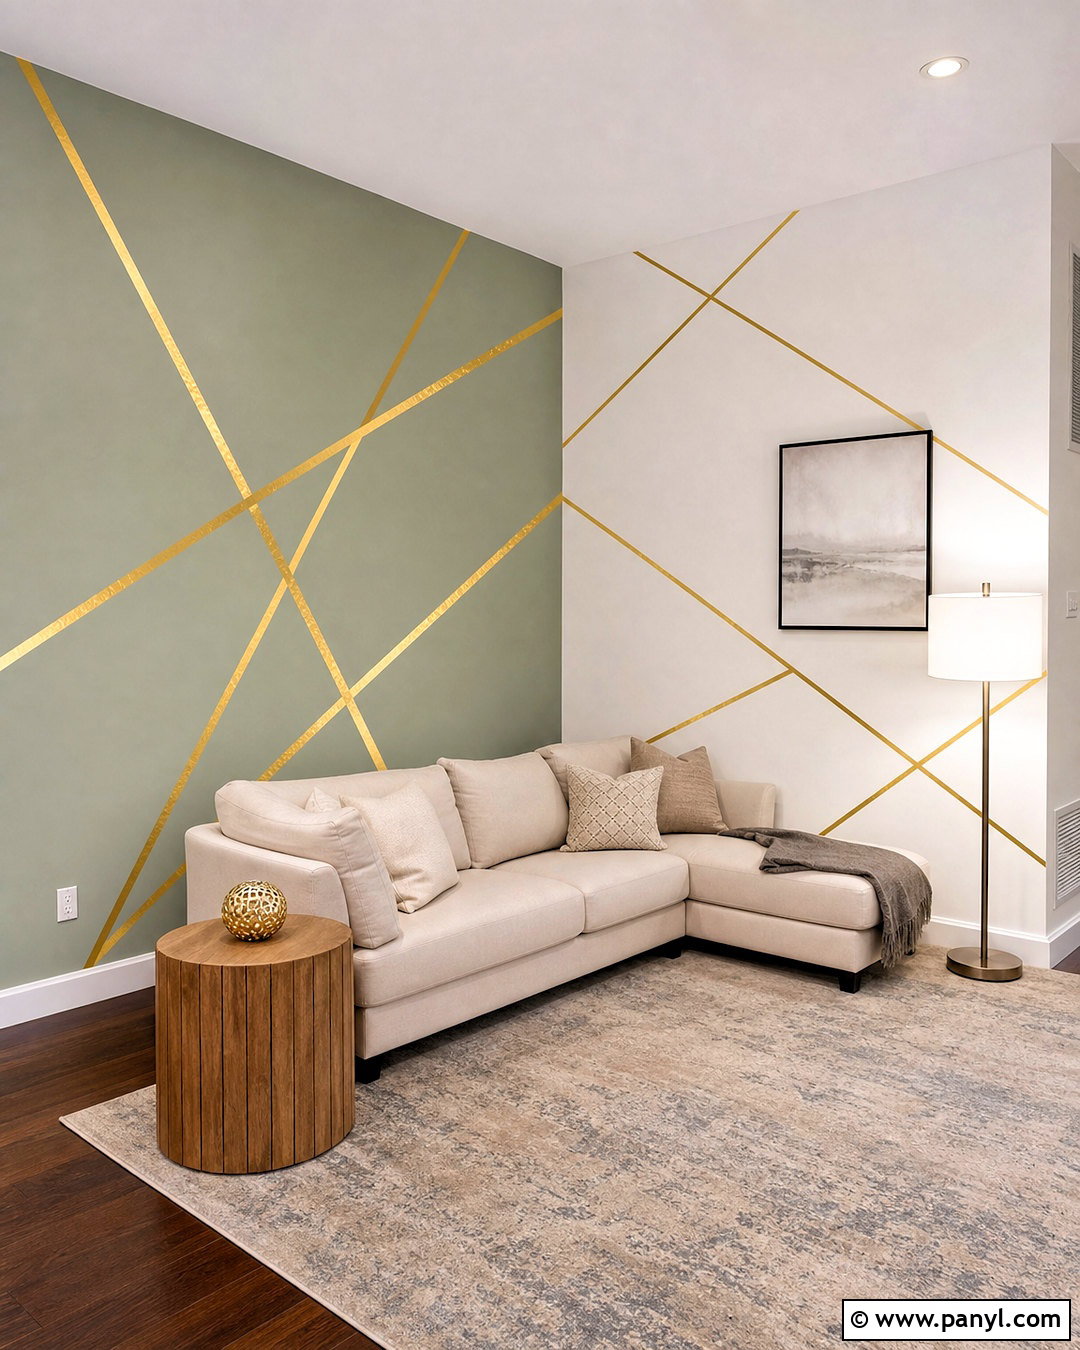
Rag rolling creates soft folds of color that resemble aged fabric or lightly weathered plaster. Paint the wall a warm base color and allow it to dry. Apply a translucent glaze in a slightly deeper shade over a small section. Roll a clean, lint-free cotton rag loosely across the wet glaze, changing direction and reshaping the cloth between passes. Step back often to check that the pattern remains balanced. Unlike raised drywall finishes, this method creates visual texture and is easier to repaint later. Complete a cozy reading room with warm putty walls, built-in cream bookshelves, a cognac leather chair, a brass floor lamp, and a muted vintage-style rug. The layered color adds depth without competing with books and artwork.
11. Limewash Wall Texture
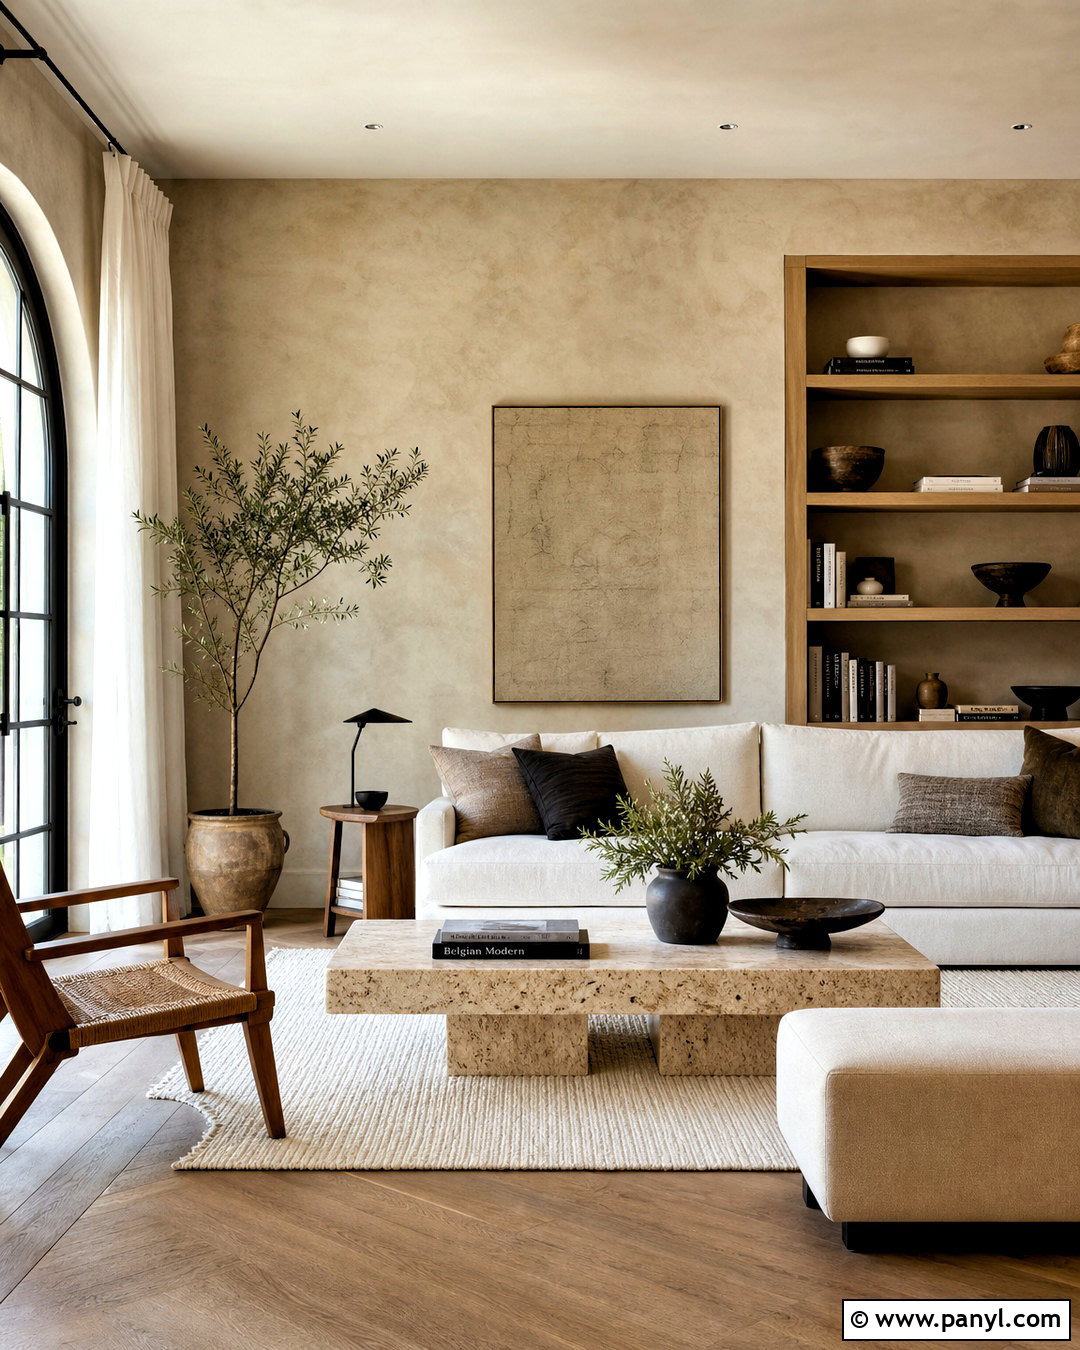
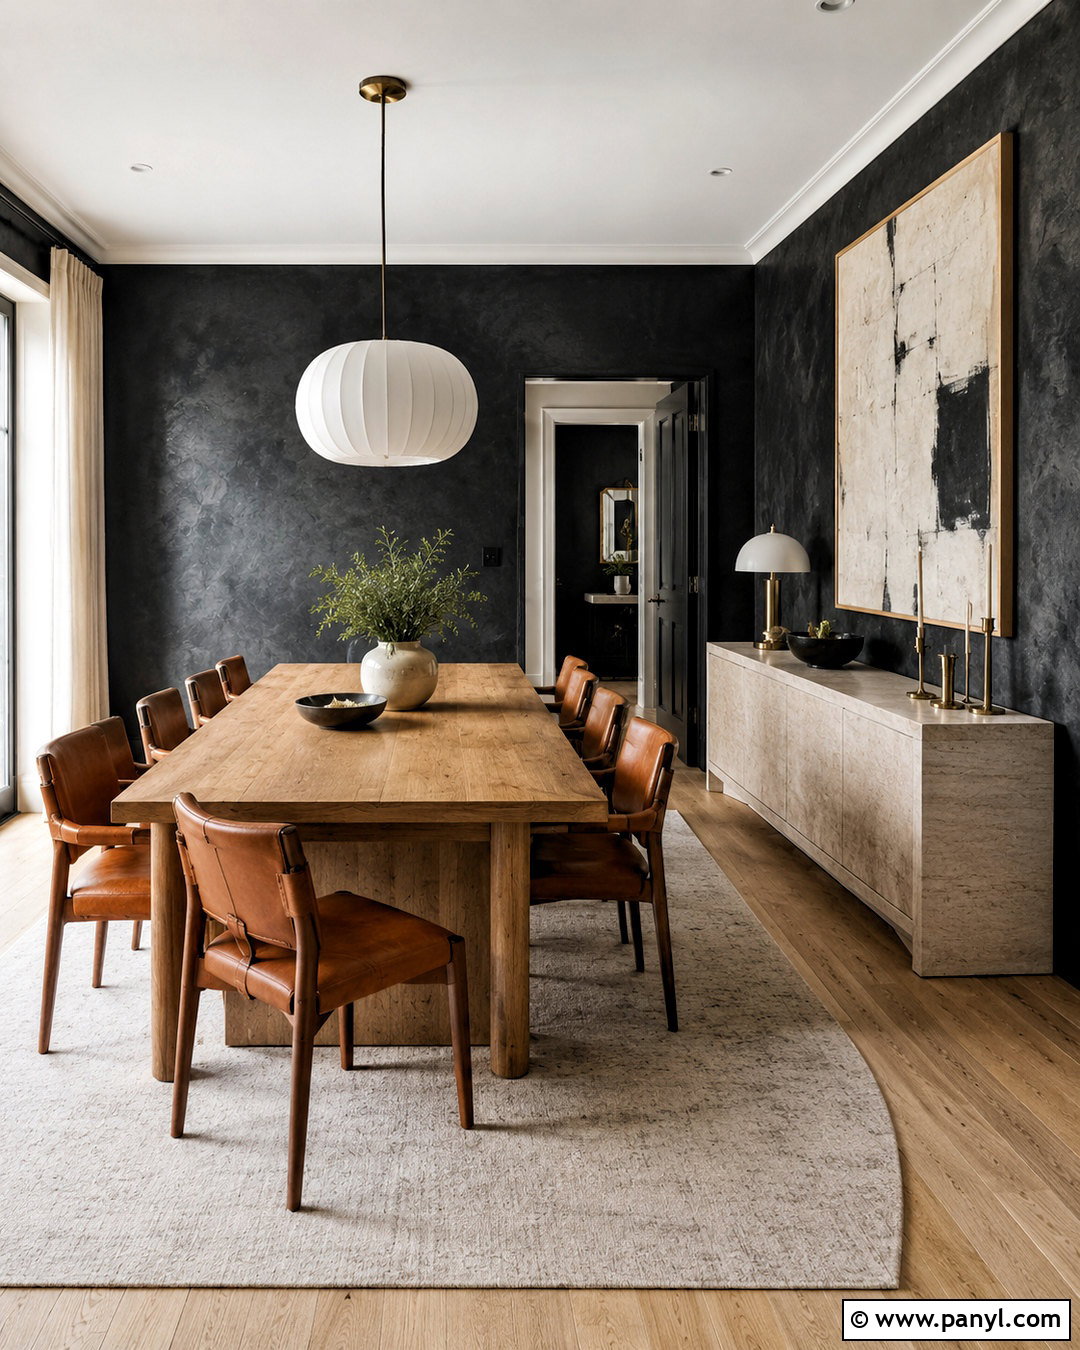
Cloudy mineral color gives limewashed walls a soft, chalky appearance with natural tonal movement. Prepare the surface with the primer recommended for your chosen limewash system. Apply the finish using a large masonry brush and loose crossing strokes, keeping a wet edge as you move across the wall. Two thin coats usually create more graceful variation than one heavy application, but always follow the product directions. Use warm sand-colored limewash in a serene living room with an ivory sofa, travertine coffee table, pale oak shelving, and off-white linen curtains. A few dark bronze accents will define the neutral scheme. Keep wall decorations minimal so daylight can reveal the soft brush movement across the complete surface.
12. Venetian Plaster Wall Texture
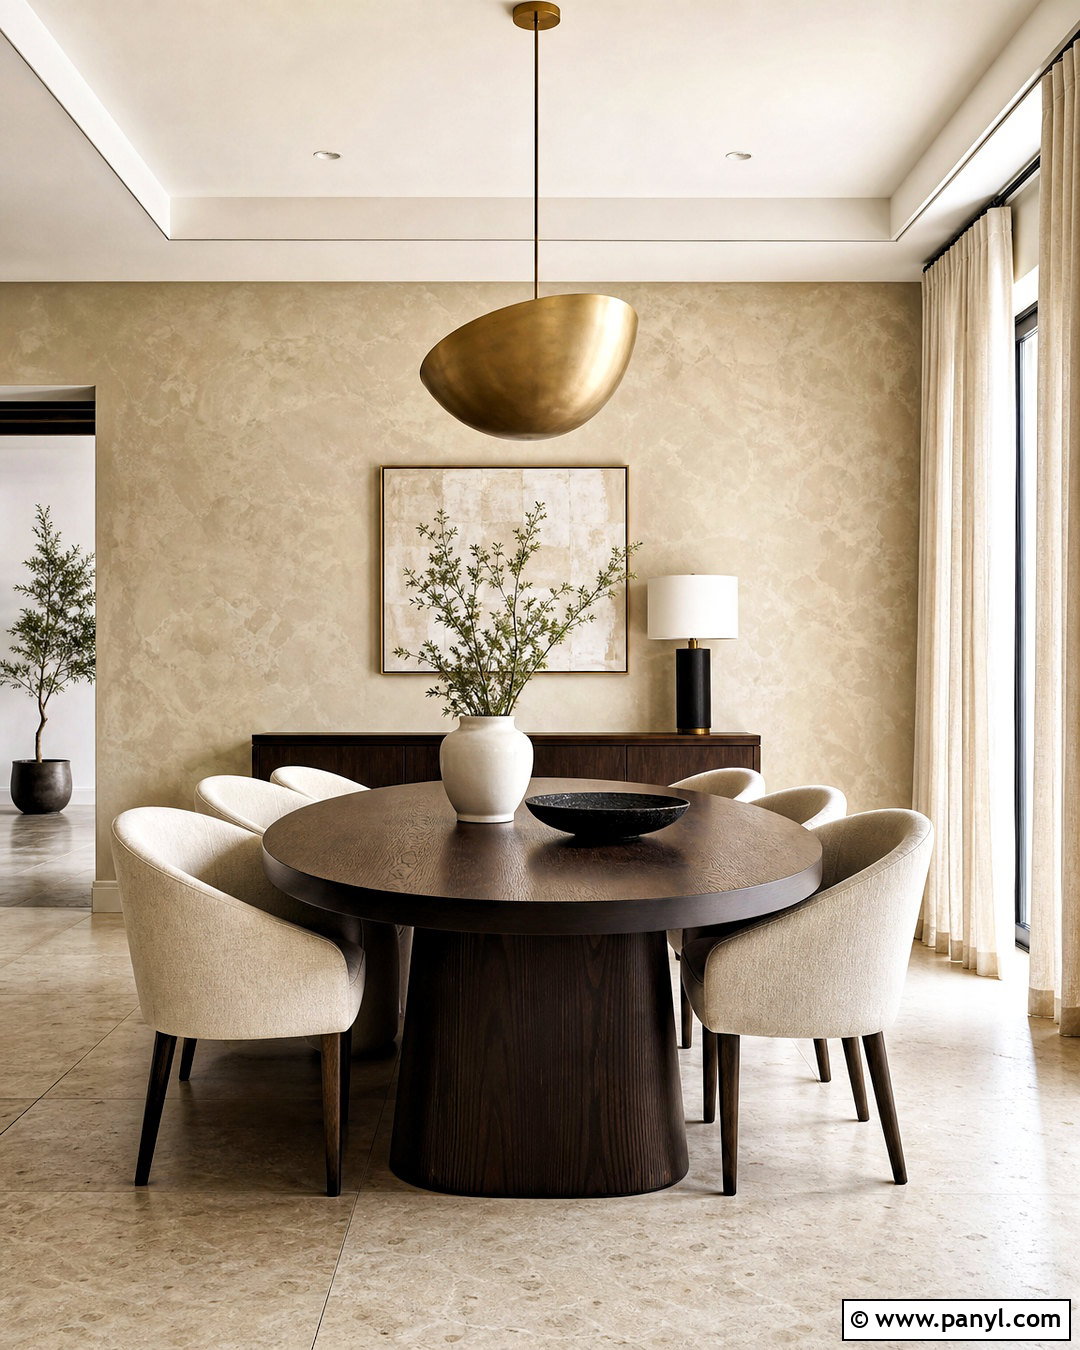
Venetian plaster creates a refined surface with compressed layers, subtle movement, and gentle sheen. Apply several very thin coats with a clean stainless-steel trowel, changing the direction of each stroke. Allow the layers to dry as directed, then burnish the final coat if the selected plaster system calls for it. Rounded tool edges help reduce accidental lines and scratches. This finish is best suited to a carefully prepared focal wall because surface flaws can remain visible beneath the polished layers. Design an elegant dining room around warm ivory plaster, a dark oak oval table, curved cream chairs, a sculptural brass pendant, and simple linen drapery. The restrained furniture allows the softly reflective wall to become the room’s main decorative feature.
13. Roman Clay Wall Texture
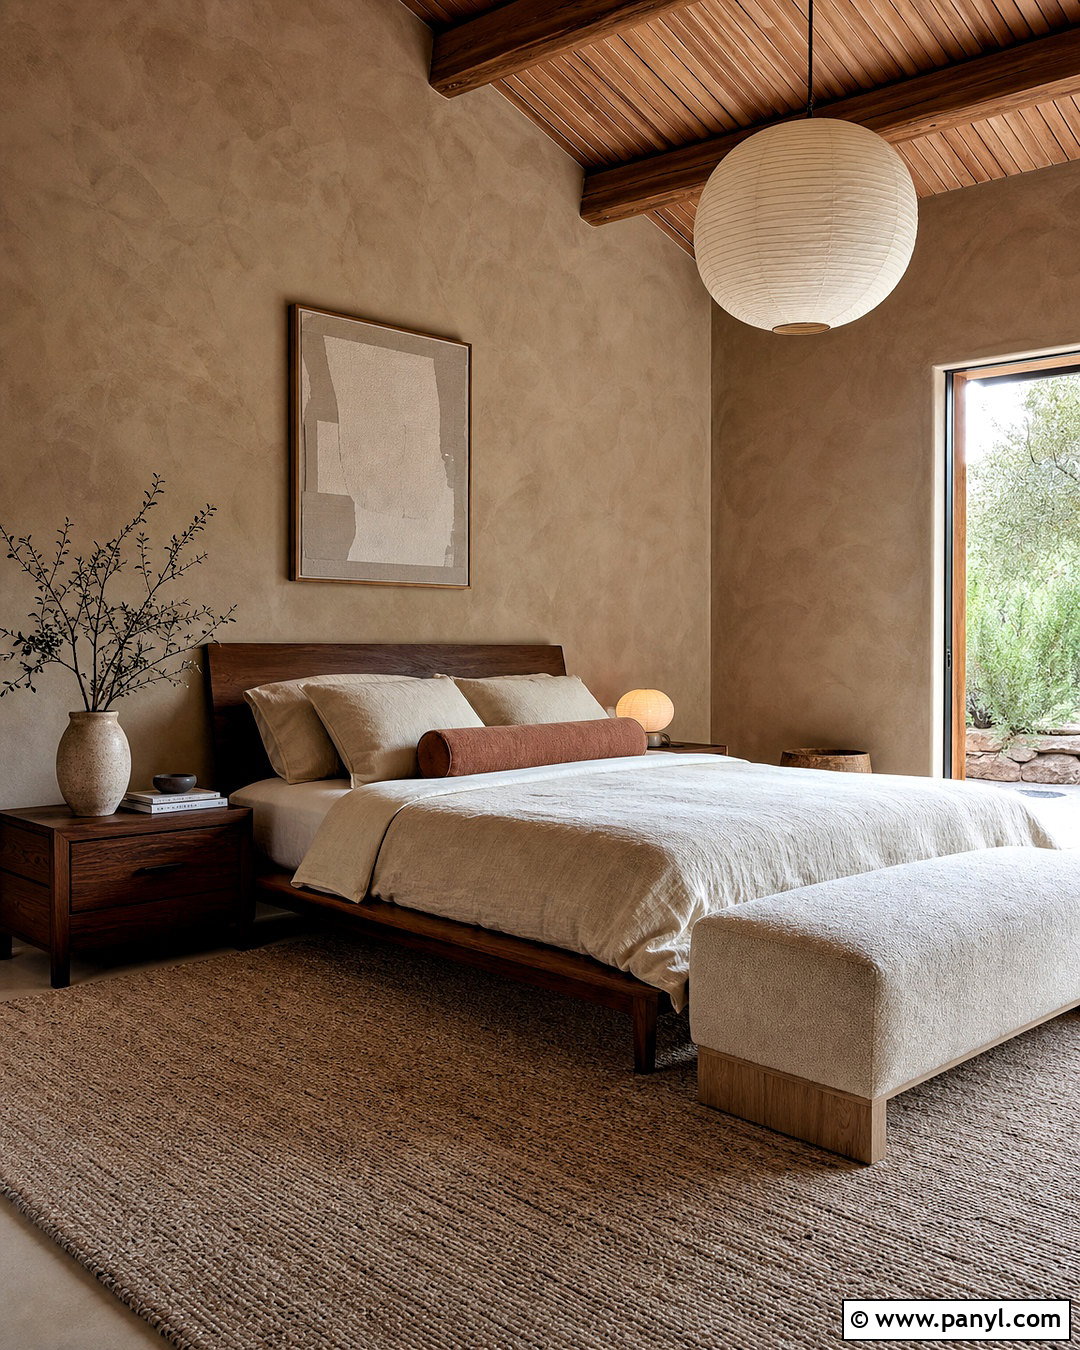
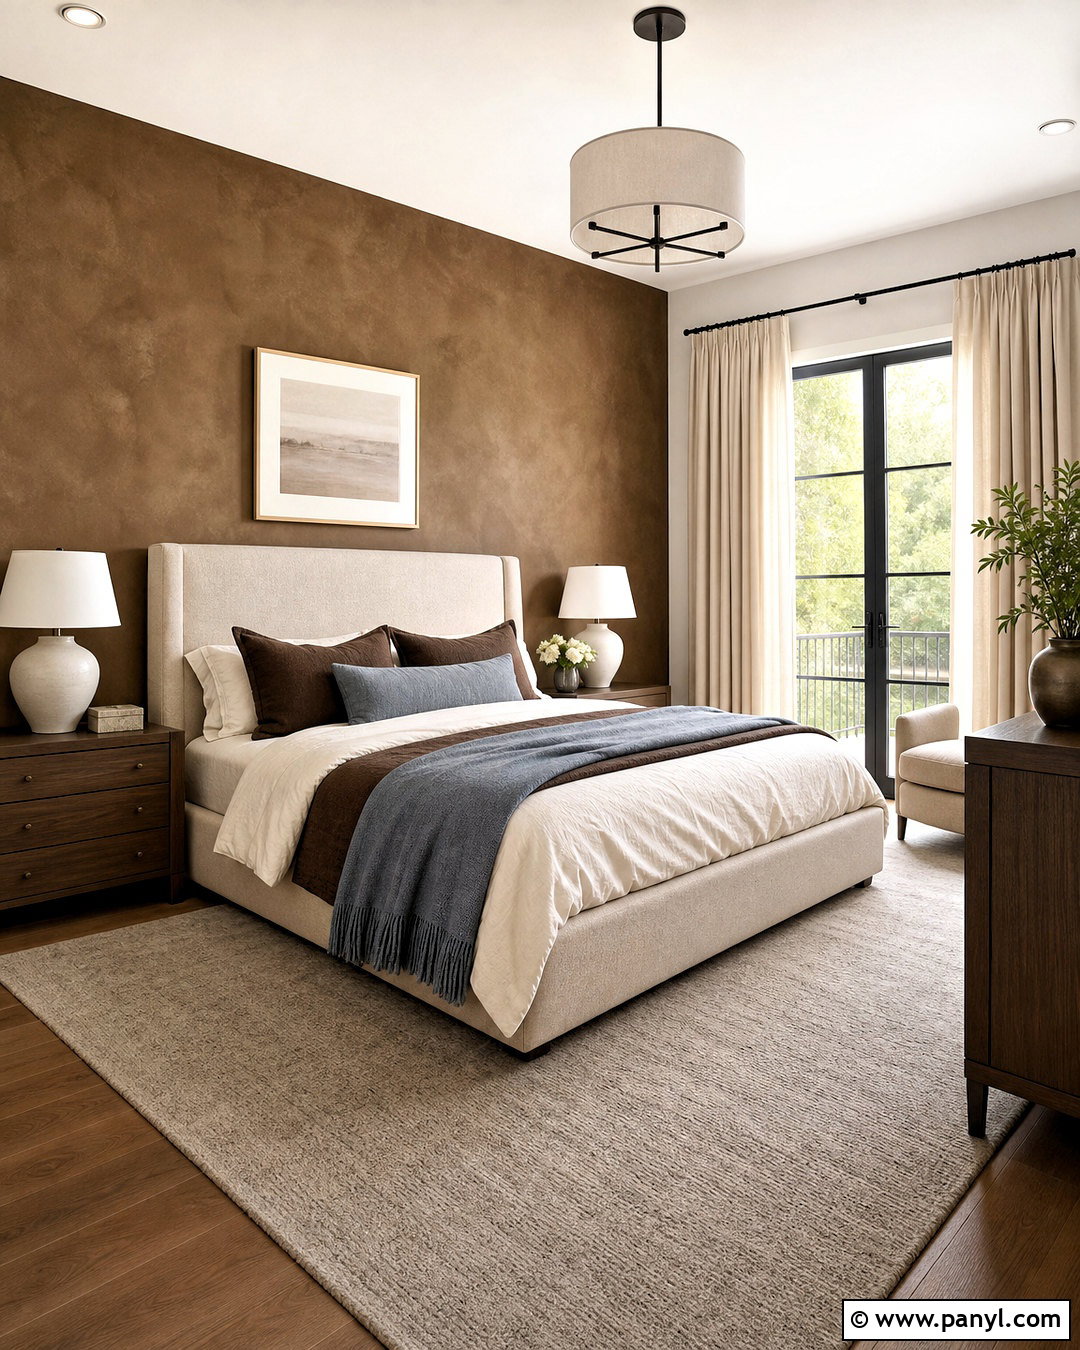
Roman clay produces a matte, softly mottled finish that feels quieter than polished Venetian plaster. Use the manufacturer’s recommended primer, then spread the clay in thin, overlapping strokes with a small putty knife or trowel. Change your stroke length and direction to build natural movement instead of obvious repeated marks. Once dry, apply another light coat to deepen the variation. Choose a warm taupe finish for a calm primary bedroom. Pair it with a low walnut bed, oatmeal linen bedding, wool carpet, paper lantern lighting, and a narrow upholstered bench. The complete palette should stay tonal, using cream, brown, and muted clay accents. This approach makes the textured wall feel intentional while preserving the peaceful mood needed in a sleeping space.
14. Concrete Effect Wall Texture
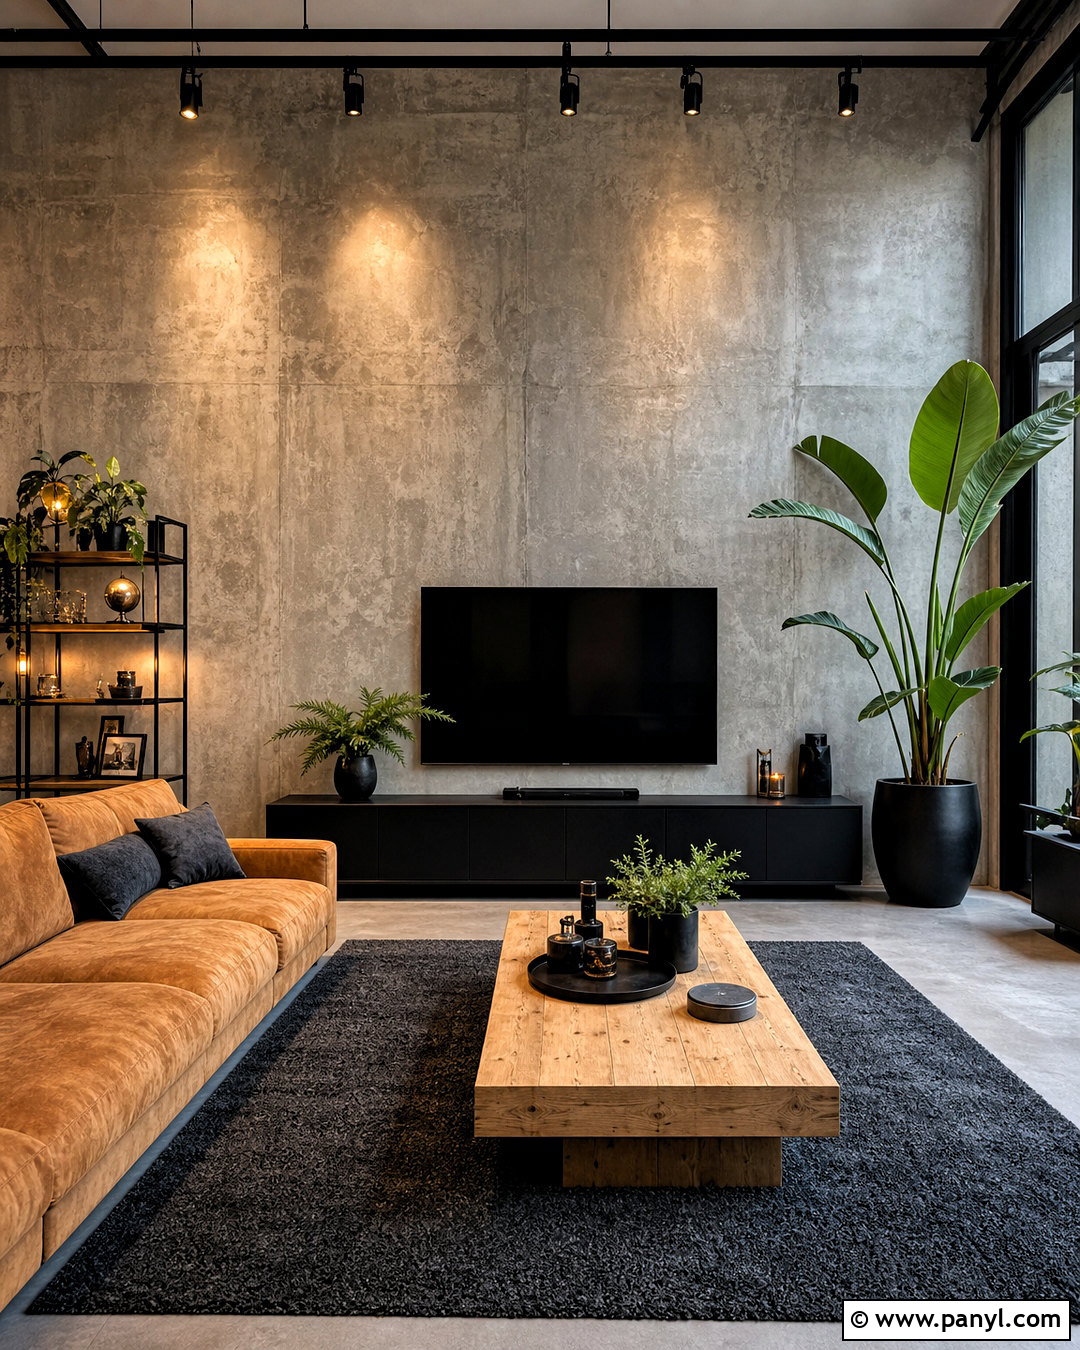
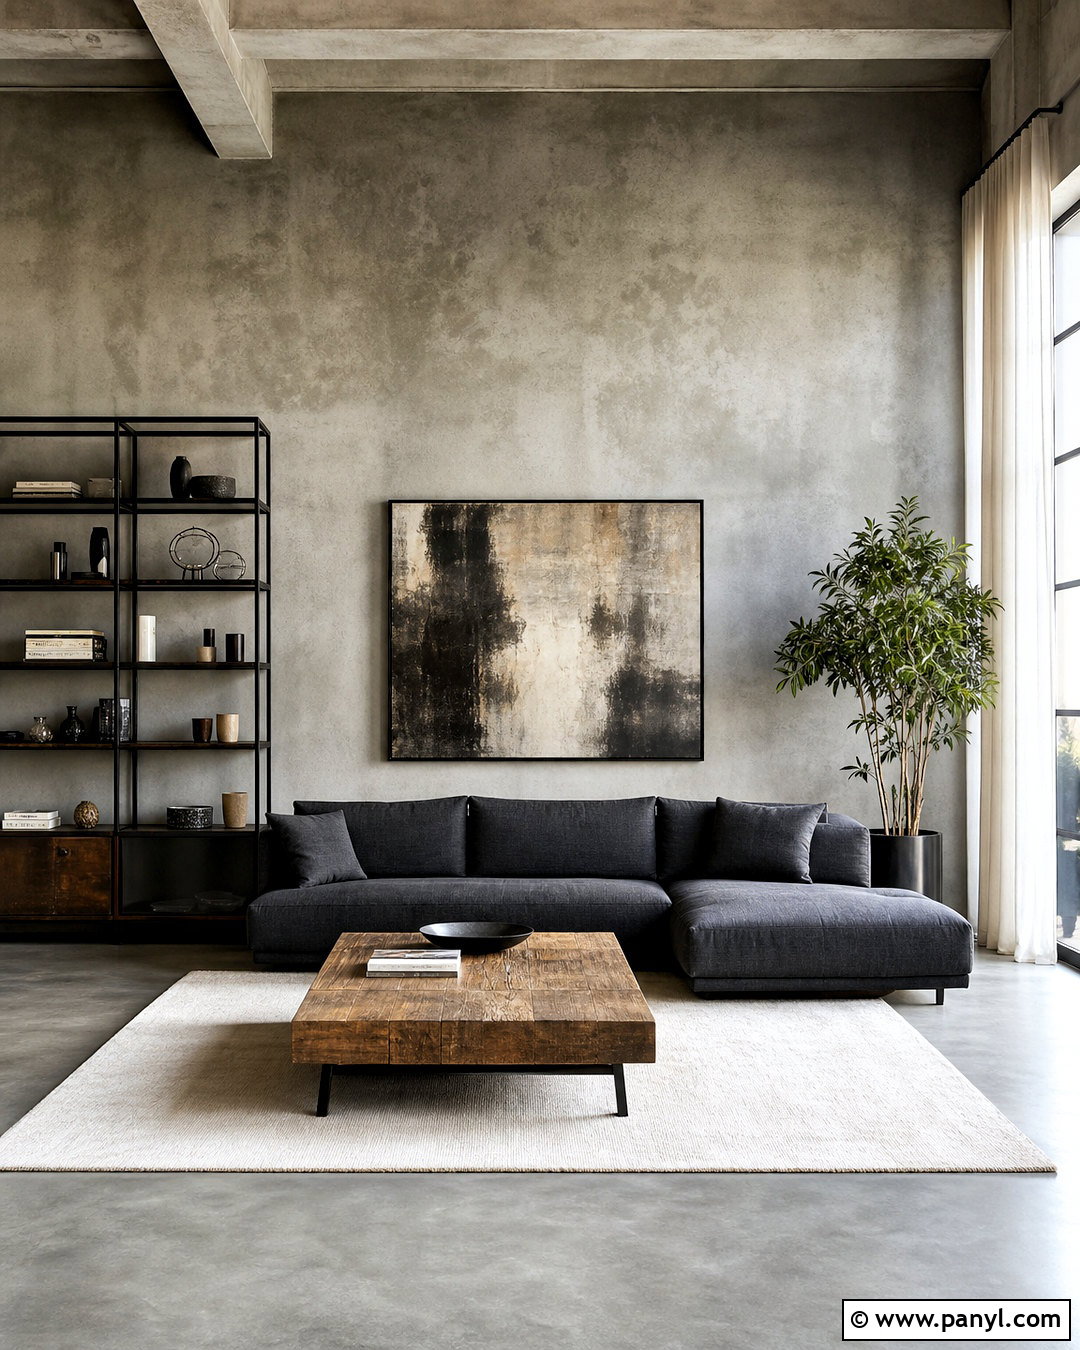
A concrete-effect wall can give an ordinary room modern architectural character without exposing actual structural concrete. Cover a smooth, primed feature wall with a compatible gray plaster or concrete-look compound. Use a broad trowel to create sweeping irregular marks, alternating lighter and darker gray tones. Flatten sharp ridges so the finished wall remains practical to dust and maintain. Avoid making every section equally mottled; larger quiet areas keep the effect believable. Build an industrial living room with the concrete wall behind a low black media cabinet. Add a camel sofa, pale oak coffee table, charcoal wool rug, matte black track lighting, and a few large green plants. Warm wood and upholstery prevent the gray finish from making the room feel cold.
15. Popcorn Wall Texture
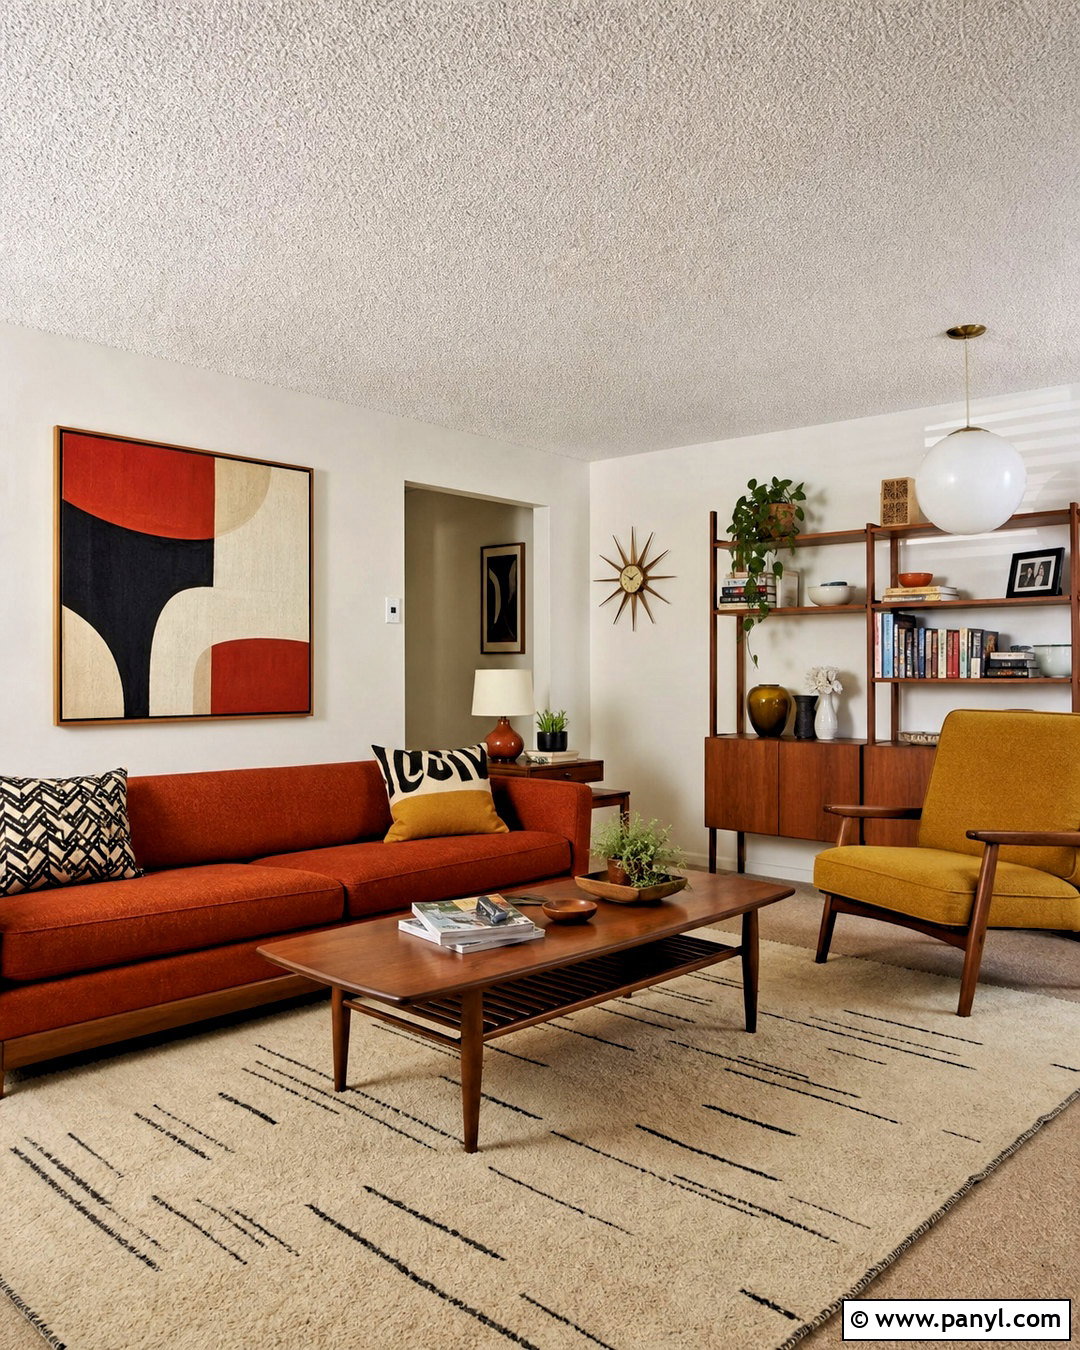
Popcorn texture creates a highly raised, granular surface that hides flaws but collects more dust than finer finishes. It is generally more appropriate for a ceiling or a deliberately retro accent than every wall in a room. Apply a modern texture product with a hopper sprayer after thoroughly masking the surrounding area. Test the material flow and spray pattern before beginning, then use steady overlapping passes. Never scrape or sand an unknown older textured coating without first determining whether it contains asbestos, since disturbing asbestos-containing materials can release fibers. () For a playful midcentury den, use popcorn texture on the ceiling with smooth warm white walls, a rust-colored sofa, walnut furniture, geometric textiles, and a globe pendant.
16. Faux Brick Wall Texture
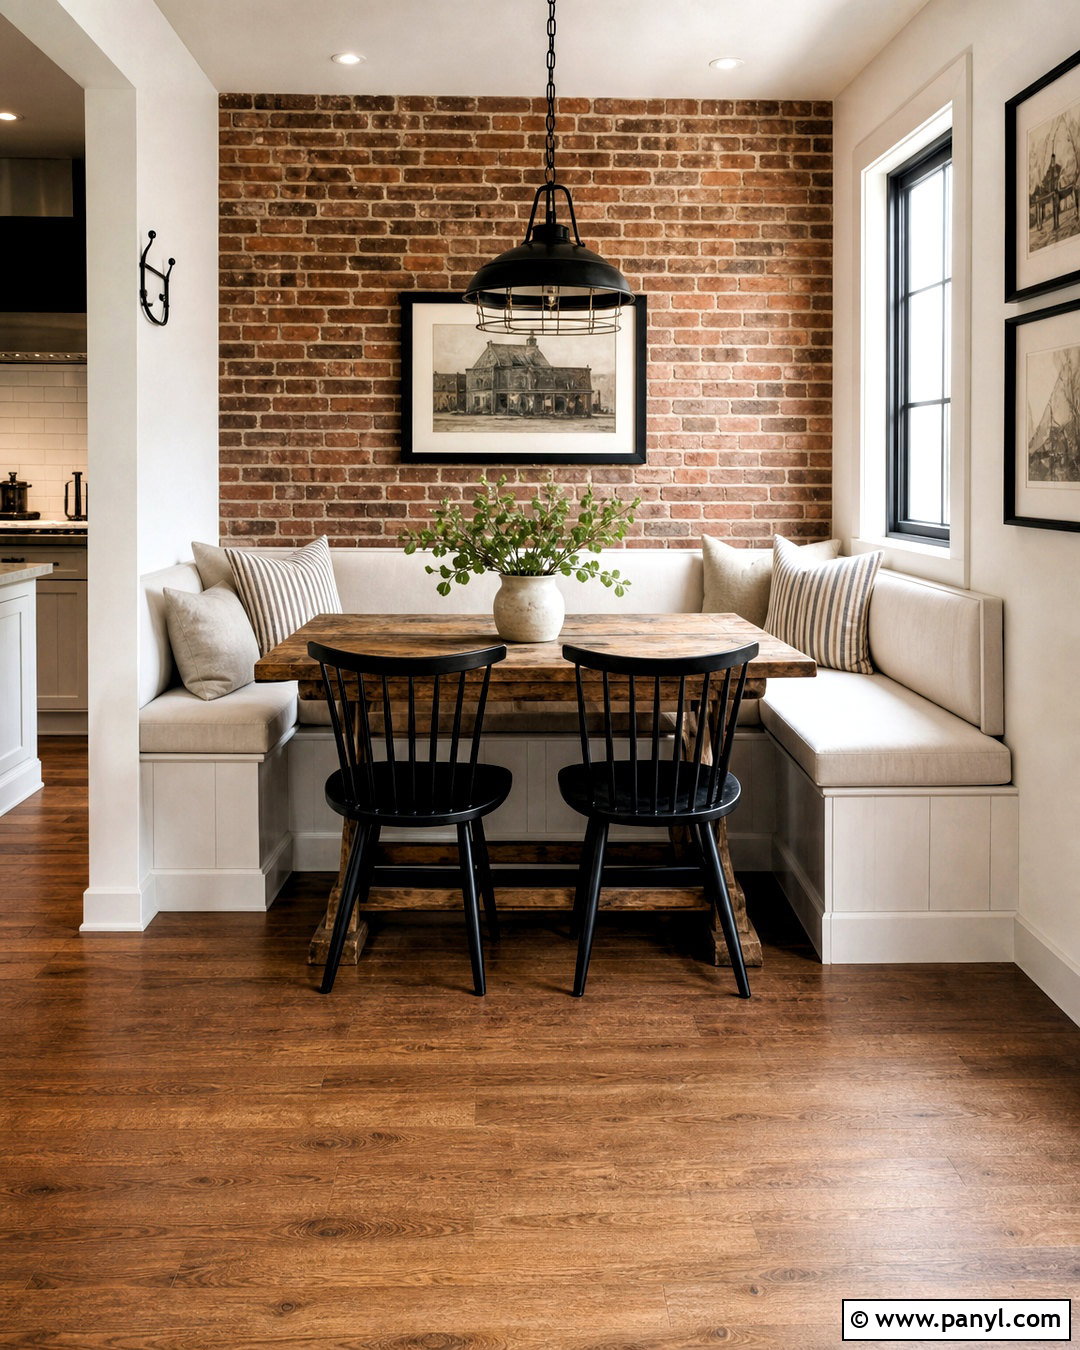
Faux brick adds strong dimensional texture and works best when the entire room supports its architectural character. Install lightweight brick veneer or realistic brick panels on a clean, level feature wall, following the product’s fastening and adhesive directions. Stagger joints naturally and finish gaps with coordinating mortar or caulk so the sections read as one continuous surface. Brick facades can require professional installation when cutting, alignment, or masonry work exceeds your experience. () Use warm red and brown brick behind a dining banquette. Add black spindle chairs, a reclaimed oak table, cream cushions, and a simple iron pendant. Keep adjacent walls warm white and flooring medium brown to integrate the textured feature rather than making it appear added as an afterthought.
17. Grasscloth Wall Texture
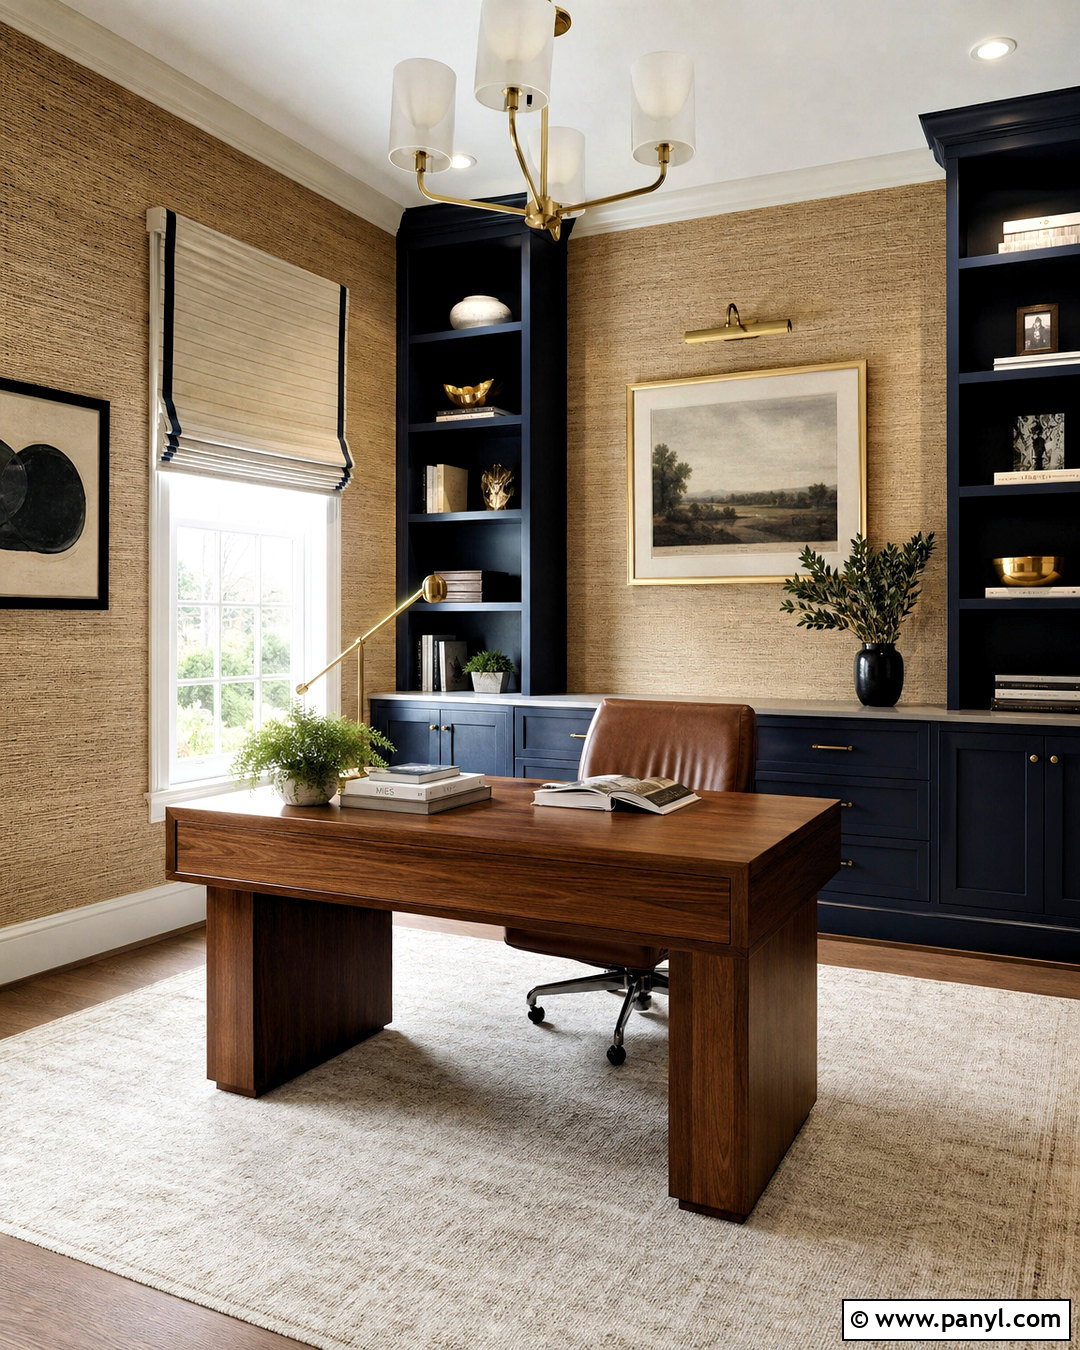
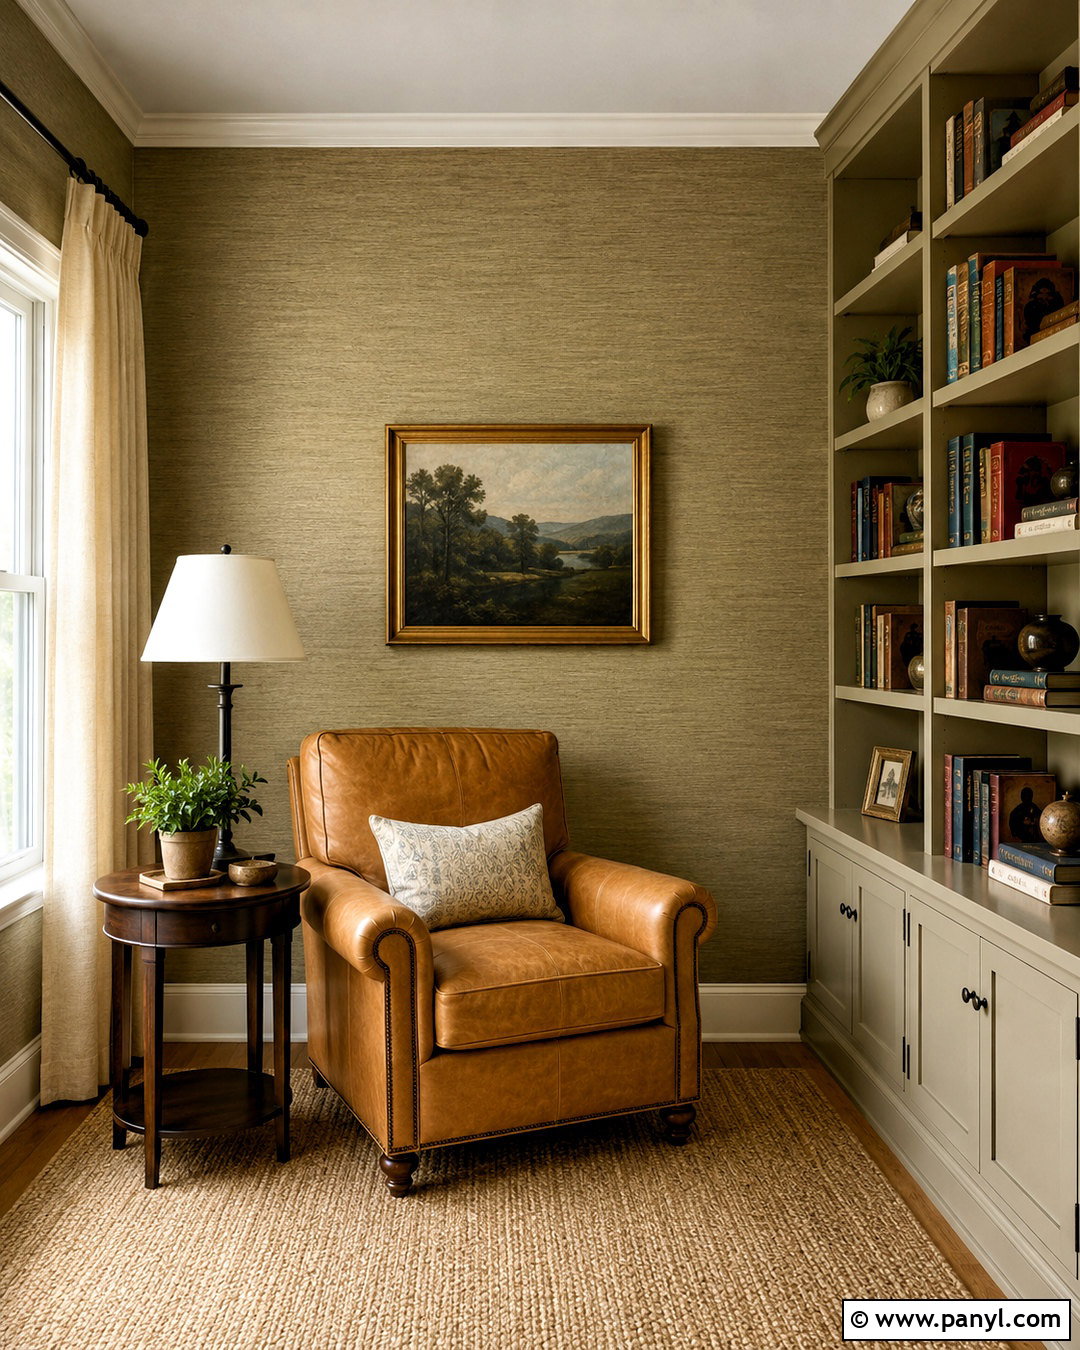
Grasscloth wallpaper brings woven texture and gentle color variation to walls without wet plaster or drywall compound. Because natural fibers can show visible panel seams, treat those lines as part of the finished design. Start with a smooth, clean, properly primed surface and follow the wallpaper manufacturer’s adhesive and hanging instructions. Keep the material away from areas with frequent splashes or heavy moisture unless the product is rated for those conditions. Grasscloth is commonly used to add warmth and tactile interest to bedrooms, living rooms, and dining spaces. () Cover a home office in natural tan grasscloth, then add dark blue built-in cabinets, a walnut desk, cream Roman shade, and aged brass lighting. The contrast creates a layered, professional workspace.
18. Fluted Wood Wall Texture
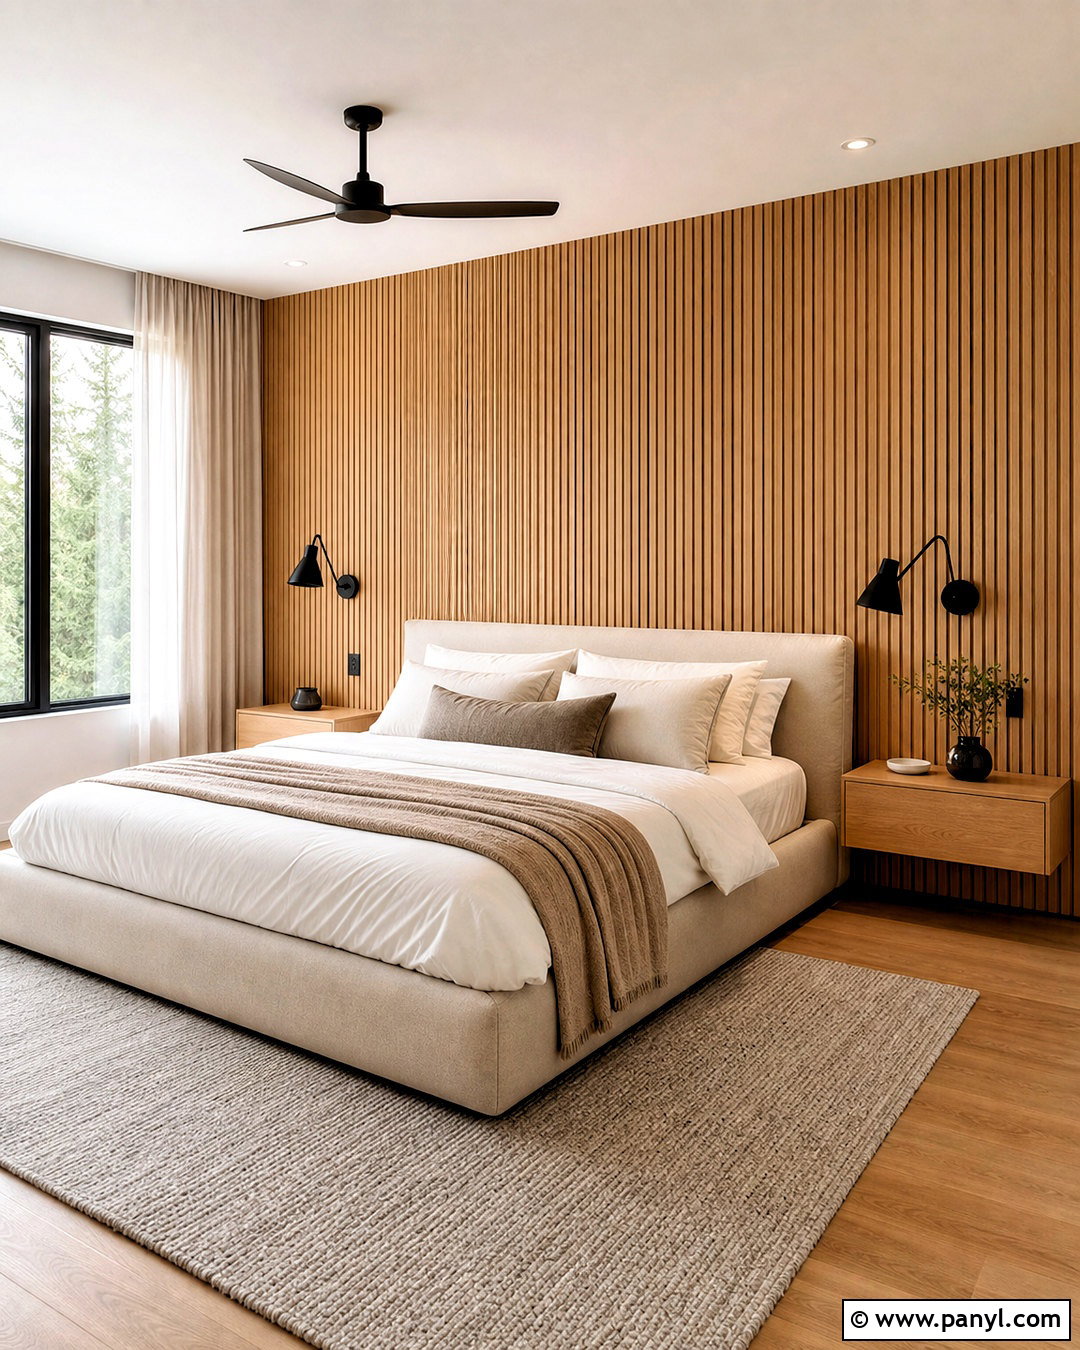
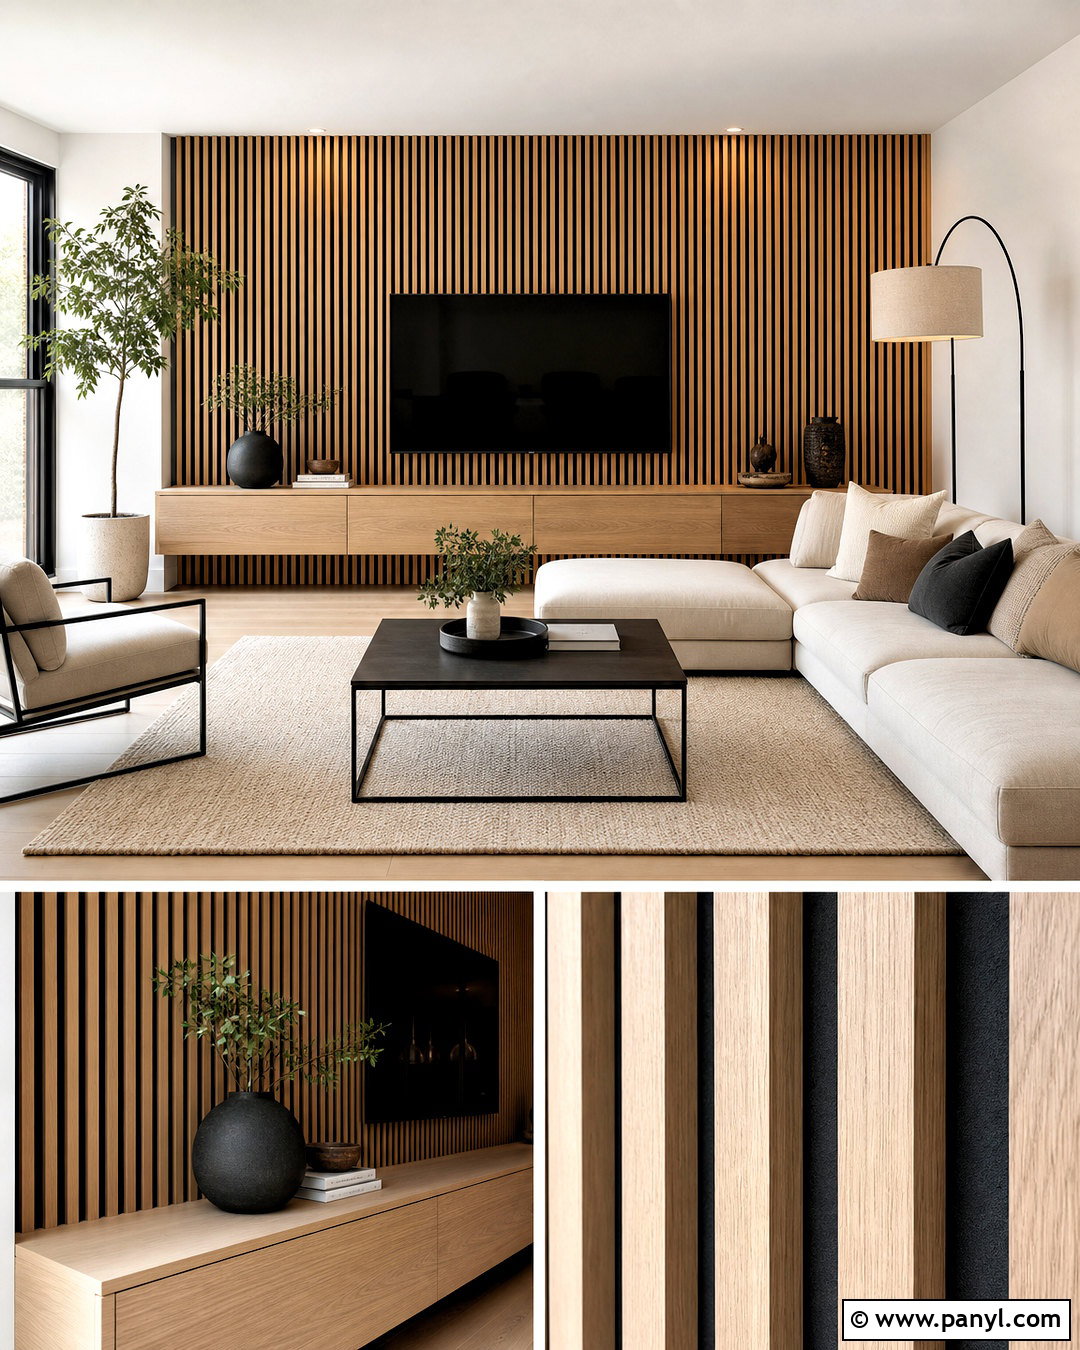
Vertical fluted wood panels introduce rhythm, warmth, and noticeable dimension to a contemporary room. Install narrow oak slats or premade fluted panels across a prepared feature wall, checking each section with a level. Continue the treatment from baseboard to ceiling for a clean architectural result. Conceal panel joints carefully and finish the wood with a clear matte coating or light stain. In a modern bedroom, place the fluted wall behind a low upholstered bed so it functions as an oversized headboard. Use natural white oak, warm white bedding, soft gray carpet, black wall-mounted reading lights, and floating nightstands. Leave generous open space around the bed. This simple arrangement prevents the repeated grooves from feeling visually crowded and showcases the wood grain.
19. Board And Batten Wall Texture
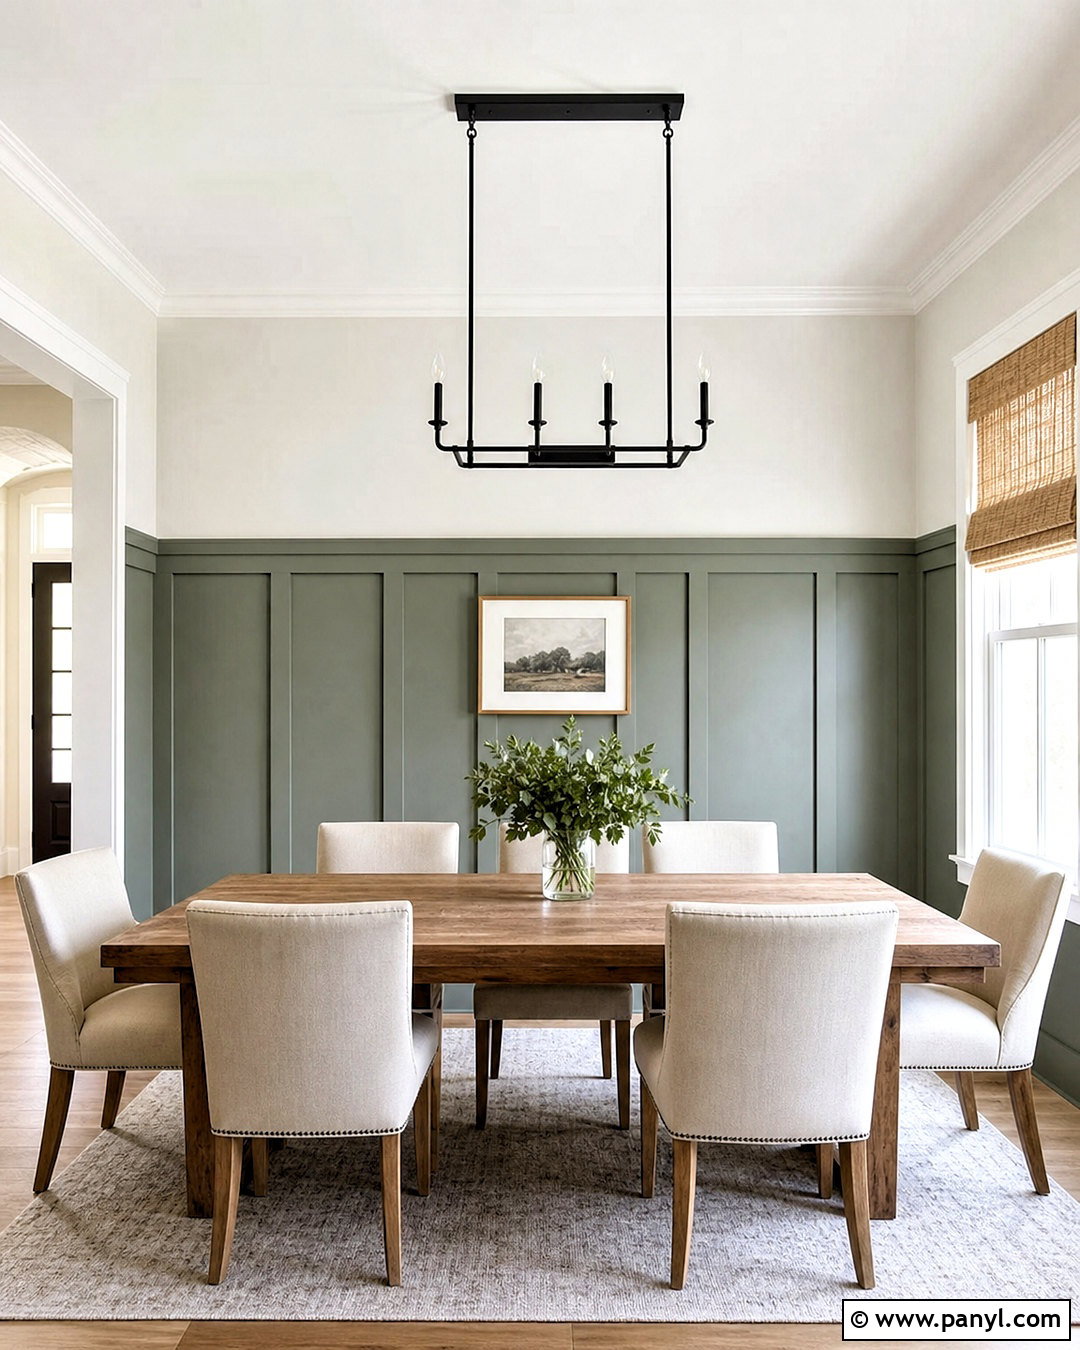
Board and batten adds structured dimension while remaining simple enough for many weekend projects. Plan the spacing around doors, windows, outlets, and furniture before cutting any trim. Attach smooth vertical battens over a level base treatment, fill the fastener holes, caulk the edges, and prime everything before painting. Extending the treatment about two-thirds of the way up the wall can make a dining room feel grounded without visually lowering the ceiling. Paint the molding muted sage green and keep the upper wall soft white. Complete the look with a medium oak dining table, cream upholstered chairs, woven natural shades, and a black linear chandelier. Consistent spacing and a limited color palette give this traditional wall texture a fresh, uncluttered appearance.
20. Peel And Stick Textured Wall
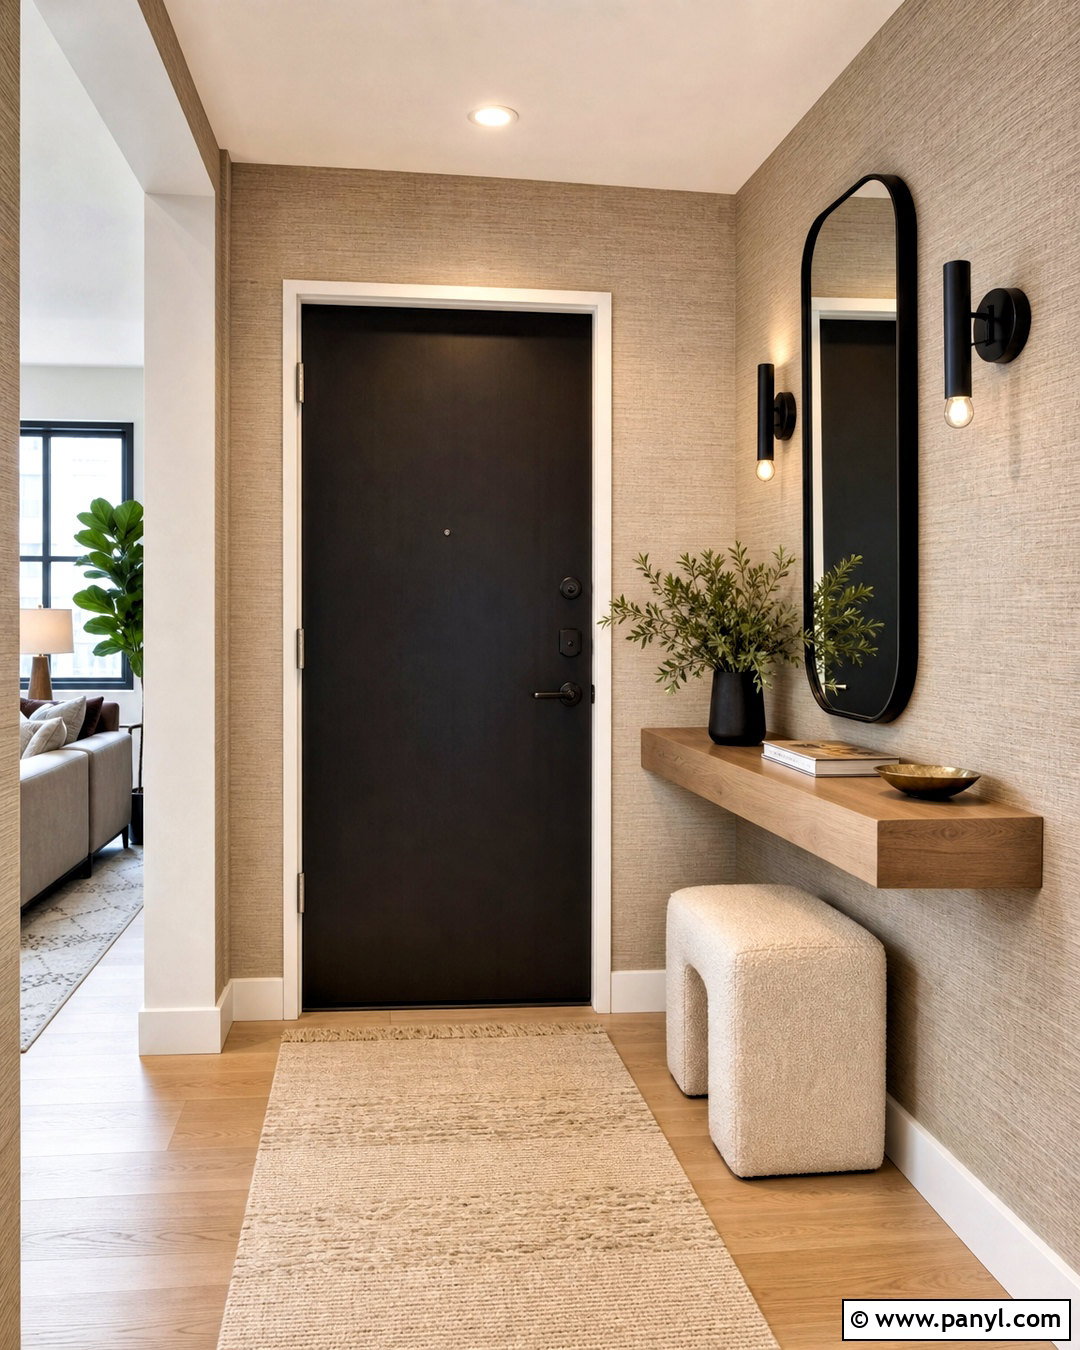
Renters and hesitant DIYers can create removable texture with peel-and-stick panels or embossed wallpaper. Select a design with believable depth, such as white linen, pale wood slats, painted brick, or fine plaster. Clean the wall and let it dry before testing a small hidden section for adhesion and removability. Measure carefully, align the first panel with a level, and smooth outward to reduce bubbles. Removable textured wallpaper offers a practical alternative when permanent compound, plaster, or molding is not suitable. () Create a compact apartment entry with warm greige linen-textured wallpaper, a floating oak shelf, rounded black mirror, narrow upholstered stool, and wall-mounted lighting. Repeating only a few materials makes the temporary treatment look purposeful and integrated.
Conclusion:
The right texture can change how an entire room looks, feels, and responds to light. Begin by considering the surface condition, your experience, and how easily the finish must be cleaned or repaired. Sprayed and rolled textures are useful for broad coverage, while plaster, clay, wood, and wallpaper deliver more decorative character. Always prepare the wall carefully and test unfamiliar tools or products on a sample panel. Keep the surrounding furniture, colors, lighting, and materials coordinated with the texture so the result feels like a complete design. Whether you prefer subtle orange peel or dramatic fluted wood, these 20 how to texture a wall ideas offer practical options for creating a more dimensional, personalized home.

Related Ideas and Inspiration:
Leave a Reply