
Red skull on textured background ideas can range from raw grunge artwork to polished metallic compositions, depending on the mood you want to create. The strongest designs treat the skull, texture, color palette, and lighting as one connected visual. Rough concrete can create an industrial effect, while cracked plaster feels aged and dramatic. Canvas fibers, rusted metal, distressed paper, and weathered wood introduce different levels of depth without distracting from the central shape. Red can also shift from vivid scarlet to dark crimson, brick red, or muted burgundy. Thoughtful contrast keeps every detail readable and gives the artwork a clear focal point. Explore the complete compositions below to find distinctive, practical **red skull on textured background ideas**.

1. Red Skull On Black Concrete Background
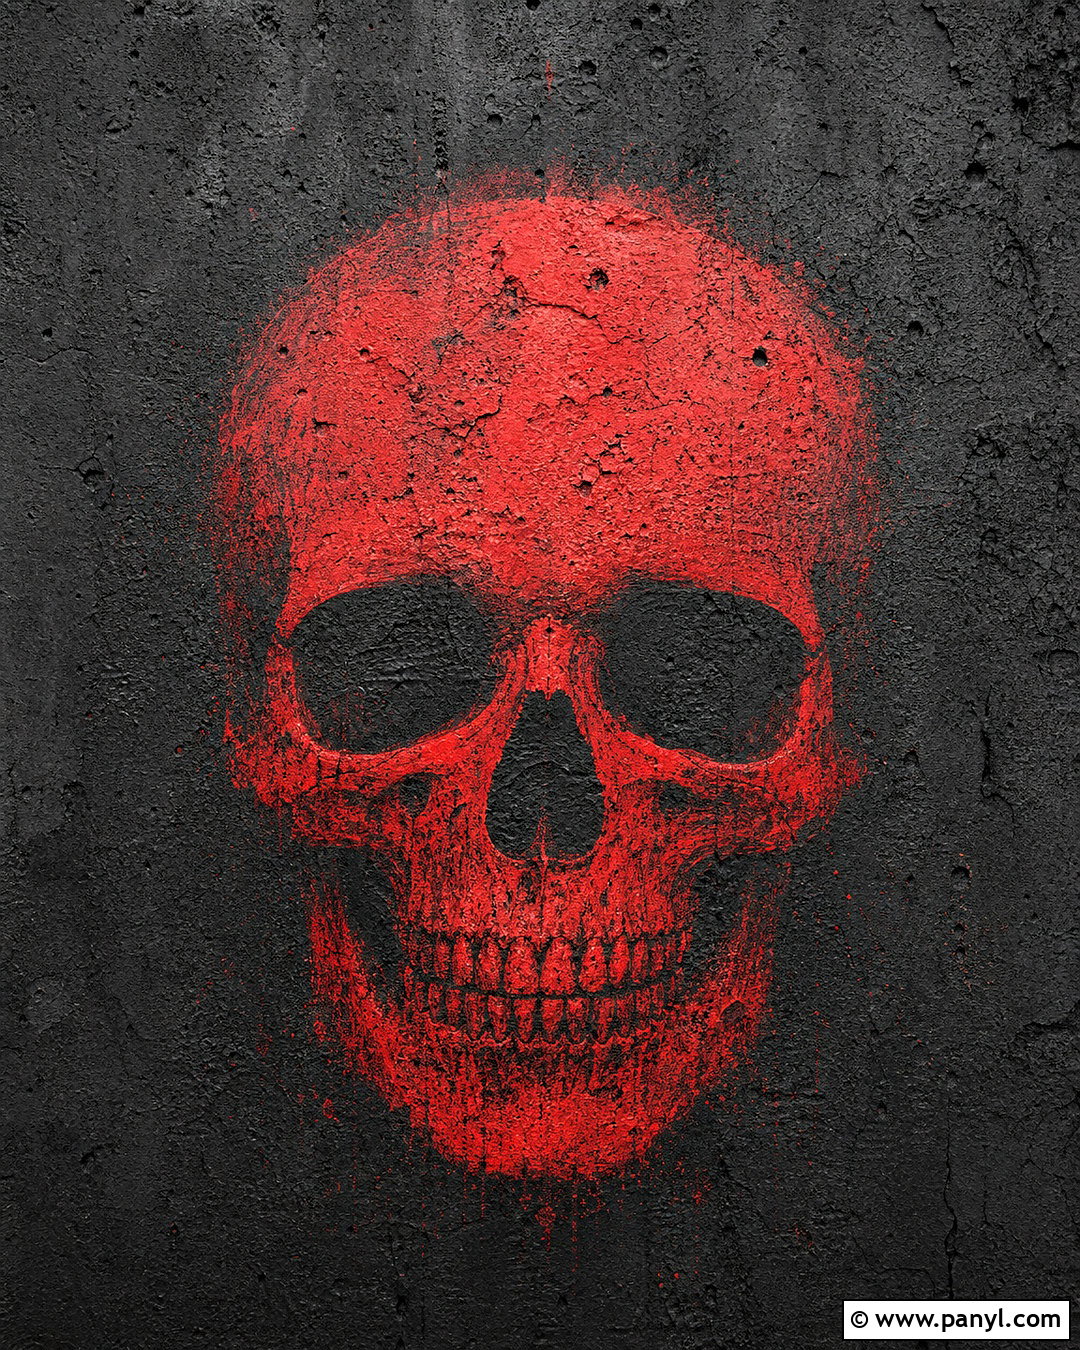
A vivid red skull becomes especially striking when centered on a rough black concrete background. Use a matte crimson finish across the forehead and cheekbones, then deepen the eye sockets, nasal opening, and jawline with charcoal shading. The concrete should include subtle pores, hairline cracks, and uneven gray patches rather than a completely flat black surface. Place a faded red halo behind the skull to separate its outline from the darkest areas. Keep the composition symmetrical, with generous negative space around the subject for a strong poster-like appearance. Small worn edges can make the skull feel screen-printed onto an old industrial wall. Controlled highlights across the brow and teeth will add dimension without making the design glossy.
2. Red Skull On Cracked Plaster Background
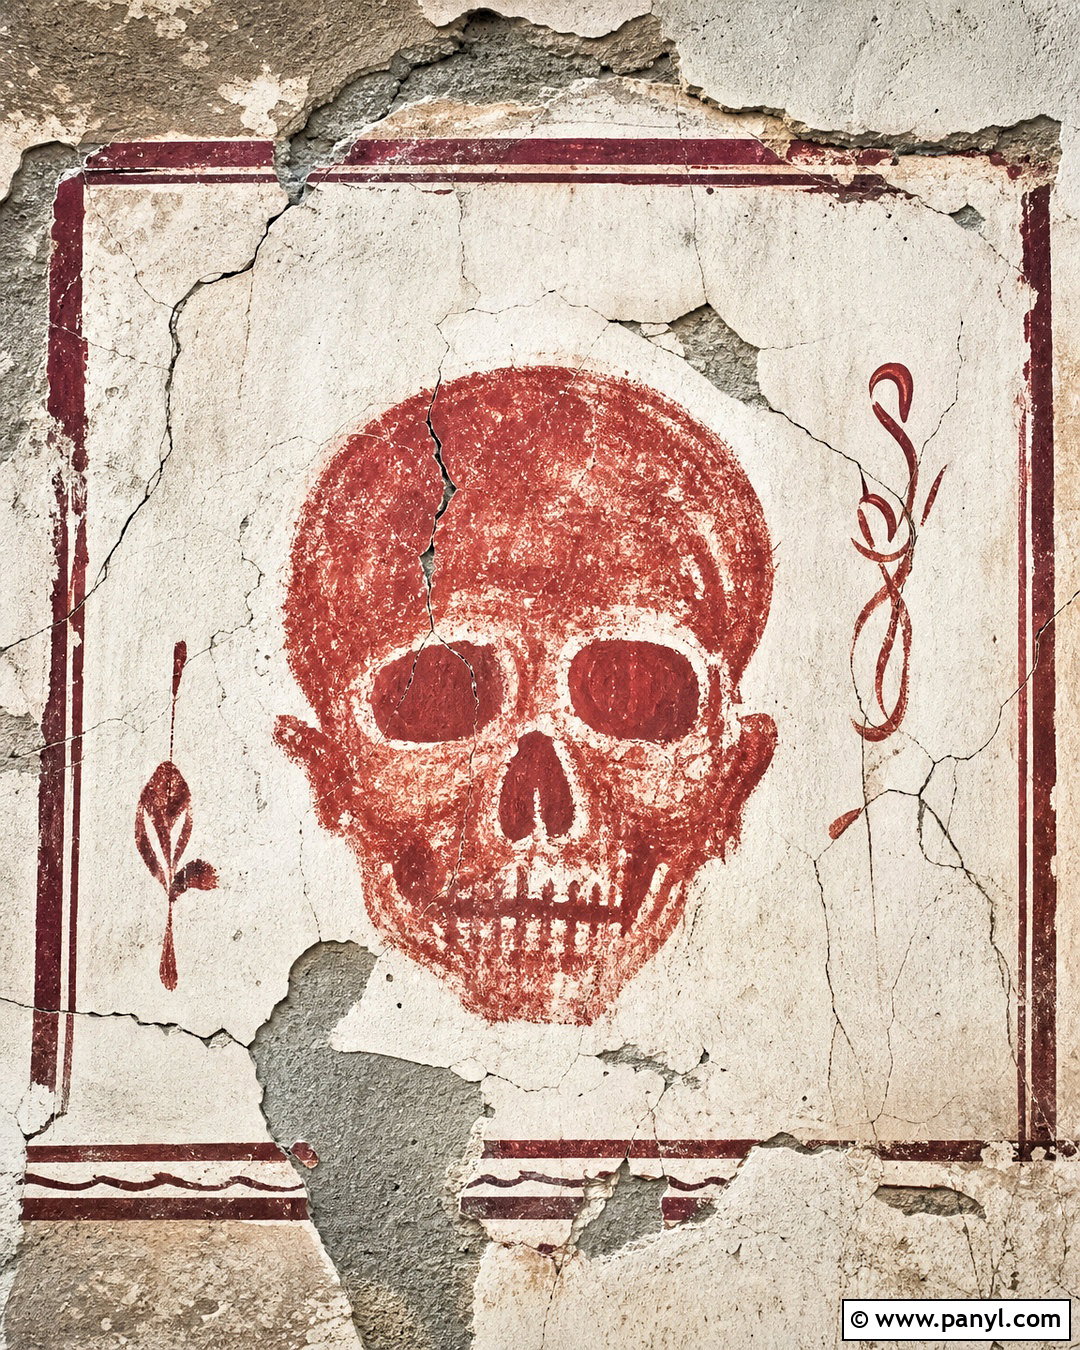
Cracked plaster gives a red skull composition an aged, architectural character. Start with a warm off-white background layered with chipped sections, thin fractures, and exposed gray undercoat. Place a deep brick-red skull slightly above the center so the jaw does not feel crowded near the bottom. Its surface can have a dry, chalky finish that connects naturally with the plaster. Allow a few background cracks to visually continue behind the skull, but avoid crossing important facial details. Faint burgundy brush marks around the outer contour create separation and movement. Add gentle side lighting to emphasize raised plaster edges and shallow depressions. The finished design should feel like a rediscovered wall mural rather than a newly printed graphic.
3. Red Skull On Rusted Metal Background
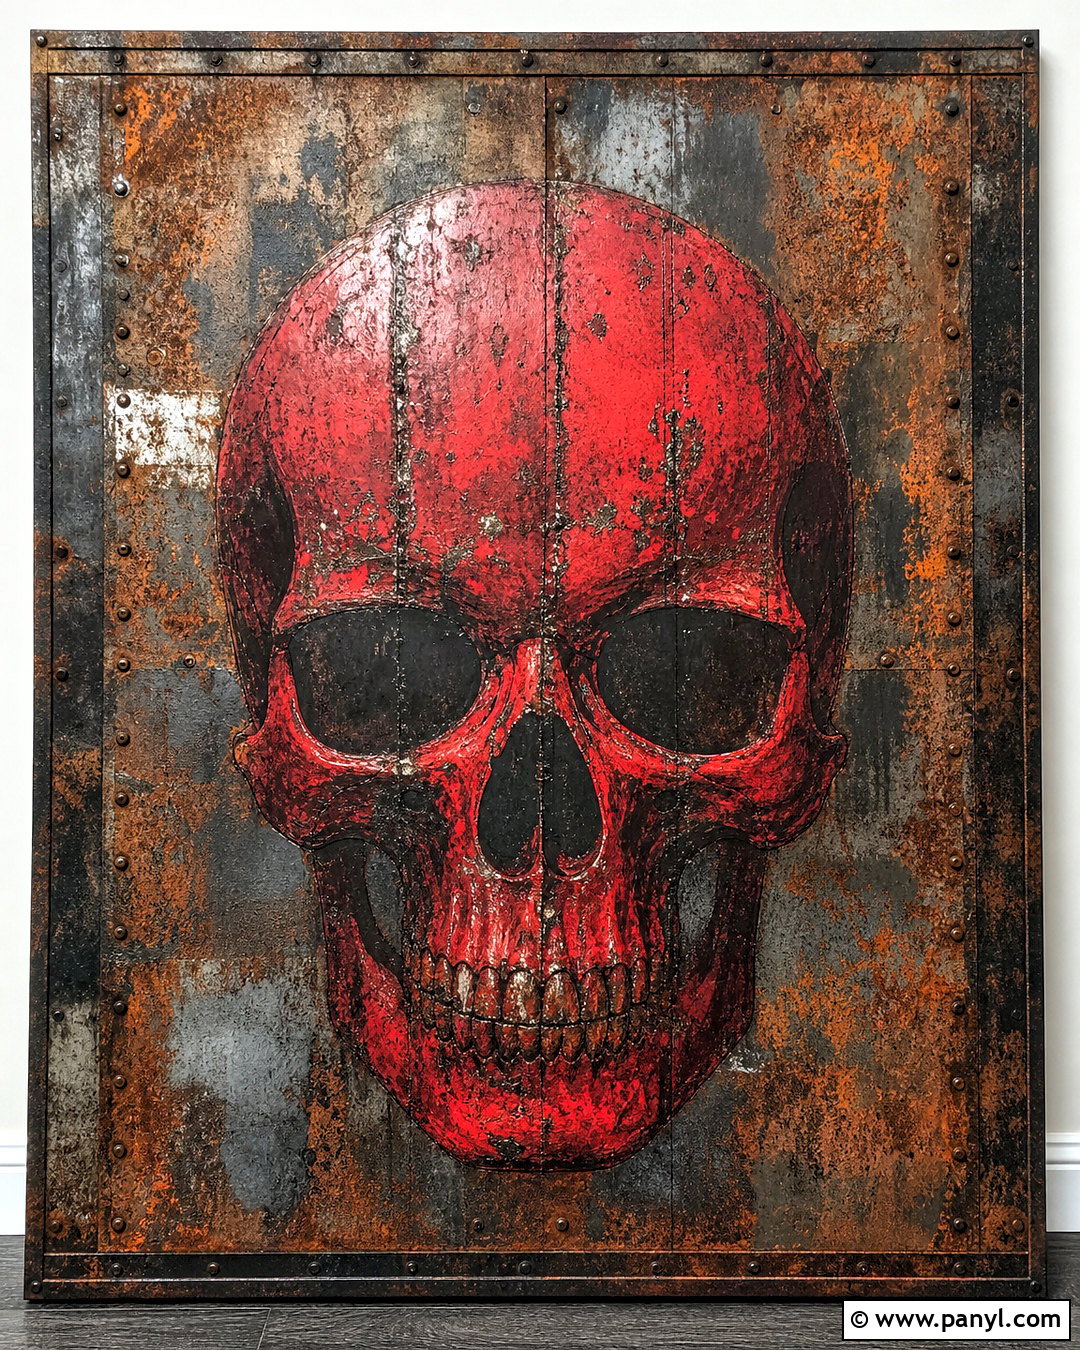
For a bold industrial composition, combine a dark red skull with layered rusted metal. Build the background from oxidized brown, burnt orange, charcoal, and muted steel-gray patches. Rivets or panel seams near the edges can suggest an old metal plate without overwhelming the focal point. Give the skull a weathered crimson finish with small scratches that reveal dark metal beneath. A narrow black shadow around its silhouette will help it stand apart from the busy surface. Position the skull centrally and keep the strongest rust colors away from the eye sockets, where they could reduce clarity. Brushed steel highlights on the forehead and teeth can add dimension. The overall result feels rugged, balanced, and convincingly timeworn.
4. Red Skull On Distressed Paper Background
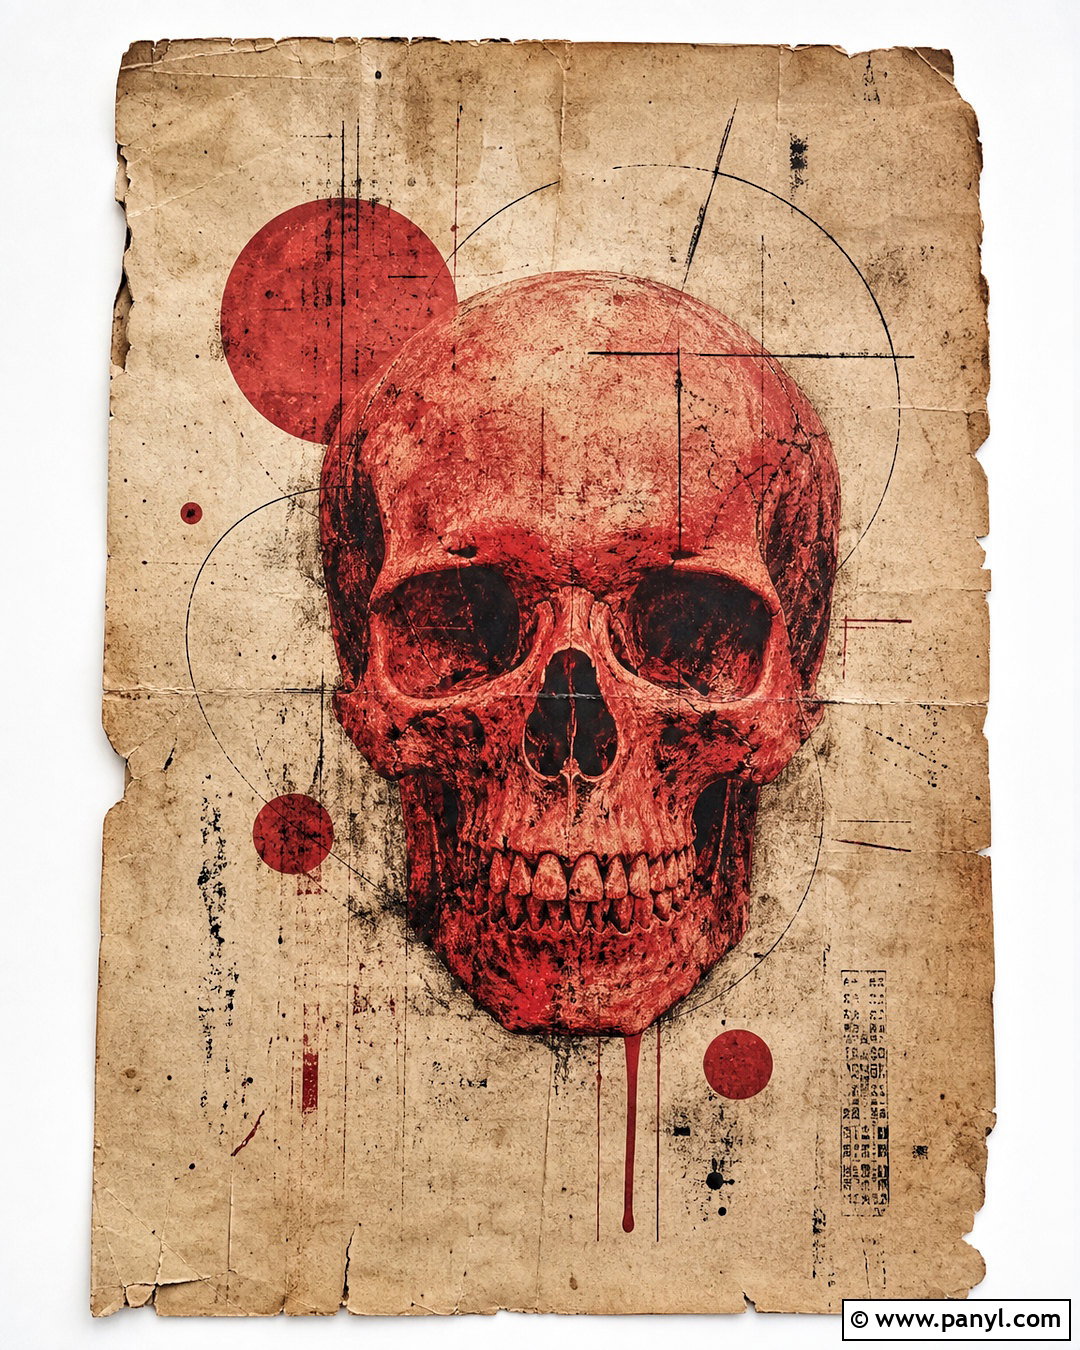
A distressed paper background creates a vintage print look that feels detailed without becoming visually heavy. Choose warm beige paper with torn edges, subtle folds, foxed corners, and faded charcoal marks. The skull should be printed in muted crimson using rough ink coverage, leaving tiny gaps that reveal the paper fibers underneath. Add an uneven black outline around selected areas, especially the temples, teeth, and lower jaw. Light red stamps, circles, or abstract marks can sit behind the subject, but keep them nonverbal and partially faded. An off-center placement adds the character of an old handmade poster. Soft, even lighting preserves the paper texture while keeping the red skull crisp, readable, and clearly dominant.
5. Red Skull On Weathered Wood Background
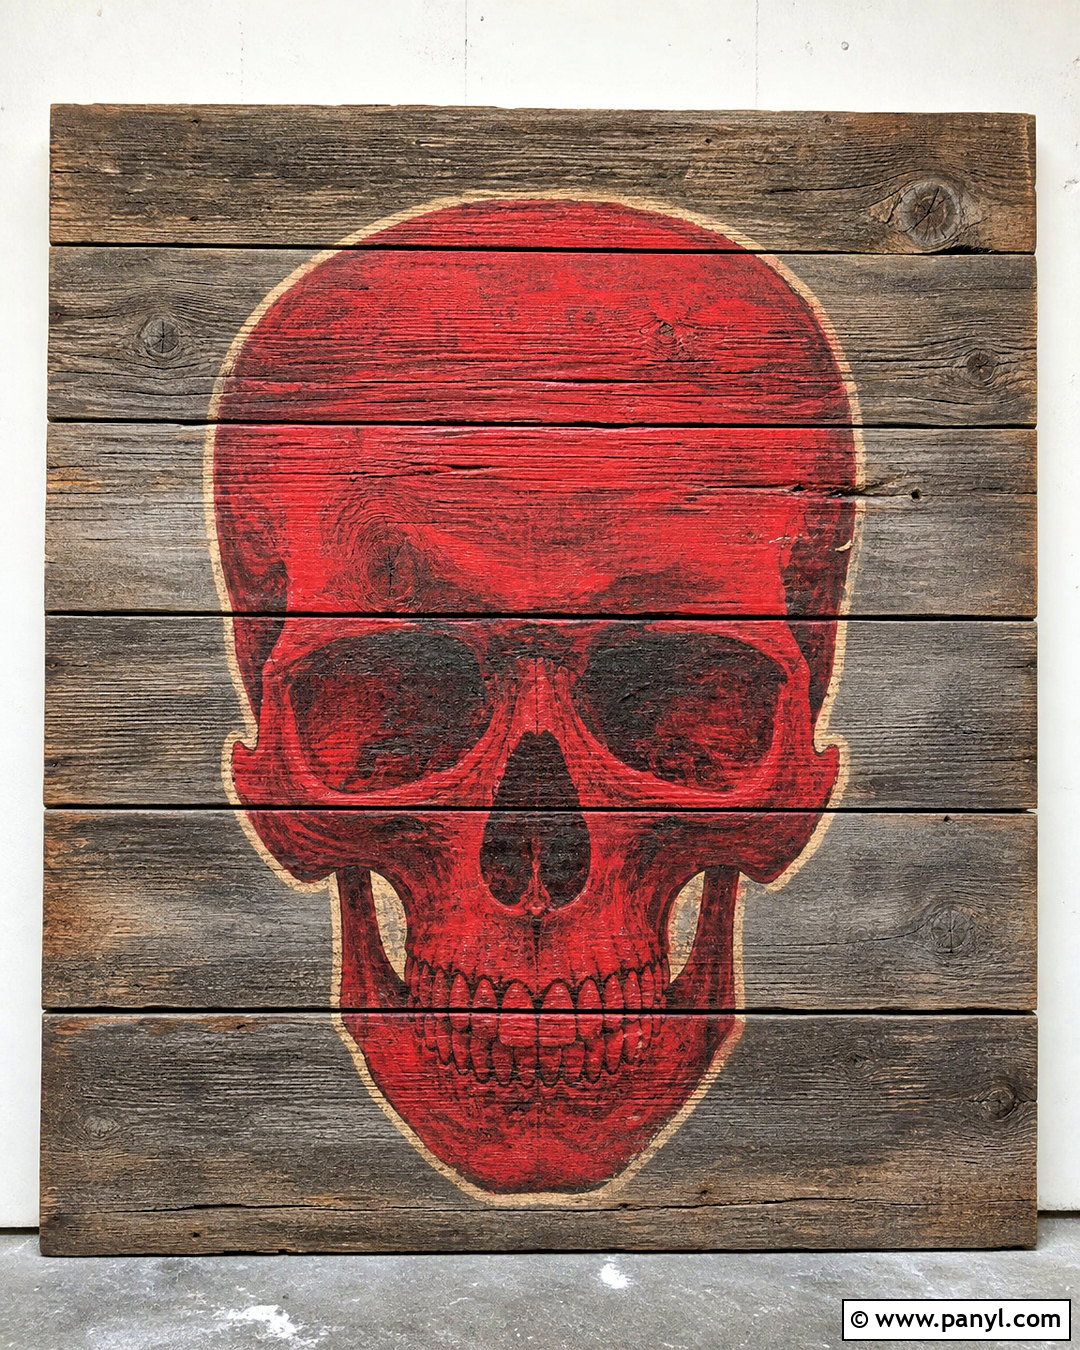
Weathered wood adds warmth and natural texture to an otherwise edgy red skull design. Arrange horizontal boards in faded gray-brown tones, with visible grain, knots, narrow gaps, and worn paint along the edges. Paint the skull in rich barn red, allowing the timber grain to remain visible through parts of the color. Slightly distressed edges will make the image appear naturally aged rather than digitally placed. A thin cream outline can provide contrast where the skull crosses darker knots or board seams. Keep additional decoration minimal so the wood remains an active part of the composition. Balanced front lighting should reveal the grain and chipped finish clearly. This complete look works particularly well as rustic studio or workshop wall art.
6. Red Skull On Grunge Canvas Background
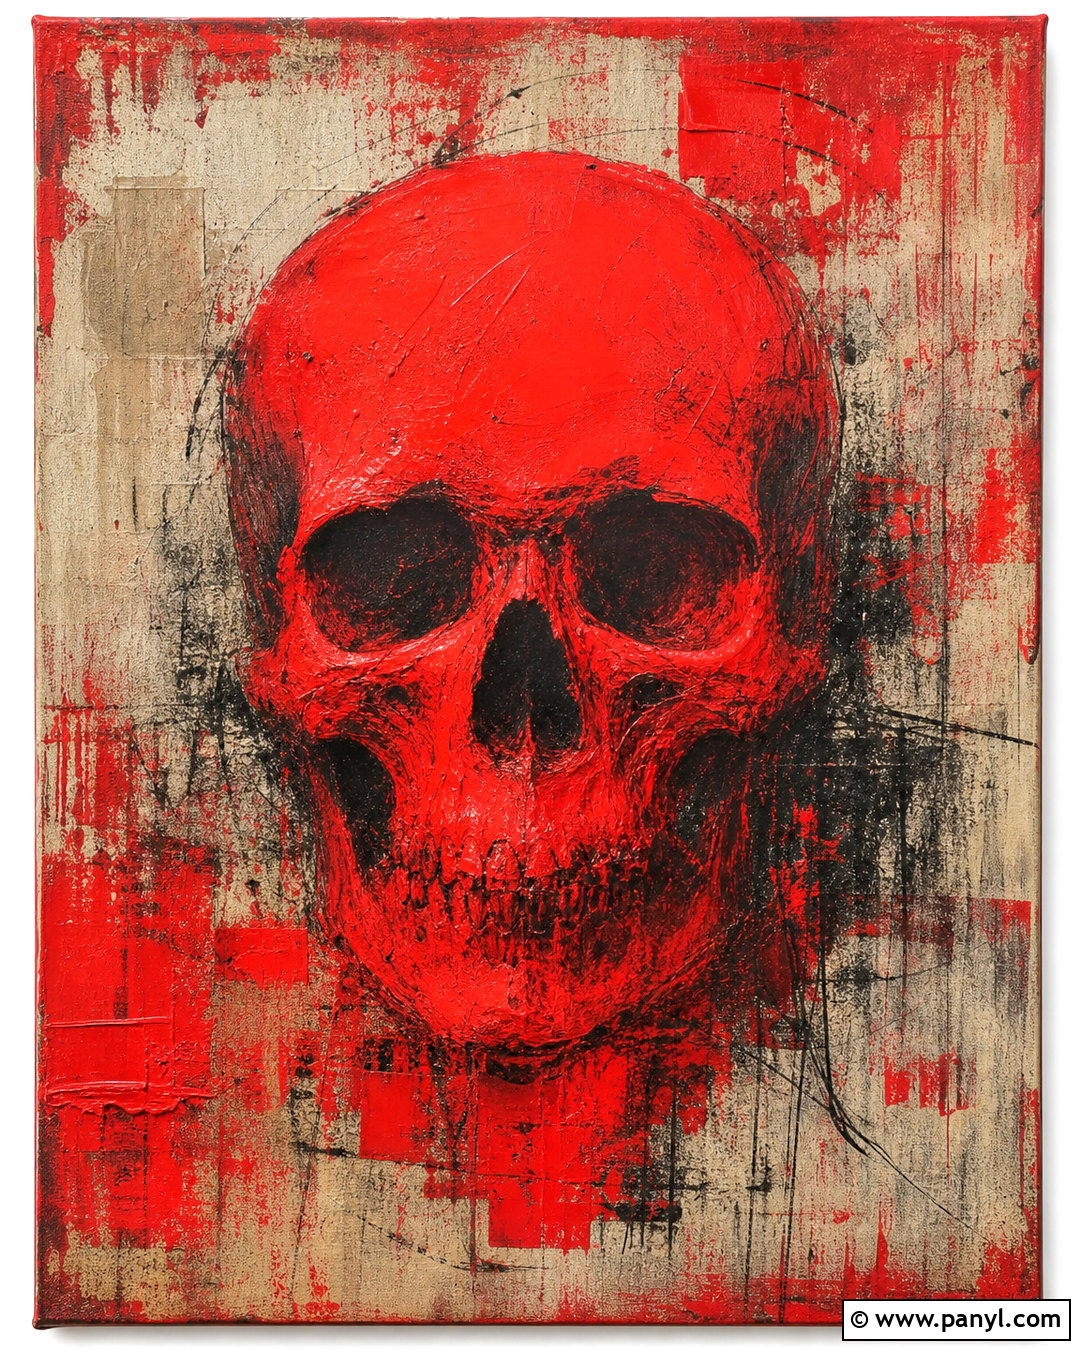
Could a simple canvas texture make a red skull feel more artistic and tactile? Begin with a stretched canvas covered in layered charcoal, warm gray, and faded black brushwork. Leave visible fibers and dry-brushed sections around the perimeter. Paint the skull in saturated scarlet with darker crimson shading beneath the cheekbones and inside the eye sockets. Use loose black strokes around the outer shape to create energy without hiding the silhouette. Small areas of scraped paint can expose the natural canvas color below. Keep the face centered but slightly tilted for a less formal arrangement. Bright directional lighting should show raised pigment and woven texture. The finished artwork feels expressive, handmade, and suitable for a contemporary creative space.
7. Red Skull On Peeling Paint Background
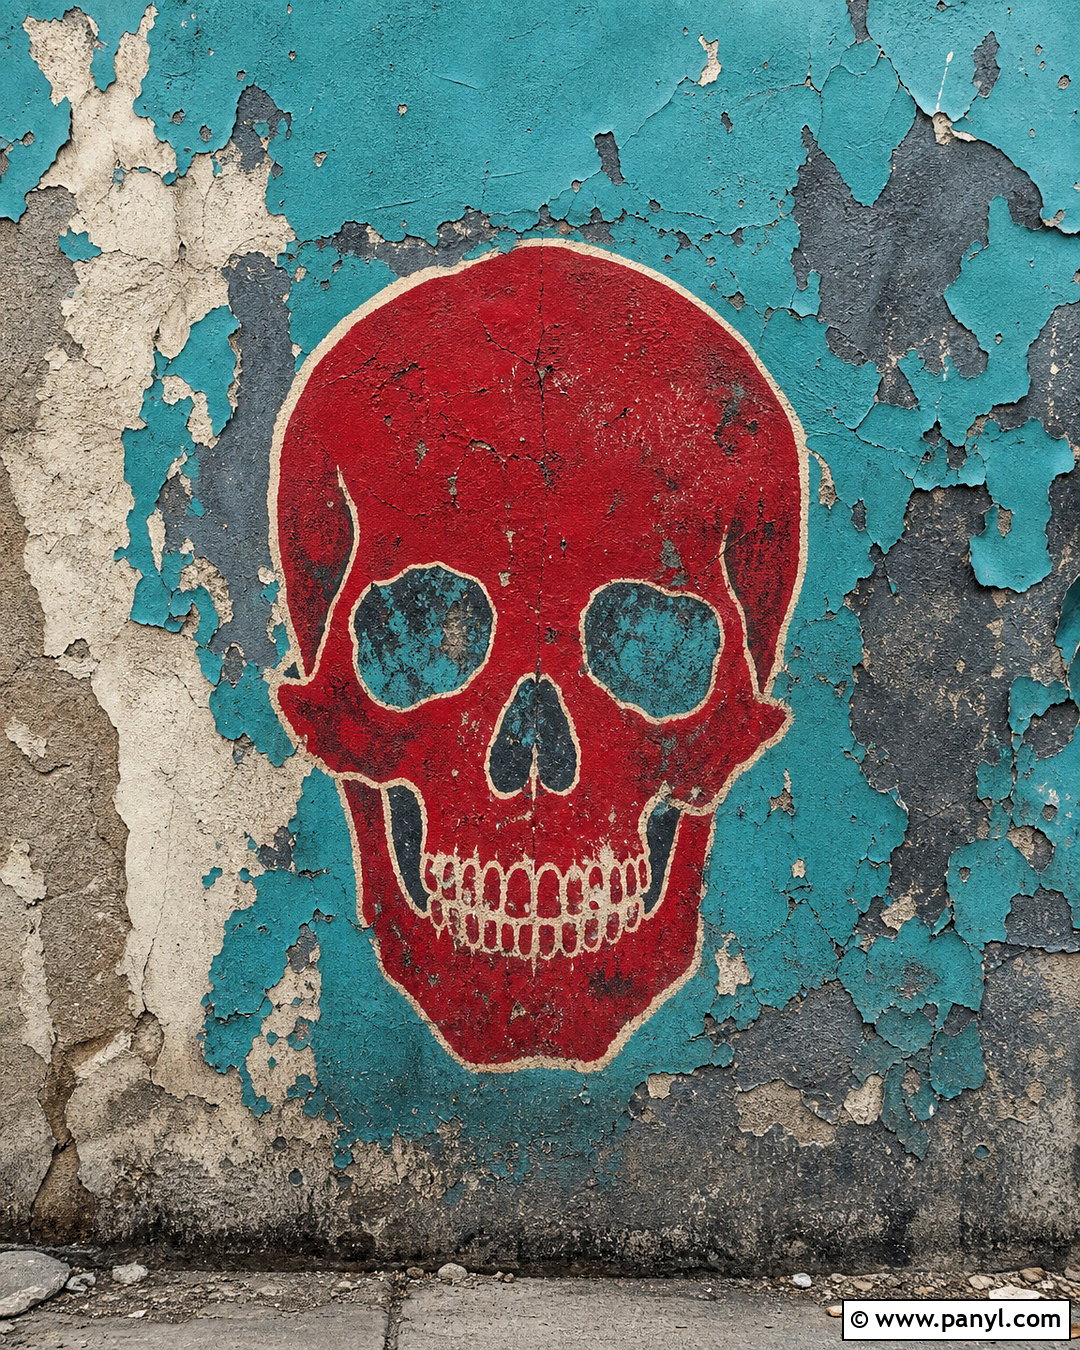
Peeling paint offers several layers of color and texture within one cohesive red skull composition. Create a background with faded teal paint lifting away from a charcoal-gray base, revealing small sections of beige plaster. Place a clear ruby-red skull over the center, using a mostly matte surface with light distressing near the crown and jaw. The cool teal areas provide strong contrast, while the dark underlayer anchors the design. Keep large peeling sections around the outside instead of across the skull’s main features. Fine shadows beneath raised paint edges will increase realism. A narrow cream border around selected parts of the skull can improve definition. The complete artwork should look weathered and graphic, with every layer serving the central red form.

8. Red Skull On Brick Wall Background
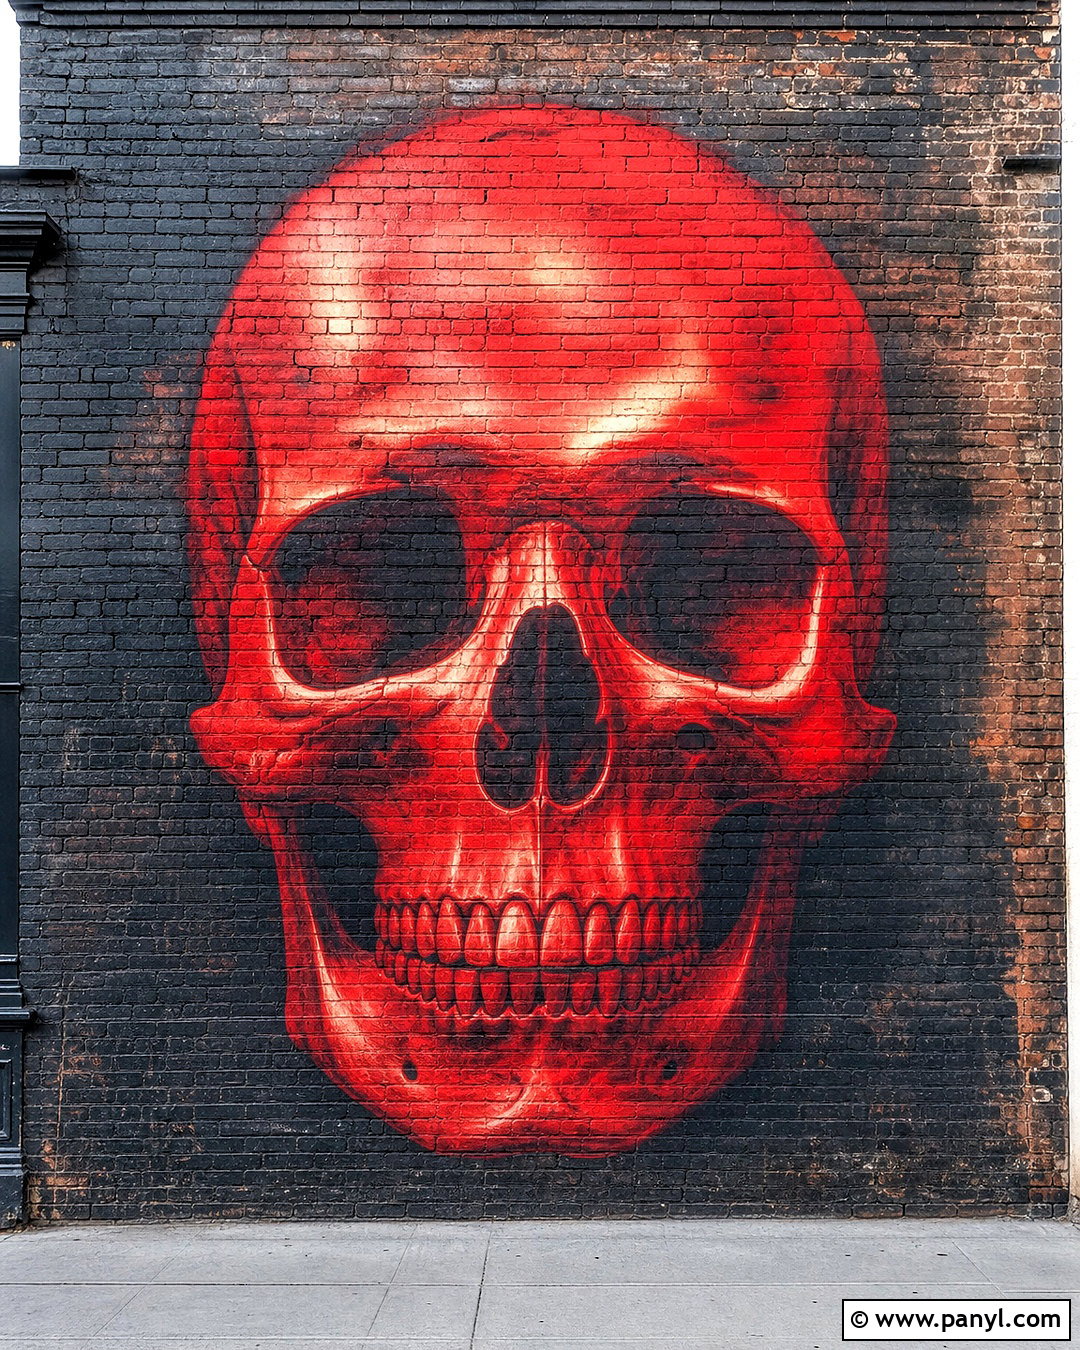
A brick wall makes a strong, recognizable setting for a large red skull mural. Use old charcoal bricks with uneven mortar joints, chipped corners, and a few faded brown undertones. Paint the skull in bright vermilion across several courses of brick, allowing mortar lines and rough masonry to remain visible. Add darker red shading around the temples and jaw to prevent the image from looking flat. A soft cream highlight along one side can suggest directional light and improve separation. Keep the mural large enough to fill most of the wall while preserving a border of exposed brick. Avoid extra symbols or lettering. The completed scene should feel like purposeful urban artwork displayed on a clean, well-maintained interior feature wall.
9. Red Skull On Charcoal Stone Background
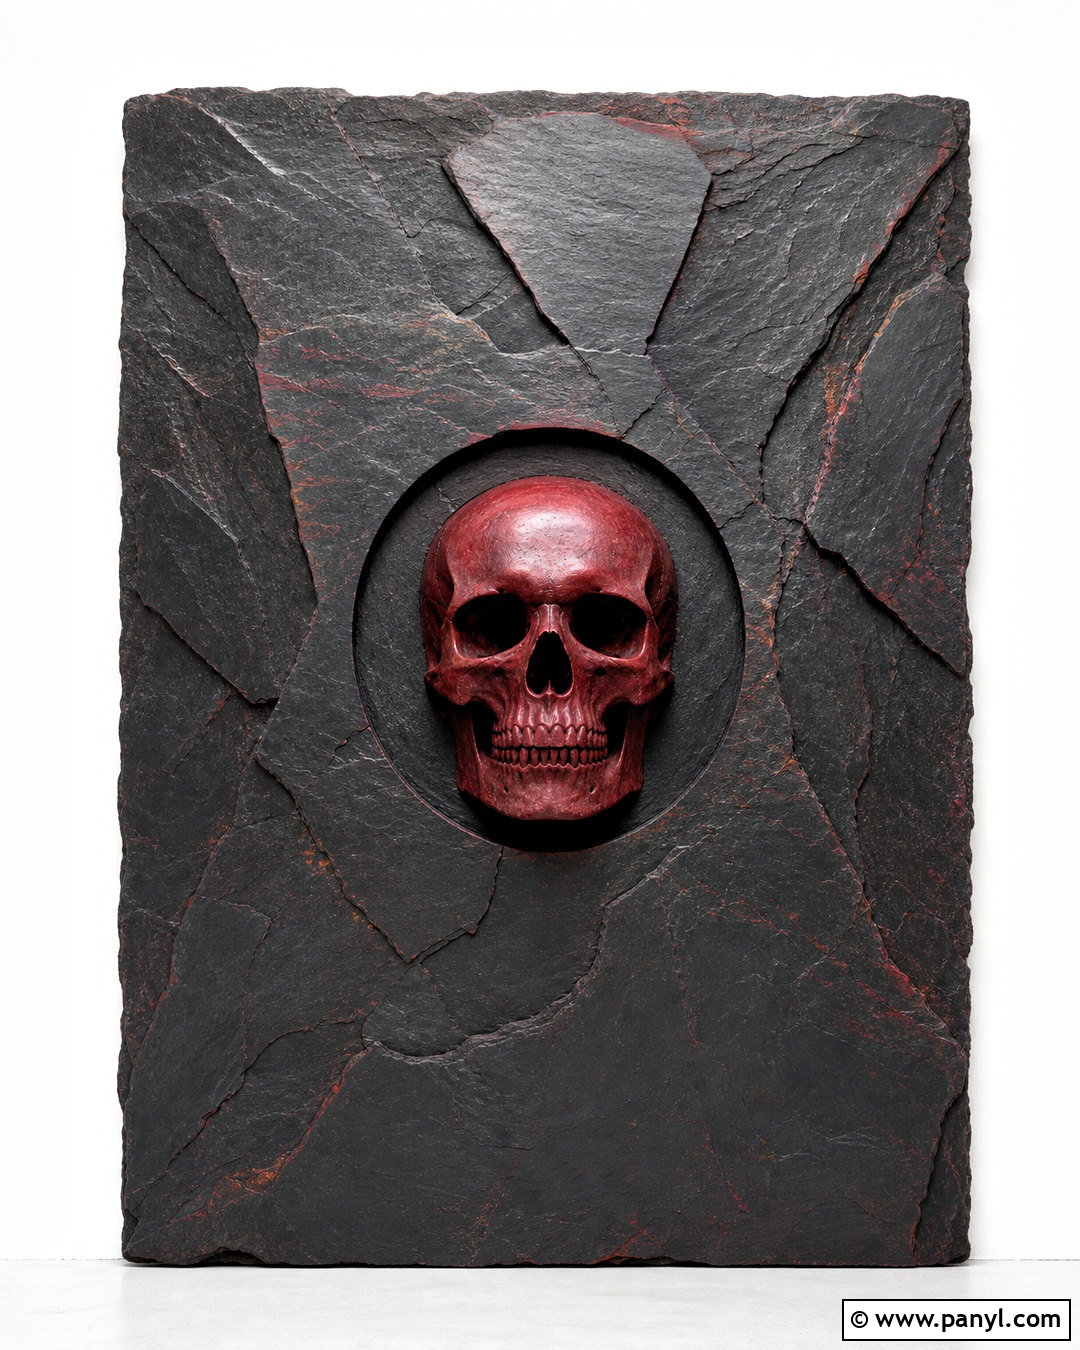
Charcoal stone creates a refined alternative to rough concrete while preserving strong visual contrast. Choose broad slate tiles with irregular edges, subtle mineral streaks, and variations from medium gray to nearly black. Center a burgundy-red skull across the stone surface, giving it a smooth matte finish that differs from the natural background. Add narrow copper-red highlights along the brow, cheekbones, and teeth for quiet dimension. The surrounding stone should remain uncluttered, with its lines framing rather than dividing the face. A shallow circular recess or faded shadow behind the skull can provide additional depth. Bright, balanced lighting will reveal both the slate layers and sculptural facial structure. This look feels controlled, modern, and architectural instead of heavily distressed.
10. Red Skull On Rough Cement Background
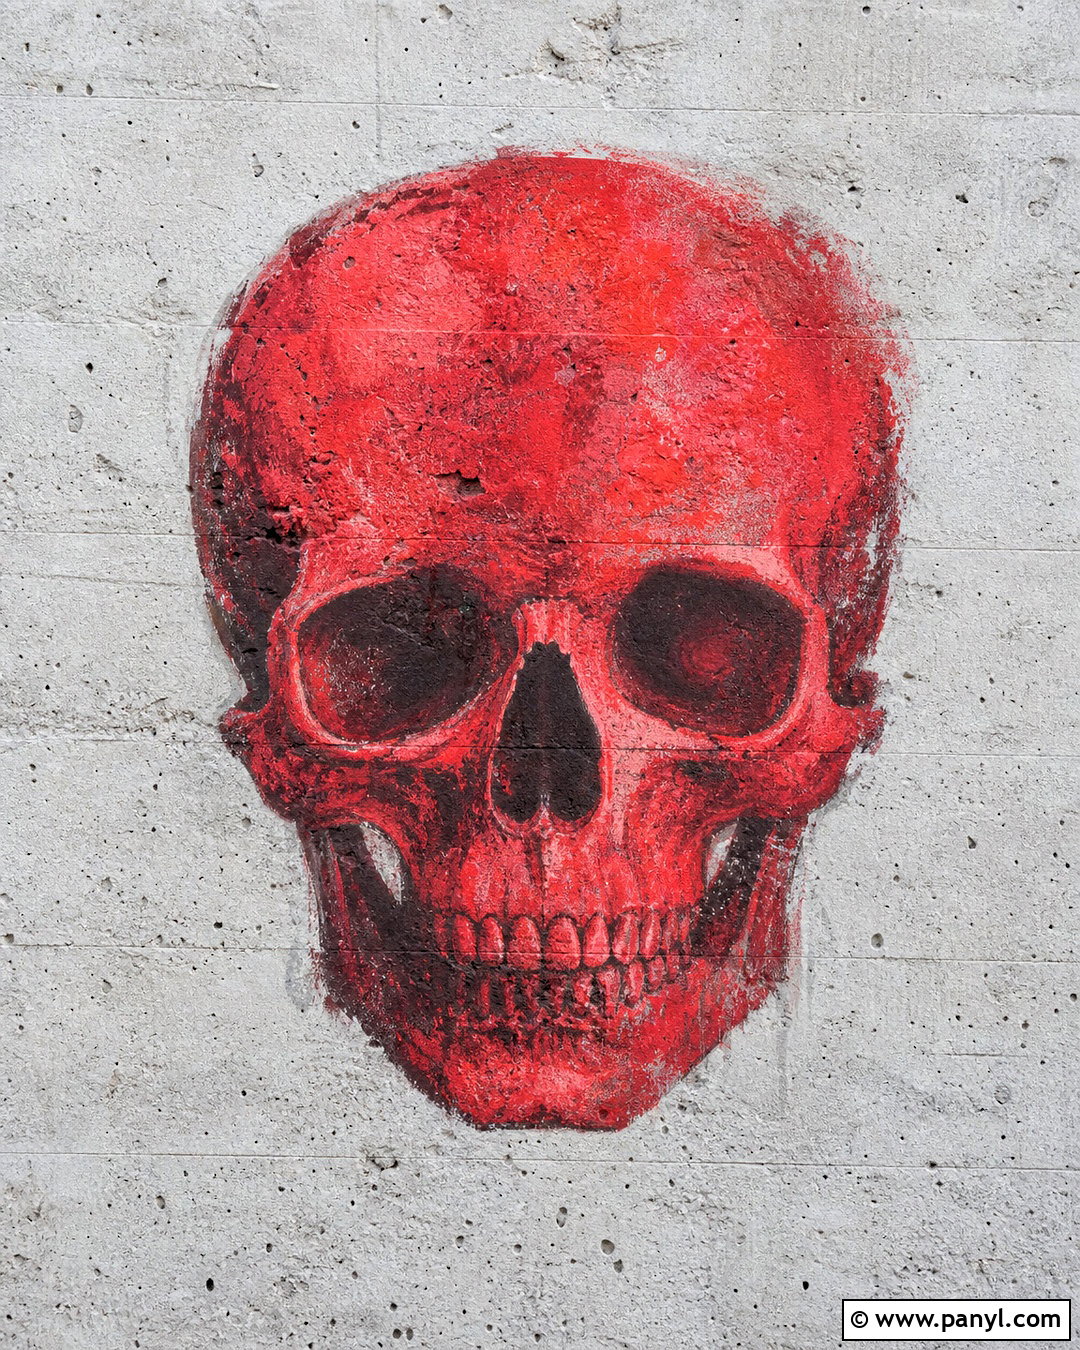
Rough cement supports a minimalist red skull design with plenty of tactile detail. Use a pale gray surface marked by trowel lines, small pits, and irregular patches of darker aggregate. Position a large carmine-red skull in the middle, leaving open space on all sides. Instead of adding many decorative marks, create interest through layered red tones. Use dark maroon in recessed areas, true red across the main planes, and soft coral highlights on raised edges. A thin, uneven charcoal shadow will make the skull appear slightly lifted from the cement. Keep the surface matte to maintain the raw material quality. The overall composition should be clean and restrained, allowing the contrast between bold pigment and unfinished cement to carry the entire design.
11. Red Skull On Scratched Steel Background

Scratched steel can transform a red skull into a sleek industrial centerpiece. Build the background from brushed gunmetal panels with fine horizontal scratches, darker corners, and a few subtle scuffs. The skull should have a deep candy-red metallic finish, but the shine must remain controlled so its facial details stay visible. Add narrow white highlights across the forehead and cheekbones, with dark graphite shading inside every recessed area. A circular steel plate behind the skull can frame it without adding unnecessary imagery. Keep bolts small and evenly placed near the outer edge. Bright studio-style lighting will define the different metal finishes while maintaining clarity. The finished design should feel precise and engineered, balancing polished color with a rugged surrounding surface.
12. Red Skull On Torn Poster Background
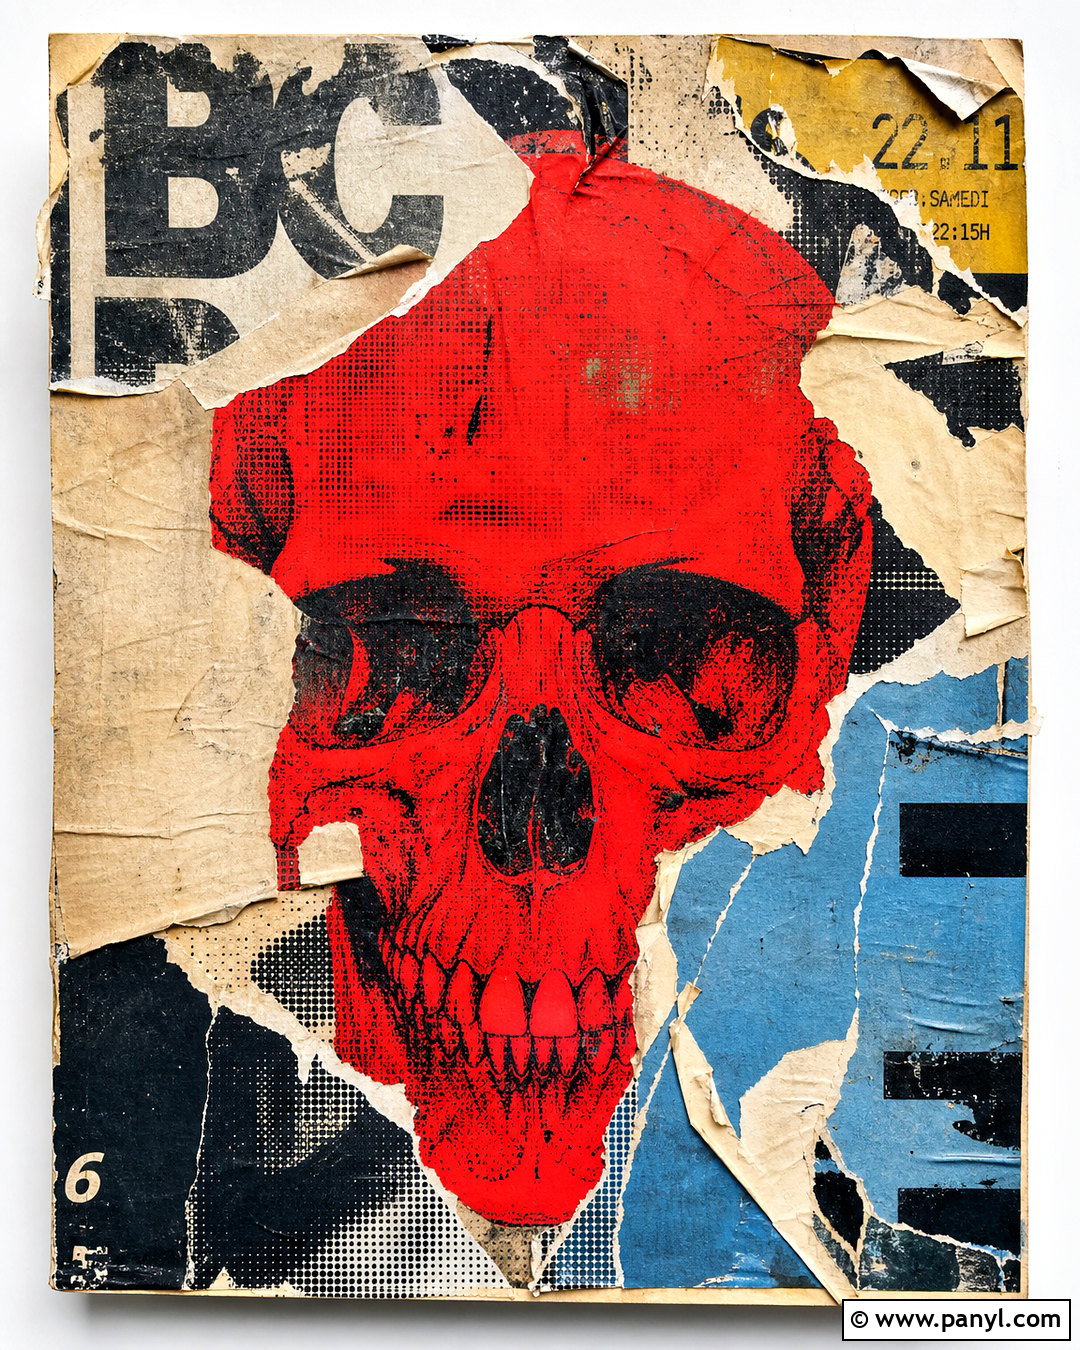
Layers of torn posters create a colorful, urban surface for a graphic red skull. Build the background from overlapping cream, black, faded mustard, and dusty blue paper, using only abstract shapes with no readable wording. Show curled corners, ripped seams, wrinkles, and worn adhesive marks. Place a flat scarlet skull over the center as though it were applied with a stencil. Break a few edges where the paper has peeled away, helping the image belong to the surface. Black halftone shading inside the eye sockets and beneath the jaw adds a screen-printed quality. Limit the surrounding colors so they support rather than compete with the red. The complete composition should appear layered and energetic while remaining organized around one unmistakable focal point.
13. Red Skull On Textured Burgundy Background
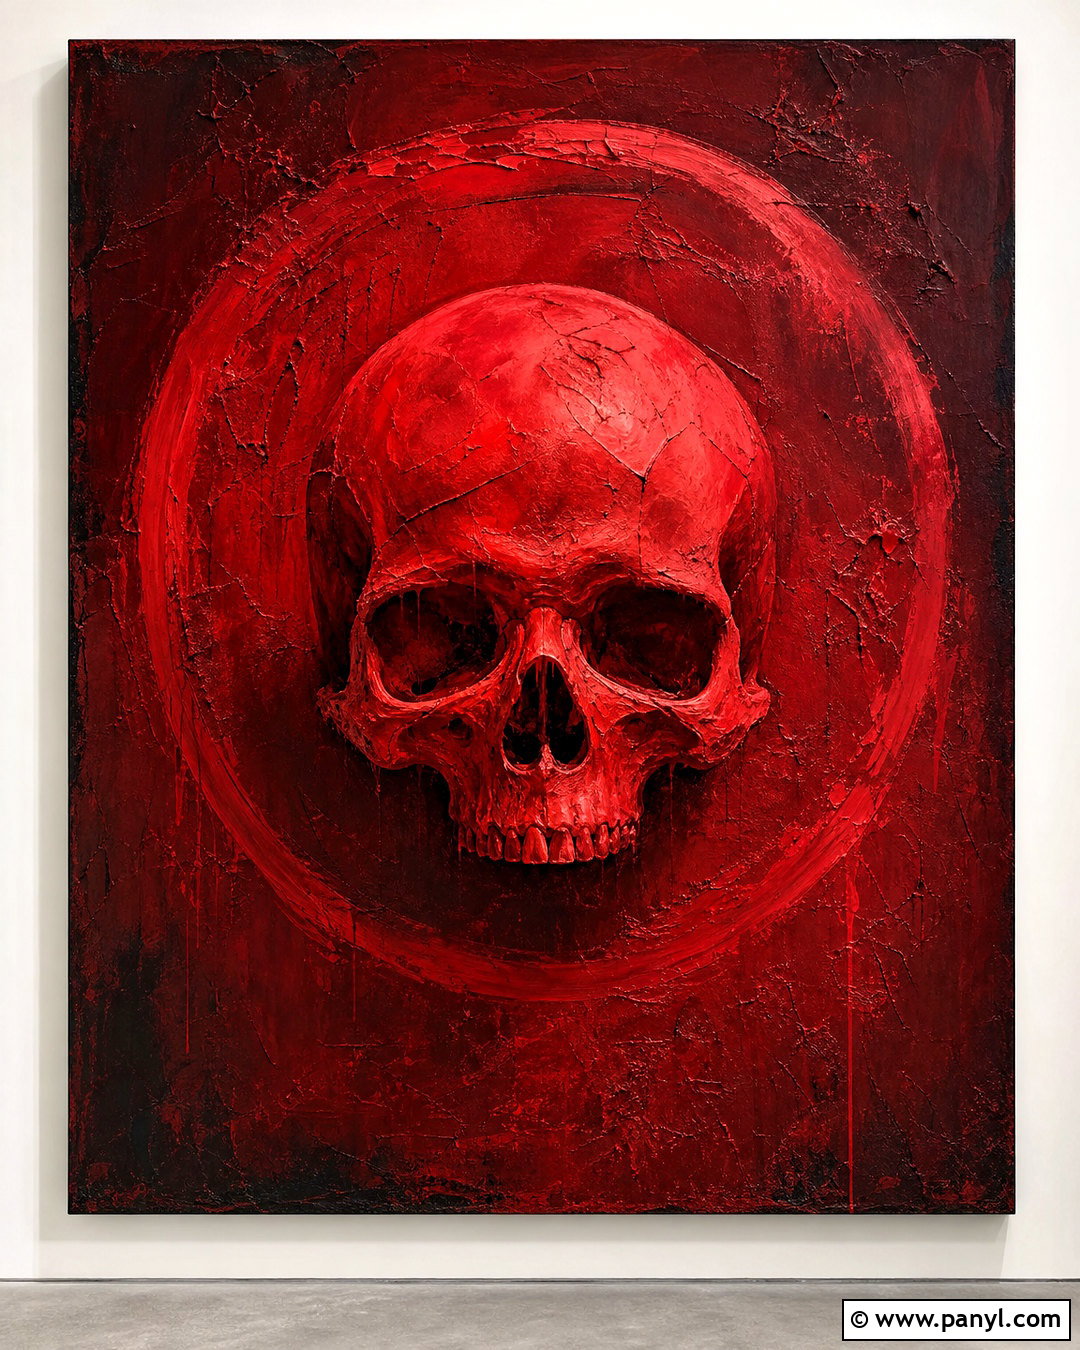
A monochromatic palette can feel surprisingly dimensional when each red has a different value and finish. Cover the background in dark burgundy plaster with broad trowel marks, subtle cracks, and nearly black shading around the edges. Add a brighter crimson skull in the center, using coral-red highlights and deep maroon shadows to define its structure. A faint circular brushstroke behind the skull can create a frame without introducing another color. Keep the teeth and eye sockets cleanly shaped so they remain visible against the closely related tones. Slight variations in surface sheen will help separate the subject from the wall. The finished artwork feels cohesive and intense, proving that contrast can come from texture and value instead of a multicolor scheme.
14. Red Skull On Gray Stucco Background
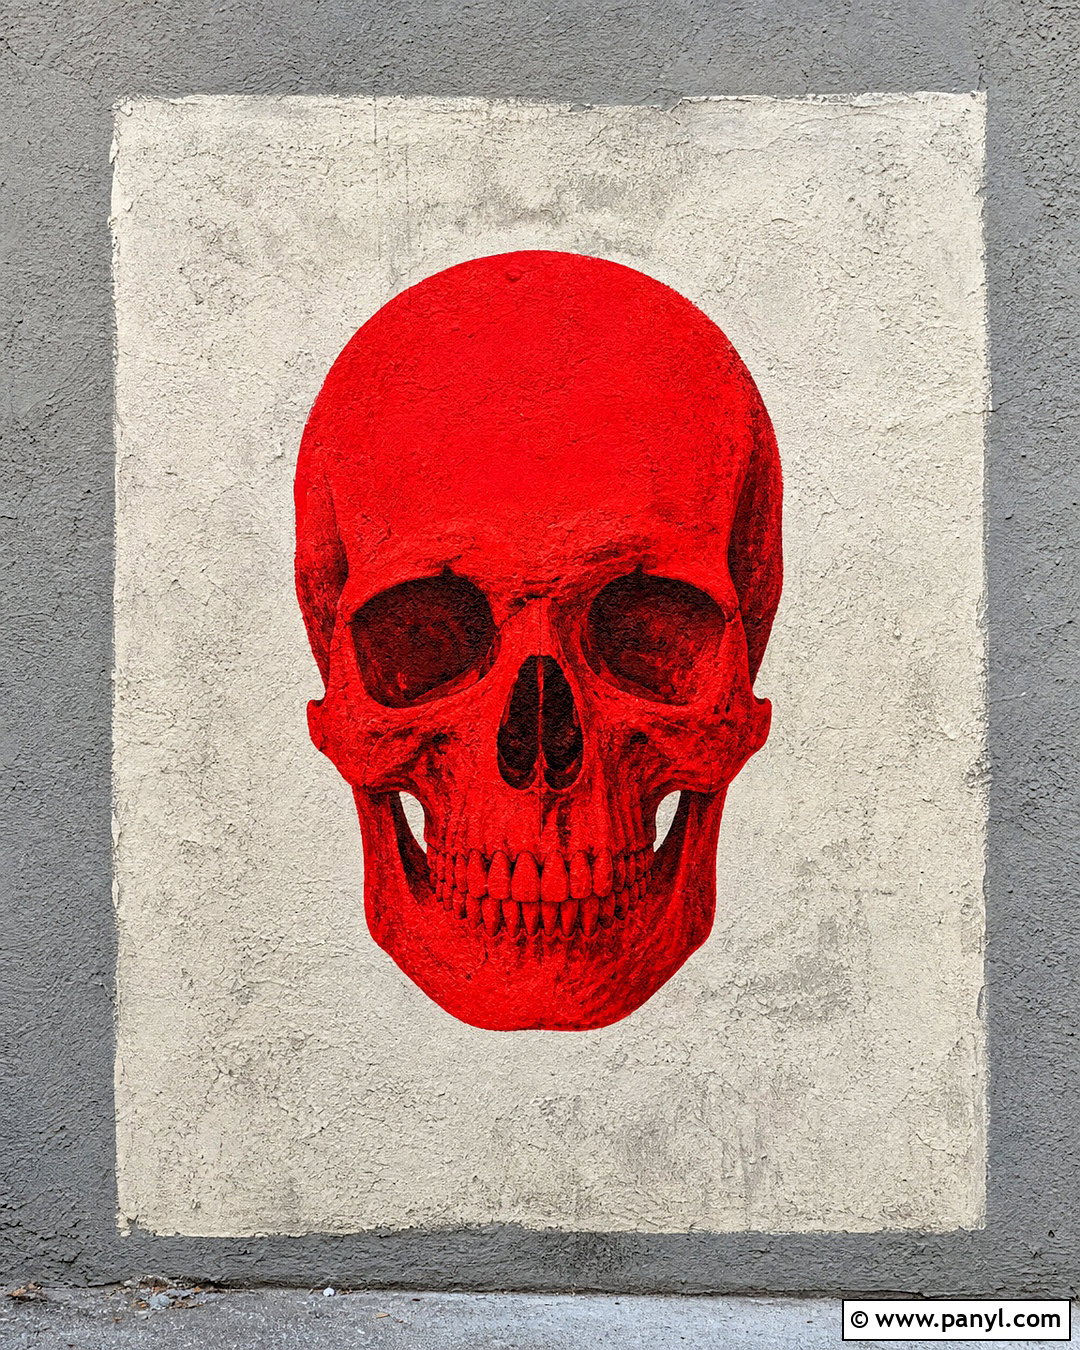
Gray stucco provides a soft, grainy backdrop that allows a red skull to look sharp and contemporary. Select a medium warm-gray base with small sandy particles, subtle application marks, and lightly mottled patches. Use a clean tomato-red skull with simplified but accurate features, then add dark red shading in the sockets and between the teeth. A broad off-white painted rectangle behind the skull can serve as a loose frame, with uneven edges that preserve the handmade character. Leave enough visible stucco around the rectangle to establish context and texture. Avoid extra patterns that could make the arrangement feel crowded. Clear front lighting will keep every surface readable. This balanced composition fits modern interiors while retaining an expressive street-art influence.
15. Red Skull On Burnt Orange Background
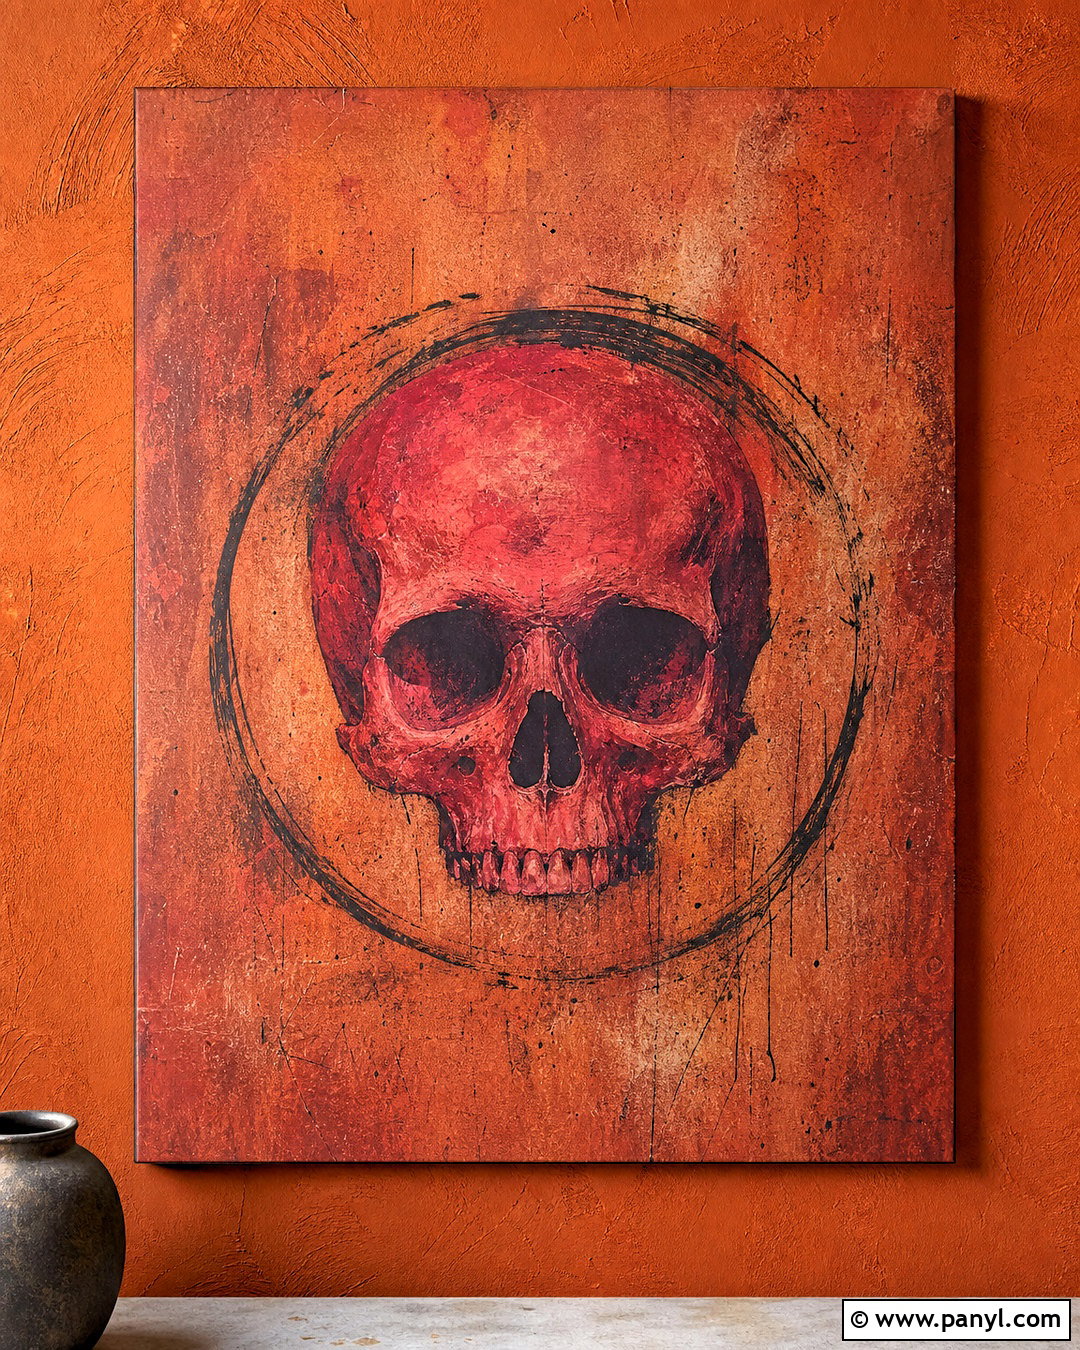
Warm colors can produce a bold composition without relying on black as the primary background. Begin with a burnt orange wall featuring layered brush marks, darker sienna patches, and fine sandy grit. Paint the skull in cool crimson red so it remains distinct from the surrounding warmth. Use deep plum shadows inside the eye sockets and under the jaw, then introduce pale coral highlights along the forehead. A loose charcoal ring behind the skull adds structure and prevents similar colors from blending together. Keep the corners slightly darker to guide attention toward the center. The result should feel sun-baked, artistic, and richly textured rather than harsh. Every color remains warm, but careful value changes preserve a clear, readable focal point.
16. Red Skull On Black Leather Background
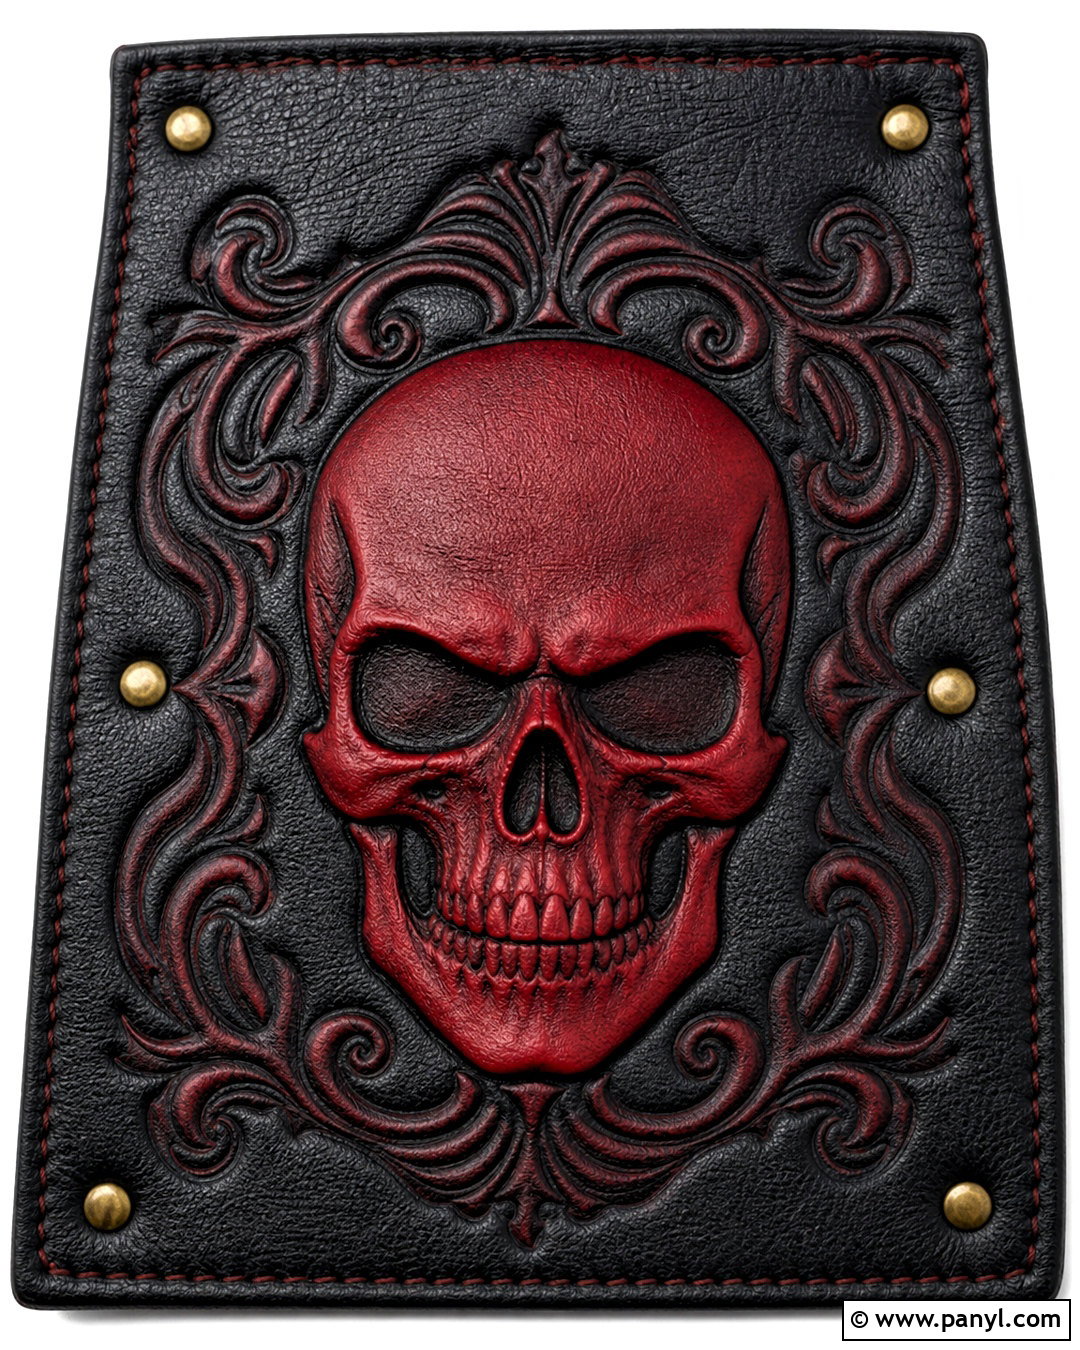
Black leather brings an unexpected tactile quality to a red skull composition. Use a broad panel of matte, pebbled leather with visible stitching around the outside and gentle creases near the corners. Center a raised oxblood-red skull made from embossed leather, allowing the facial structure to project subtly from the surface. Dark burgundy edges and carefully pressed recesses will define the eye sockets, nose, and teeth. Add small antique brass studs around an outer rectangular border, keeping their spacing consistent and understated. The skull should remain the only major motif. Bright, diffused lighting will reveal the grain and embossed depth without creating distracting glare. This finished design feels crafted, durable, and sophisticated while maintaining a bold graphic presence.
17. Red Skull On Layered Graffiti Background
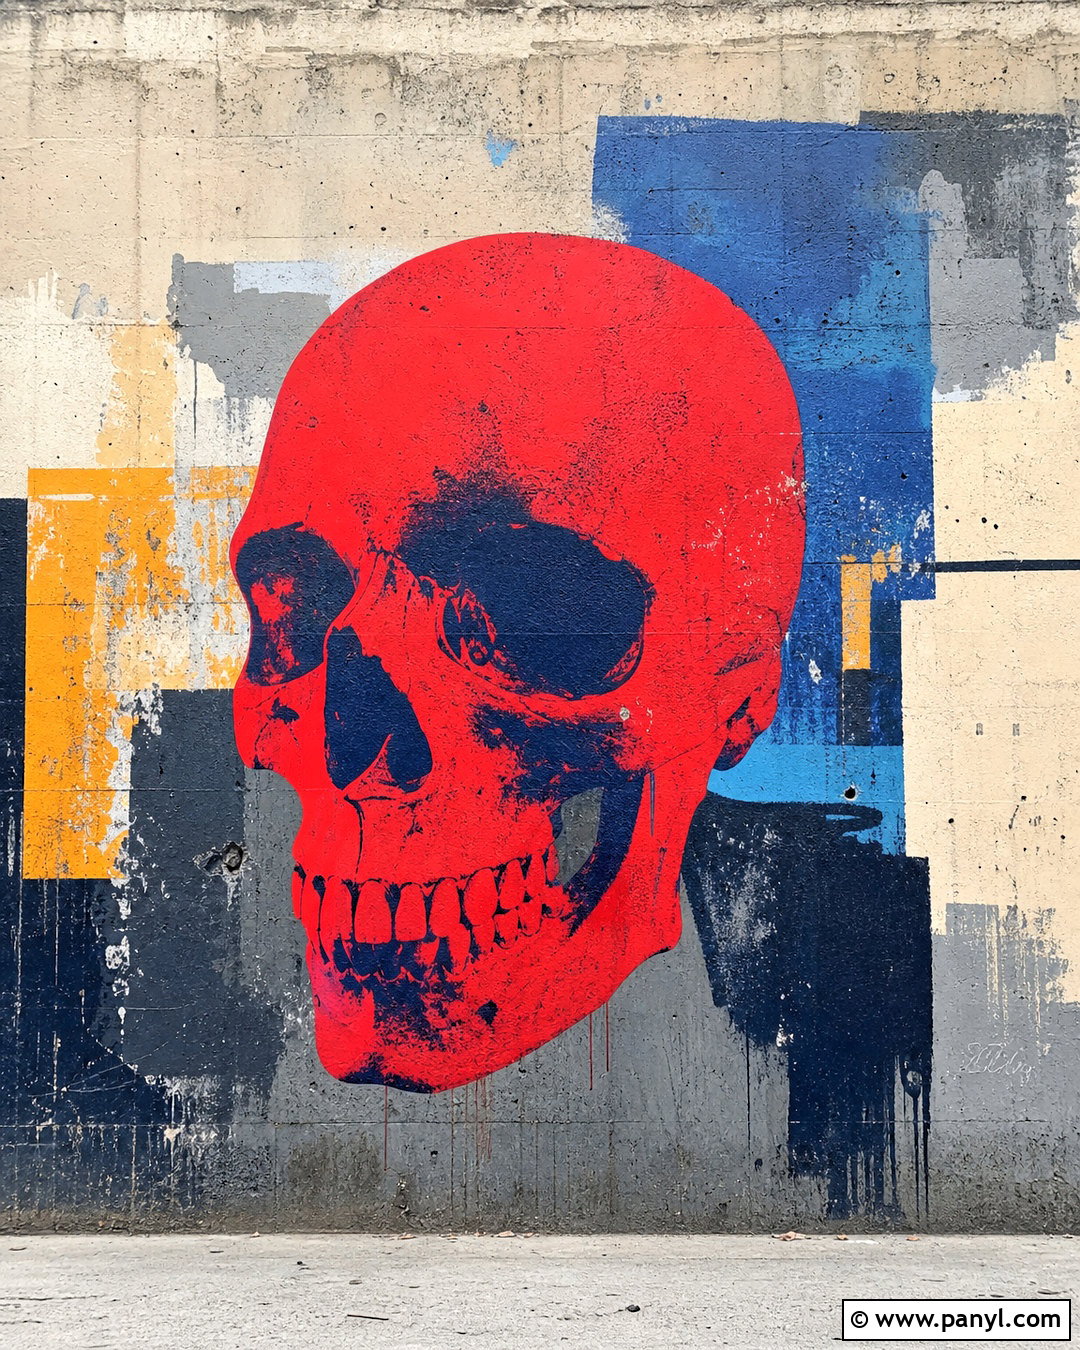
A layered graffiti surface gives a red skull movement, color, and urban personality. Start with a gray concrete wall covered in abstract blocks of cobalt blue, cream, charcoal, and muted yellow spray paint. Avoid words, logos, or recognizable symbols. Place a large crimson skull over the layers using crisp stencil edges and controlled overspray. Add dark navy shading inside the facial recesses to connect the focal point with the cooler background colors. A few red lines can extend outward from the composition, but the main silhouette should remain easy to read. Leave exposed concrete between painted sections for visual breathing room. Bright, even illumination turns the finished wall into energetic contemporary artwork without making it feel chaotic or visually cluttered.
18. Red Skull On Copper Patina Background
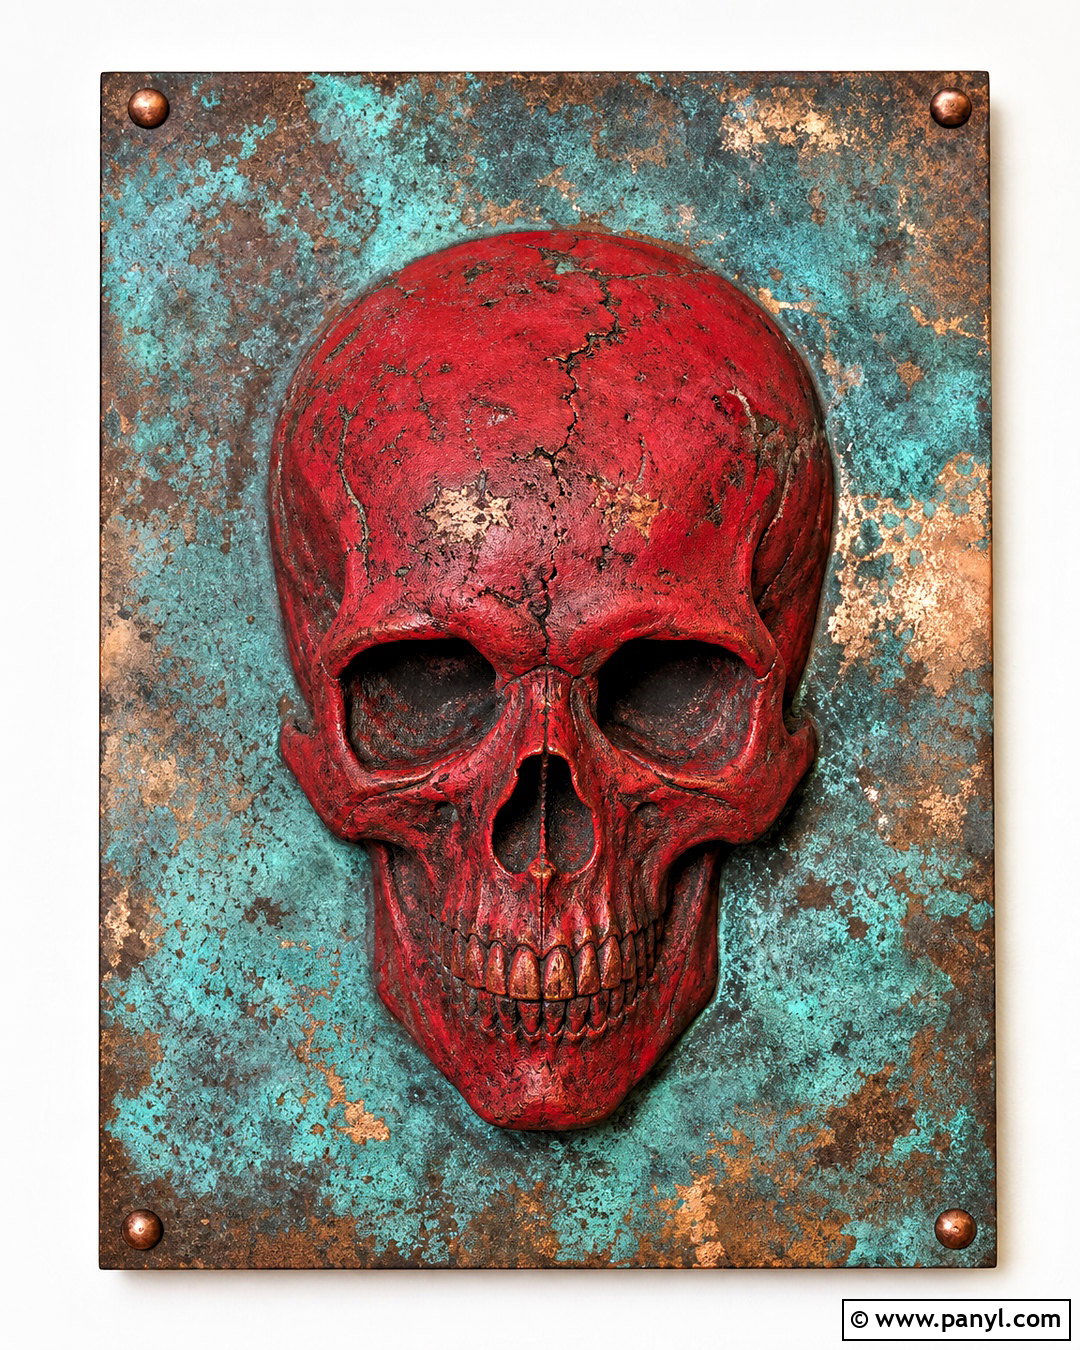
Copper patina creates a sophisticated color contrast with a warm red skull. Use an aged metal panel covered in turquoise, blue-green, dark brown, and exposed copper patches. The oxidation should appear organic, with cloudy transitions and fine pitted texture. Mount or paint a matte garnet-red skull in the center, then add subtle copper highlights along the brow, nose, and upper teeth. A dark brown shadow behind the form will provide enough separation from the active background. Keep the skull symmetrical and the surrounding patina irregular to balance order with natural variation. Small metal fasteners at the corners can complete the panel. Clear white lighting will show the red, turquoise, and copper tones accurately while emphasizing the richly aged materials.
19. Red Skull On Stone Mosaic Background
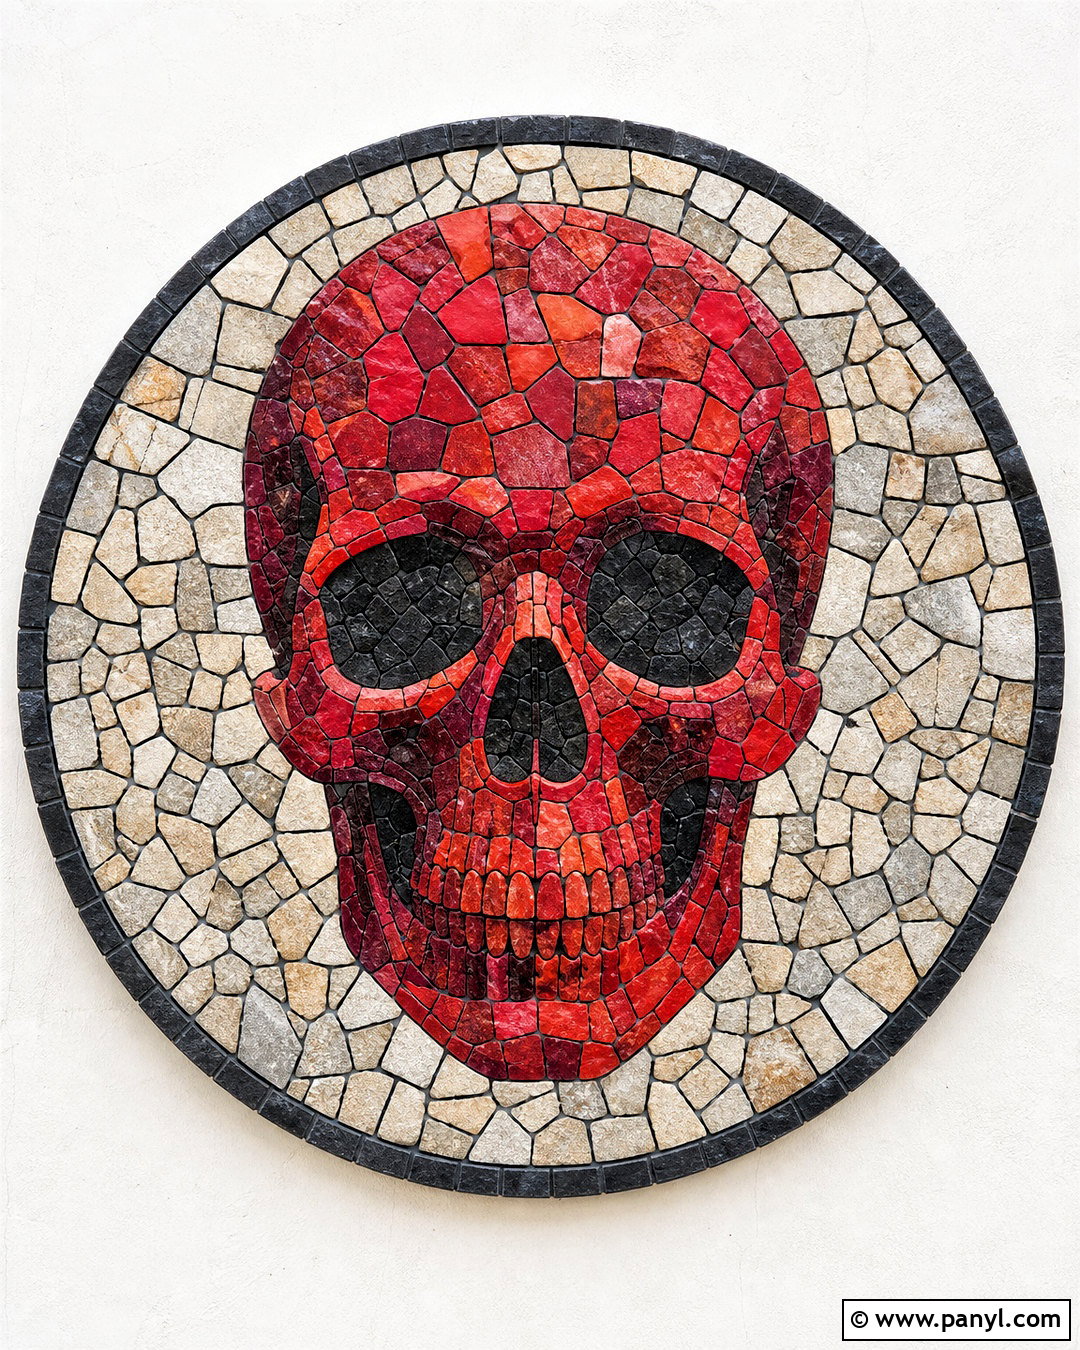
A stone mosaic turns the textured background into a carefully constructed decorative surface. Use small irregular tiles in charcoal, warm gray, cream, and muted red, with narrow dark grout lines. Form the central skull from richer ruby-red and burgundy pieces rather than painting it over the mosaic. Dark maroon tiles can shape the eye sockets and jaw, while pale terracotta pieces create highlights. Surround the skull with a simple circular border in black stone to make the image easier to read from a distance. Keep the remaining background pattern random and restrained. Bright overhead lighting should reveal slight differences in tile height and natural finish. The complete artwork feels handcrafted, dimensional, and suitable for a dramatic feature wall or covered patio.
20. Red Skull On Corrugated Metal Background
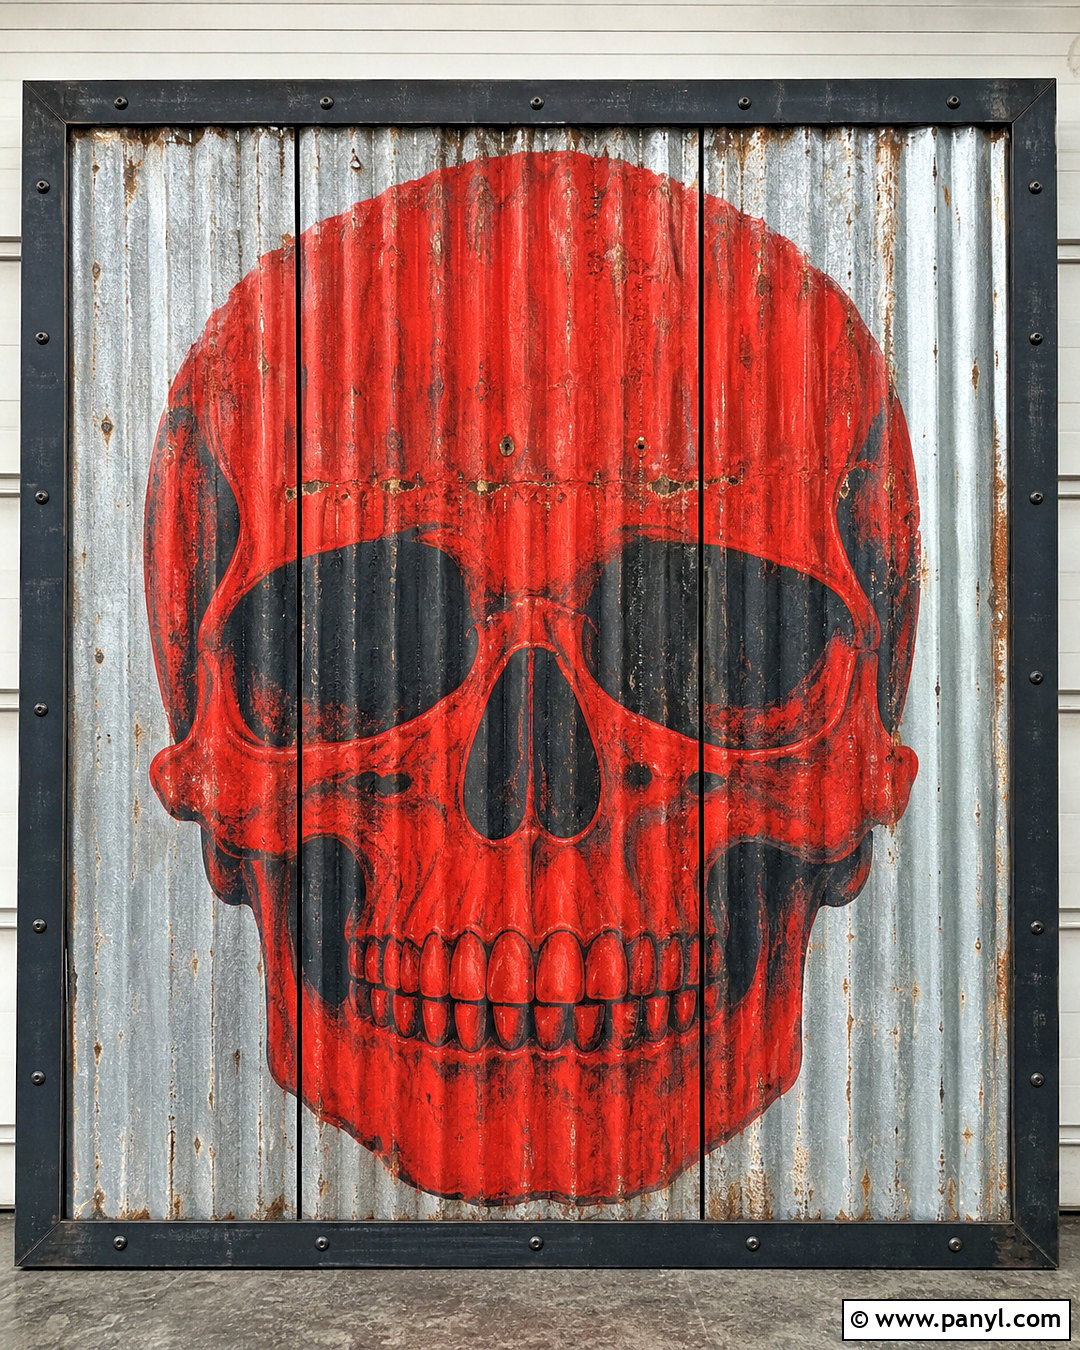
Corrugated metal introduces strong vertical rhythm behind a large red skull. Choose weathered galvanized panels with silver-gray ridges, pale rust marks, scratches, and darker seams between sheets. Paint a broad cherry-red skull across the center so its features stretch naturally over the raised and recessed lines. Use black shading sparingly inside the sockets and beneath the cheekbones. Worn paint along each ridge will make the mural feel attached to the metal rather than placed on top of it. Frame the panel with matte black steel to give the composition a deliberate finished edge. Bright frontal lighting minimizes heavy shadows between the corrugations and keeps the skull legible. The result is bold, industrial, and practical for a studio or garage display.
Conclusion:
The most successful **red skull on textured background ideas** combine a clearly defined focal point with a surface that contributes real depth and character. Concrete, plaster, wood, metal, paper, leather, brick, and mosaic each change how the same red subject feels. Color value matters just as much as material. Bright scarlet stands out against charcoal, while burgundy works beautifully with copper, cream, or pale gray. Keep background details away from important facial features, and use controlled shadows or outlines when additional separation is needed. Whether you prefer rustic, urban, minimalist, or industrial artwork, build the entire composition around consistent color, texture, placement, and lighting for a polished final result.

Related Ideas and Inspiration:

Leave a Reply